
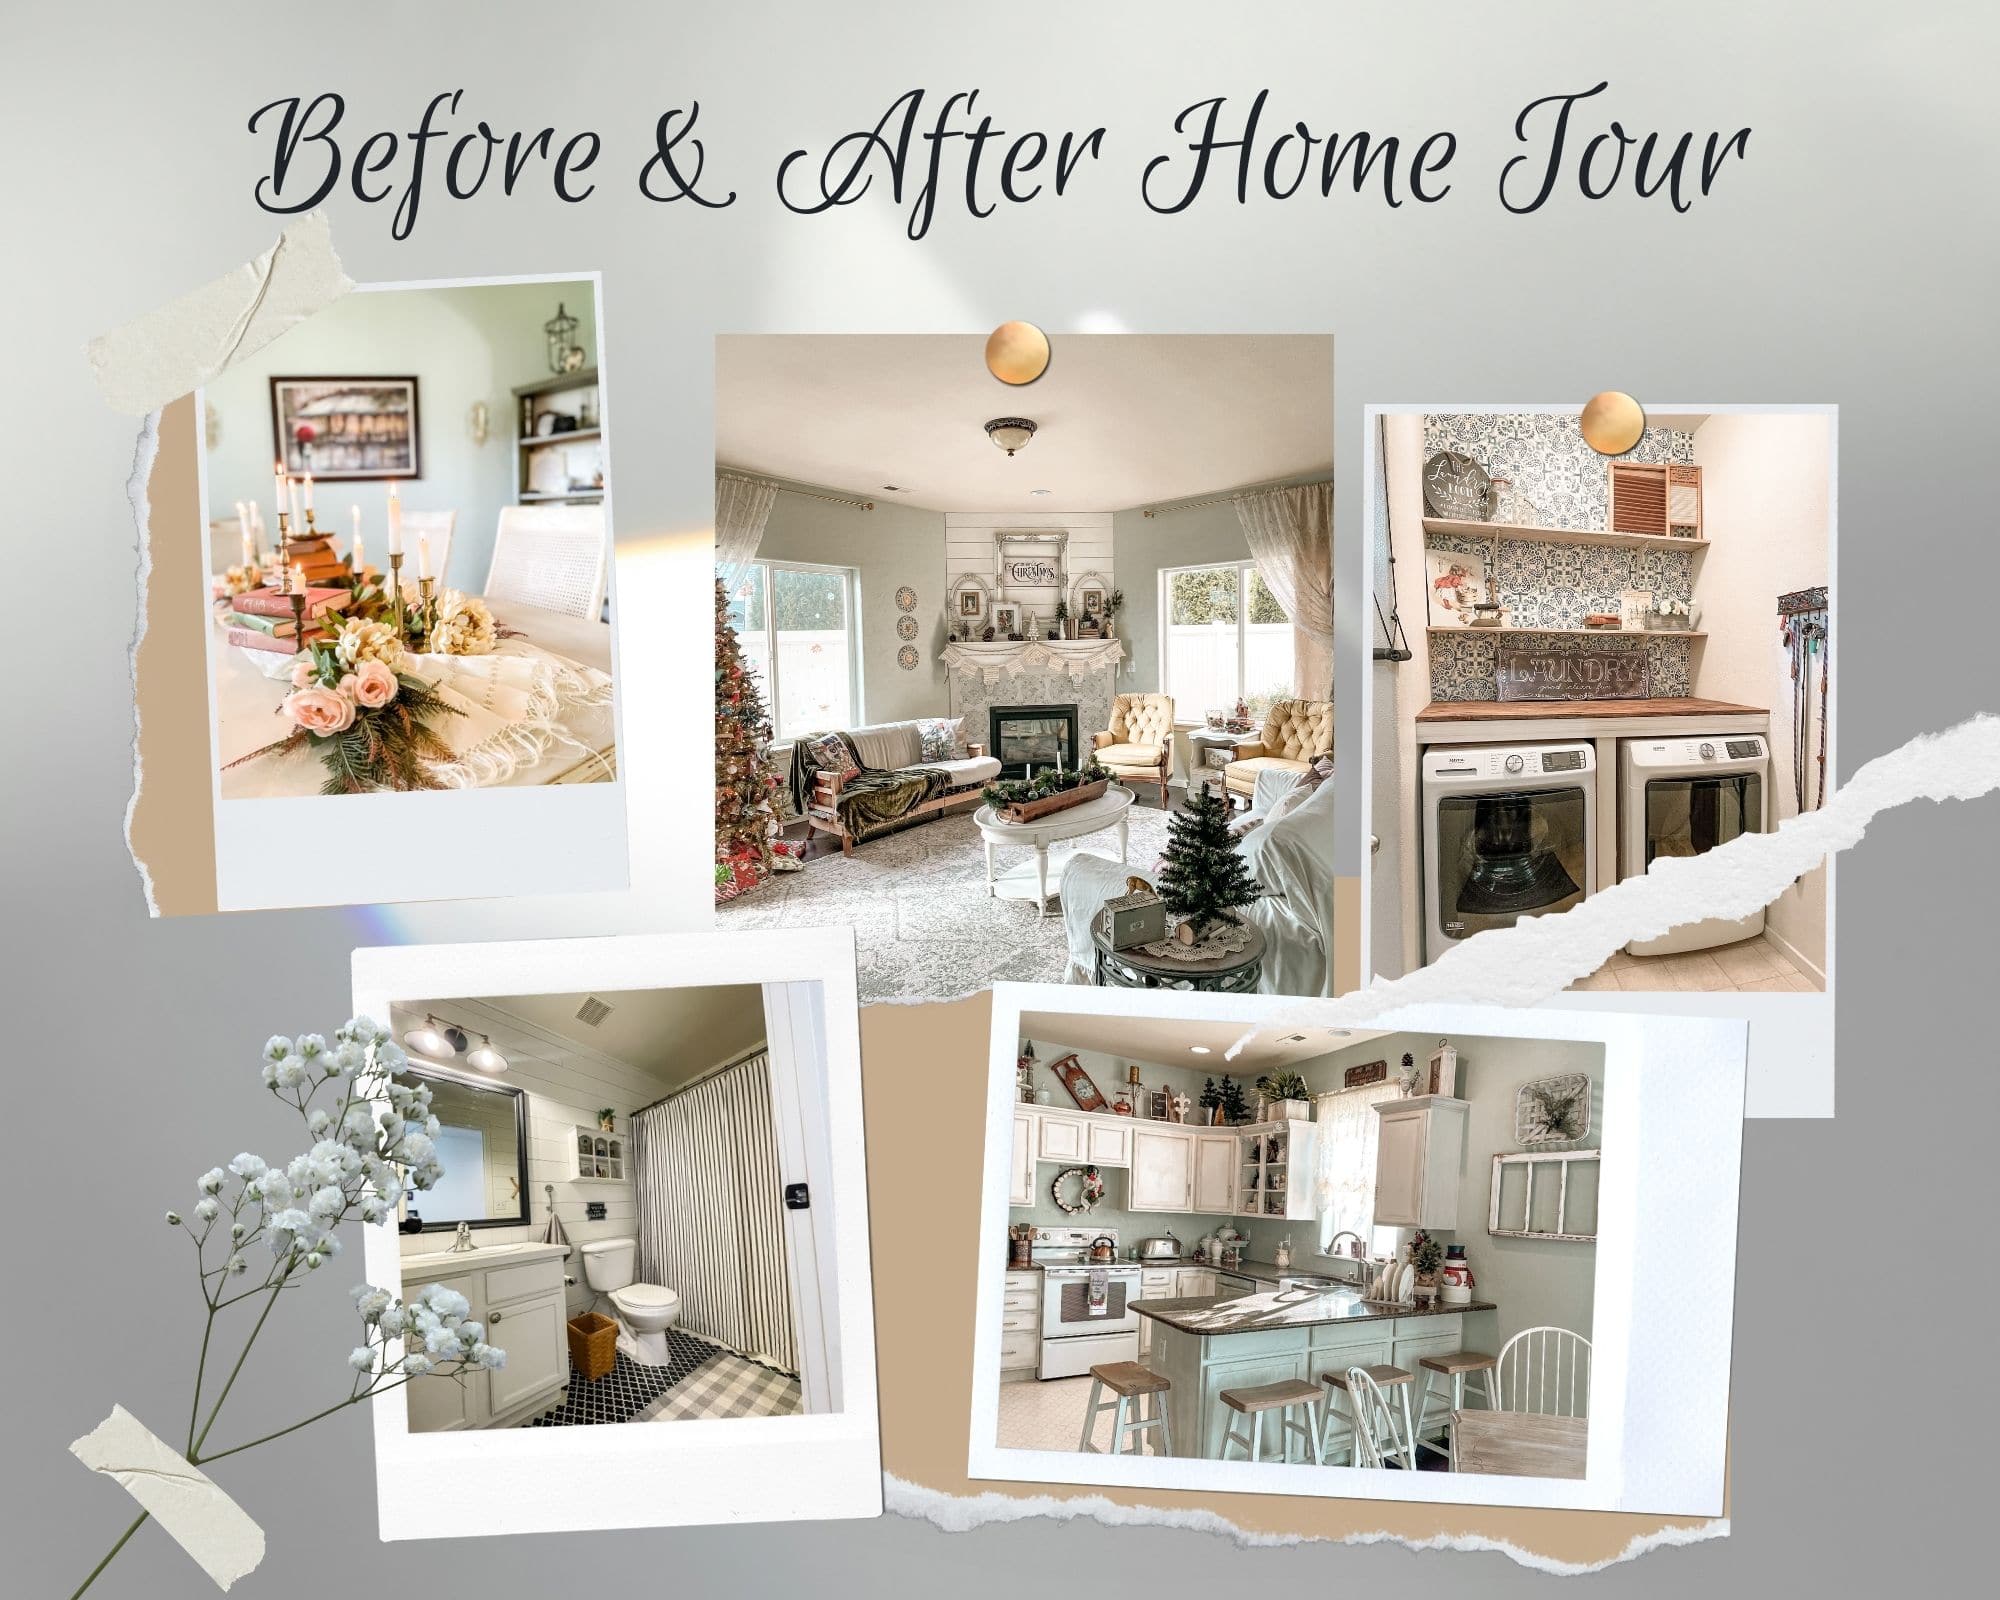
Anyone else love to see before and after photos?
Me too!
Over time I’ve showed pics of nearly every space in my home as it was when I moved here and then whatever I had done to the space at that time. Obviously I’m always working on projects so in some cases the “after” is no longer the “after”. Also I thought it might be fun to have all the rooms before and afters together in one post.
Sound like a plan?
I thought so.
The MR is notorious for having no recollection of how things used to be. Once I change something in a space he promptly forgets what it looked like prior to the changes so every now and then when I reference how something USED to be, he looks at me like I’ve up and lost my mind. I have to pull up the photos and prove it to him and he will pour over the pics and laugh at how it used to be and just how much each room has changed.
From now on when he looks at me like I’ve lost my mind I am just going to pull up this blog post and let him scroll through as long as he likes.
Grab yourself a fresh coffee and let’s get started.
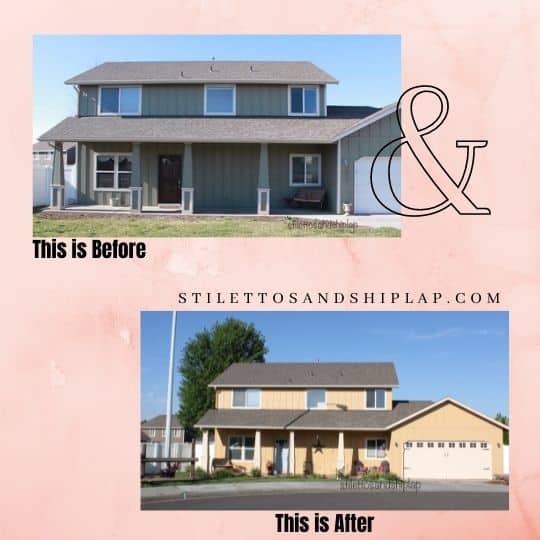
Exterior Before
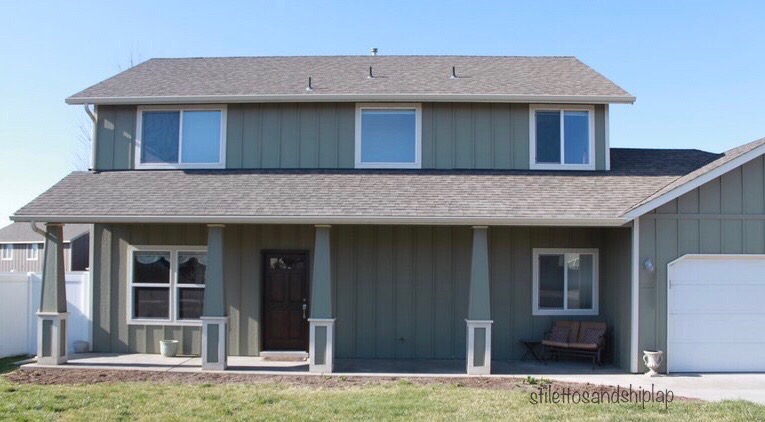
This was almost what it looked like when I moved here. By the time this photo was taken I had cut down the completely dead tree in the front yard and pulled out a couple dead bushes that were in front of the house. You can pretty much get the idea though.
Exterior After
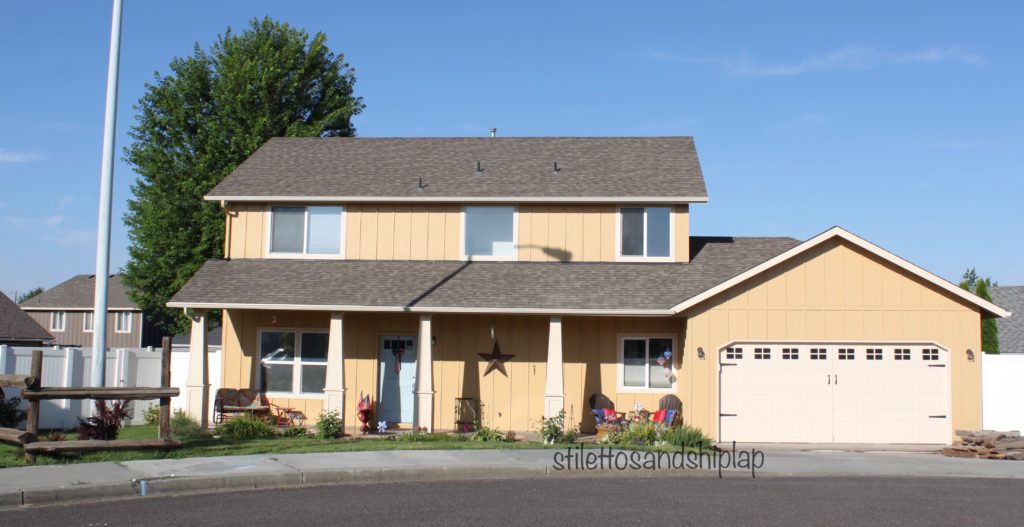
Fast forward a year or two and I painted the house a completely different color, painted the garage door to look like carriage doors, put in a split rail fence along the sides of the front yard where the vinyl fence stops, planted lots of flowers, and a number of other things not shown in this photo.
I will take a new photo of the exterior in the next little while once more of my flowers are blooming and update this post to show some more of the changes I have made such as new furniture for the patio etc.
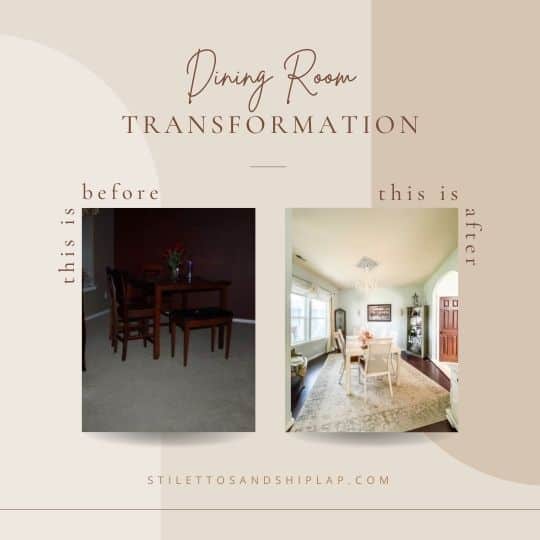
Dining Room Before
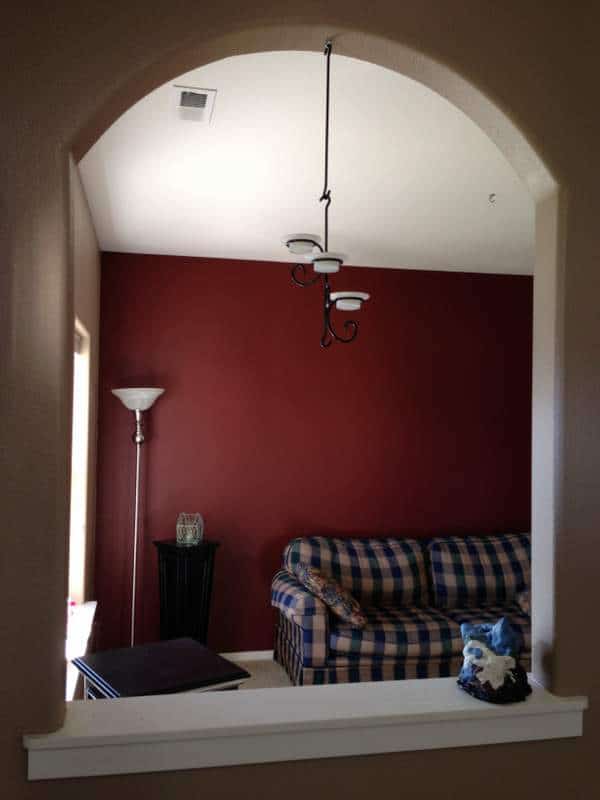
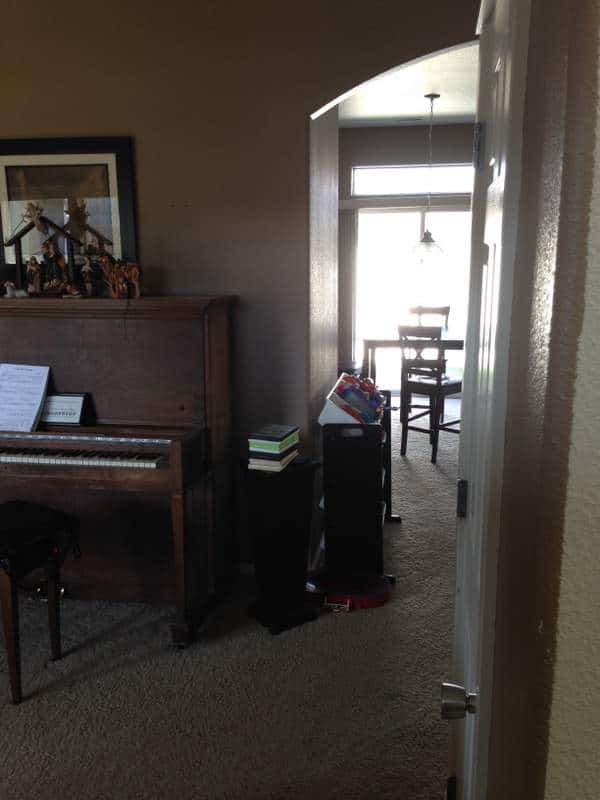
This is part of the space that is now my dining room, as it appeared when I moved in. Yes, the piano was left here. The carpet was very worn and dirty, there were no lights in the room and it was painted a very dark drab color.
It was originally intended to be a family room but since it’s literally right next to the living room, all open to each other, that made no sense to me. Add to that the fact that this 4 bedroom house had no dining room and I knew what had to be done.
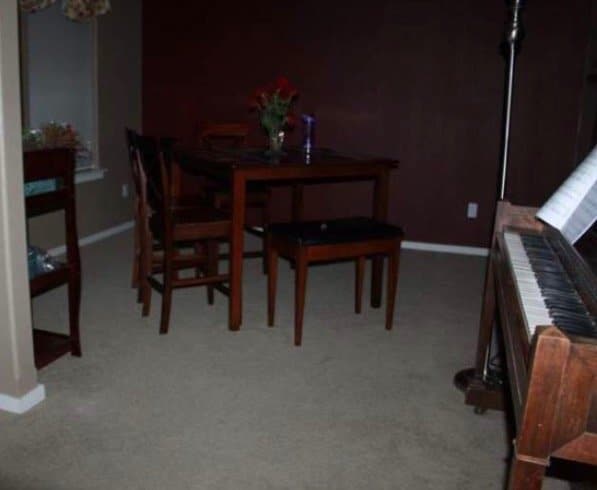
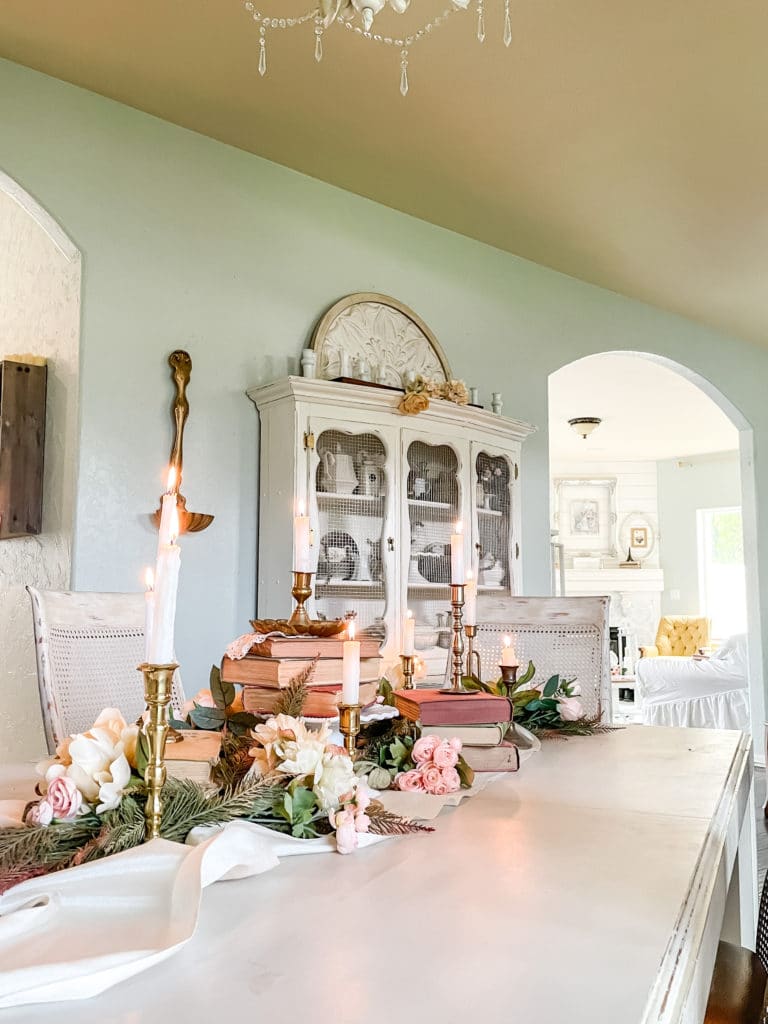
Dining Room After
Aurora now stands where the piano once was….
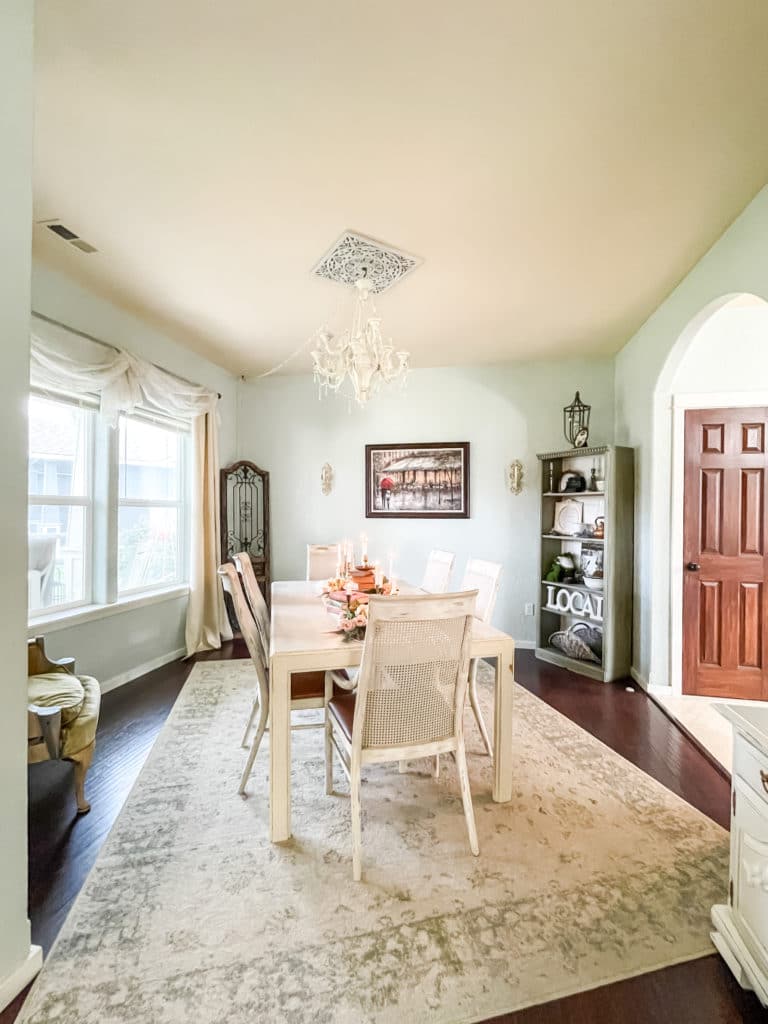
…and the room is barely recognizable as the same space.
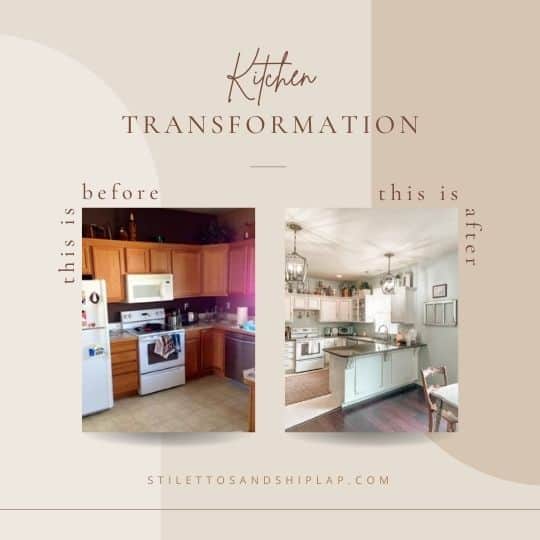
Kitchen Before
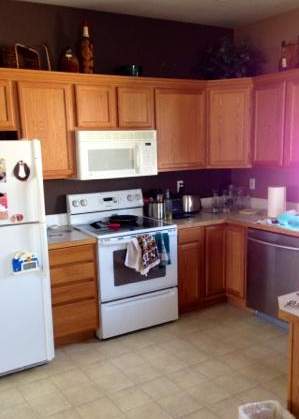
This is the only picture I can find of my kitchen the way it originally looked. Can you blame me for not taking many photos?
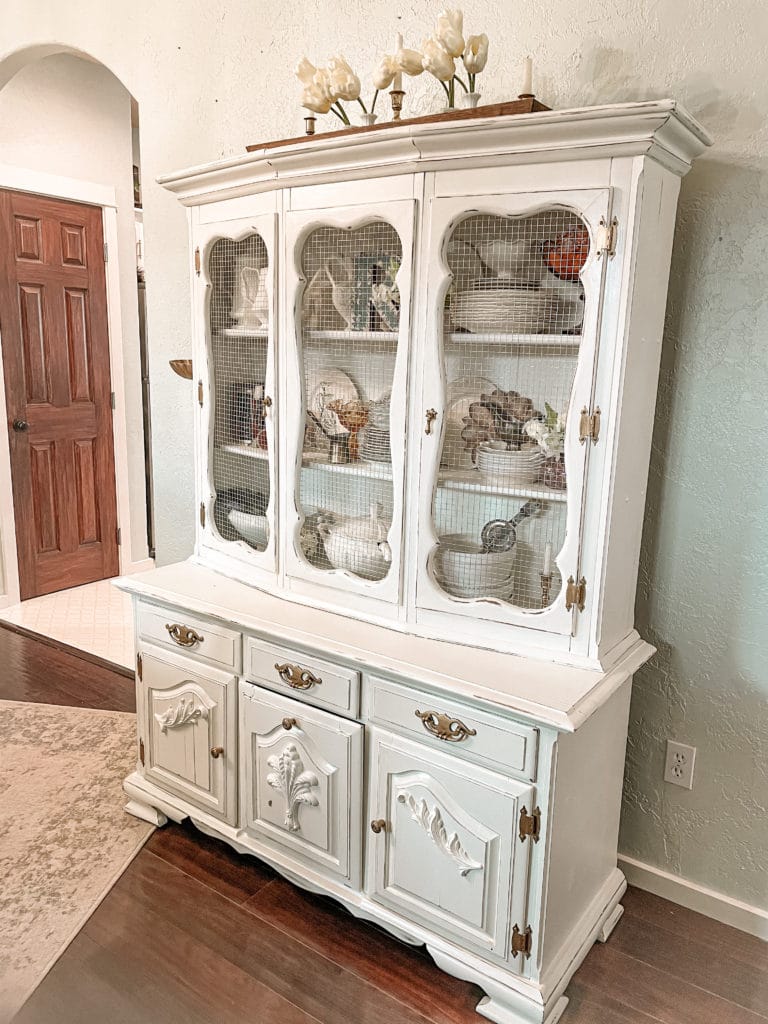
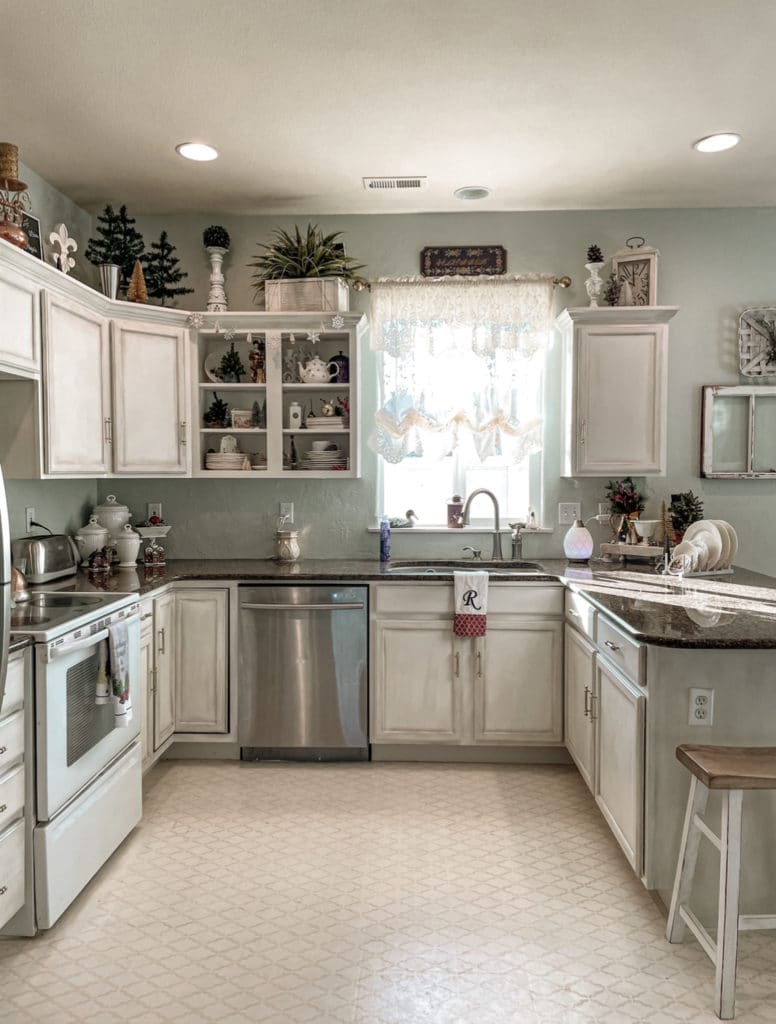
Kitchen After
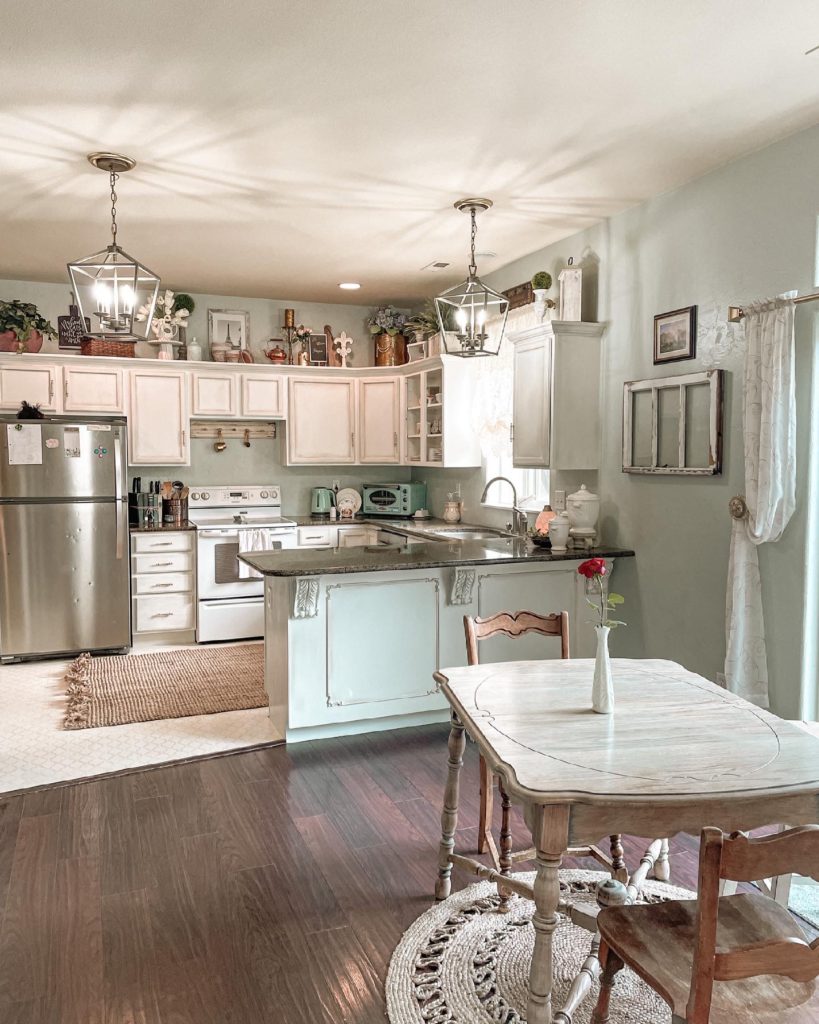
My kitchen has undergone some extensive changes. First I used a gel stain to refinish the cabinets to a dark color but eventually, once I got more of my home the way I wanted it, I redid them with a white chalk paint and antiquing glaze. I also added vintage brass hardware to all the doors and drawers and eventually I gave the front of the cabinets facing the living room a lovely French country makeover of their own! I replaced the old laminate countertops with granite and replaced a few of the recessed lights with some lovely pendant lanterns.
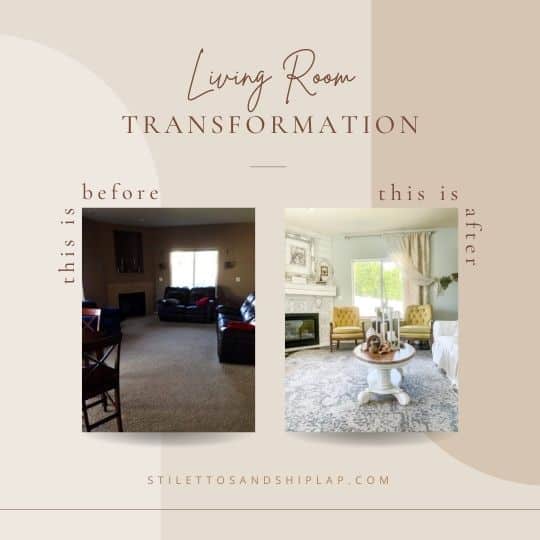
Living Room Before
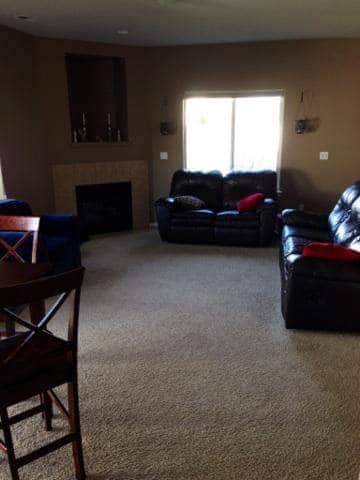
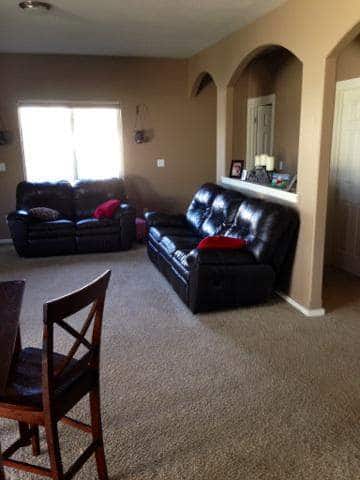
Yup!
Not sure what else can be said here for the stained carpet, the ugly fireplace, the huge television hole, the ugly leather couches and just how dark and drab it was. Pretty much anything was an improvement!
Living Room After
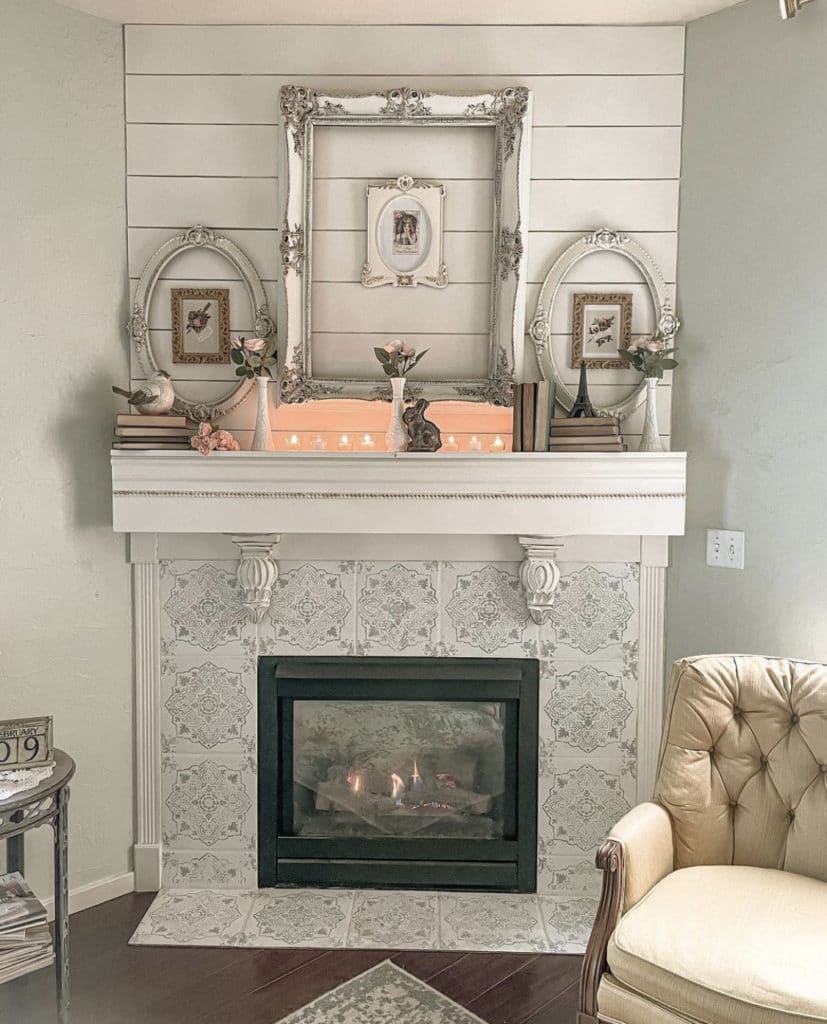
After filling in the huge television hole above the fireplace and giving the fireplace itself a HUGE makeover, this is now what it looks like at this end of my living room. The mantel later got a second makeover after some corbels jumped into my cart while antiquing one day…I have so much fun styling and re-styling my mantel on a regular basis for each season or any time I get bored with it.
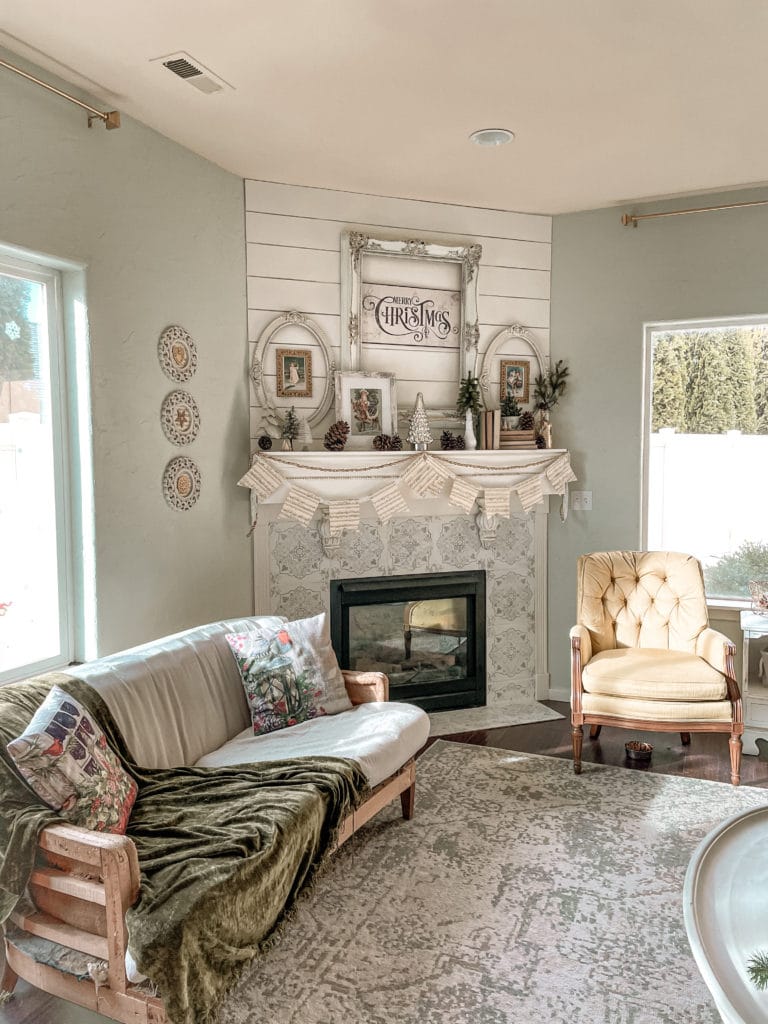
Decorated for Christmas 2020.
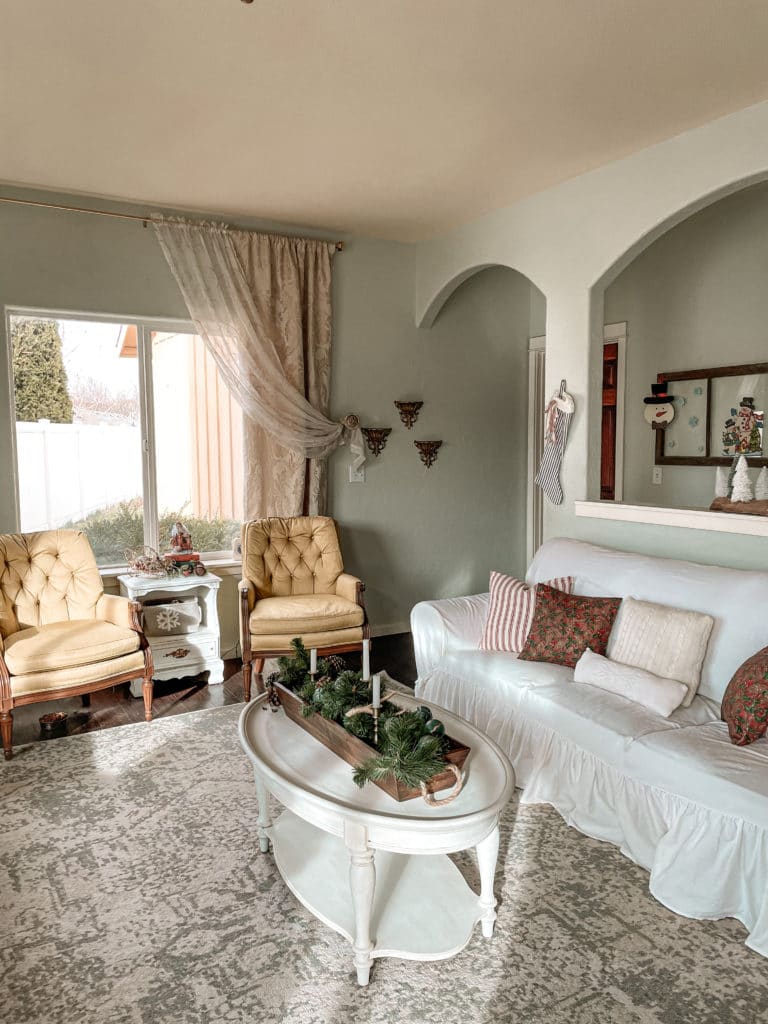
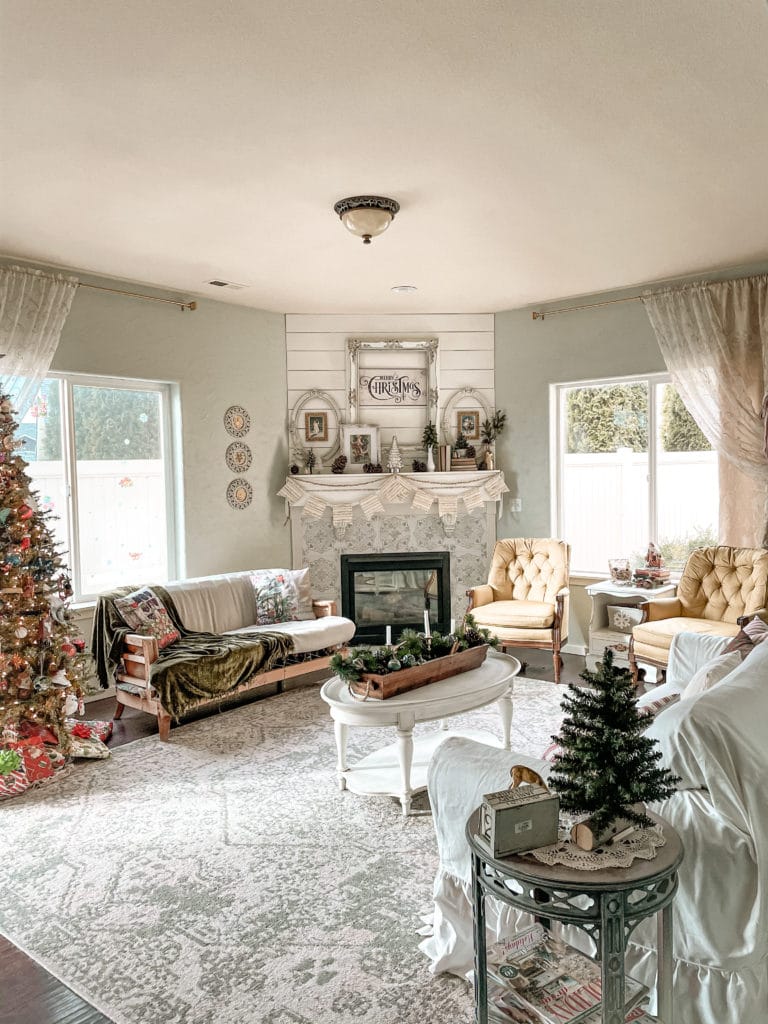
I’ve replaced the stained carpet with dark wood floors, plastered and painted the walls, replaced all the furniture and hung window treatments and changed everything about this living room. There are still lights to replace and a couple other random projects on my list but overall I find it hard to believe how much this space has changed.
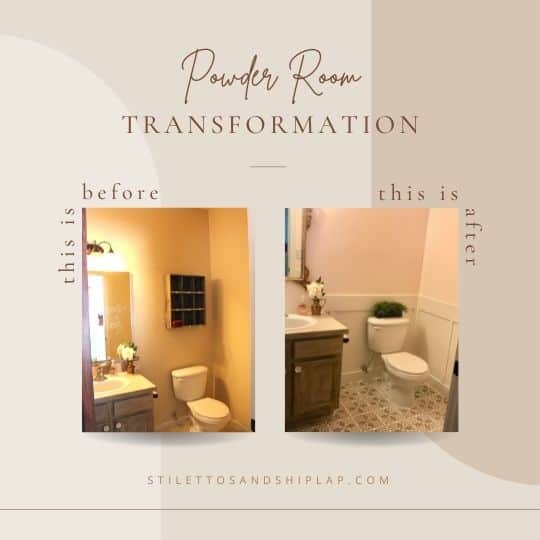
Powder Room Before
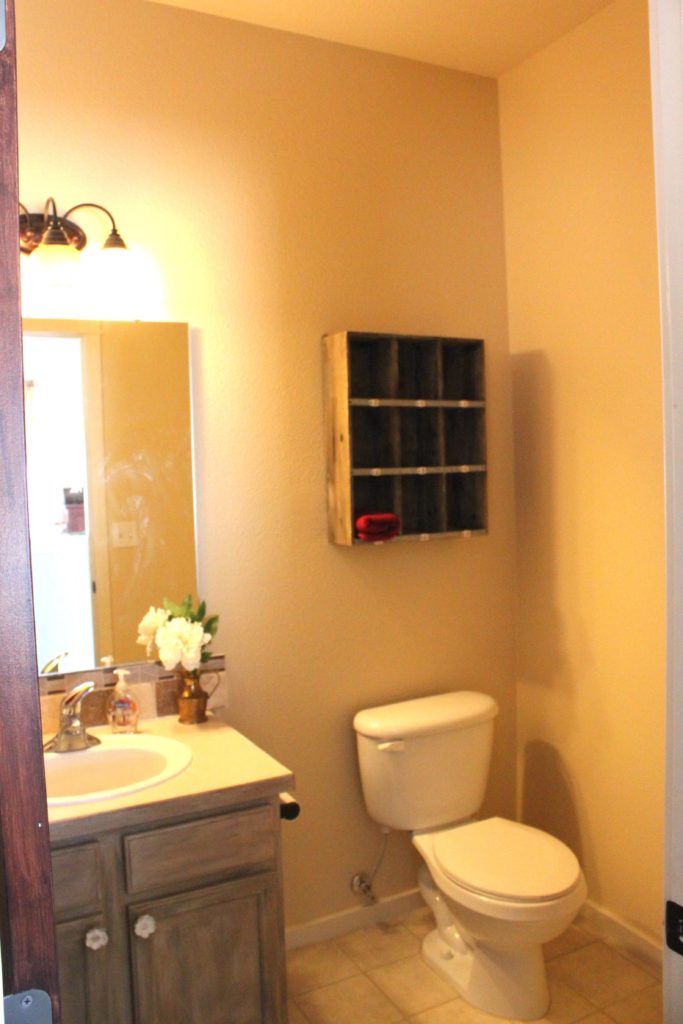
Here is the before. To be fair I had already painted the vanity by the time I took this photo. I always referred to it as the “elevator shaft” because its really small but has the same high ceilings as the rest of the main floor. Everything sort of glowed yellow thanks to the amber shades on the light fixture too.
Powder Room After
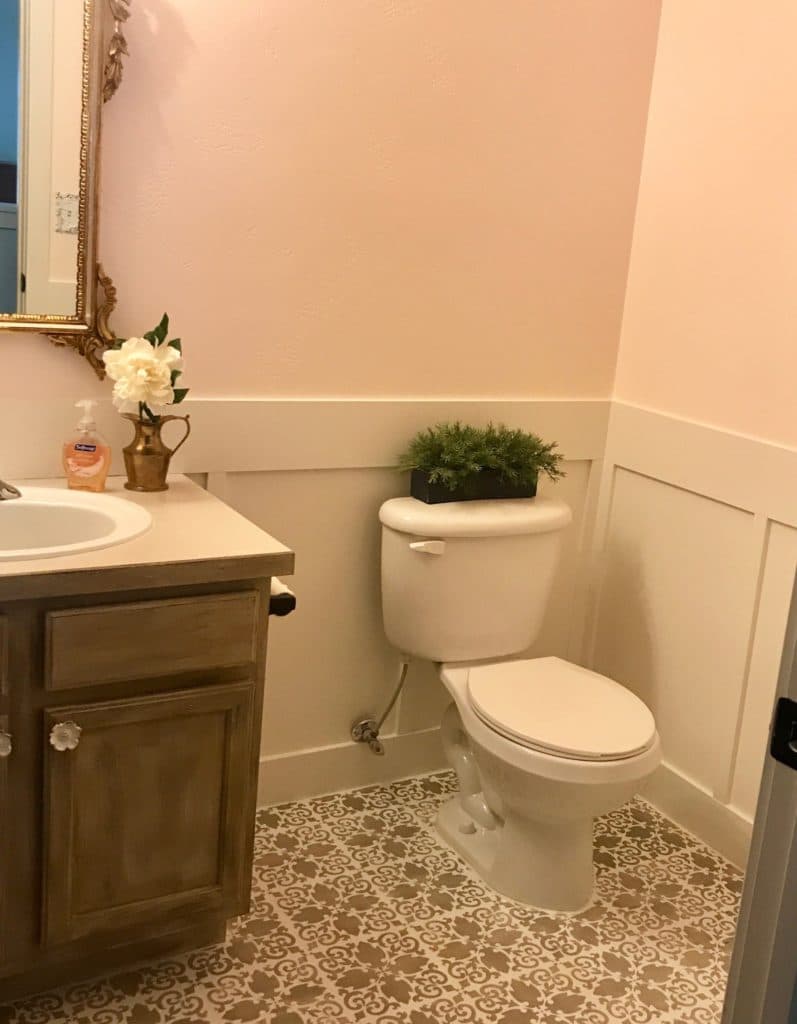
Basically everything in this room was changed from the ceiling (painted) to the walls (plastered smooth and painted and board and batten added) to the vanity (painted and new hardware) to the light fixture (new clear glass shades put on and base color changed) to the mirror (old builder mirror removed and vintage one put in) and finally to the floor (painted and stenciled). Whew! I’m tired just remembering it all.
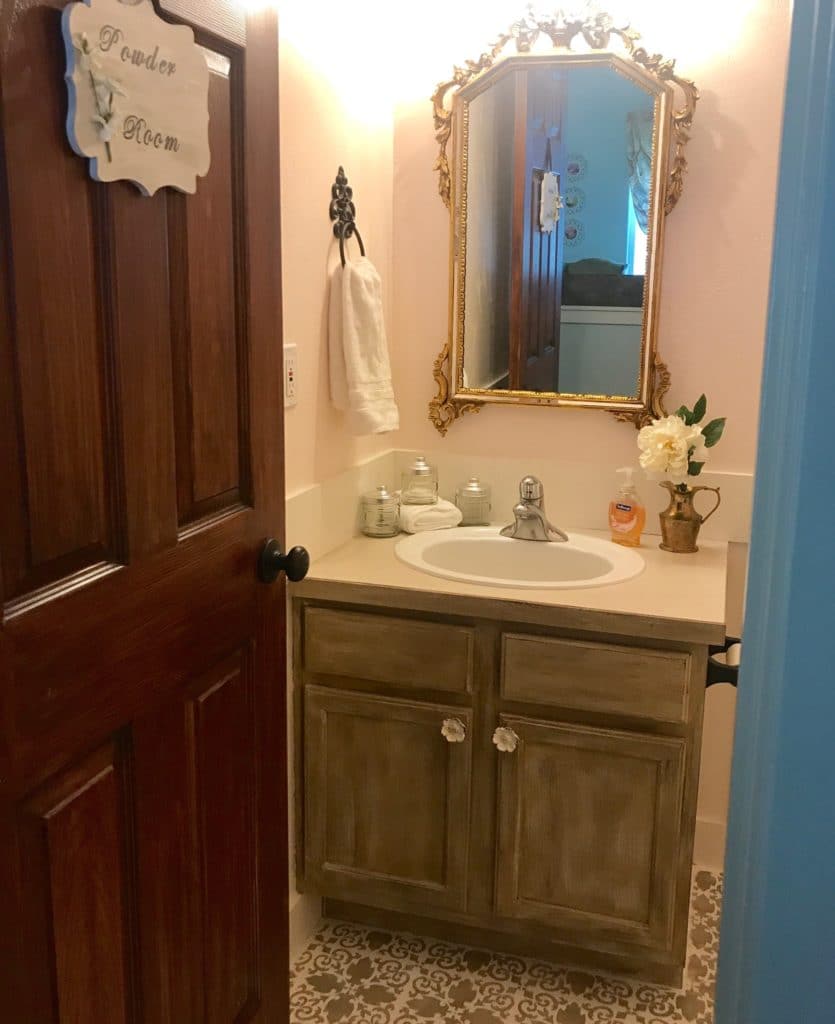
In the end it turned out to be one of my favorite makeovers up to this point though so it was all worth it!
Laundry Nook Before
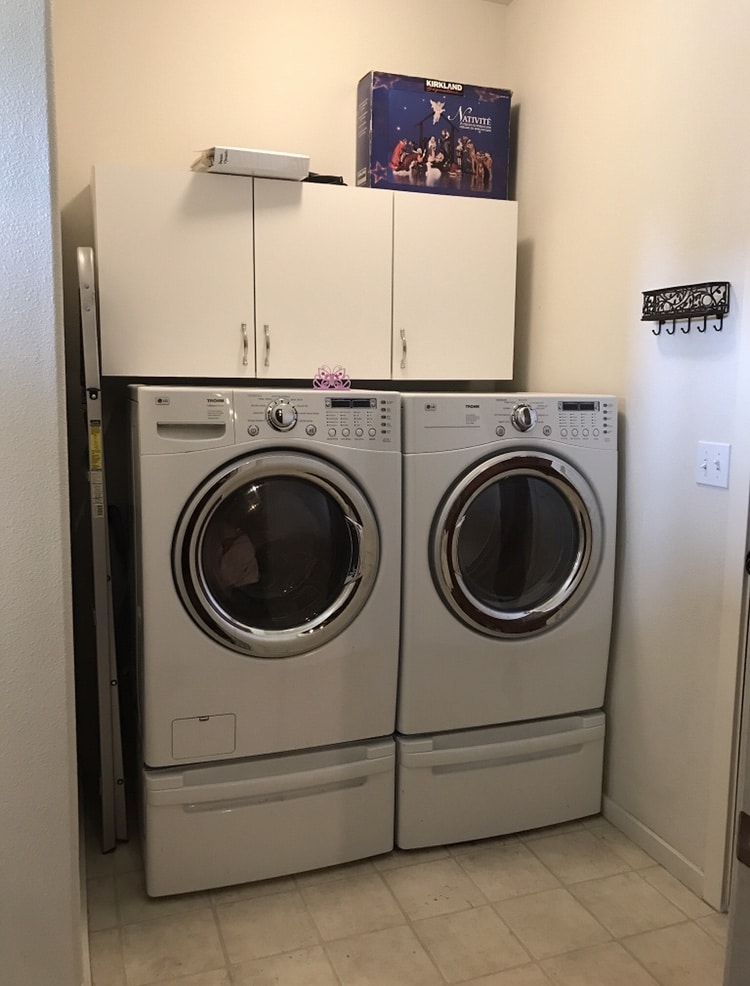
There was nothing functional or pretty about this little nook for my laundry before. First, the machines were up on these drawers that made them too tall for me to reach pretty much anything set on top of them and second, the cabinet above them was not only ugly – it was useless to me for the same height reason.
I don’t enjoy laundry at the best of times but to have to do it in this space made it even worse!
Laundry Nook After
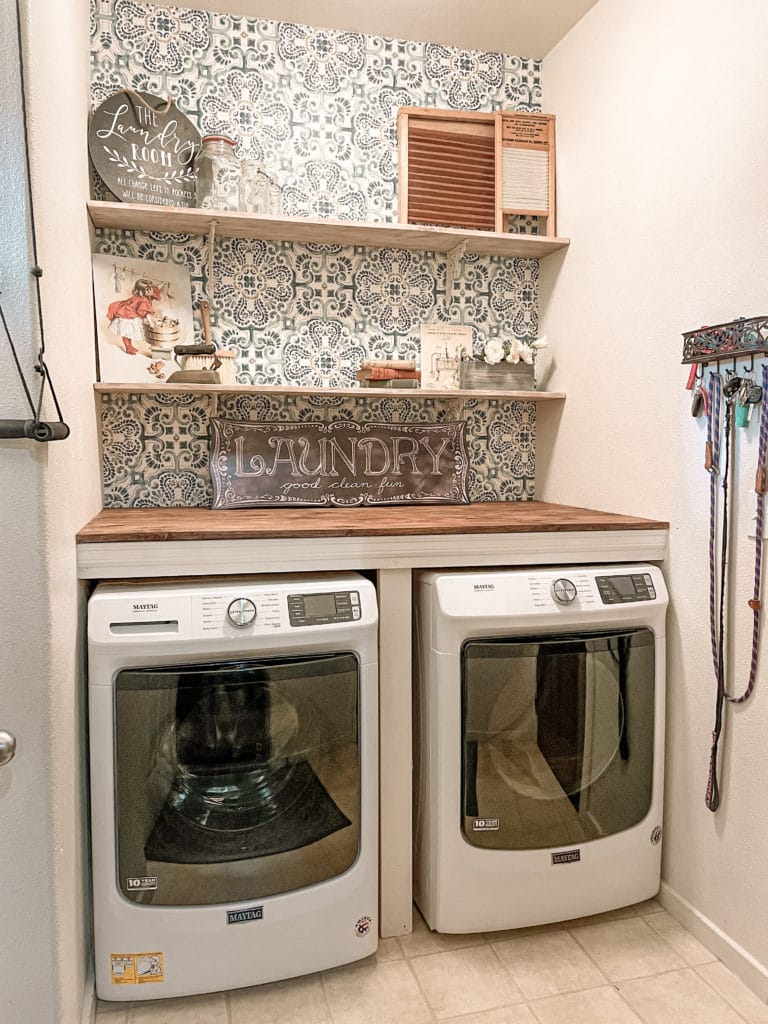
Okay I still don’t enjoy doing laundry but I don’t mind being in this space at all now! Lots of pretty things to look at after I took the machines down off their step-ladders (and by the time I completed this makeover I ended up having to get new machines anyways!), put some pretty wallpaper on the back wall, added some shelves and displayed some pretty vintage things. Then I built a counter to go over the top of my machines to stop everything from falling between and behind the machines and to give me a folding surface.

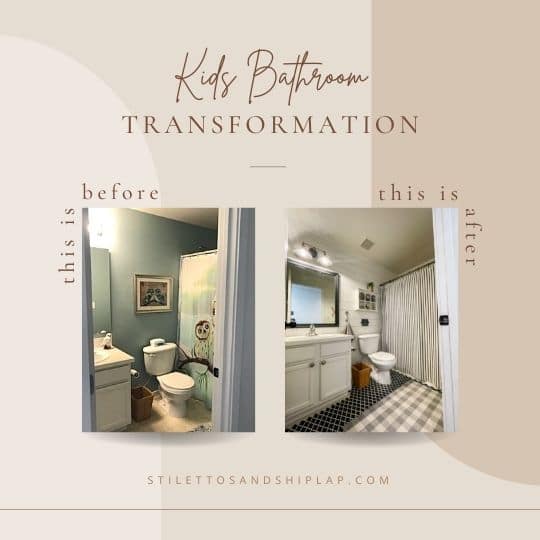
Kids Bathroom Before
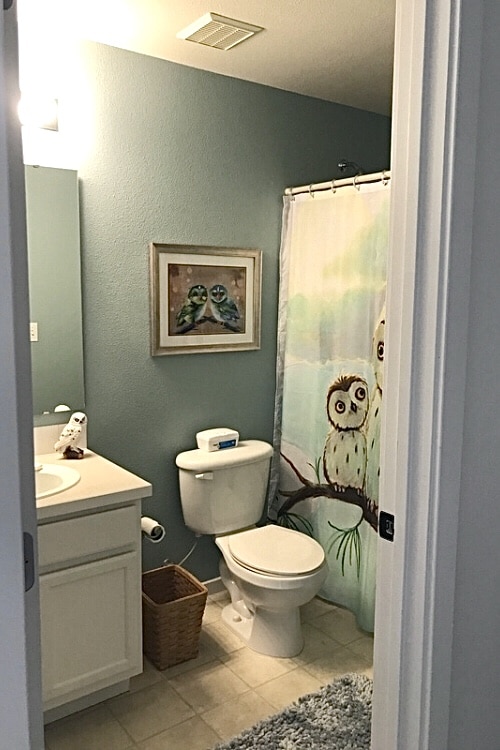
There seriously isn’t a single photo I can find of the kids bathroom when I moved in. This before photo is after I gave it a tiny makeover when the kids were much smaller. At the time I just painted the walls, painted the vanity white (it was 1980’s honey oak before) and added decor.
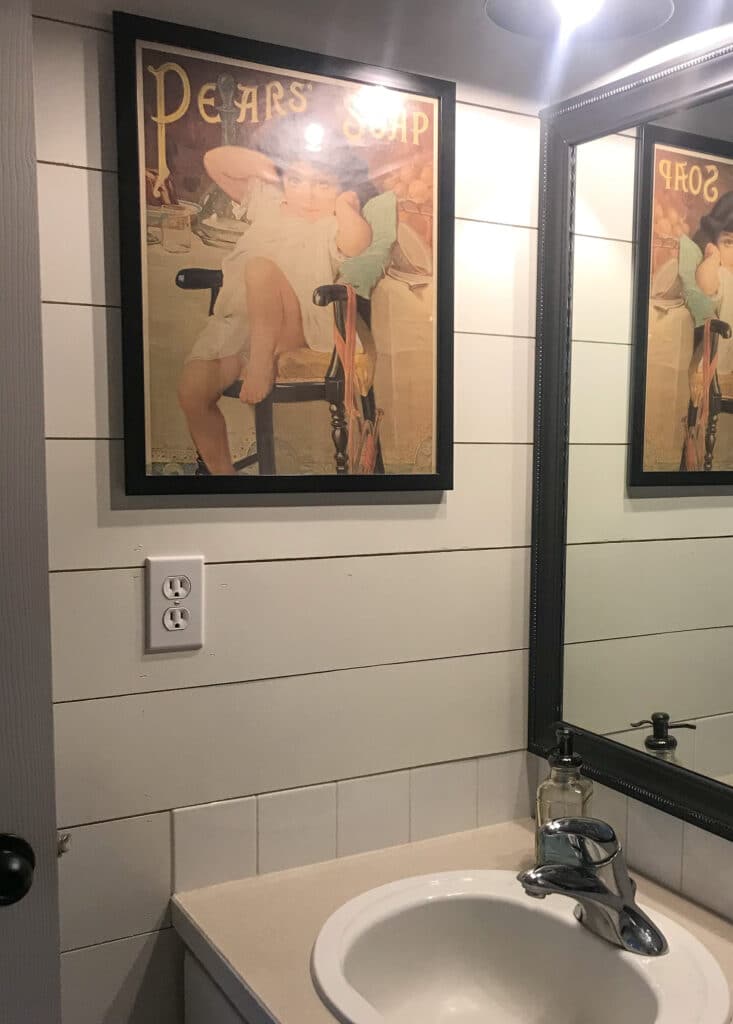
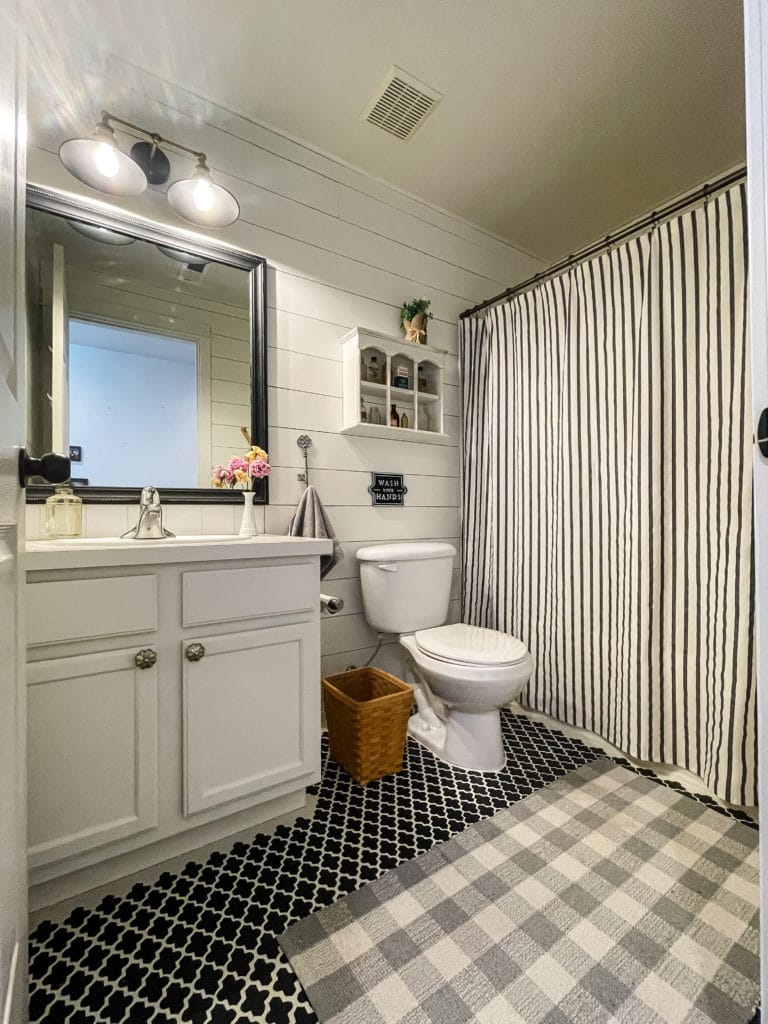
Kids Bathroom After
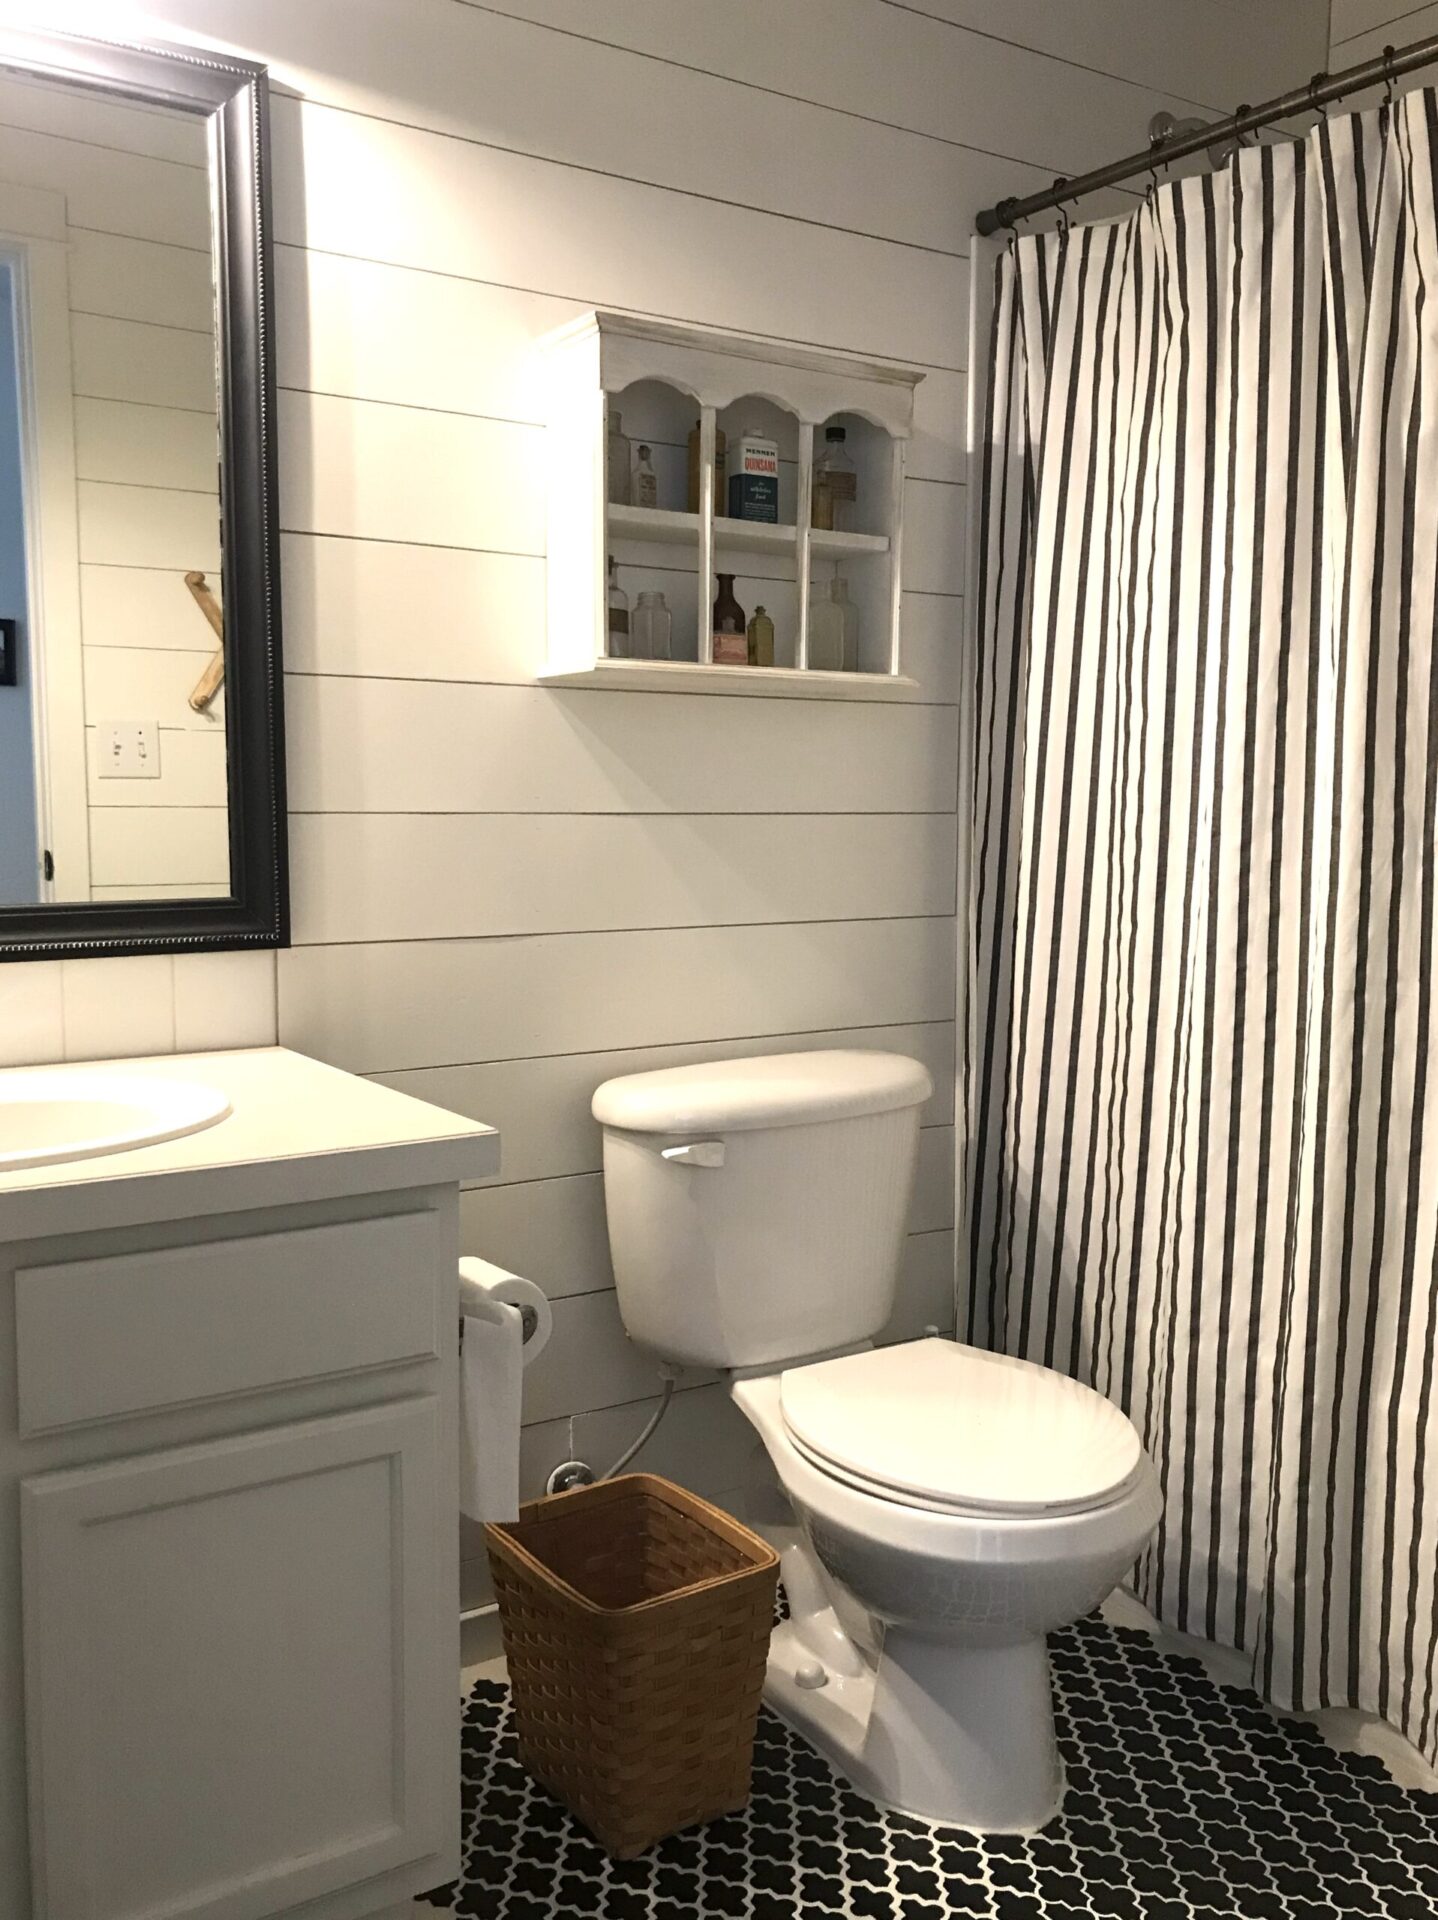
The kids bathroom is now sporting all new shiplap walls, freshly painted vanity, a framed mirror, painted and stenciled floor , a new light fixture and vintage decor all alongside a classic black and white color scheme.
My little collection of vintage medicine bottles has found a home in the kids bathroom too.
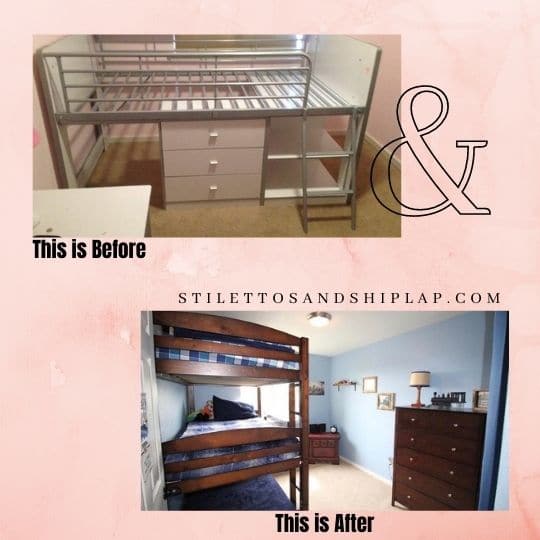
Kids Bedroom #1 Before
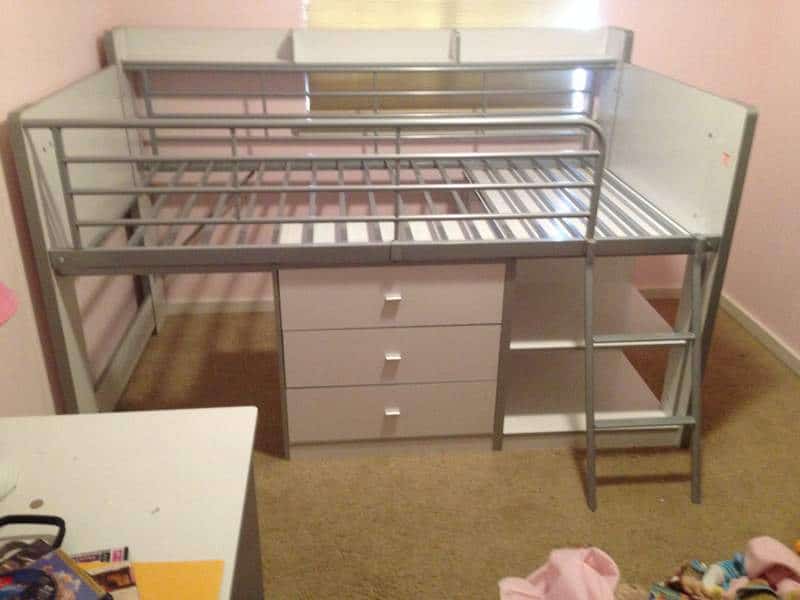
This is the one and only photo I have of the kids bedroom that I will call Bedroom #1. It was a girls room before with heavily damaged pink walls, ugly stained carpet and not nearly enough space for all the things.
Kids Bedroom #1 After
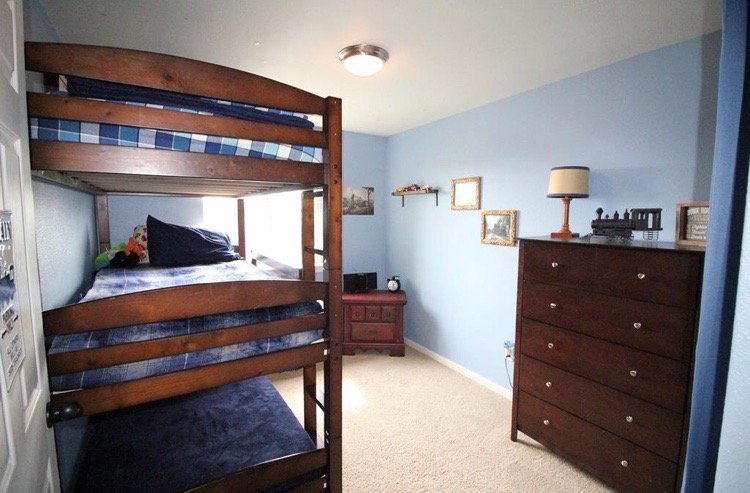
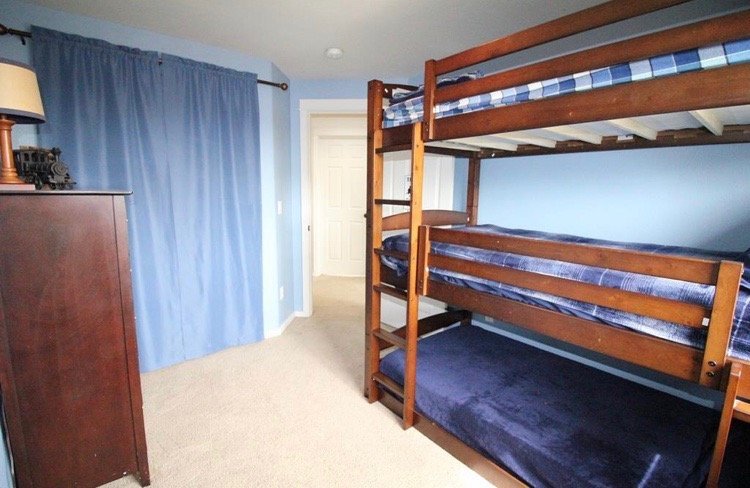
Having 3 boys in a room makes life interesting. It’s rather difficult to have all 3 beds made and the room all clean and tidy enough to take photos so these After photos are before I put the wood flooring in the upstairs bedrooms. When I clean the boys room top to bottom to put out the fall decorations, I will take some more photos of it and update the Afters.
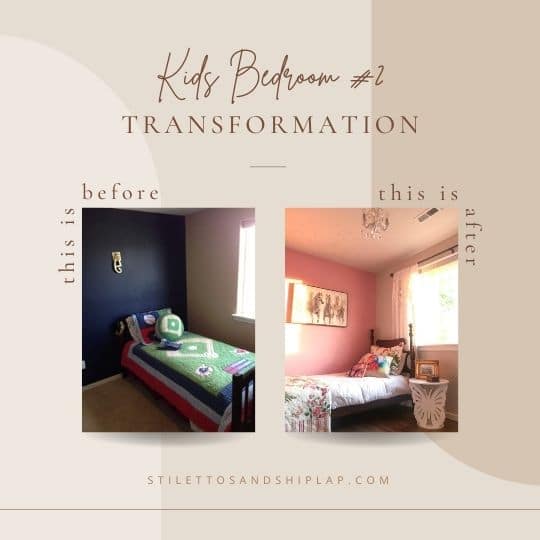
Kids Bedroom #2 Before
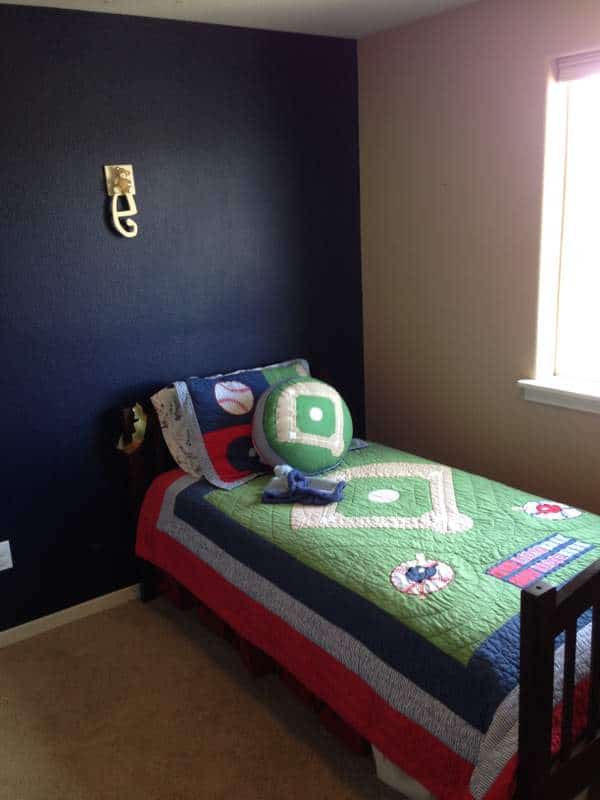
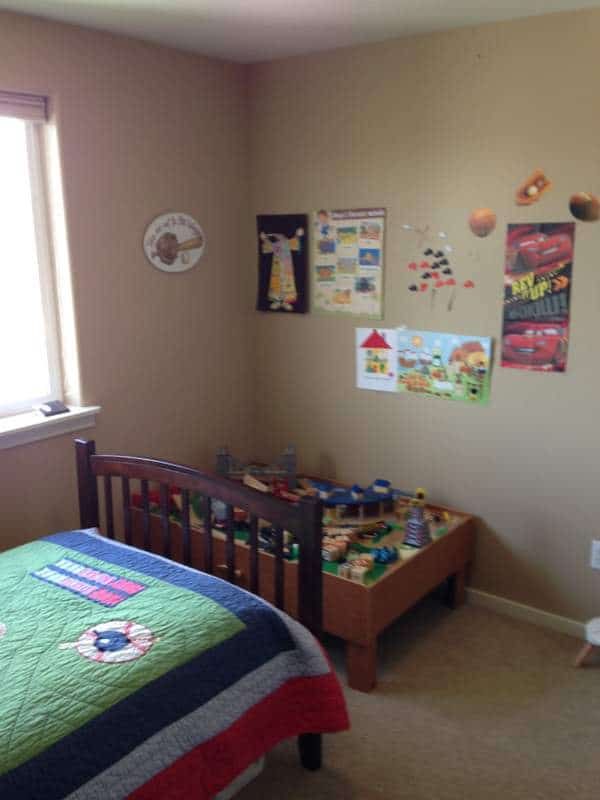
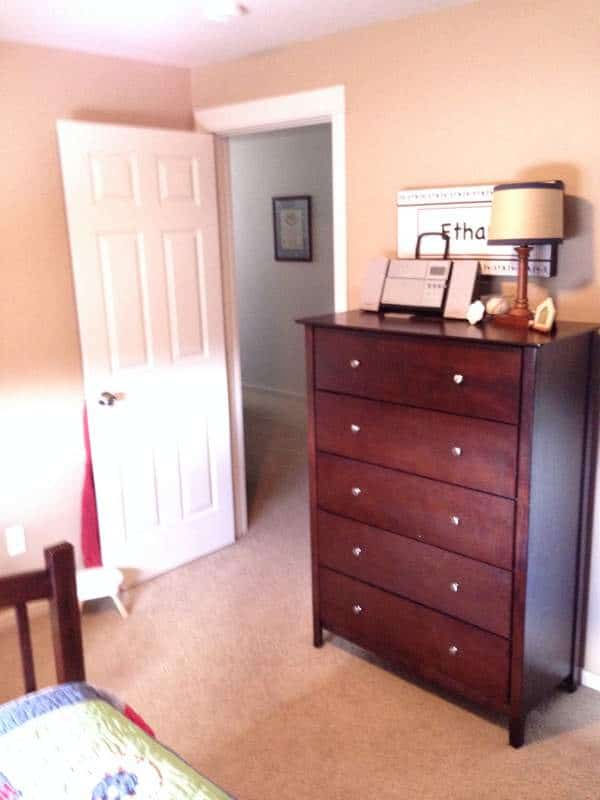
Bedroom #2 was clearly a boys room before and was quite dark with that navy accent wall.
It was pretty plain and basic otherwise.
Kids Bedroom #2 After
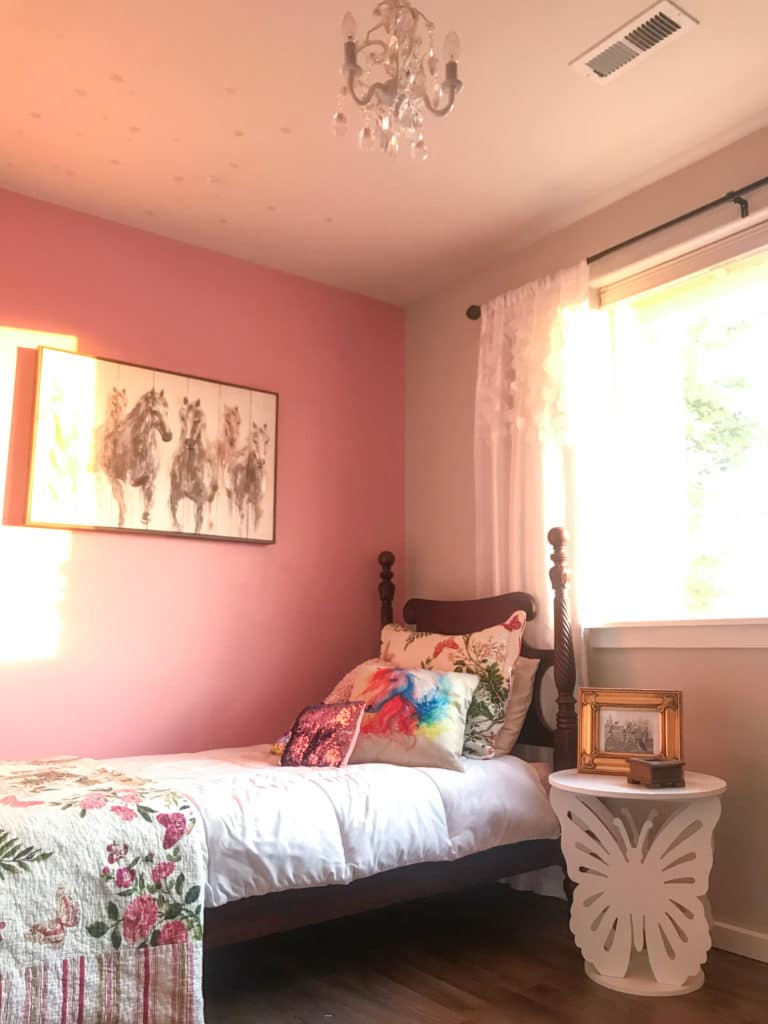
First and foremost it’s clearly undergone a gender switch. From a basic boys room to a little girls oasis.
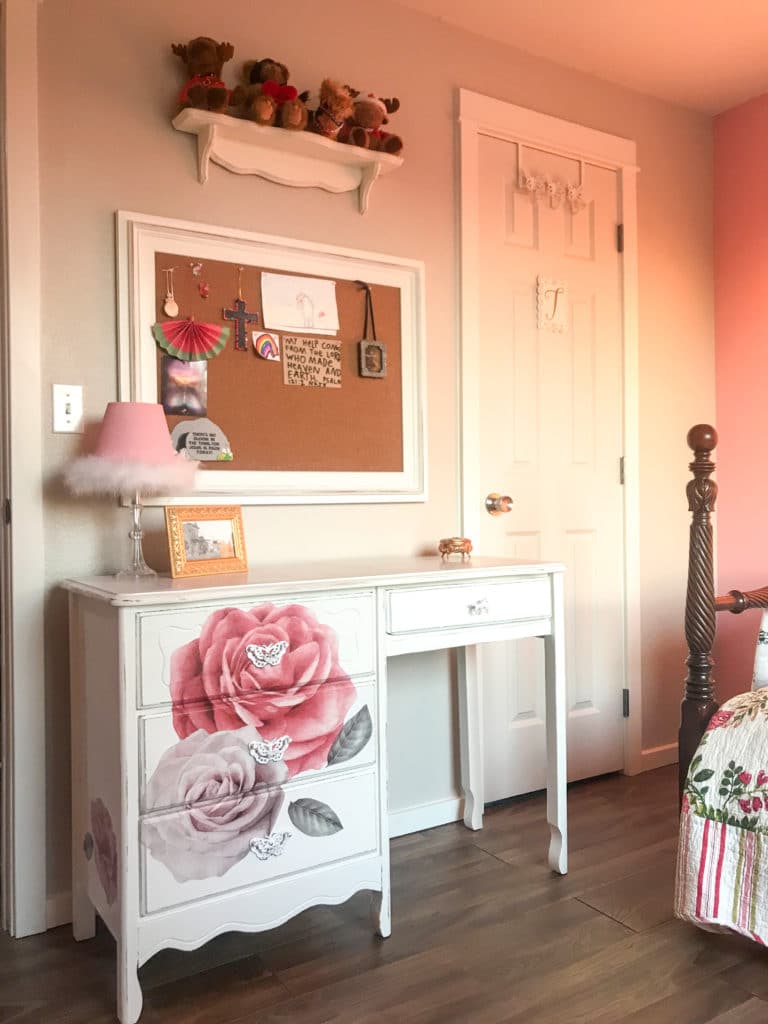
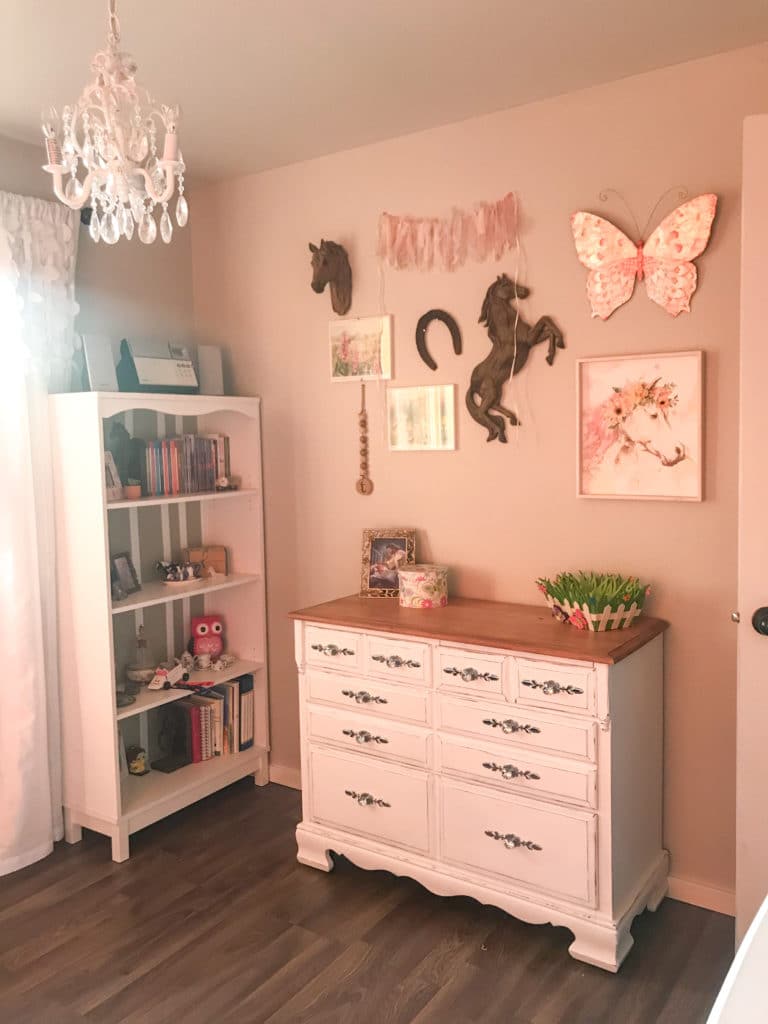
Perfect for my horse-crazy little girl.
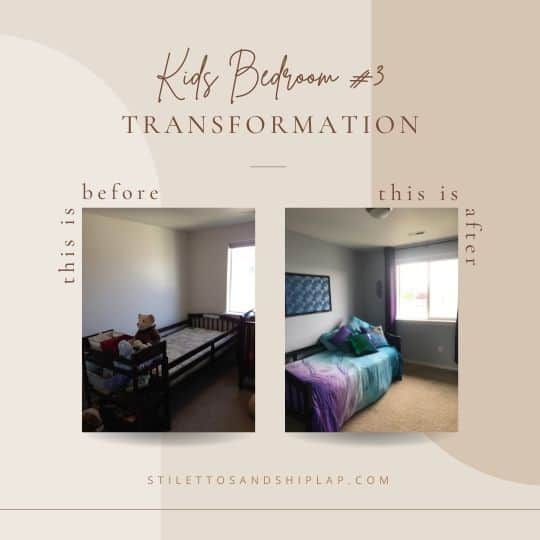
Kids Bedroom #3 Before
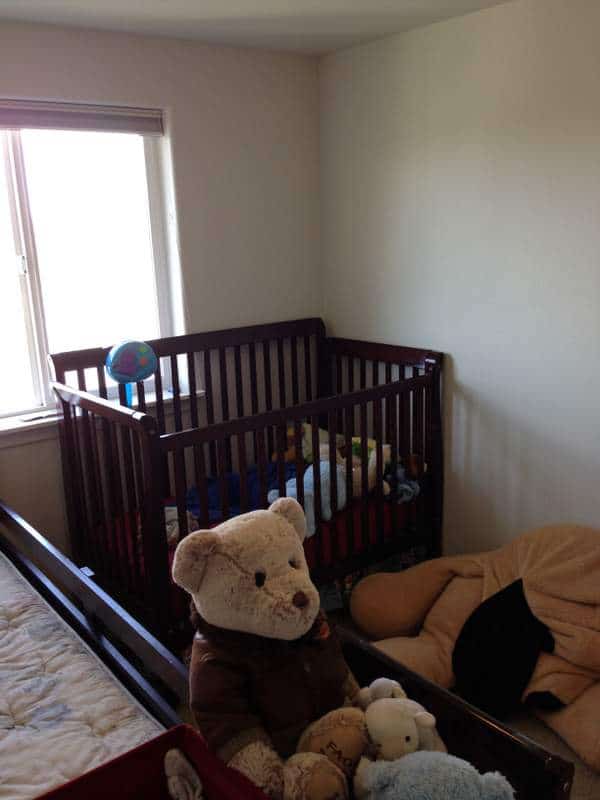
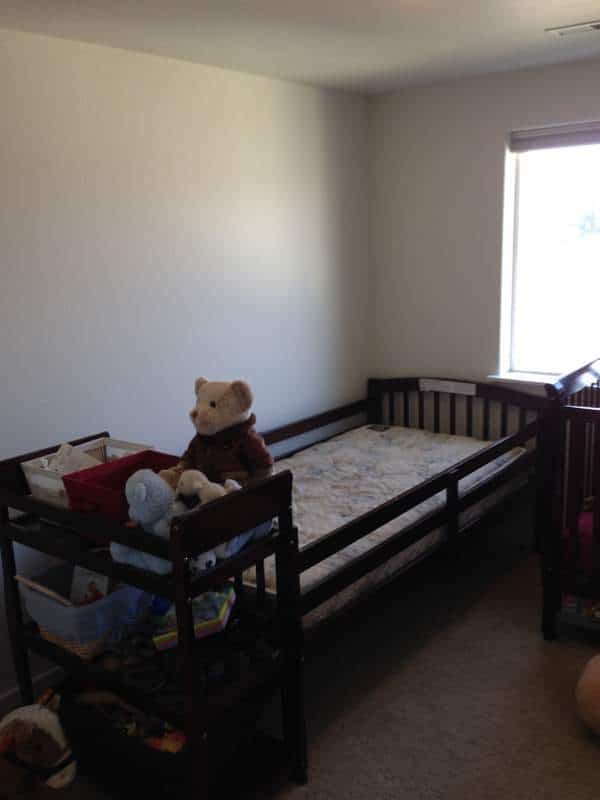
Bedroom #3 was just white walls and furniture. The same ugly carpet throughout every room.
Bedroom #3 After
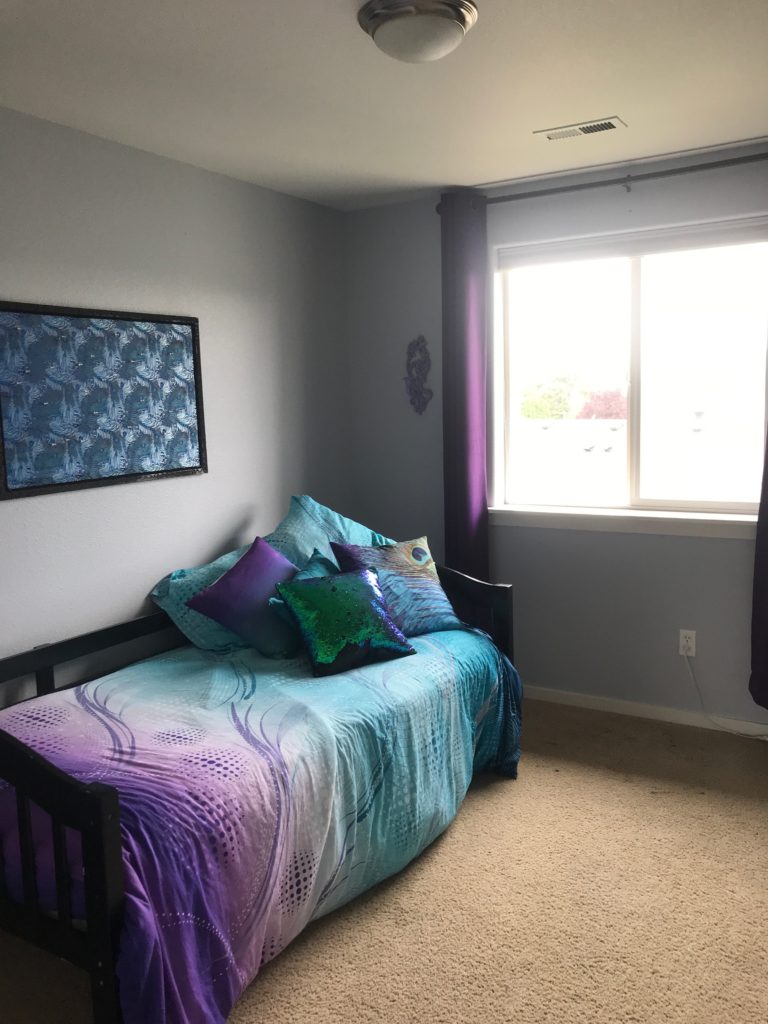
This room was done over for our oldest daughter who loves peacocks and all their many vibrant colors. I did my best to create a room she would enjoy while not making it too bright!

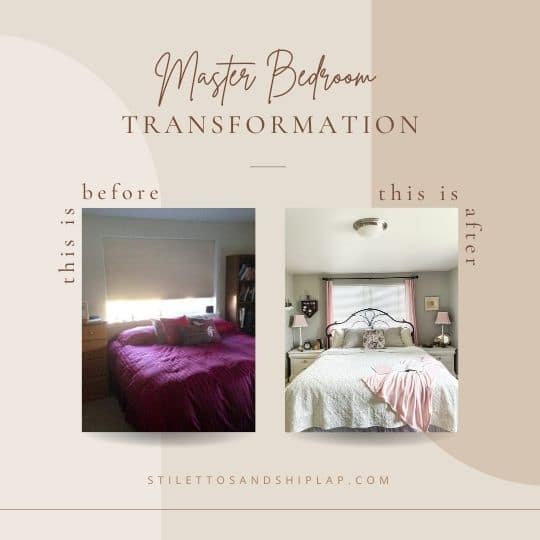
Master Bedroom Before
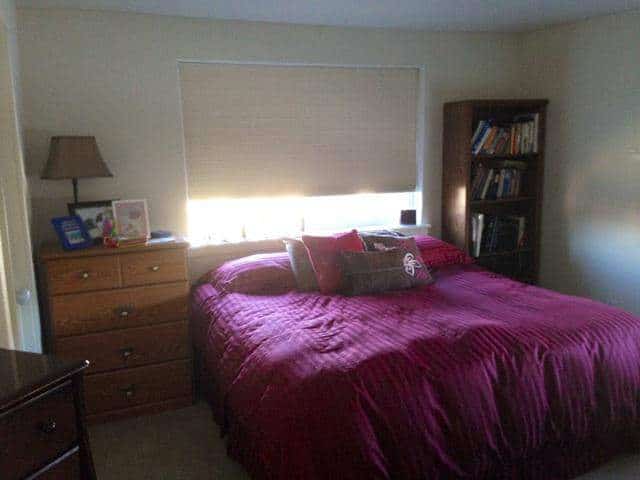
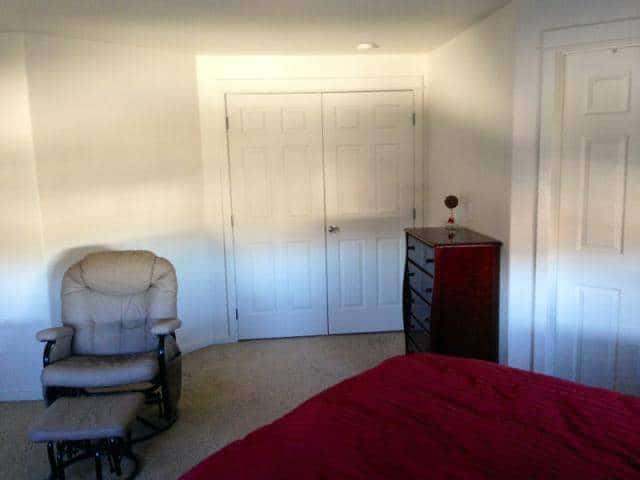

There are no words….
Literally anything I did to this space would have been a vast improvement so it wasn’t rocket science.
Master Bedroom After

I still have so many things I want to do in this room but it’s well underway.

I’m excited to put some of my ideas into reality but I’m making myself finish my master bathroom first because I have a bad habit of starting 15 projects at once….speaking of which….
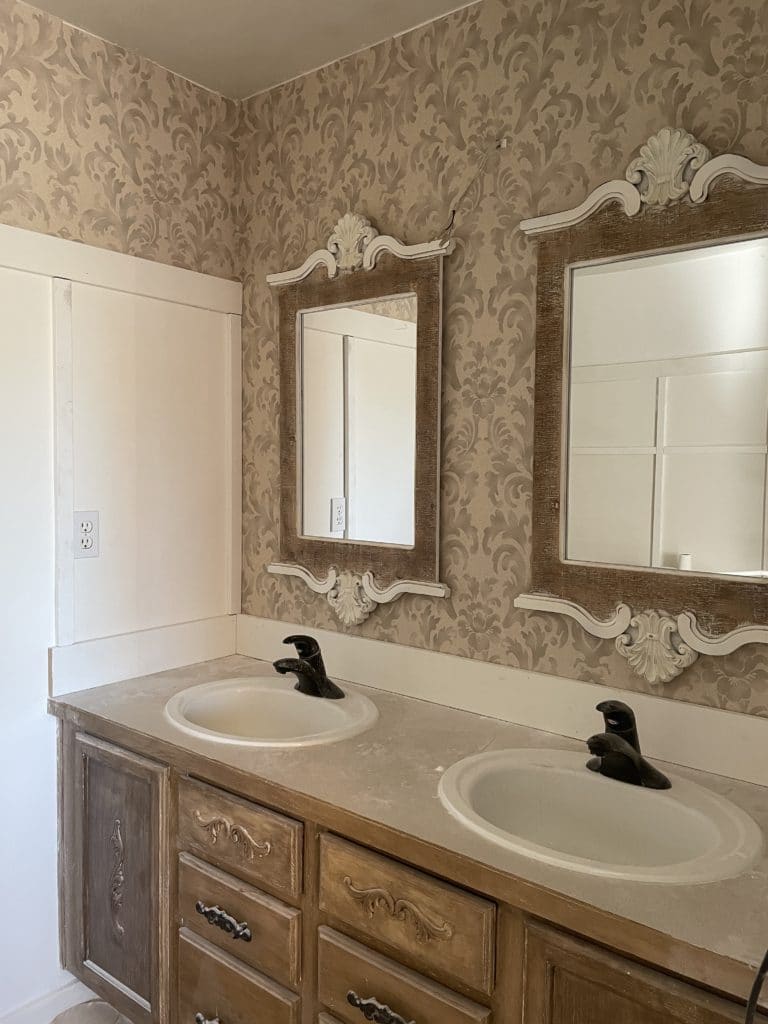
Master Bathroom Before

This isn’t the master bathroom truly BEFORE. I didn’t even take any pics of it then. The vanity was honey oak, no hardware and no details, the faucets and light were shiny chrome and the walls were a dark blue. By the point that these photos were snapped it was already painted white, faucets refinished, trim and hardware added to the vanity which was painted and antiqued and of course some decor added.
Not at all what I would call finished but this is the way it stayed for most of the past 7 years…..I always put off my own spaces and work on the public spaces and the kids rooms instead.
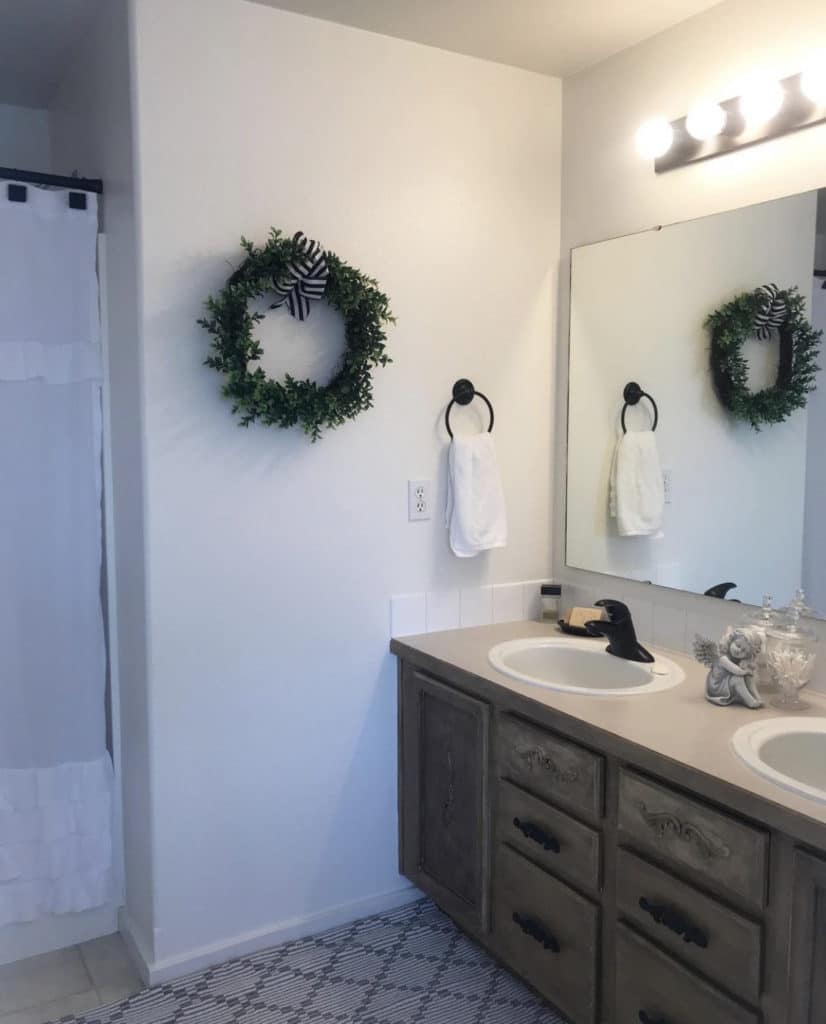
Master Bathroom After
This is just a peek at what’s coming. If I posted a true After pic of the master bathroom right now it would ruin my updates on the entire renovation. Eventually I will update the photos in this blog post but for now, you can see that lots of things are changing in here.
I’ve installed board and batten all around the room after plastering the walls smooth. I’ve put wallpaper above the board and batten all around the room and on the entire wall behind the vanity. New mirrors made a huge difference in this space taking it from builder basic to custom looking in a moment.
So many more things in the works in this space including new flooring, new lighting, new faucets and hardware and of course the most fun part – new decor!
Back Patio Before
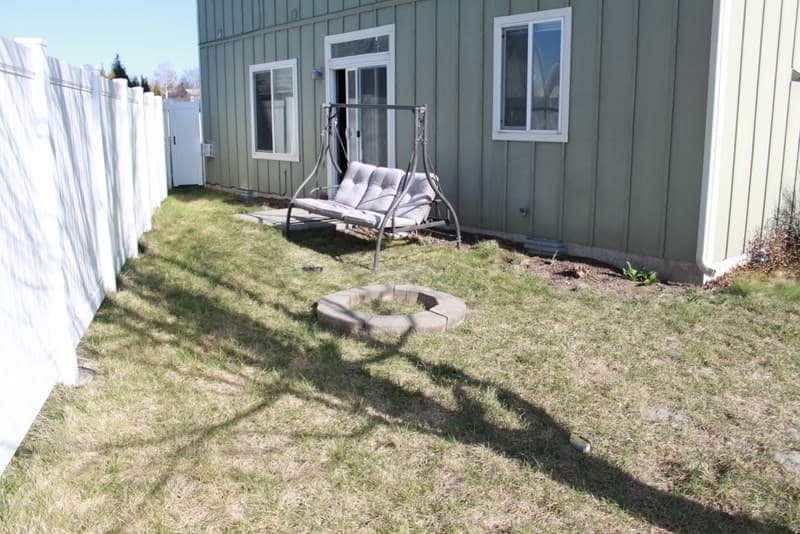
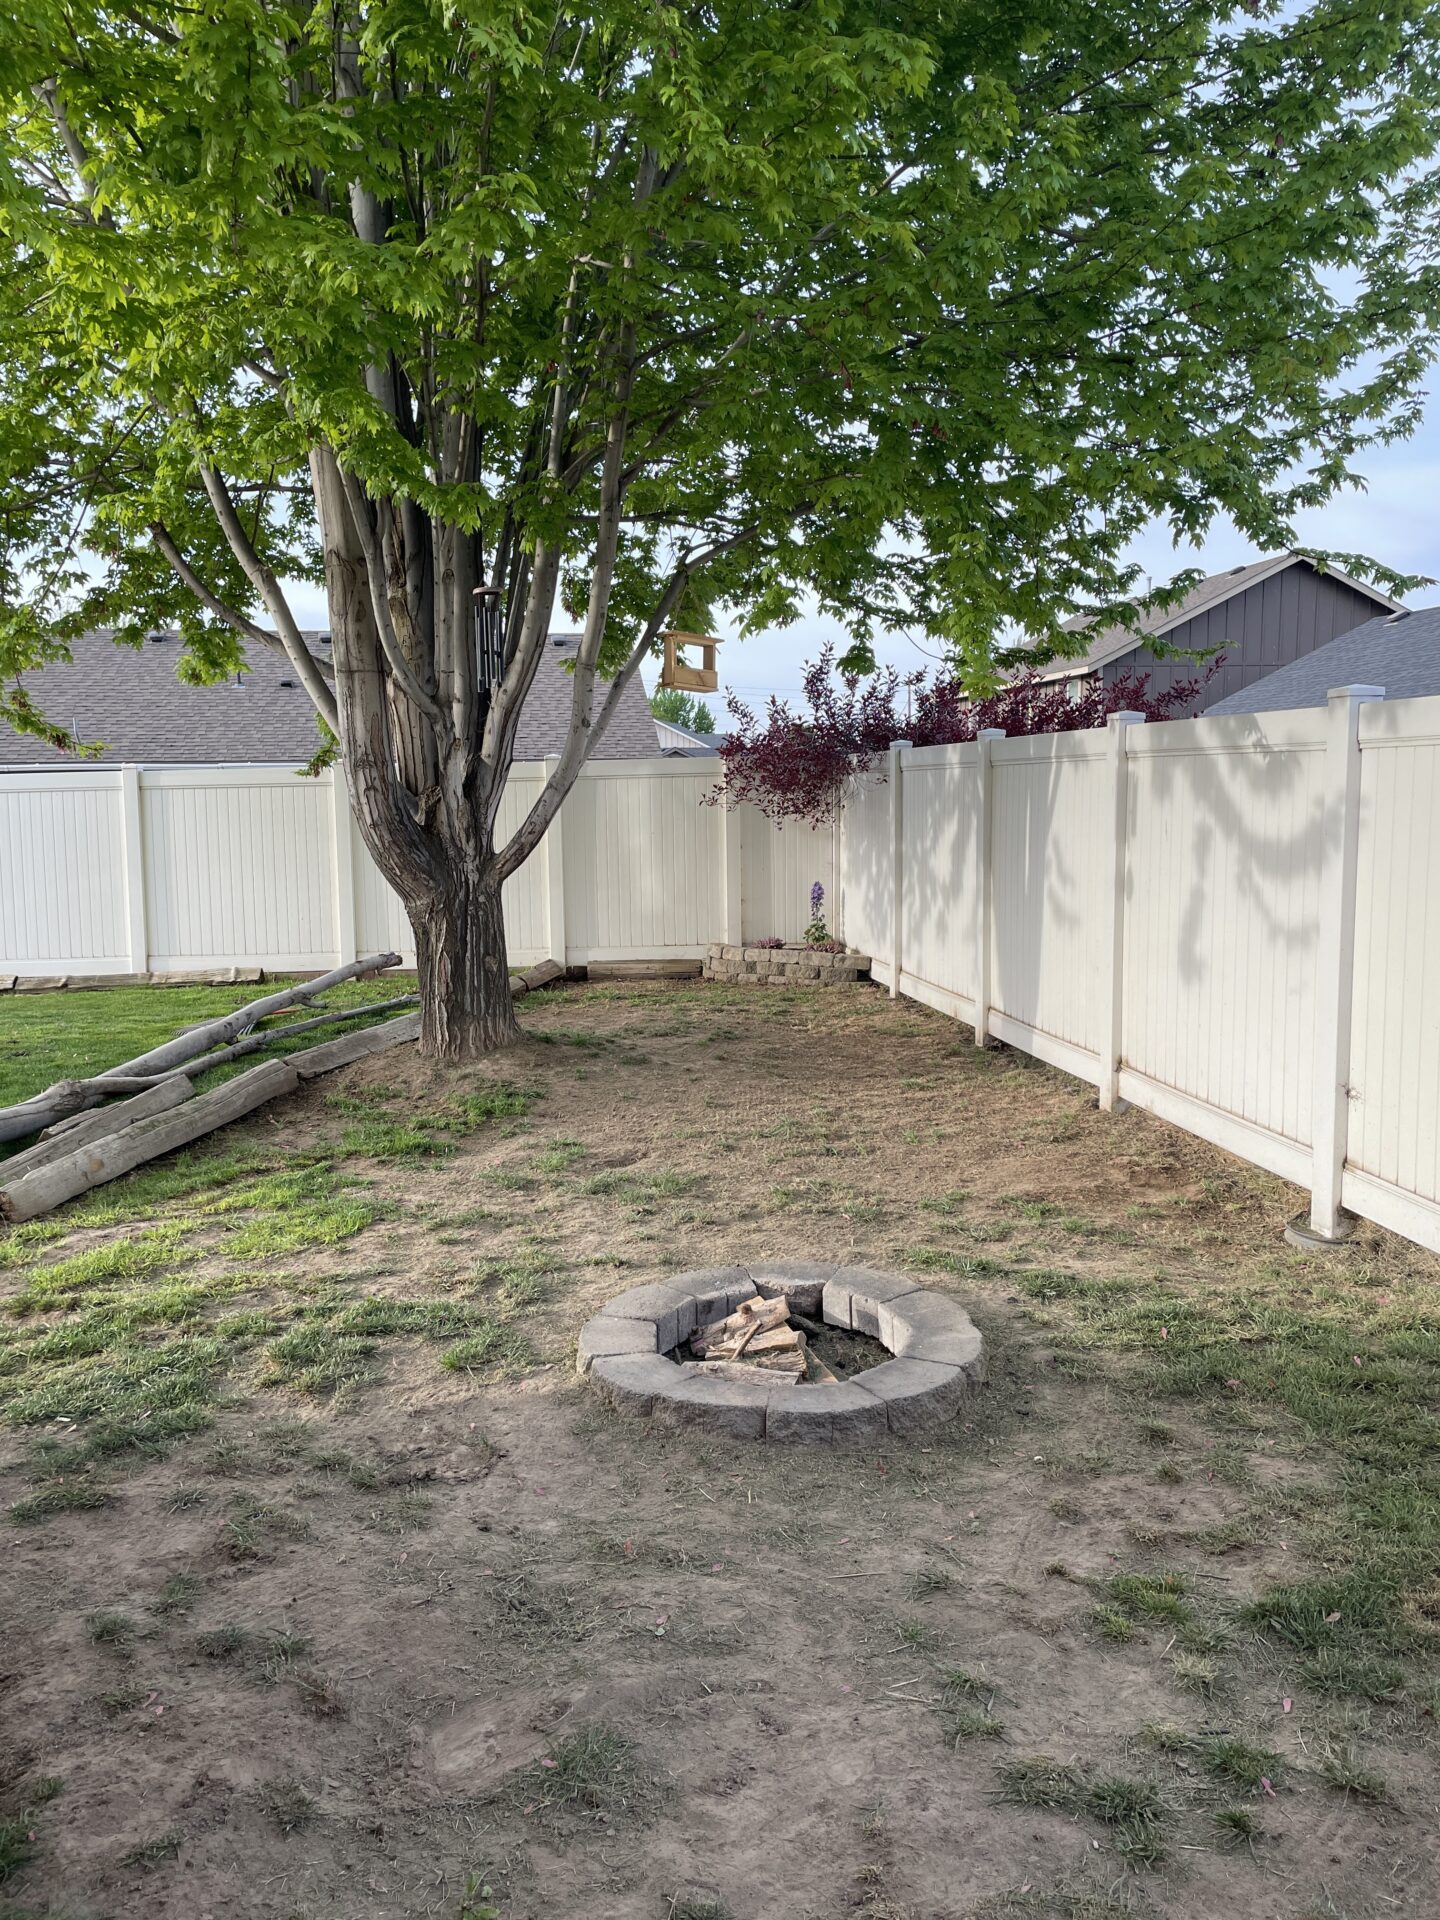
For years I’ve planned to make this a lovely outdoor entertaining and hangout space but all I had done so far was to install the fire pit and remove the sprinklers in this area which successfully let the grass die and made it look really awful!
I put in some patio block in the corner to form a raised bed and added split rails and eventually the trunk of a huge limb that fell in a storm to create a barrier between the patio area and the grass area.
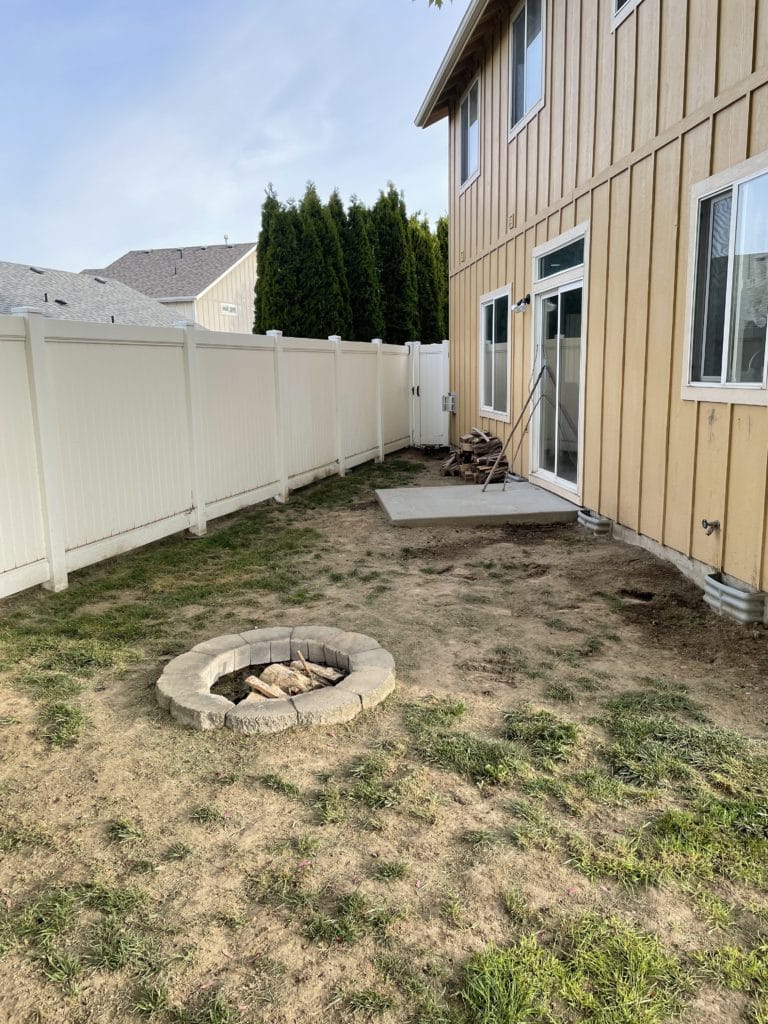
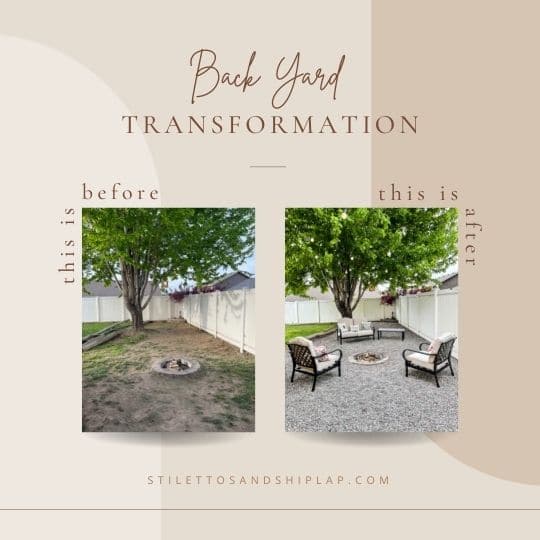
Back Patio After
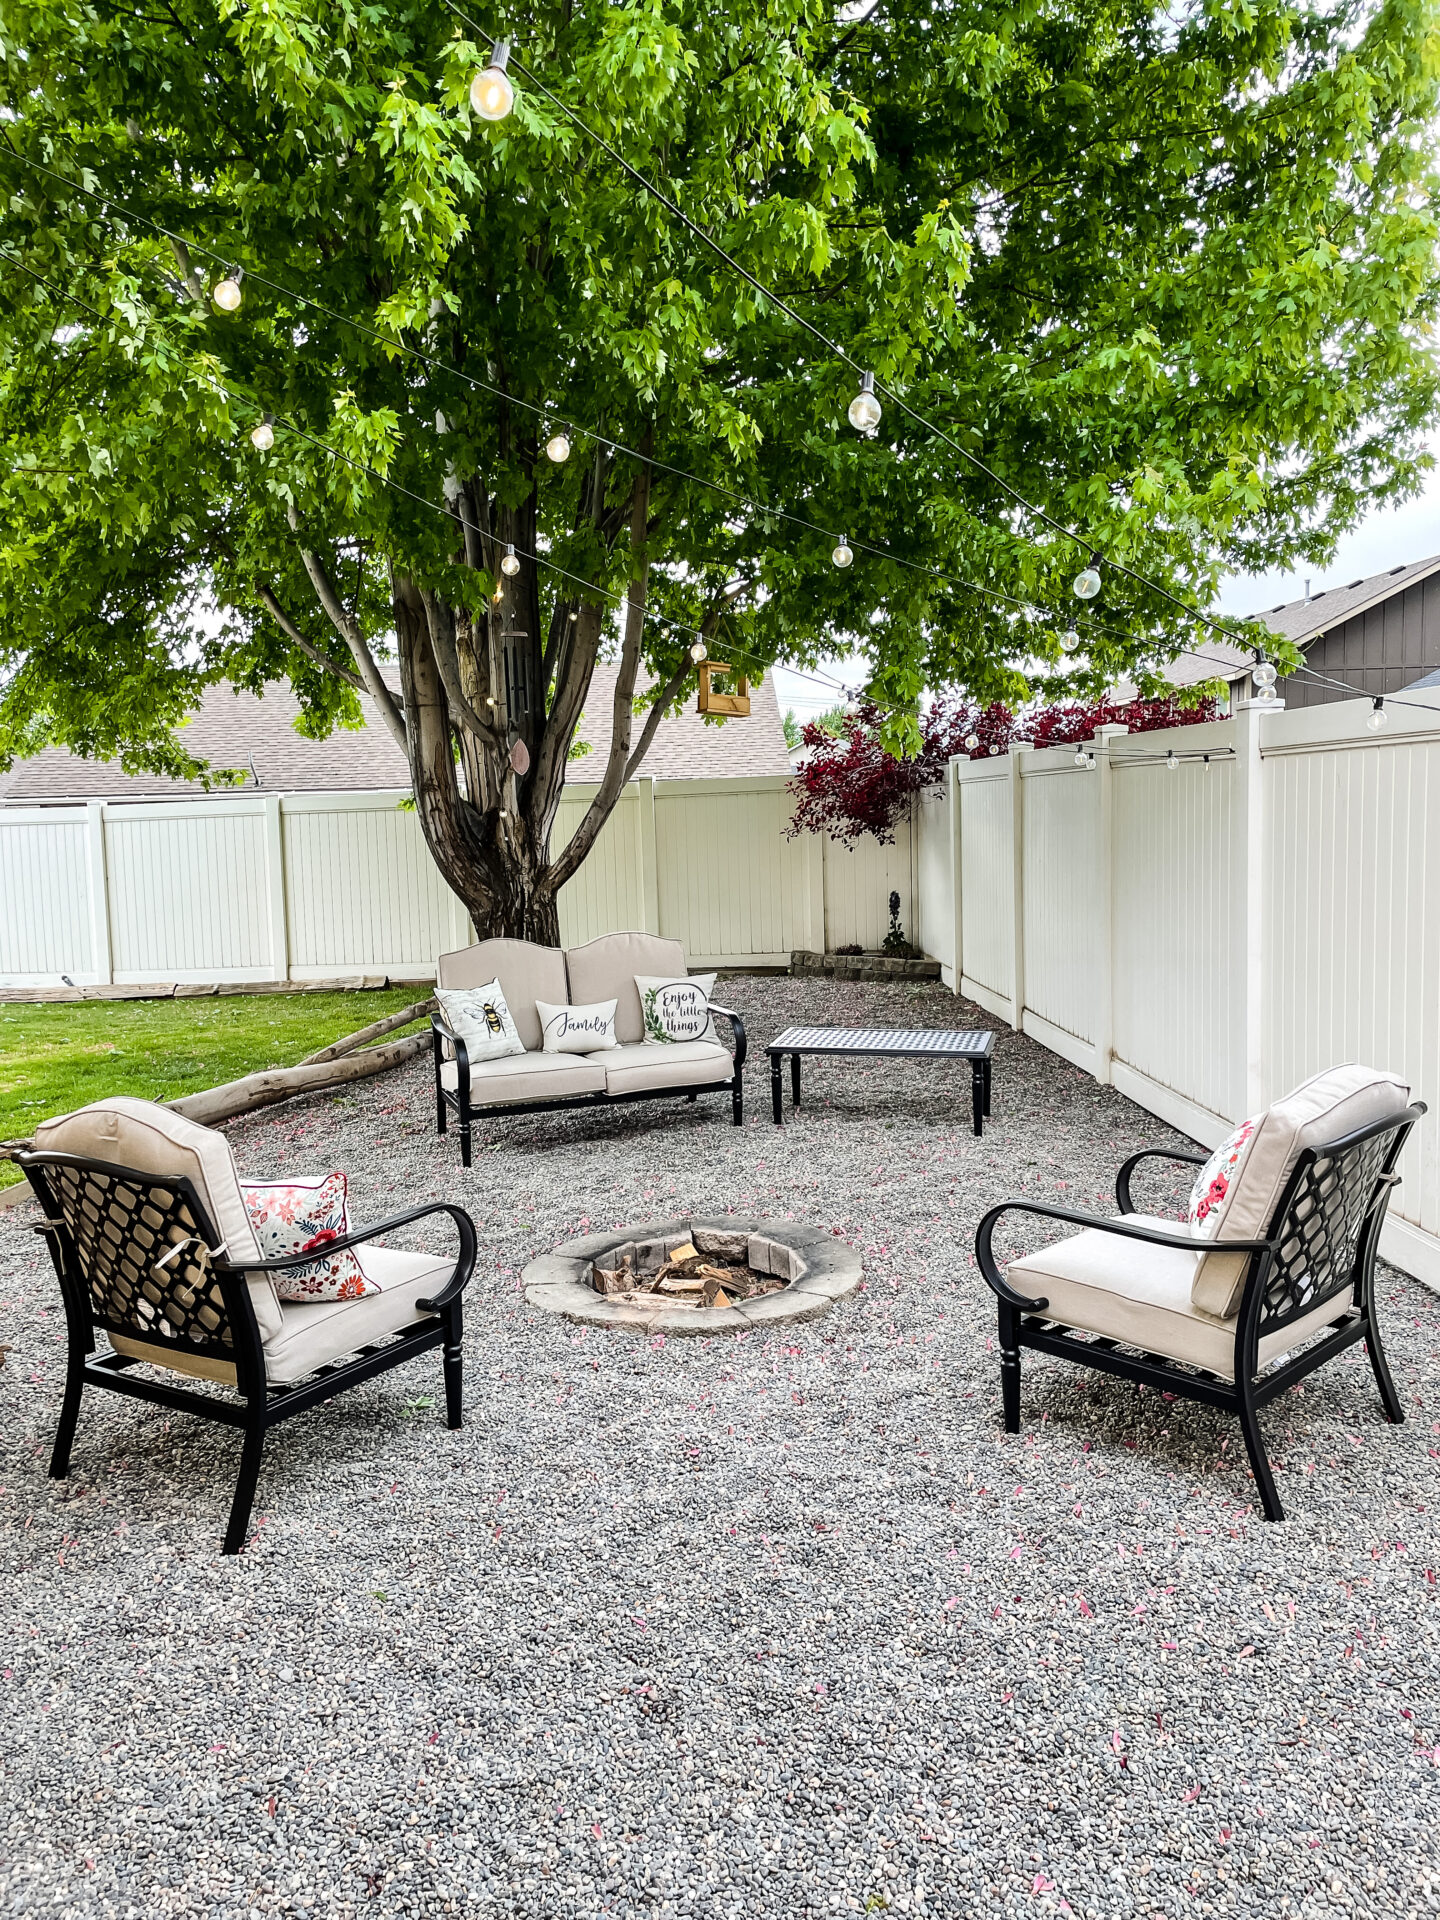
After 2 full days lugging gravel and lots of sweat equity, this space is starting to come together. I’m loving the gravel and how much less dirt and mess is dragged into my house because of it.
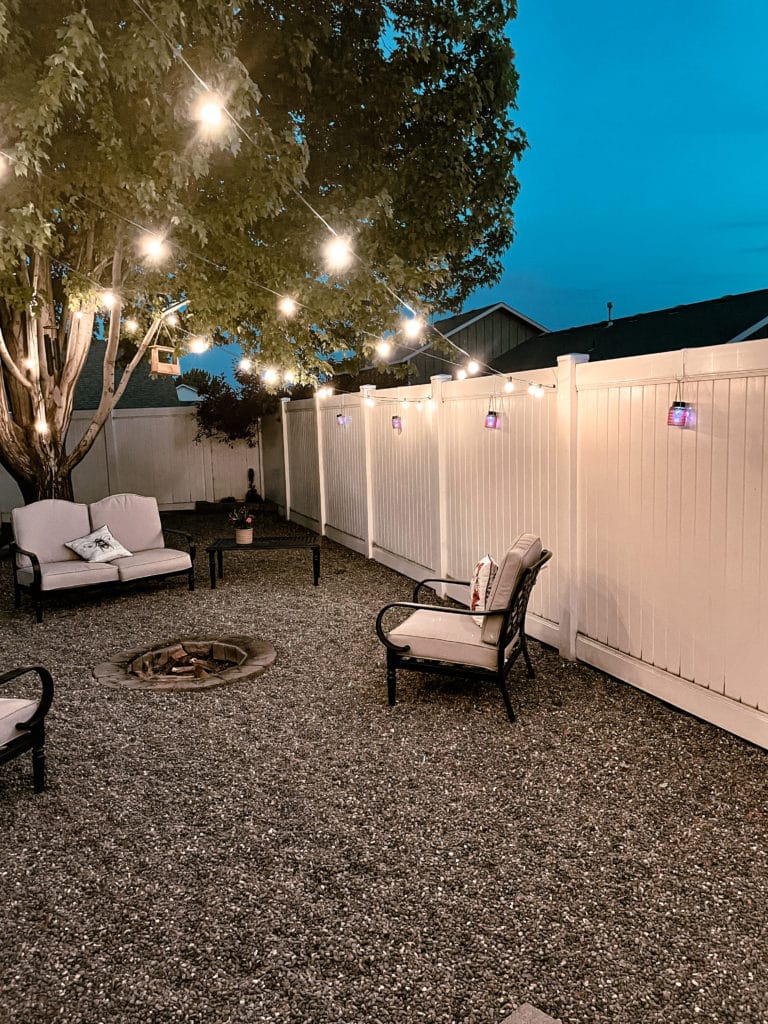
With the string lights this area is now a wonderful spot to hang out regardless of the time of day or night and the tree creates a lot of shade during hot summer days as well. I know we will get a LOT of use out of this space.
I hope you’ve enjoyed seeing my home as it was before and as it is now that I’ve done a lot of work to it. Amazing how spaces change, isn’t it?
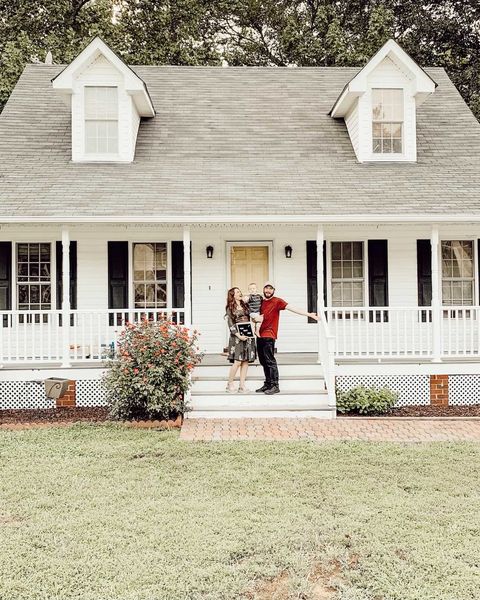
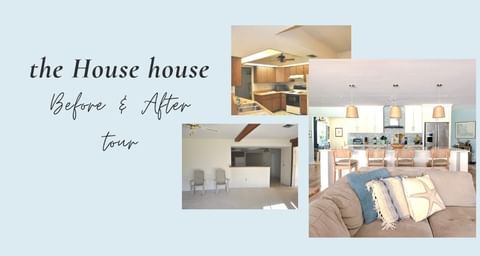
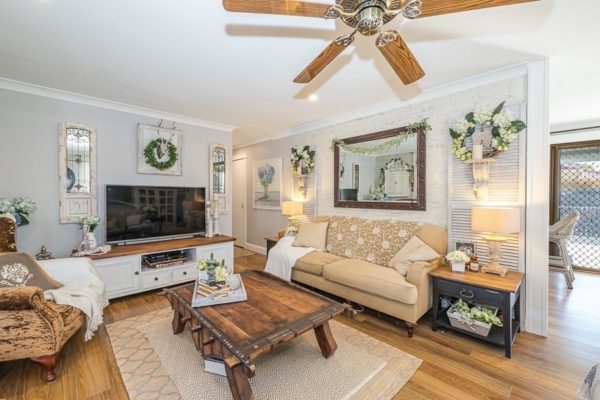
More Before & After Tours
Want some more good news? I have some friends who agreed to show you a before and after tour of their homes as well. Just click on any of the photos below to go straight to their home tour.
Thanks so much for joining us. I hope you enjoyed it!
Until next time…

Wow! I love every room in your home. So many amazing transformations!!!
Thanks so much, Jodi. So many more plans but it all takes such a long time, doesn’t it?
You totally breathed life into this home! The changes are so huge and I love how you completely transformed each space with your gorgeous style!
You are the sweetest! Thanks for stopping by. I can’t wait to see your home transformation as well. I’m on my way over….
This is all so pretty, Tara! I swear the power of paint never gets old. I love the changes you’ve made and all the extra special touches you’ve added along the way to make it yours. It’s fabulous! Hope you have the best day, CoCo
You are so sweet! Thanks for stopping by and taking the tour. I’m so glad you enjoyed it. Yes, paint is a wonderful thing and I’ve used a lot of it in this house! Have a great weekend.
Your home is beautiful! It is so much fun seeing all the heart and soul that you have put into your home! I am trying to figure out which space is my favorite, but they are all amazing! I adore your kitchen! Your backyard looks so inviting and cozy, I’d love to sit back there and daydream! Everything you do is beautiful!!! Your hard work has certainly paid off!!!
You are so sweet and kind. I really appreciate all your support and encouragement and let’s not forget IDEAS! Whenever I need a second opinion on something you are always the one I ask. It’s been a long time coming to even get this house to the point its at now and of course there are a lot more things in my head that I would like to do but one thing at a time. Rome wasn’t built in a day….