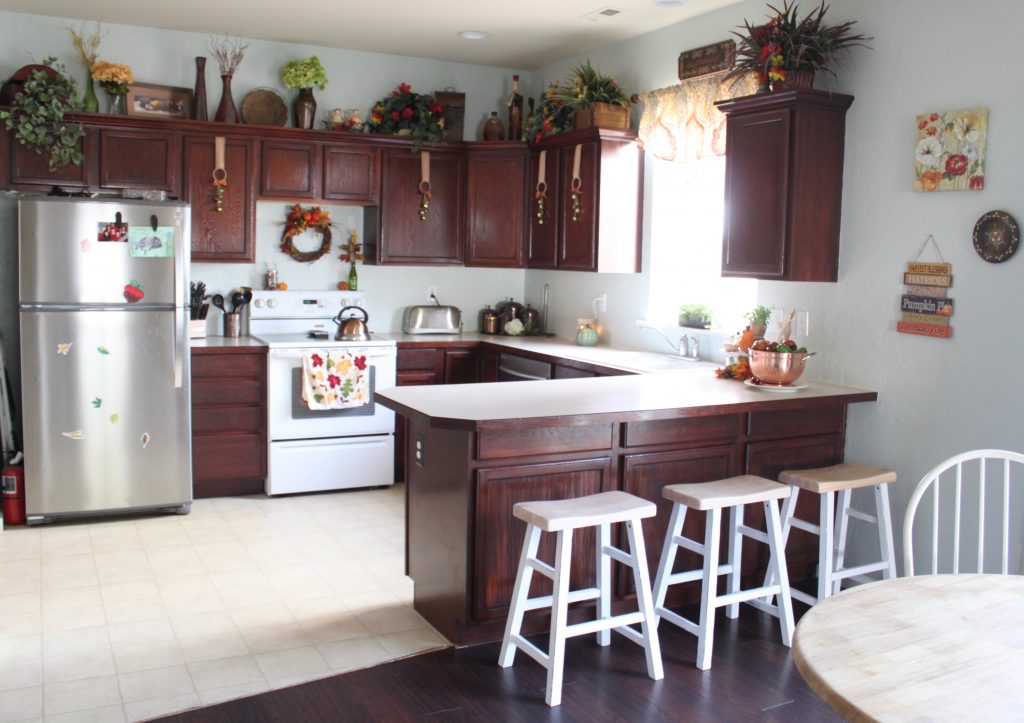
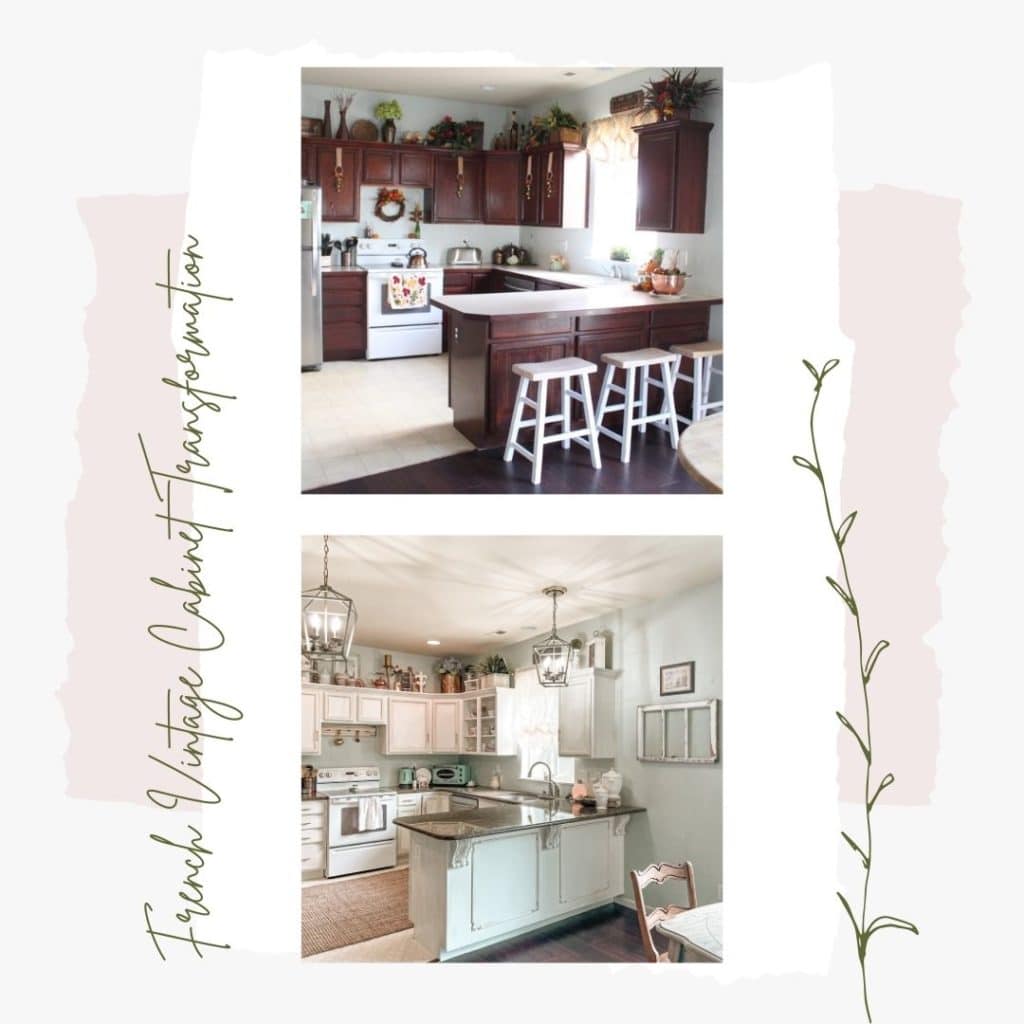
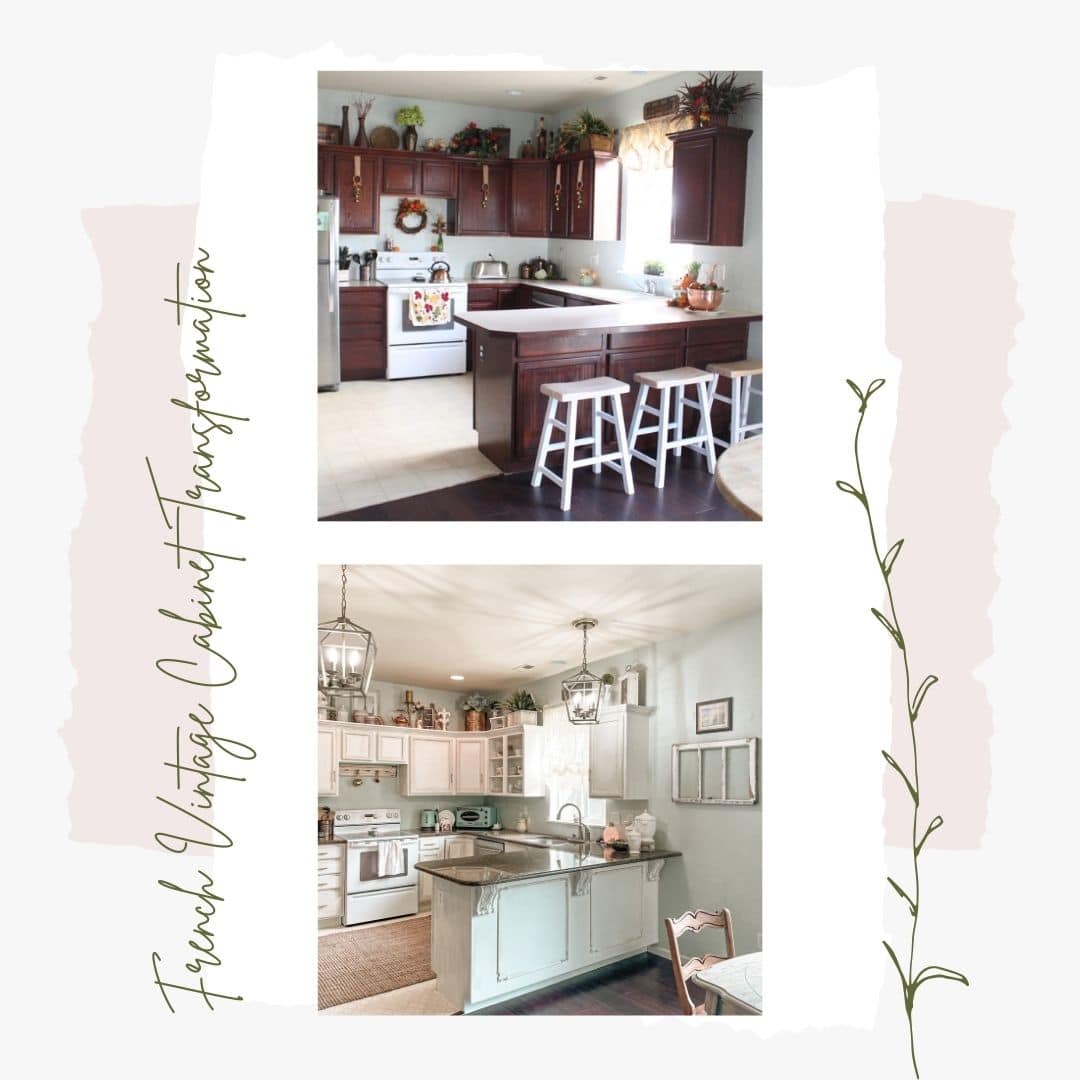
Can you see it?
It’s something that hasn’t made sense to me from day one!
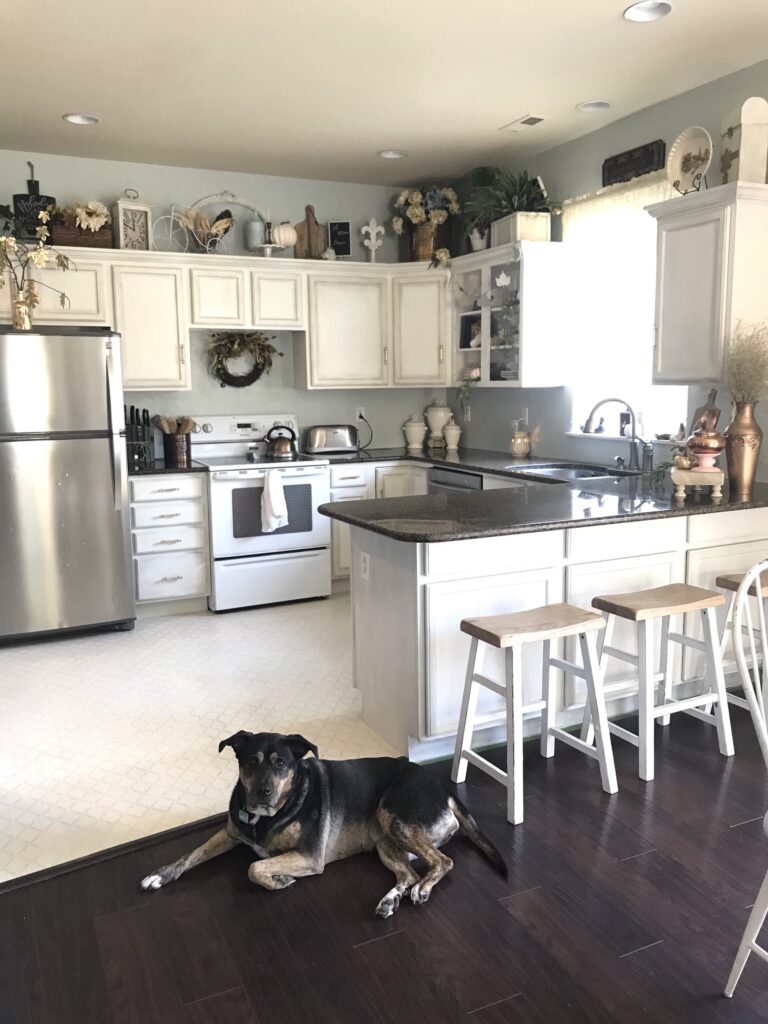
Hope doesn’t understand it either.
Now do you see it?
I’ve been wanting to do something about it for a very long time but what?
So many options and ideas have flooded through my mind….almost anything would be better than how it was!
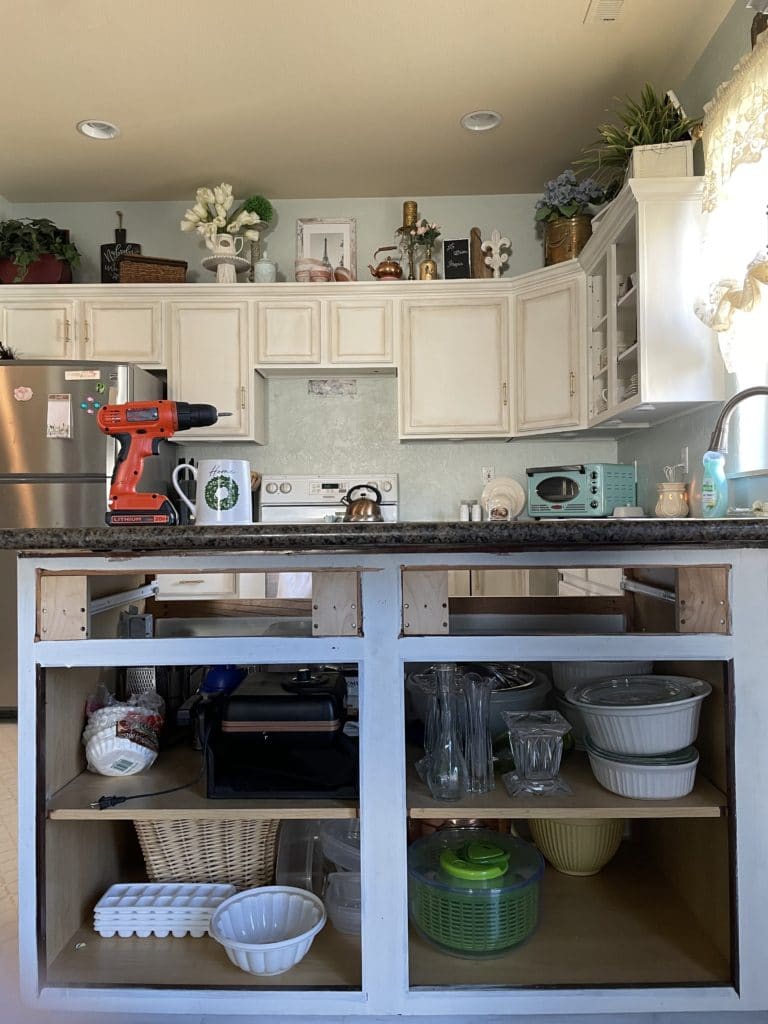
NOW do you see?
Why a person needs access on BOTH sides of this particular bank of cabinets I will never know. They aren’t very deep. Why would I want to come around to the living room side to get a casserole dish or a storage container?
I don’t.
And I don’t like how it looks either.

Time to solve that once and for all.
After removing the doors and false drawer fronts I cut a sheet of MDF to size and attached it to the cabinet frame using Liquid Nails and finish nails.
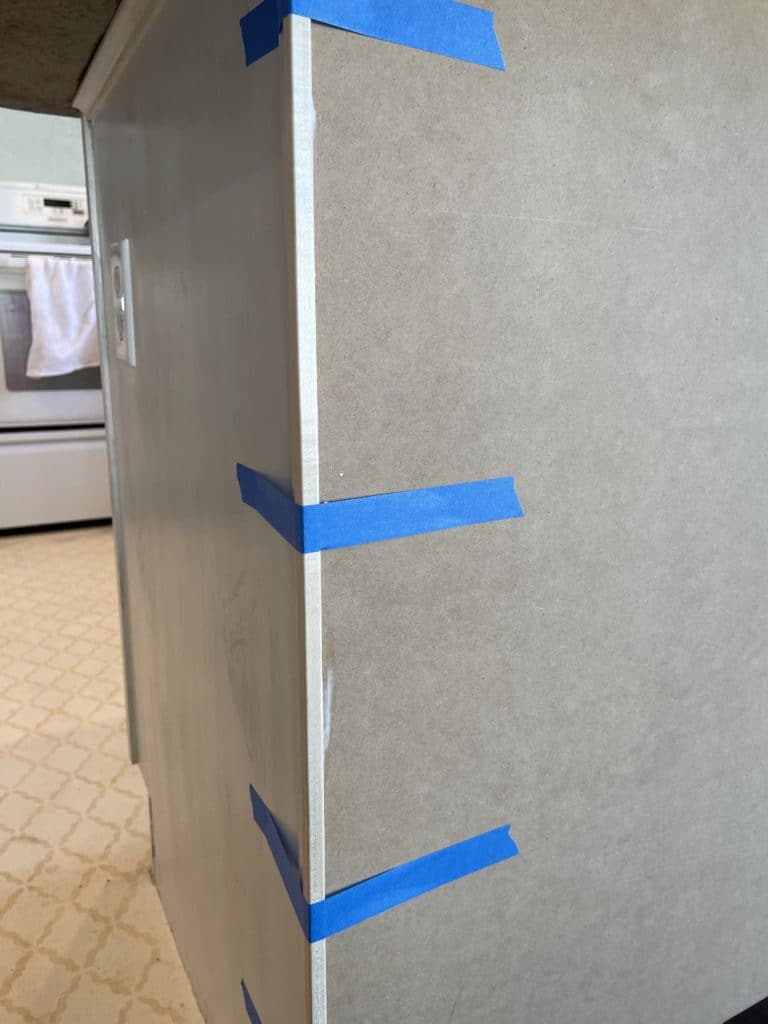
Next I put a piece of corner trim on the corner using Liquid Nails and holding it in place until it dried using painters tape.
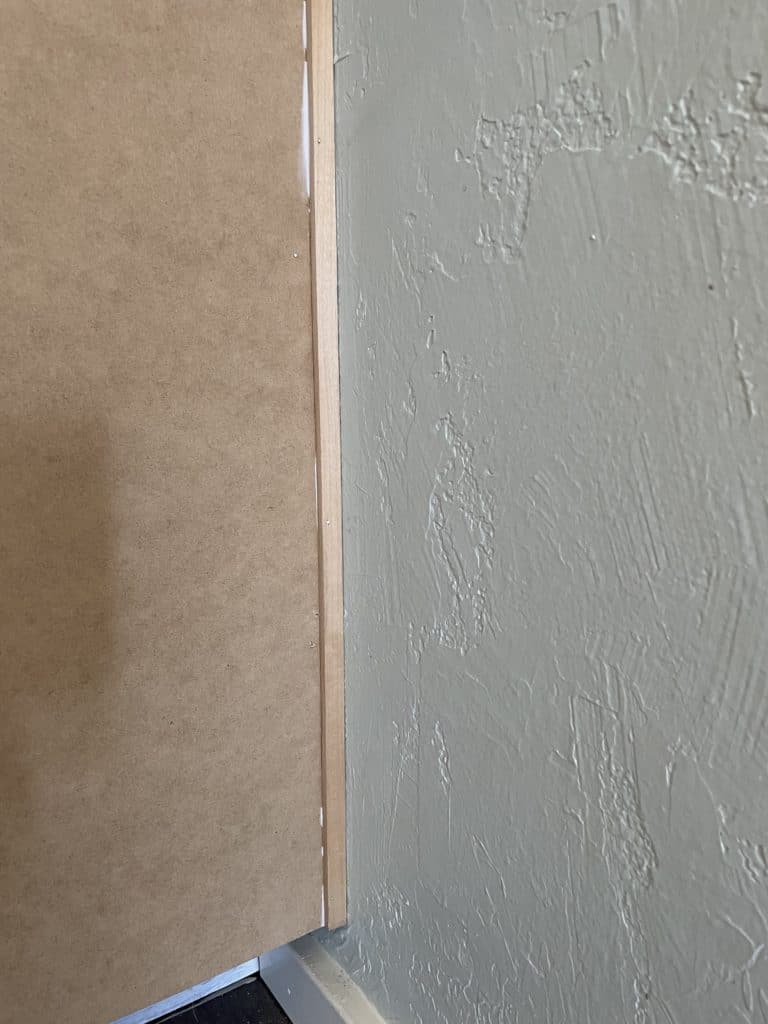
On the other side of the MDF I put a piece of flat 1/2″ trim to cover the crack by the wall. Again I used Liquid Nails and painters tape to hold it while it dried.
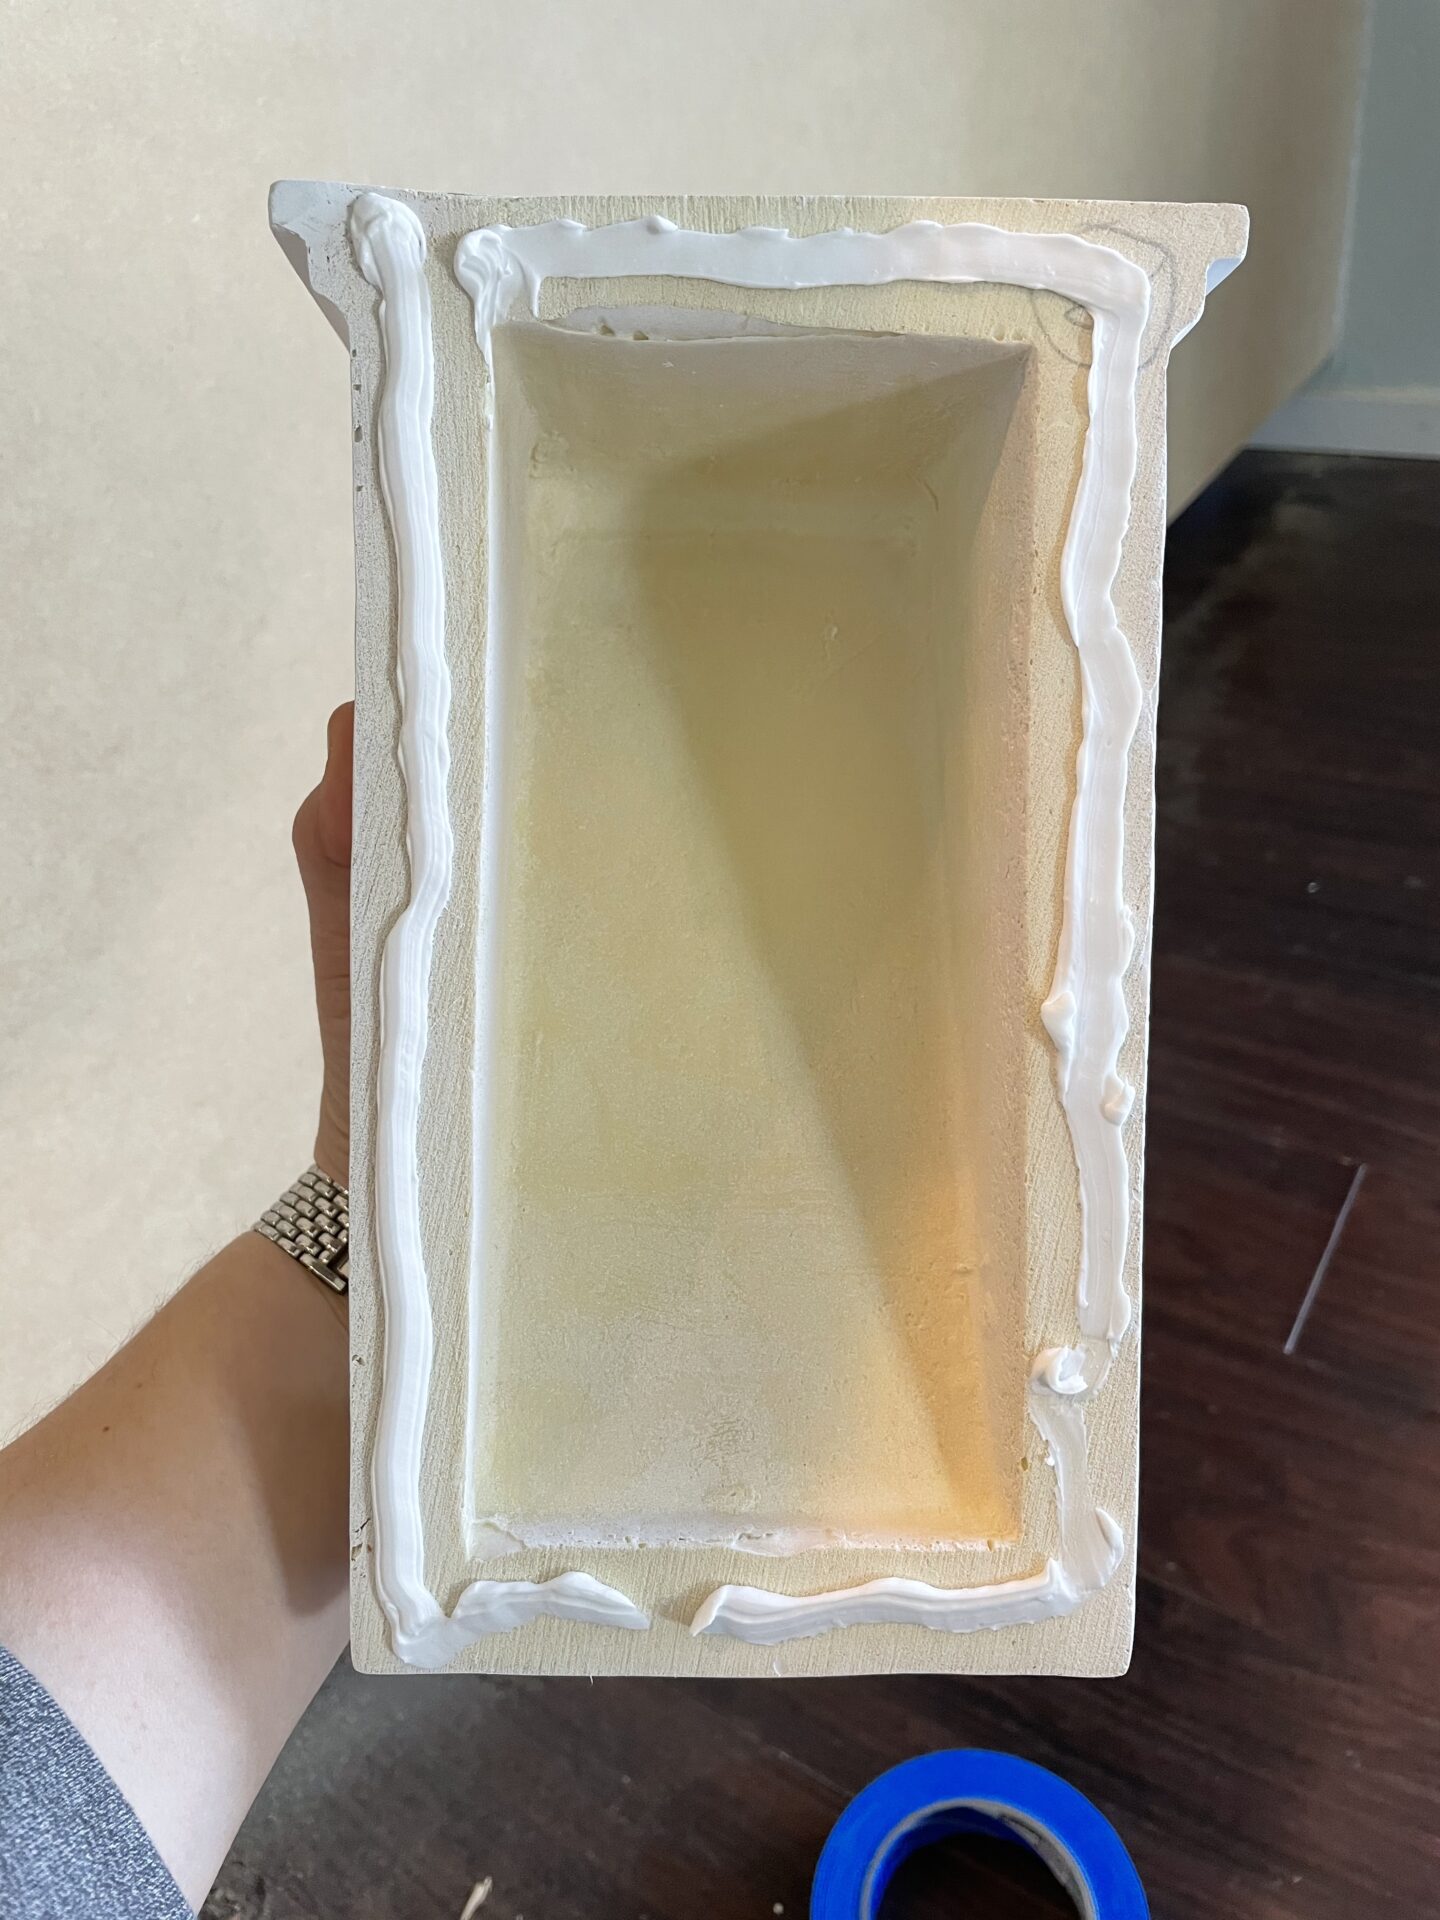
Now for the icing on the cake! This is my favorite part! These particular corbels are extremely lightweight and are purely decorative so gluing them on is sufficient. I used liquid nails around the edge on the back of them and all over the top that would be tight again the underside of my granite countertops.
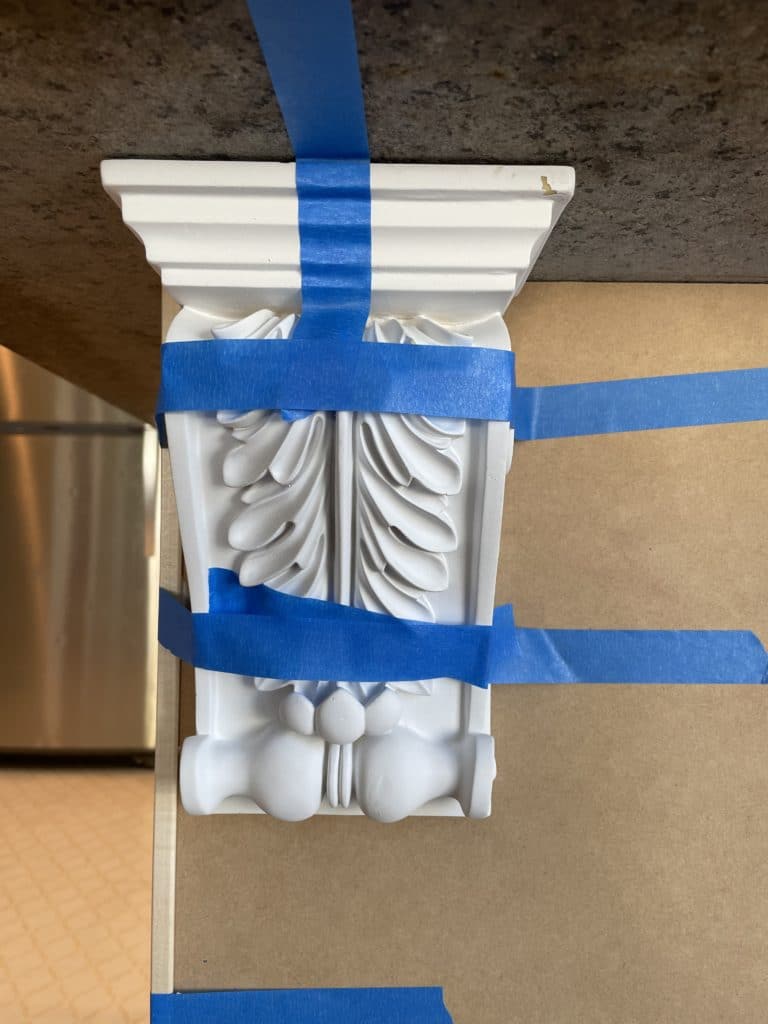
After pushing them tightly into place and holding them for a couple minutes, I used some painters tape to make sure they didn’t slide at all while they dried.
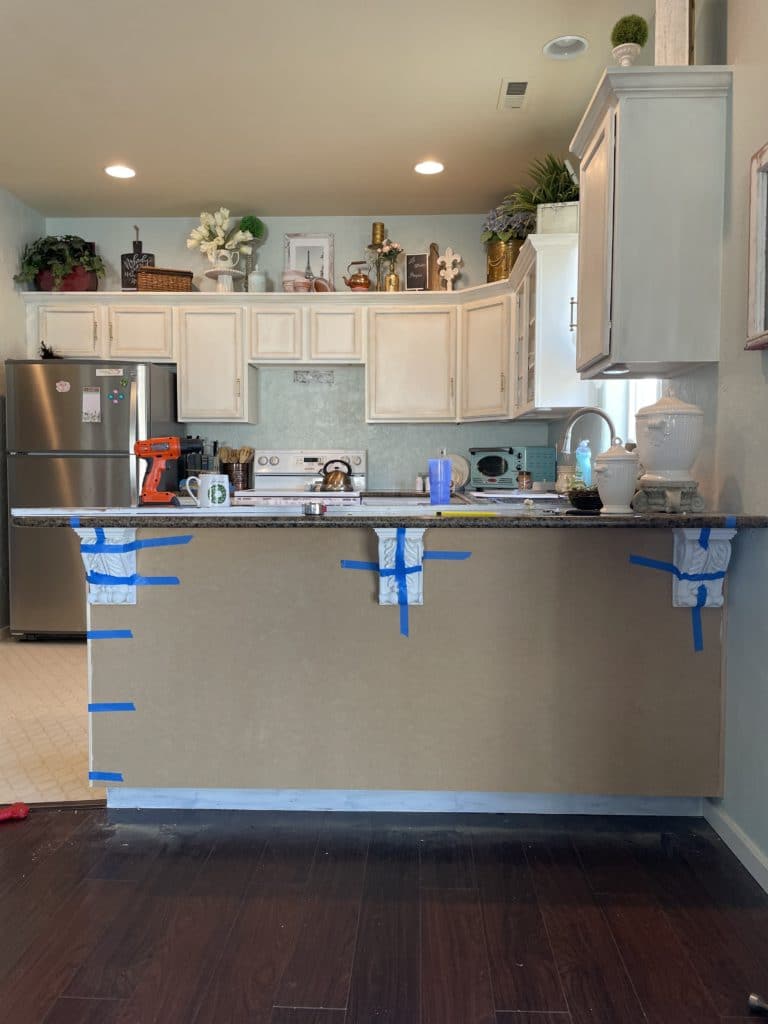
I repeated the same steps with all 3 corbels. I put the side corbels flush against the edge trim and centered the middle one in the remaining space.
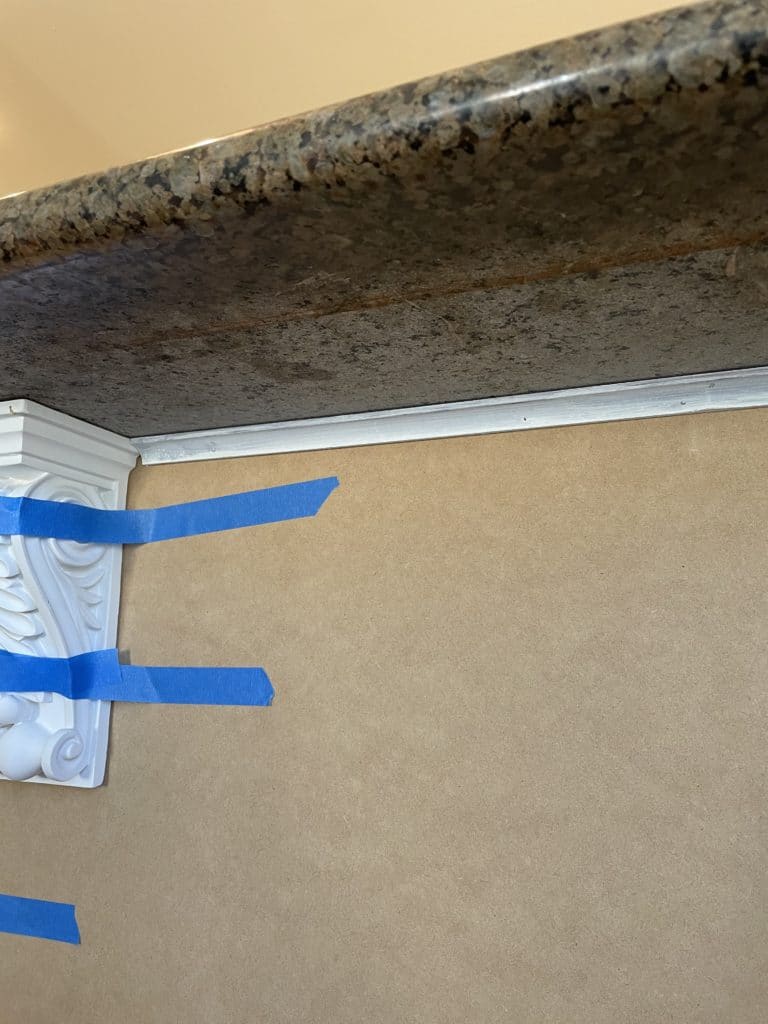
Next I took the same trim that was between the cabinets and the underside of the granite before, cut it to fit between the corbels and glued it into place. I secured it with a couple finish nails.
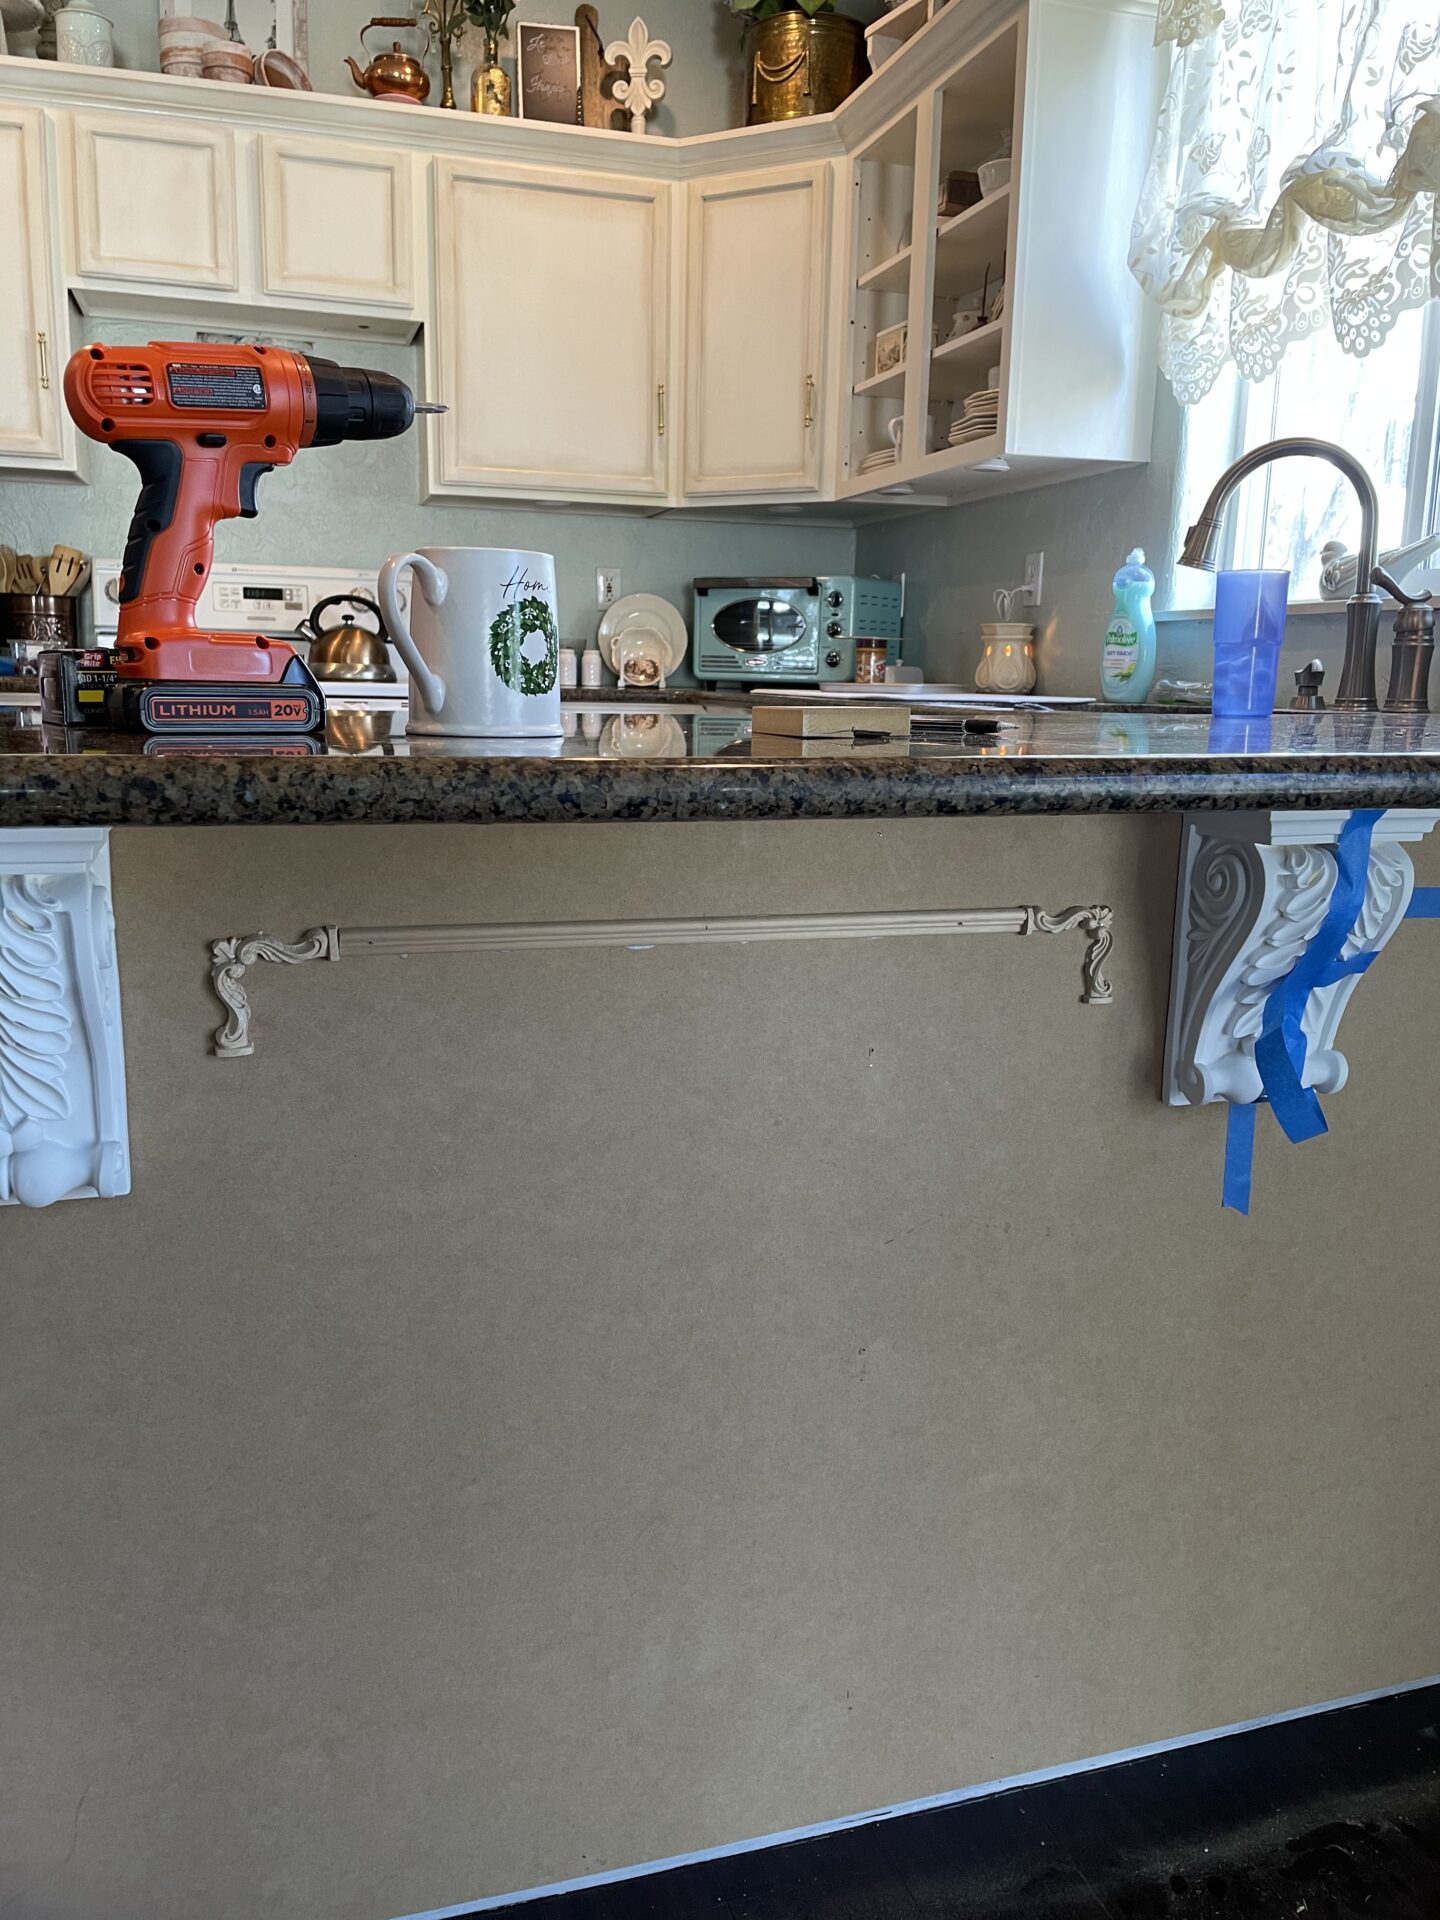
After taking lots of measurements and marking the placement of my trim with a pencil, I used E6000 glue to attach the trim panels and held them with a couple random finish nails. You can use a brad nailer if you have one or drive some finish nails by hand and make sure to recess them just slightly using a nail set.
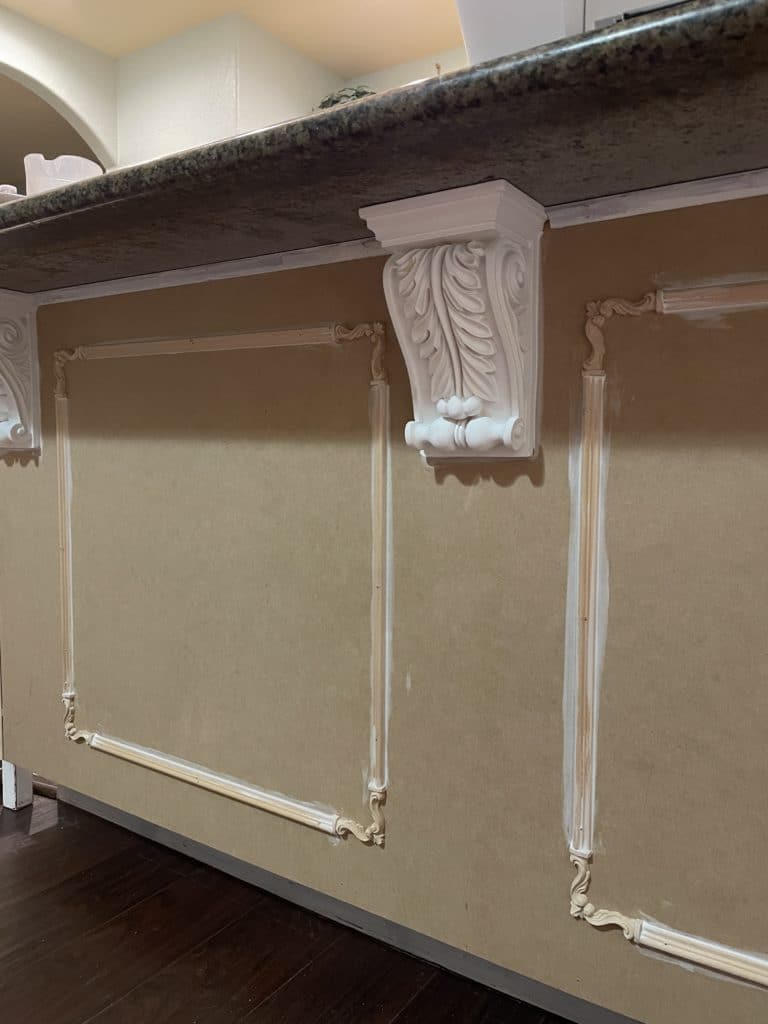
When all the trim was in place and the glue was good and dry, I caulked along both edges of all the trim pieces, all around the edges of the corbels and along the edges of the corner trim. This makes such a difference in the end result once you paint and is well worth the time.
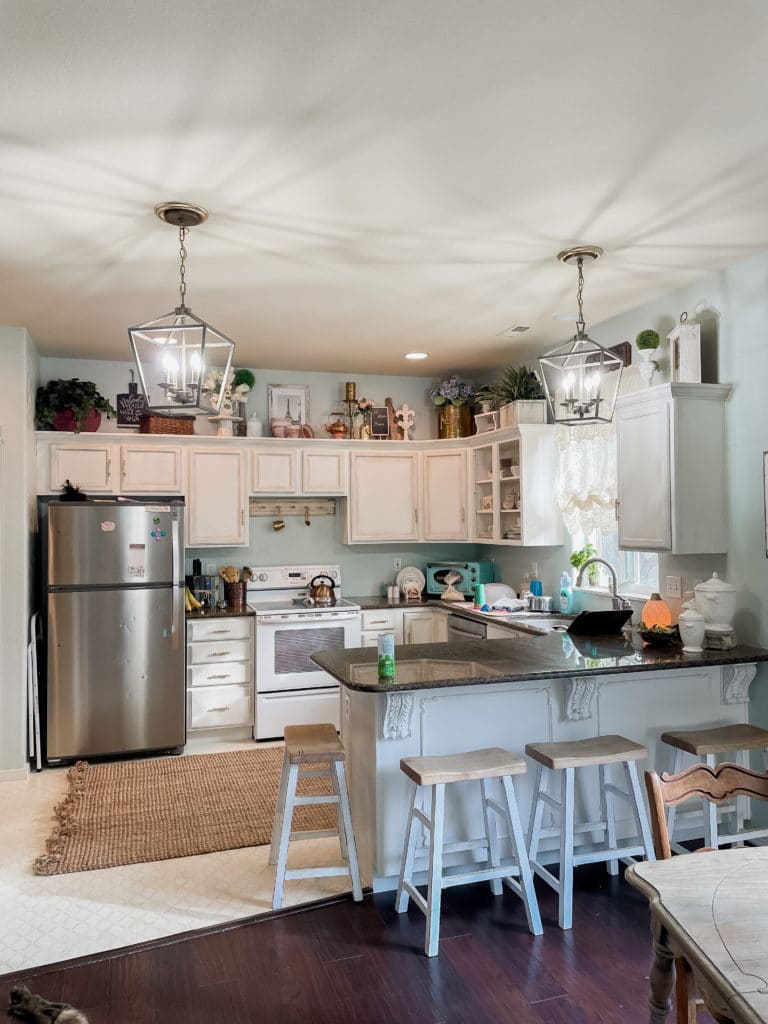
Then it was time for the paint! I was getting more and more excited since it was really starting to look like what I had imagined in my head before I started this project.
Like it should have looked all along!
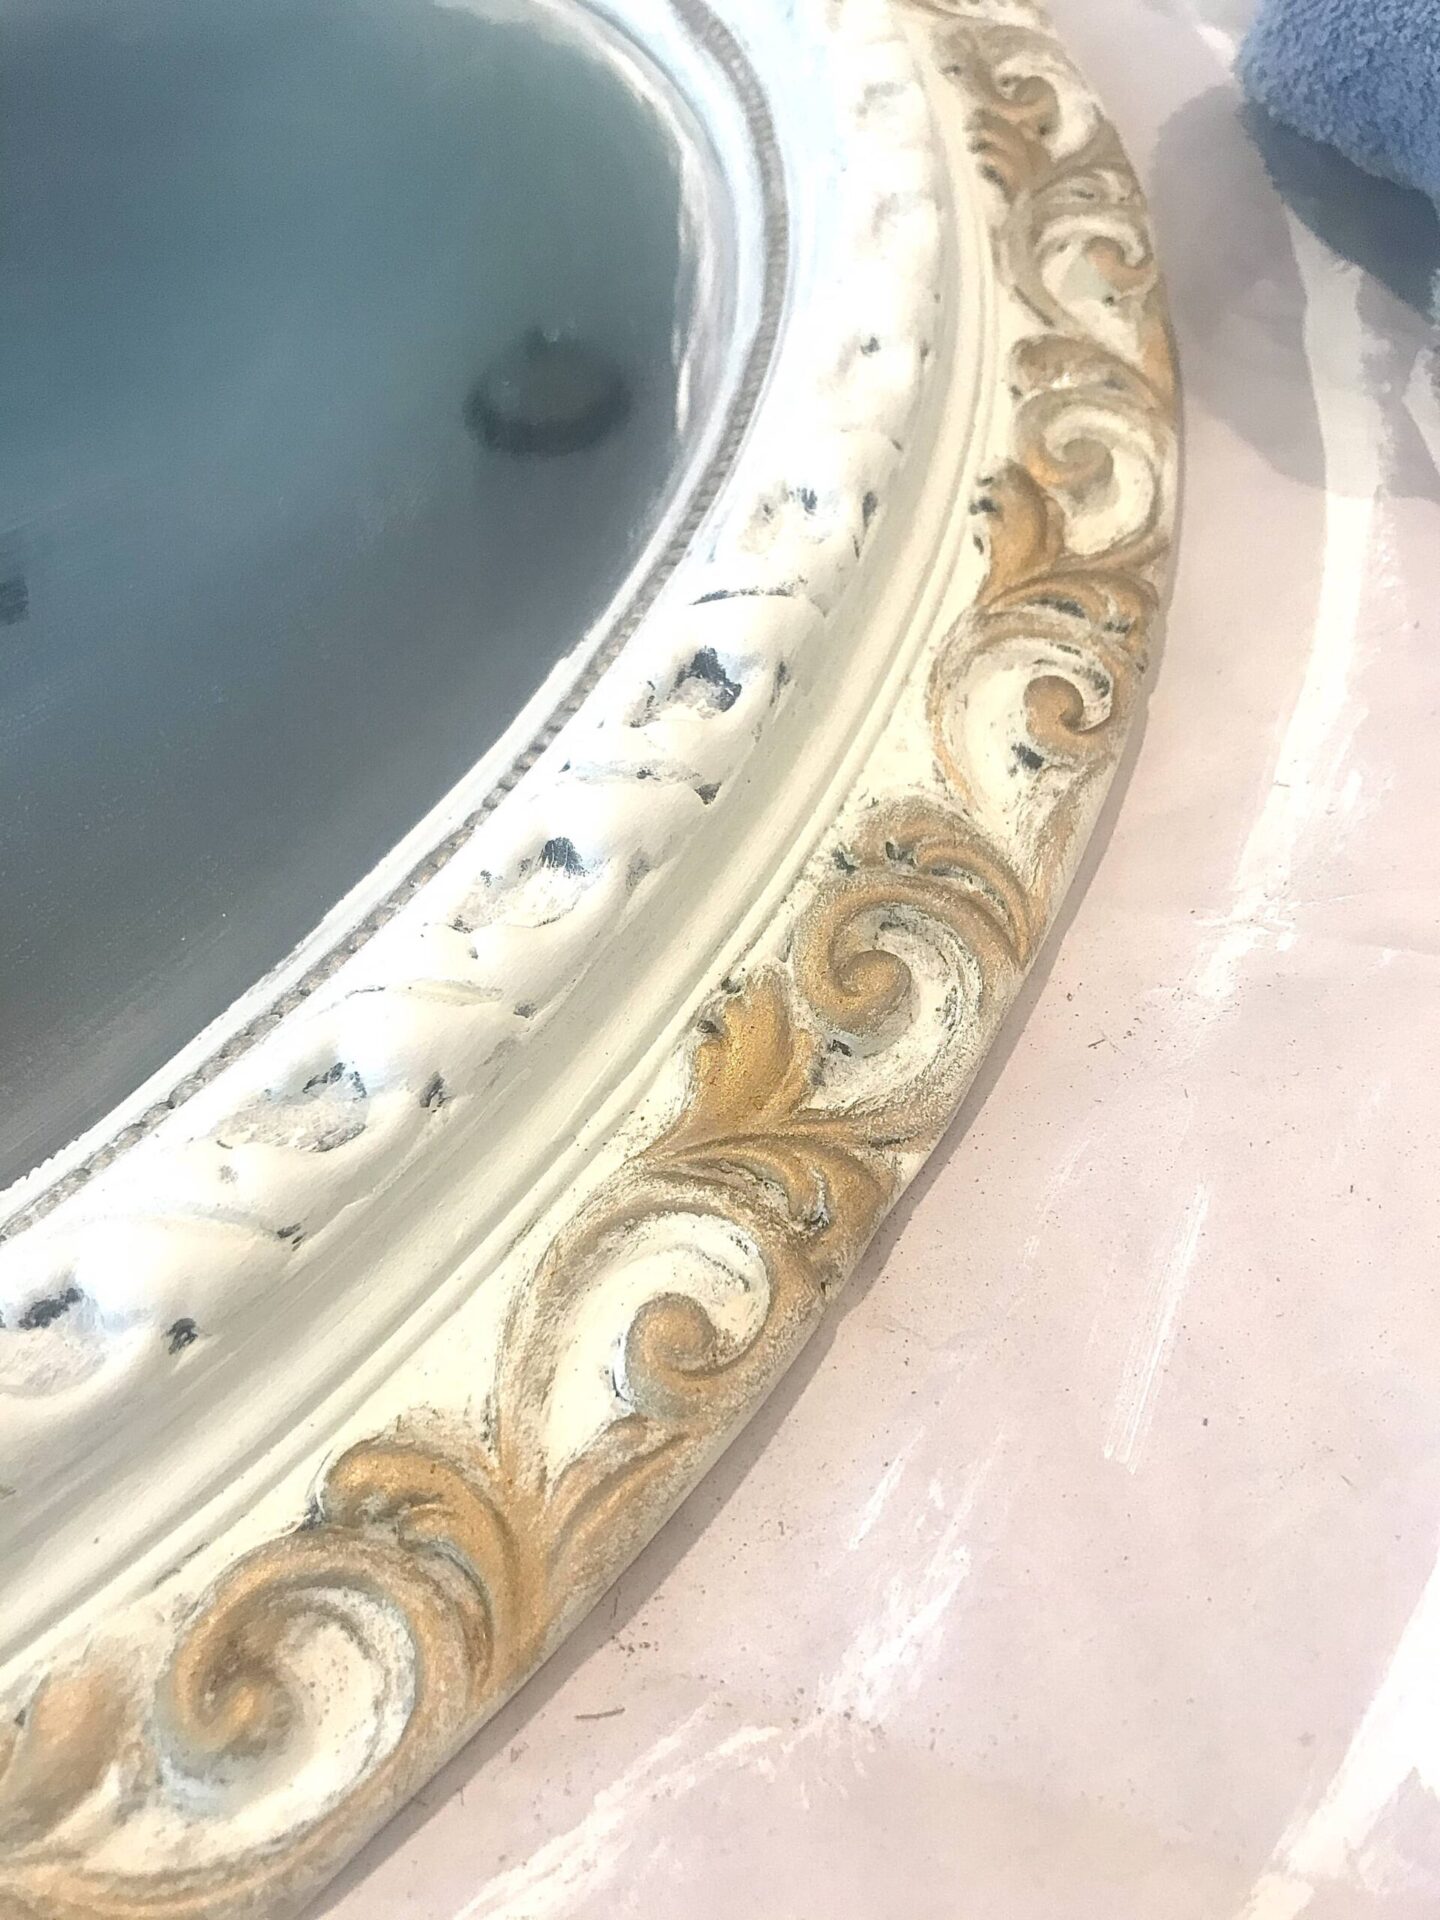
EXCEPT…that was just the base coat and I still needed to antique it so that it blended with my kitchen cabinets.
Enter my favorite antiquing glaze and a short time later (and a couple coats of polyurethane in a satin finish just like the cabinets) I was done!
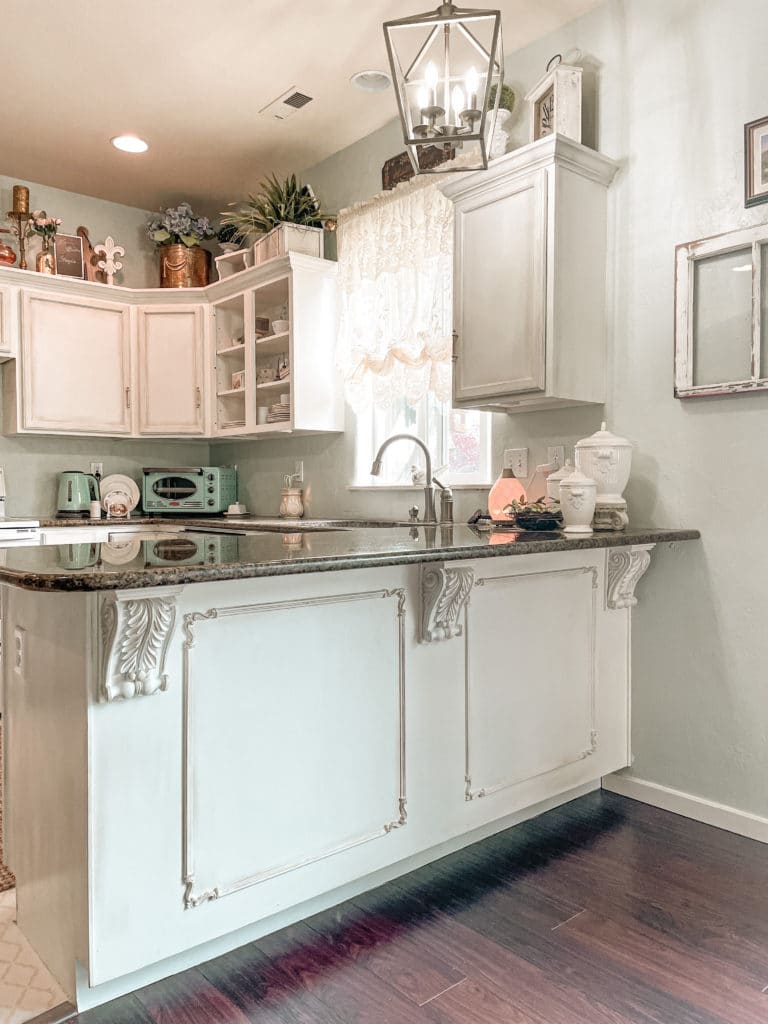
Hello, beautiful swan!
This is how it should have been done all along, don’t you think?
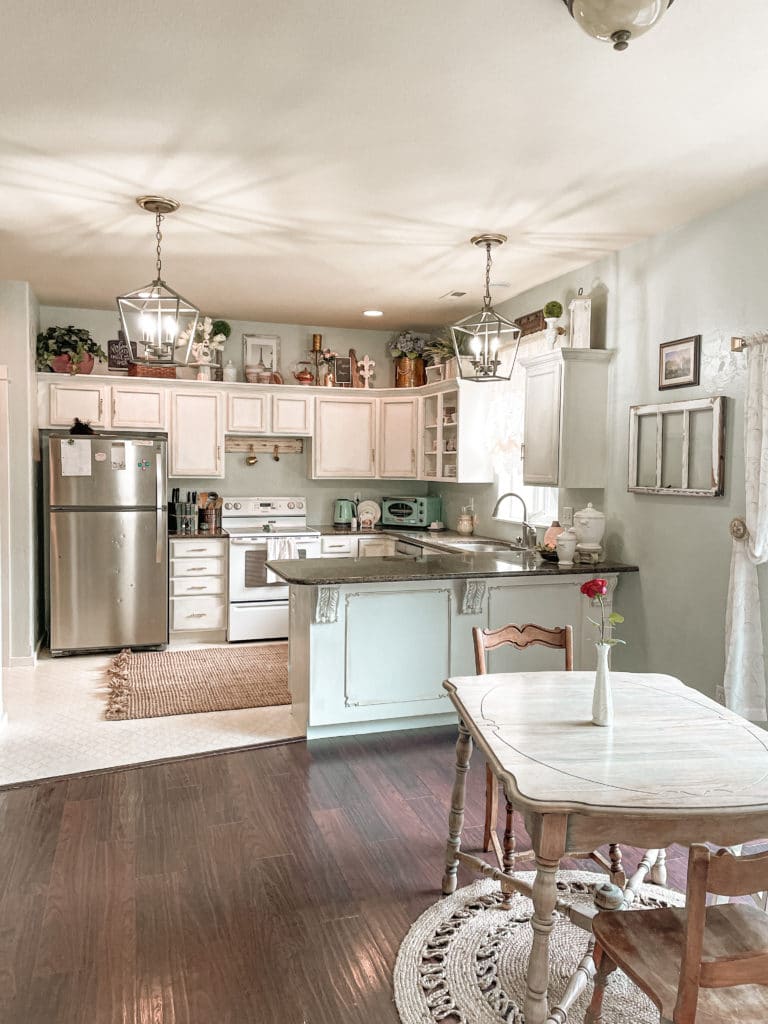
I’m very happy with how well it fits in with my French Vintage style now and all my Vintage pieces and furniture that share this space.
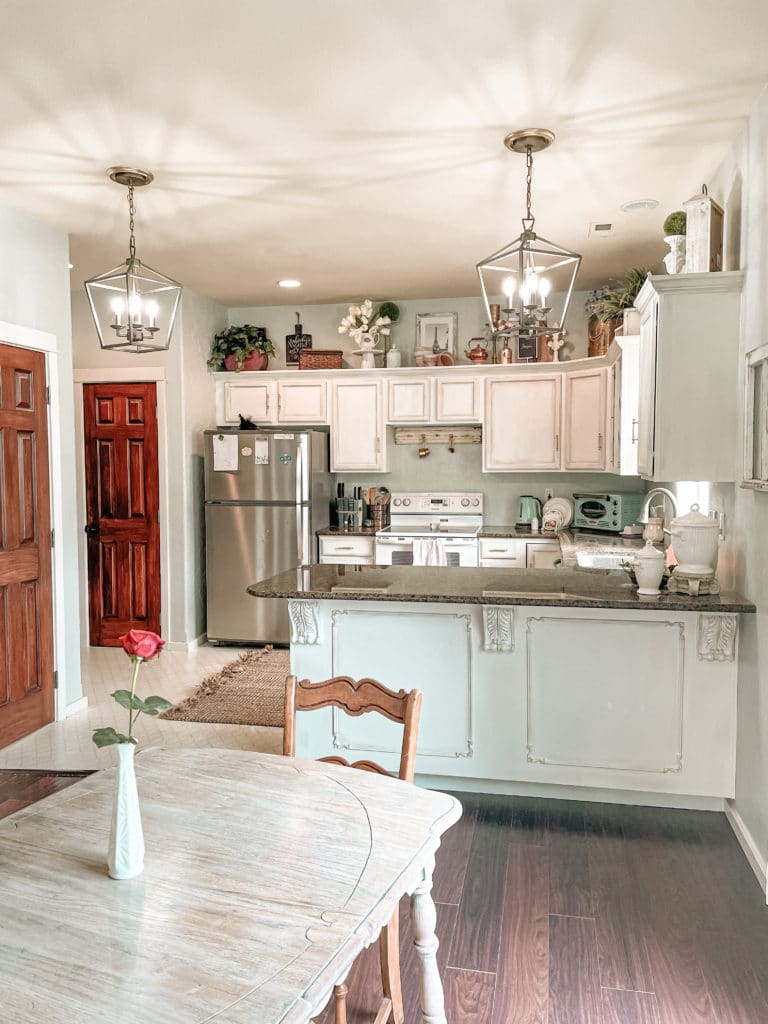
An upcoming project for sure is going to be some new bar stools. I have just the look in mind that I want for this newly made over space too!
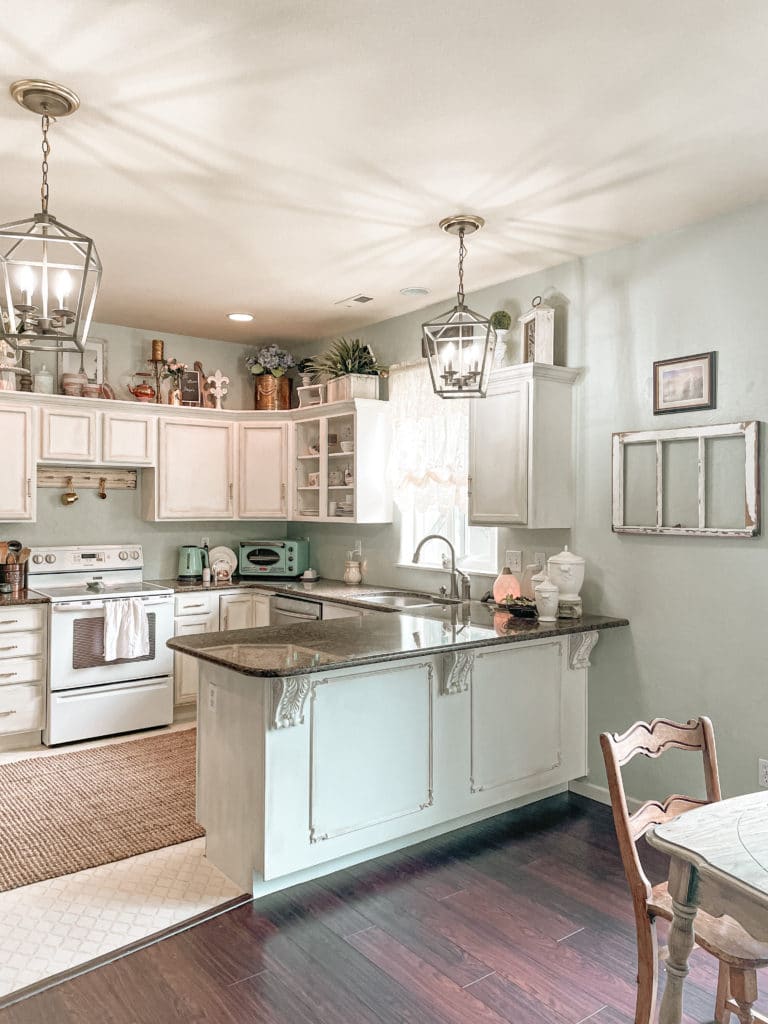
Until next time…
Pin it for later…
I’ve Been Featured




It is gorgeous! I love it.
Thank you so much! That means the world to me.
Have a wonderful day, sweet friend.
My guess is that there was access on that side for dishes that you would use to set the table as the table is on that side. Of course having to move the stools every time you needed access would be a pain.
It really would be a pain and since there is no wall or anything there it isn’t difficult AT ALL to walk to the other side to access those cupboards. As for me I don’t even have dishes for setting the table in there because all my good dishes are in my china hutch!
One of the best upgrades I’ve seen. Well done.
Thank you so much! I really appreciate that and I’m so glad you like it. I aim to inspire.
Visiting from April’s. Oh my word–that is so gorgeous. I may have to borrow this idea. I have a simiar space, but with no cabinets. Just a blank wooden space under a counter facing the dining area. I’ve wanted to at least paint it, but adding some trim or corbels would really dress it up.
I’m so glad you liked the simple little upgrade I did to my cabinets. From what you are saying it sounds like it would absolutely work great in your space to add some trim and maybe some corbels as well. I’d love to see it if you do.
Have a wonderful day,
Tara
This is such an amazing transformation, Tara! I’m so take with those corbels! Thank you for sharing and for being a part of the Hearth and Soul Link Party Community. I’m featuring this post at the party this week. Hope to ‘see’ you there! Take care and I wish you a wonderful week!
I’m honored, April. Thank you so much for the feature and I’m so glad you like the transformation. It was a lot of fun to do and a long time coming.
I love your cabinet makeover! What an upgrade! The whole transformation of your kitchen is lovely, and I’d be honored if you’d share it at the Sundays on Silverado link party, which is open now. 🙂
Niky @ The House on Silverado
Thank you so much, Niky. Consider it done. I’ve added you to my list of link parties too. Have a wonderful day.
Your cabinet paint update is amazing, and then when you added the new front to the penninsula! Wow! Great home improvement DIY, Tara… Pinned, and so happy to be featuring you at Tuesday Turn About’s 100th edition tomorrow!
Thanks so much, Julie. I really appreciate the feature and I’m so glad you like it.
Wow! Score..Home run. the crowd goes crazy! You did an amazing job it looks beautiful!
Awwww thanks so much, sweet friend. I appreciate that so much! It makes it so much fun to share more of my projects. Have a wonderful day!
[…] Tara from Stilettos and Shiplap is sharing her updated kitchen cabinets, but also another update she did to her cabinets. Can you guess what it is? Hop on over and take a look at the before and after! […]
Lovely kitchen redo. Love the little POP of pastel in the toaster oven and tea kettle. Wondering what color/brand your walls are, as they are a paler version of those two appliances.
Thank you so much! I’m glad you like it. The walls are Sherwin Williams “Sea Salt”. I love this color since it goes with anything and changes color slightly depending on the lighting. It never gets boring!
You are very creative and like the same style as I do. Looking forward to more ideas.
Oh I’m so glad to hear that! Thanks for stopping by and I’m looking forward to getting to know you better.
[…] I added trim and corbels to my kitchen cabinet peninsula….. […]