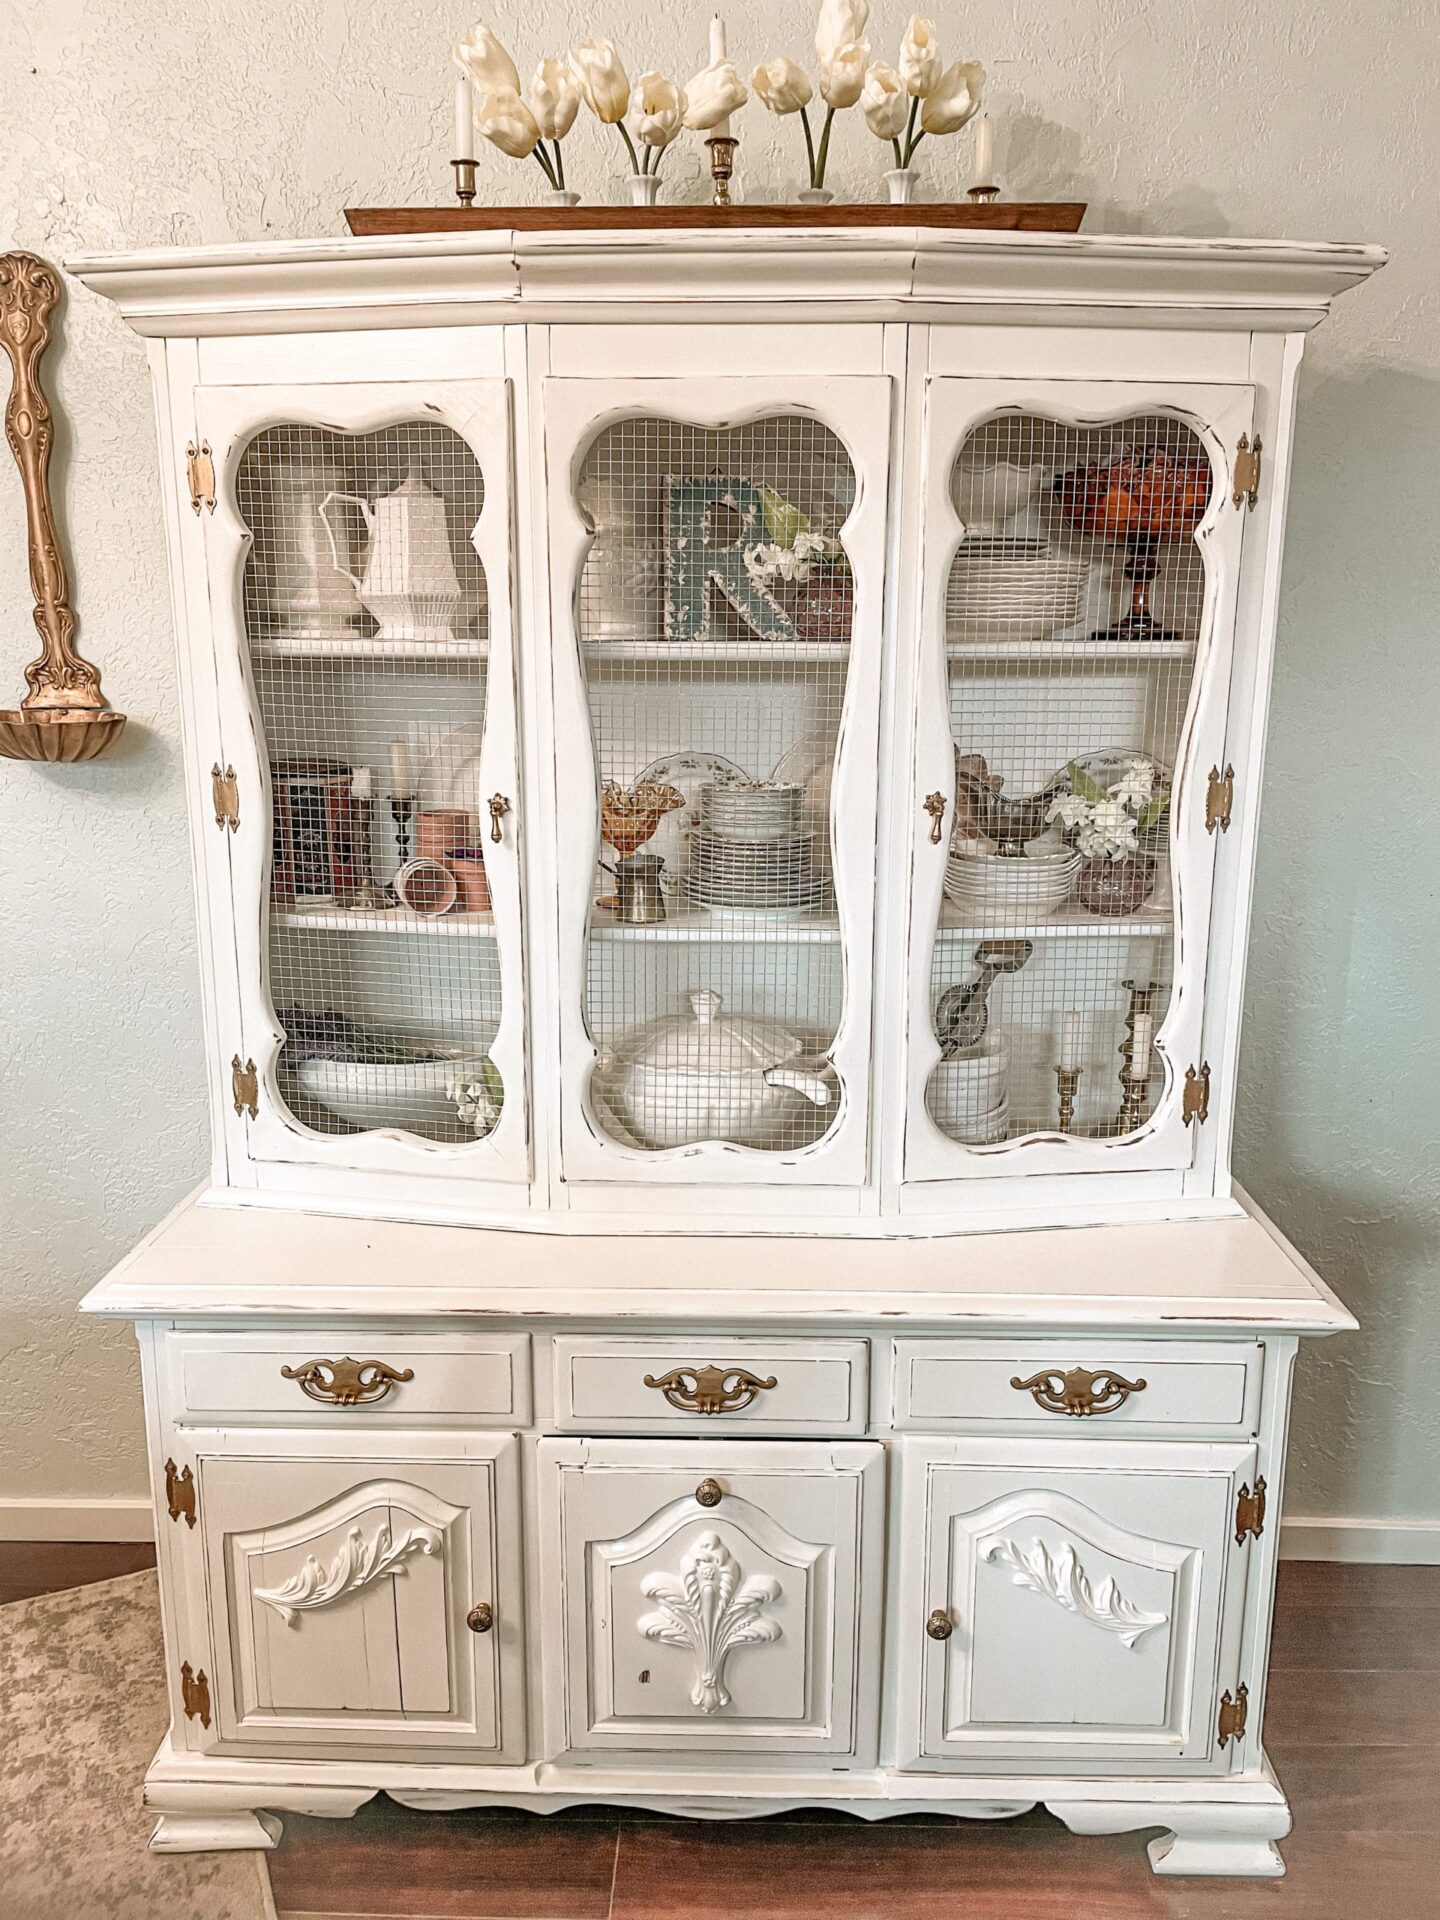
I’ve been looking for a hutch for years.
I’m not making that up.
Every time I find one that I like the style of, it’s either way too overpriced considering I still have to give it a makeover, or it gets snapped up so fast I can’t seem to ever catch them before their gone. I mean a person can’t spend their entire life on Facebook Marketplace scrolling!
But then?
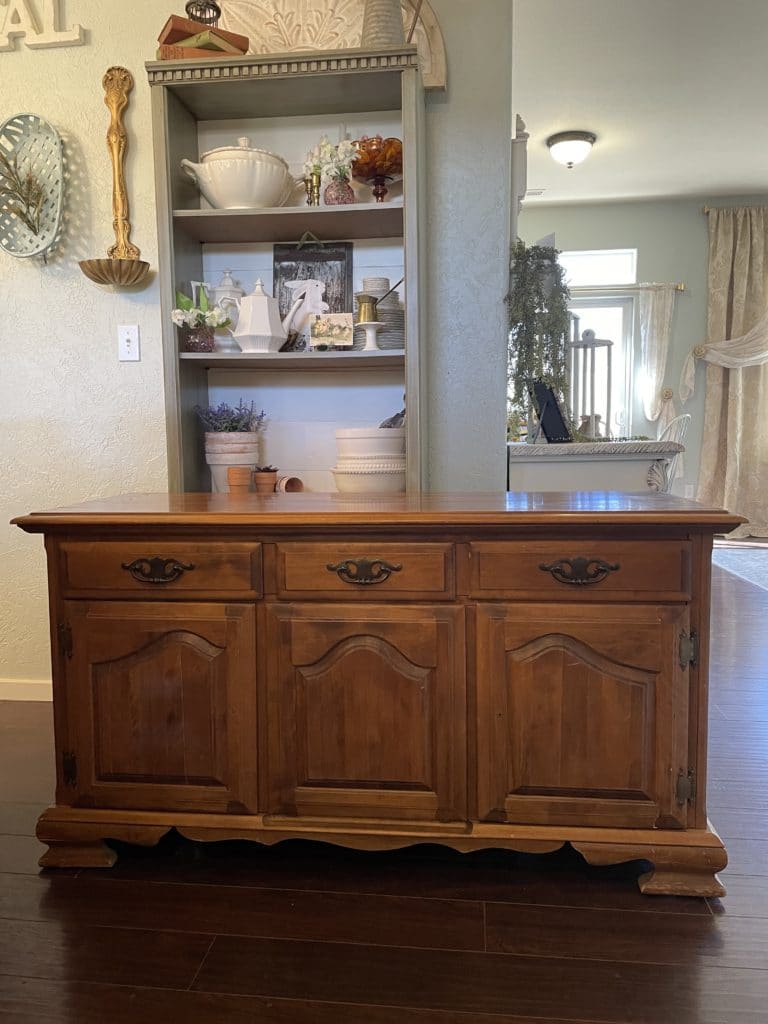
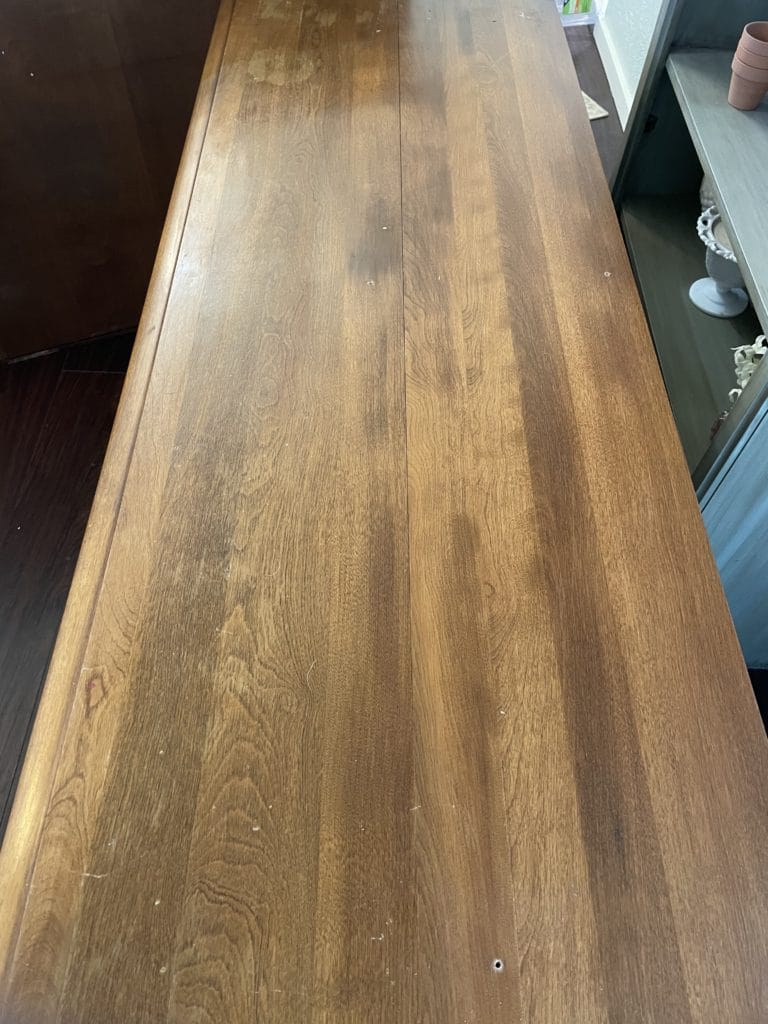
My luck changed!
I found this “little” beauty! I was already interested in it for the listed price and was just waiting to figure out when I could arrange to go pick it up when I got a message from the seller saying that if I could come get it within the next 48 hours he would drop the price by $20.
Would I?
You bet!
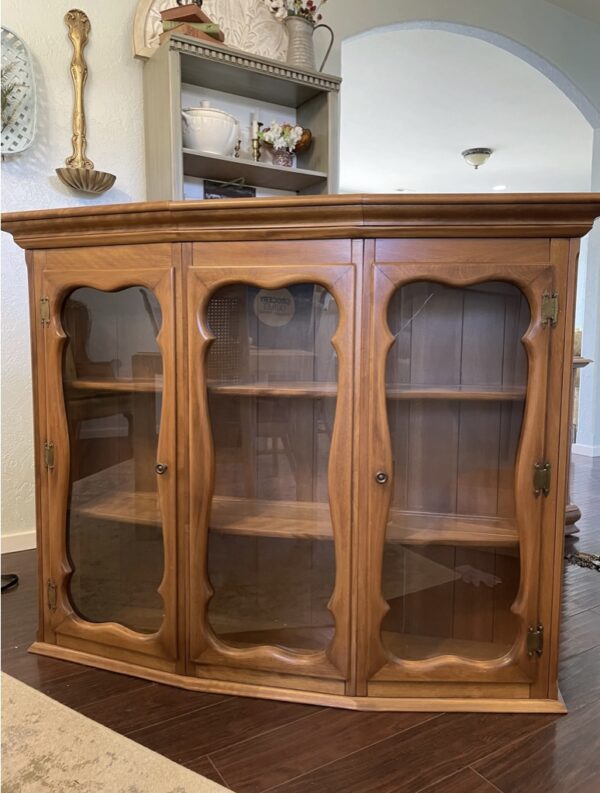
It took 2 trips to get it home in my SUV but well worth every mile and lucky for me it was very close by.
The seller informed me that sadly the glass in one of the doors was broken and there were a number of places where the wood was cracked.
He saw this as an issue.
I saw it as wonderful.
Why, you ask?
Cracks meant it was solid wood, not laminated sawdust!
Cracked glass meant no worries to me because I had already planned to remove the glass anyways.
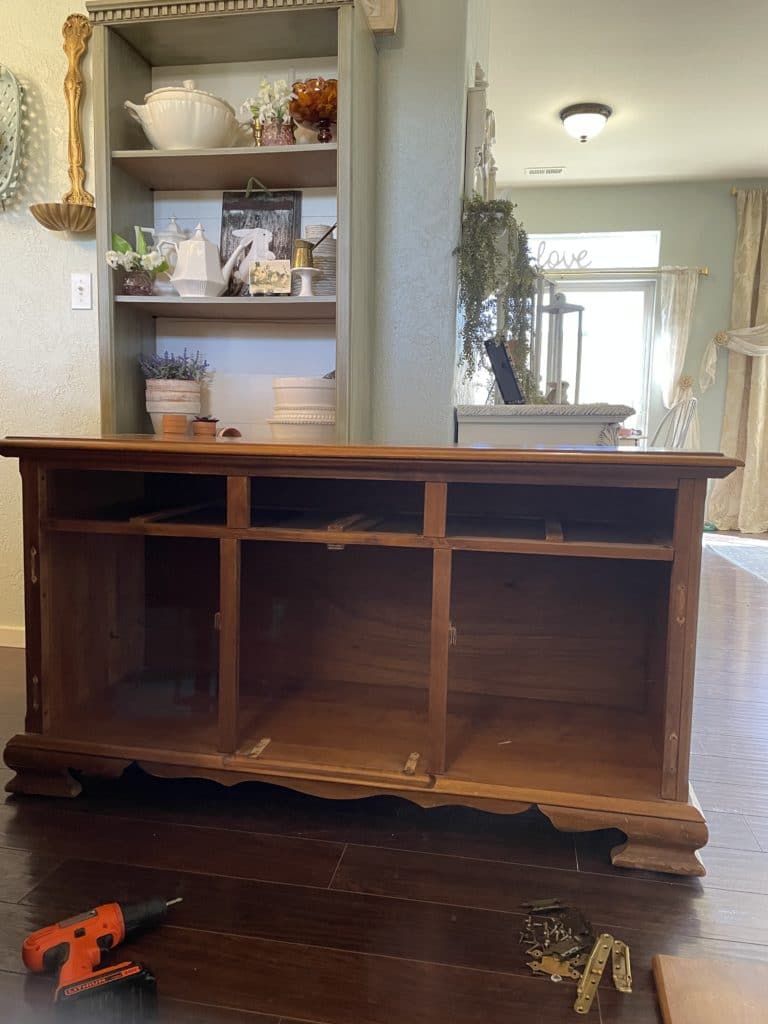
First I took off all the doors and removed the drawers.
Next I removed every last piece of hardware and screws. I saved some of the hardware including all hinges to put back on later.
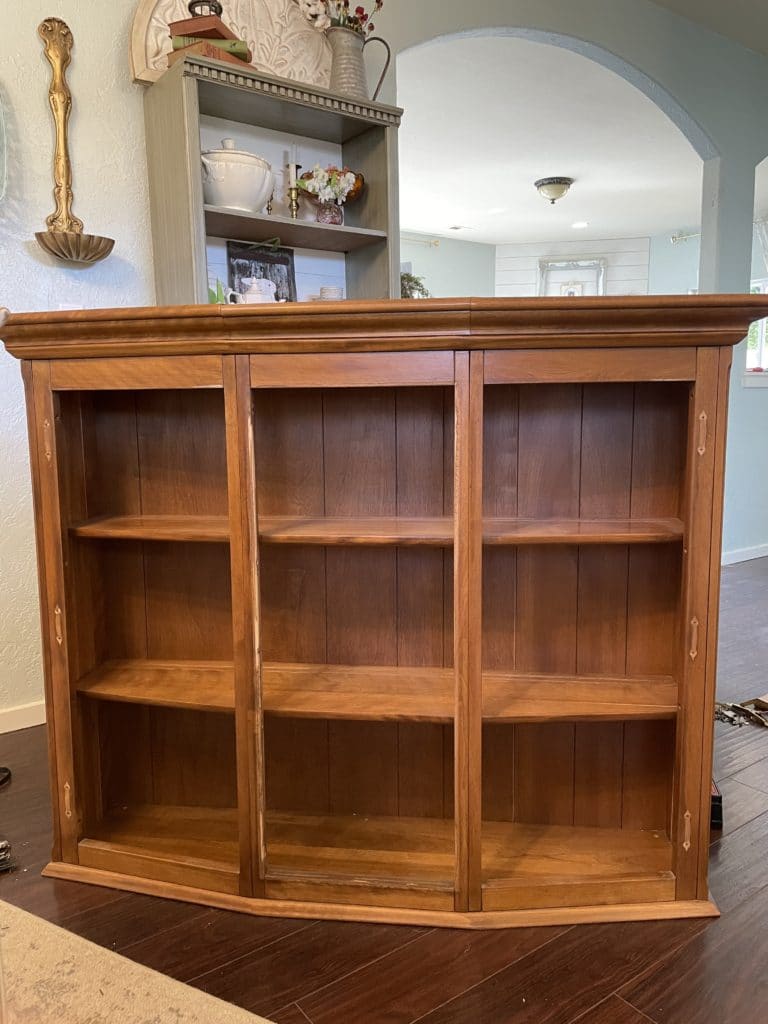
Off came the glass doors. I love that the shelves in the upper part are solid wood and not glass like so many china hutches.
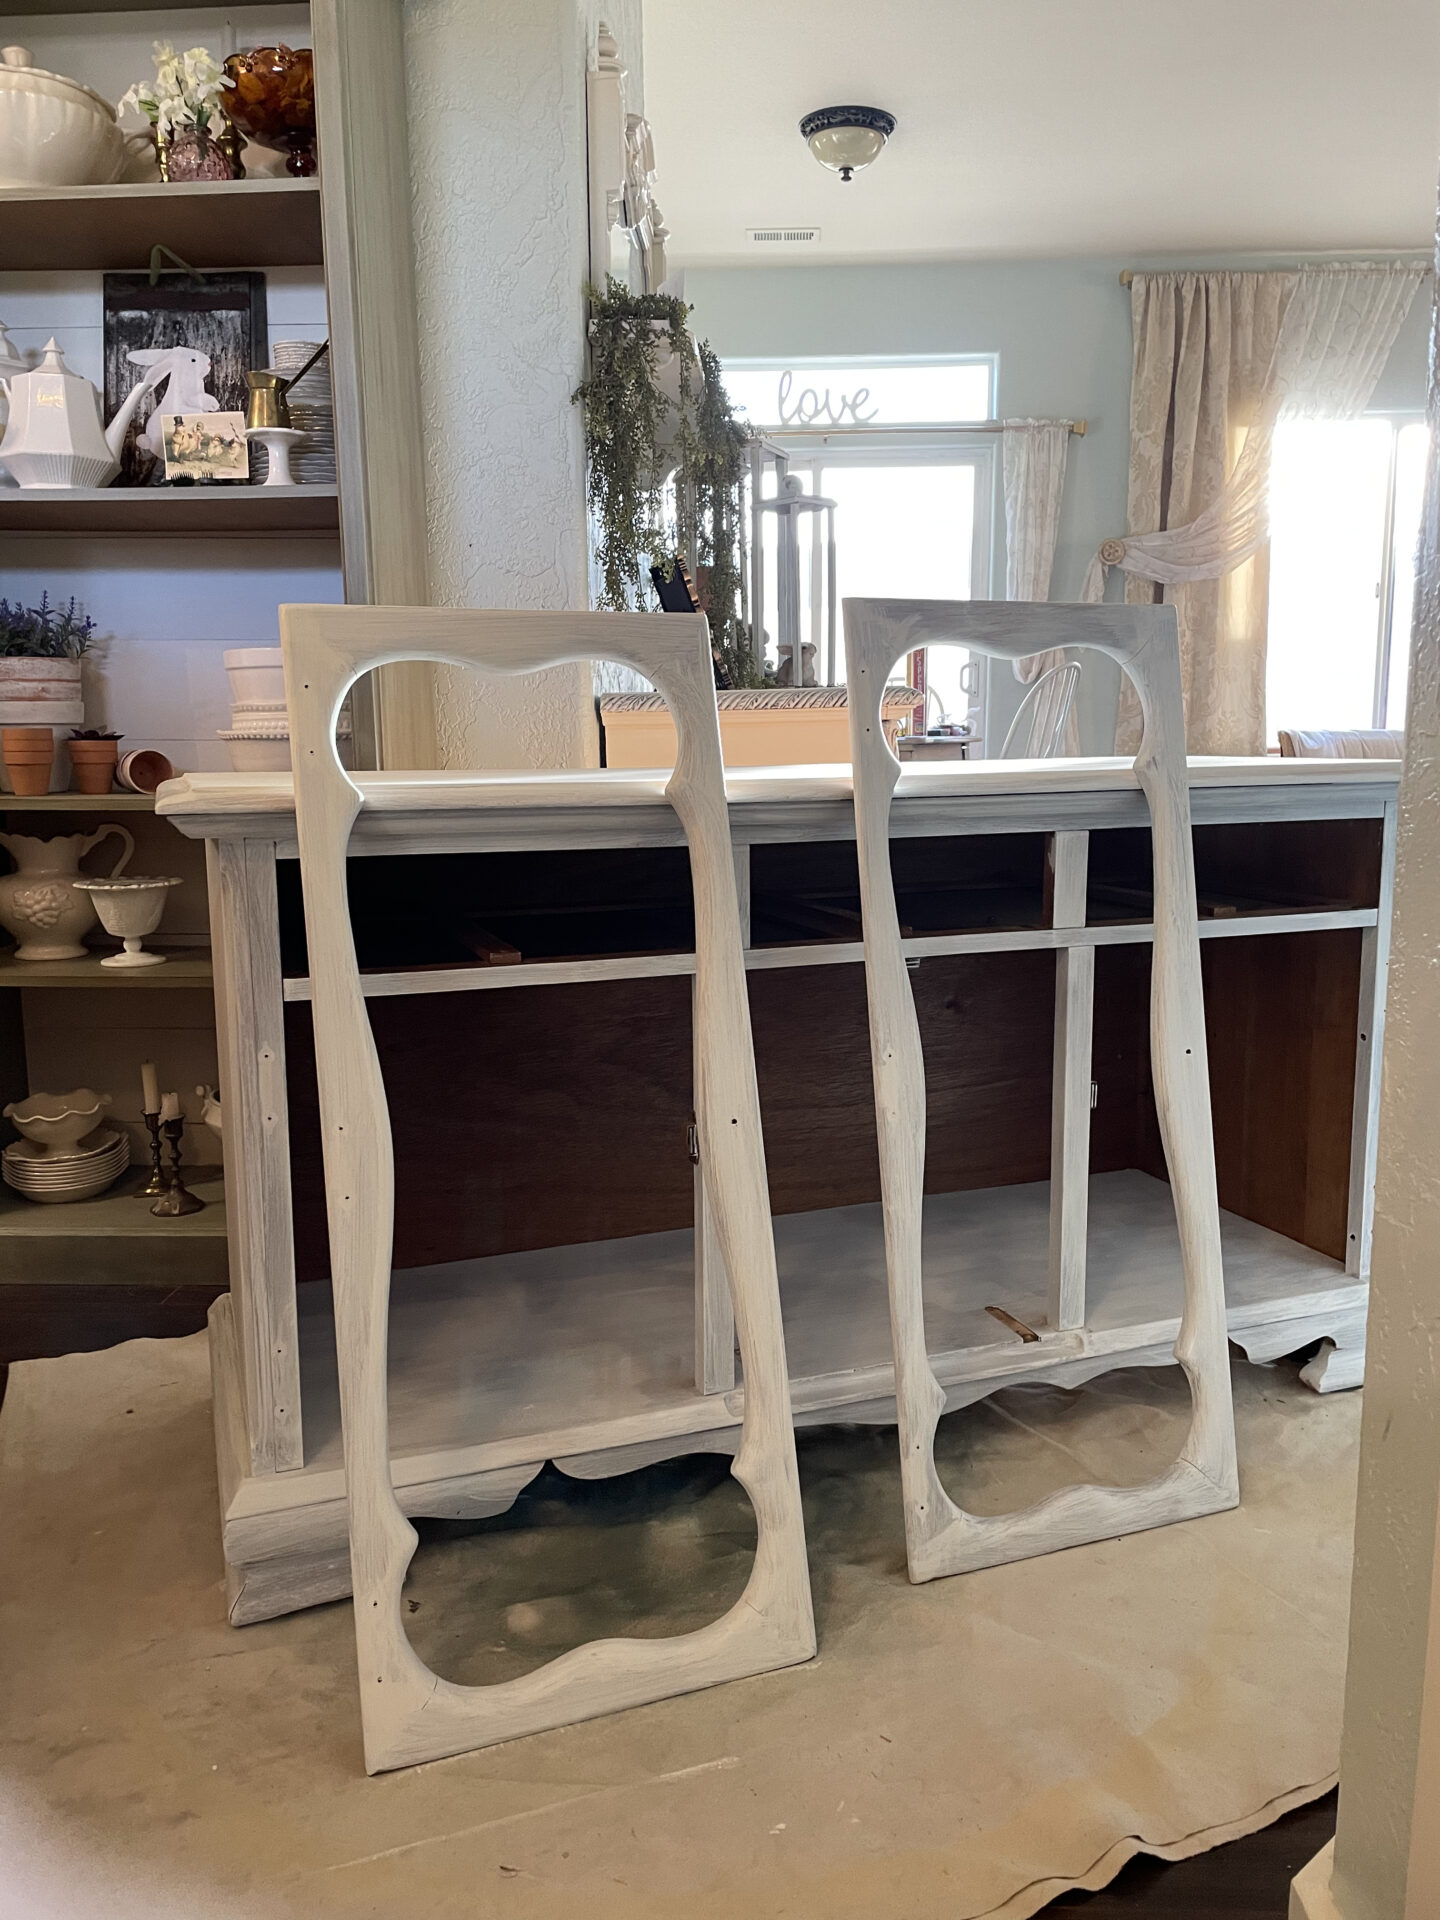
After washing every last square inch of the entire piece I grabbed my homemade chalk paint and a brush and set to work!
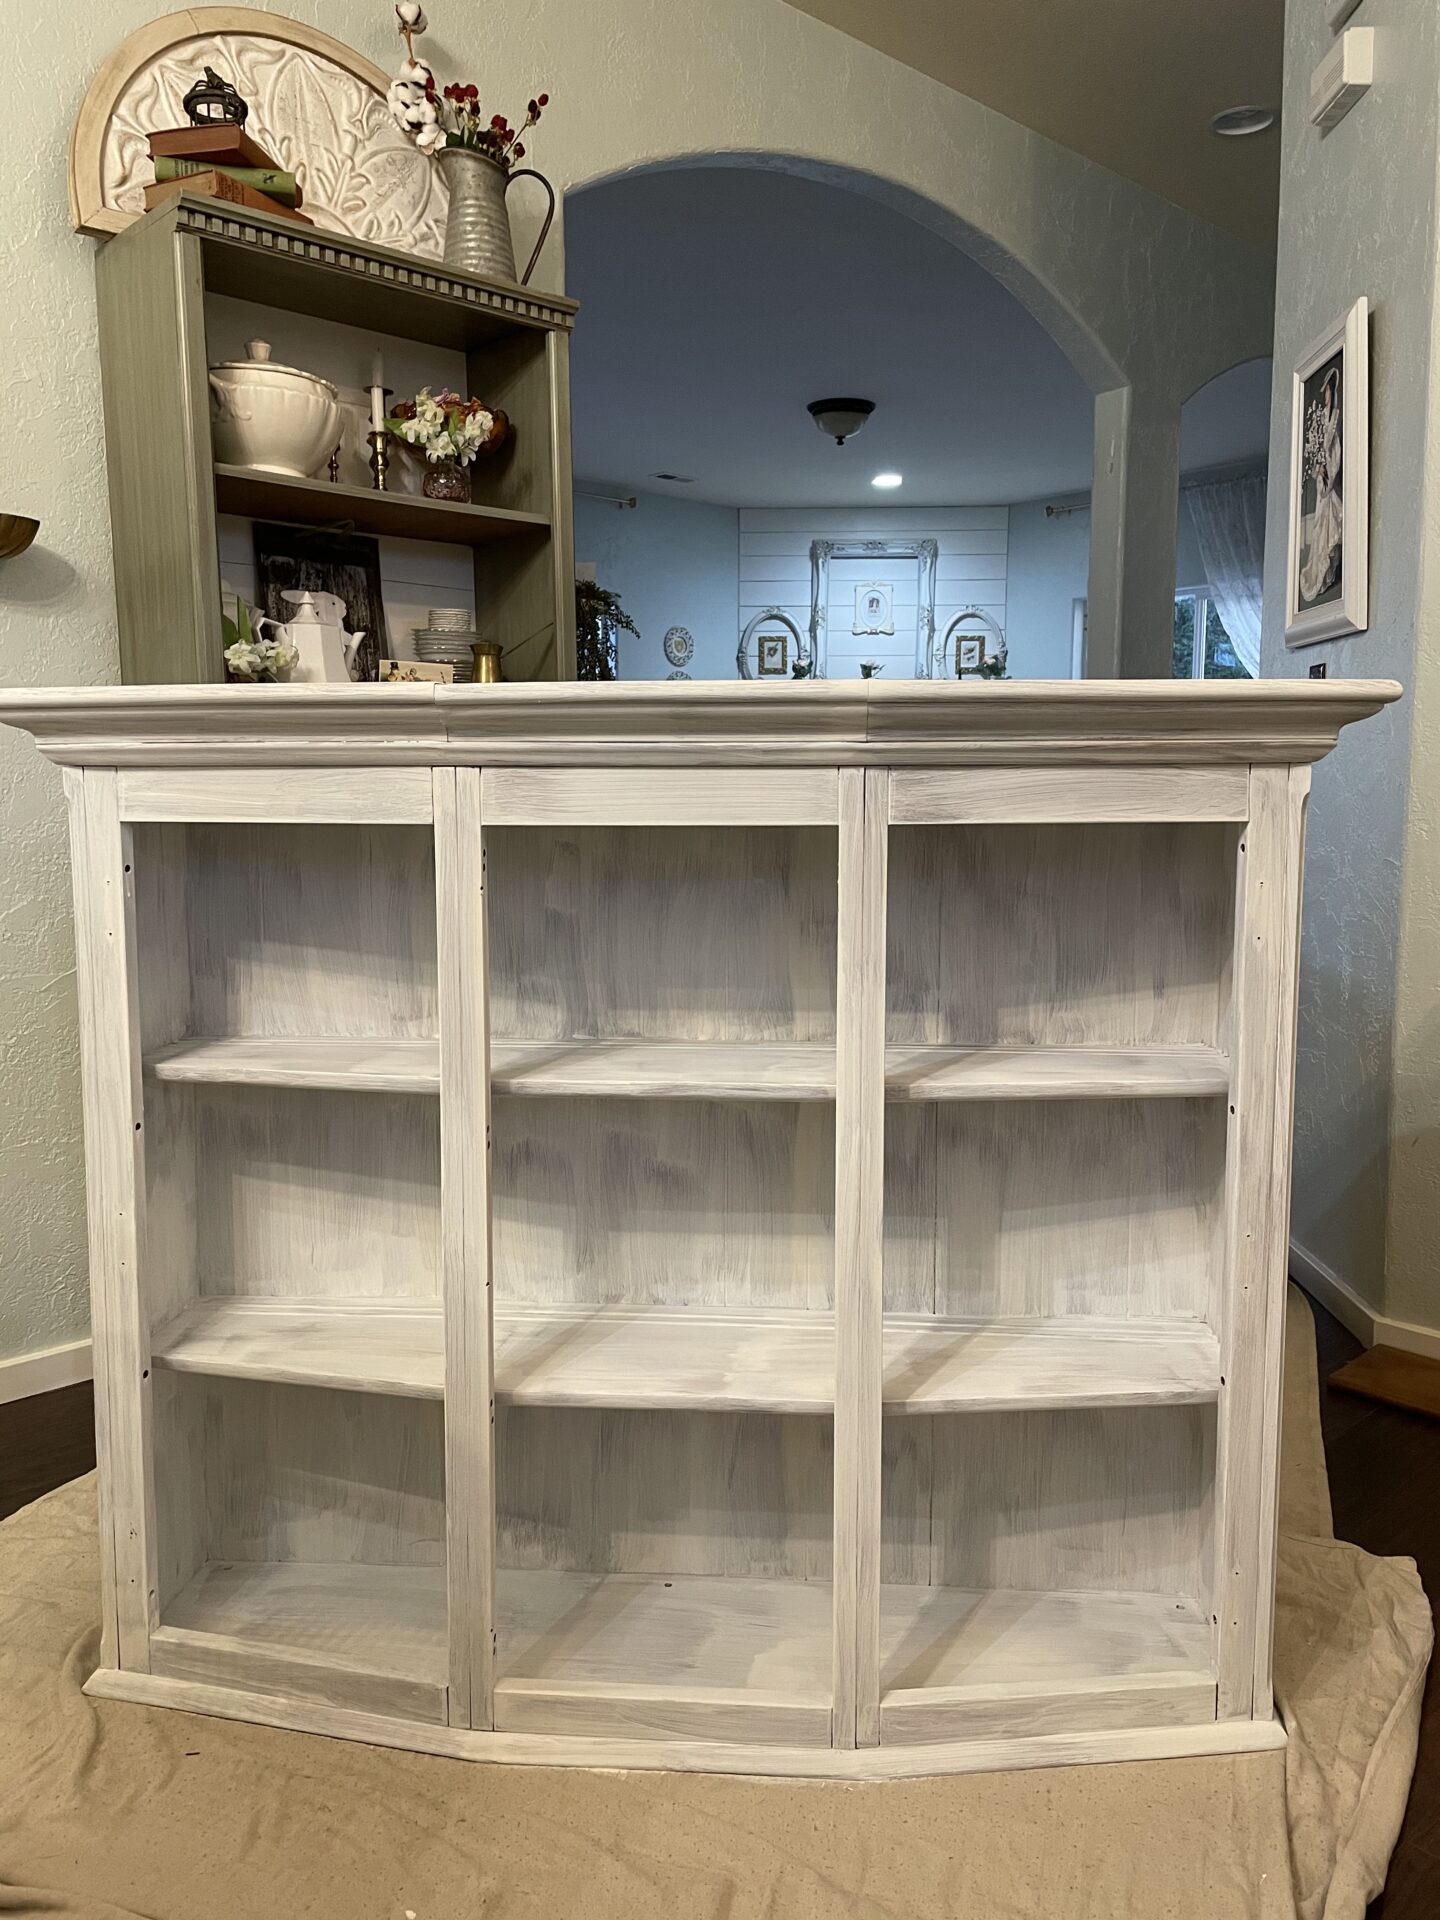
The first coat always leaves you wondering what you were thinking! It’s streaky and ugly and you sometimes question your vision but press on!
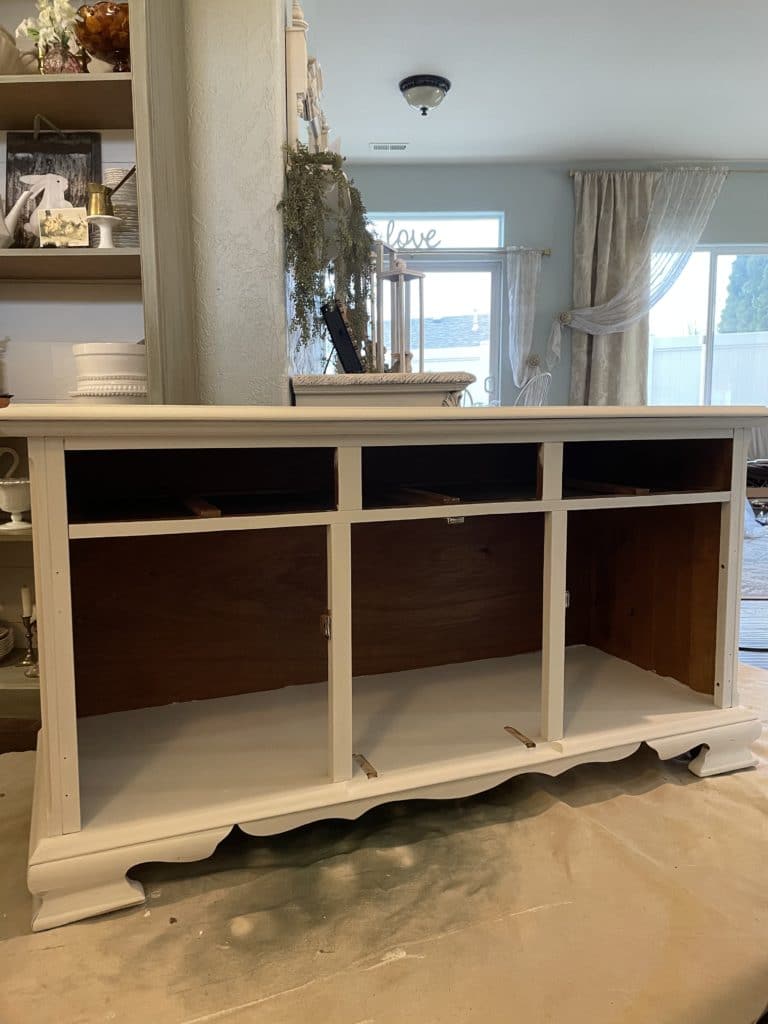
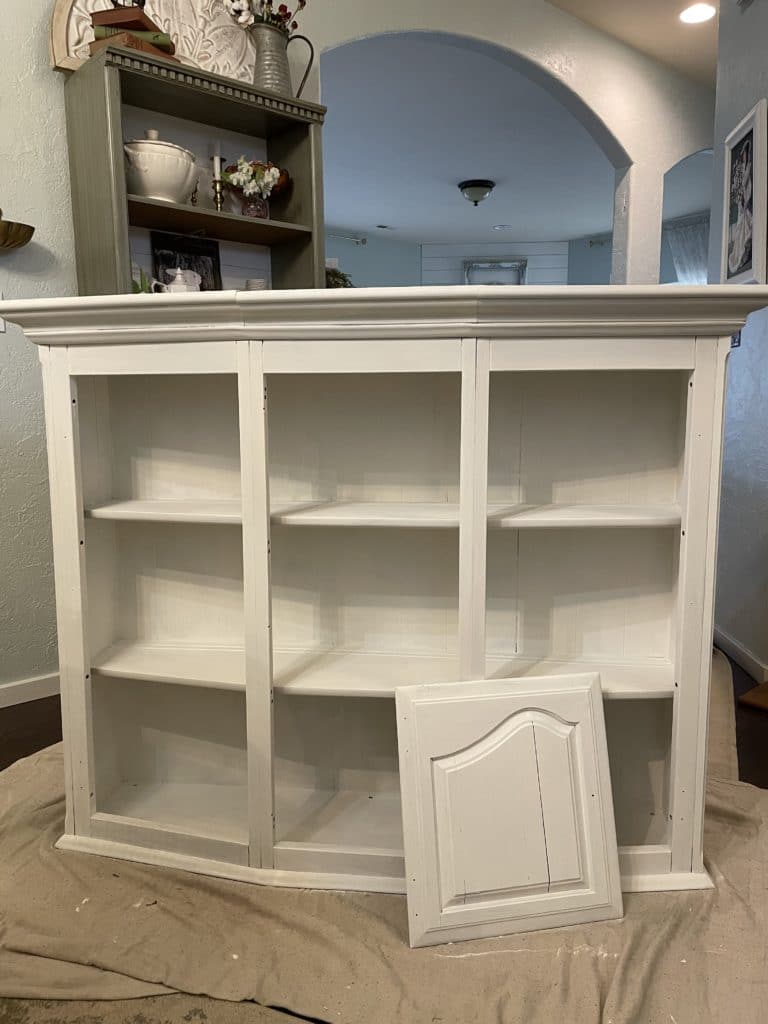
By the second coat things always look a lot better and the end is in sight. Depending on the piece, sometimes 2 coats will do the trick but sometimes it takes 3 and this was one of those times.
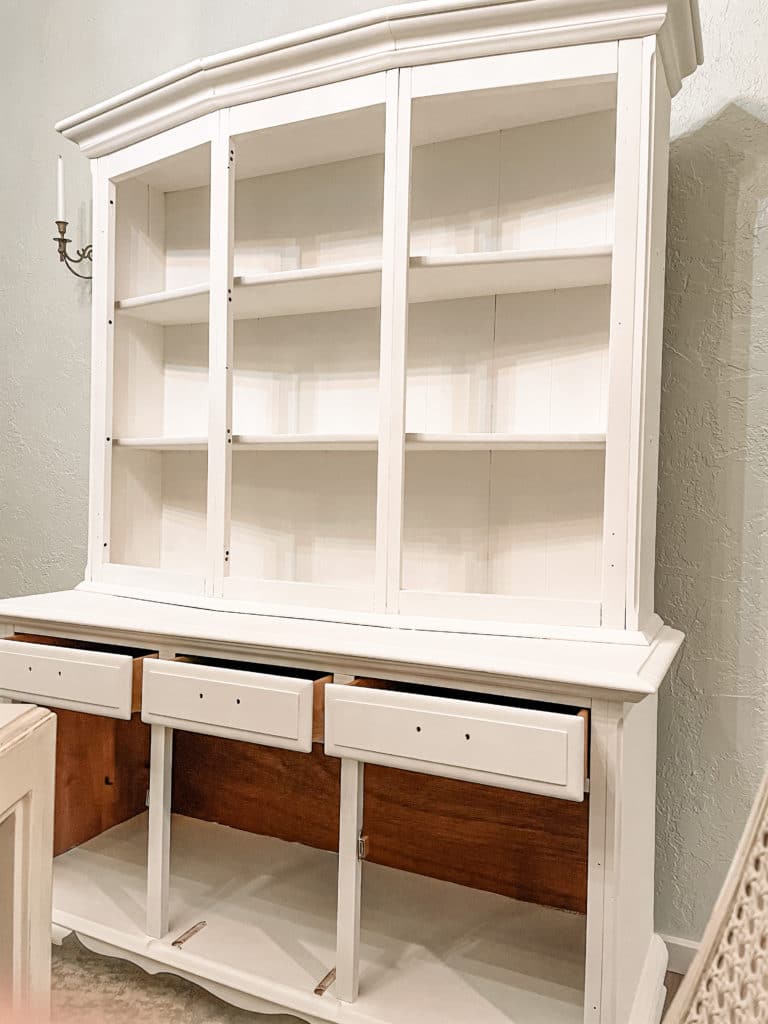
Then it was time to put it together and secure the top piece to the bottom piece.
It was starting to get REALLY exciting.
I gave it a light distressing with fine grit sandpaper and brought more attention to the cracks in the wood wherever I found them as well as edges and places where it would wear the fastest over time.
Then I finished everything with 2 coats of Polyurethane in a satin finish.
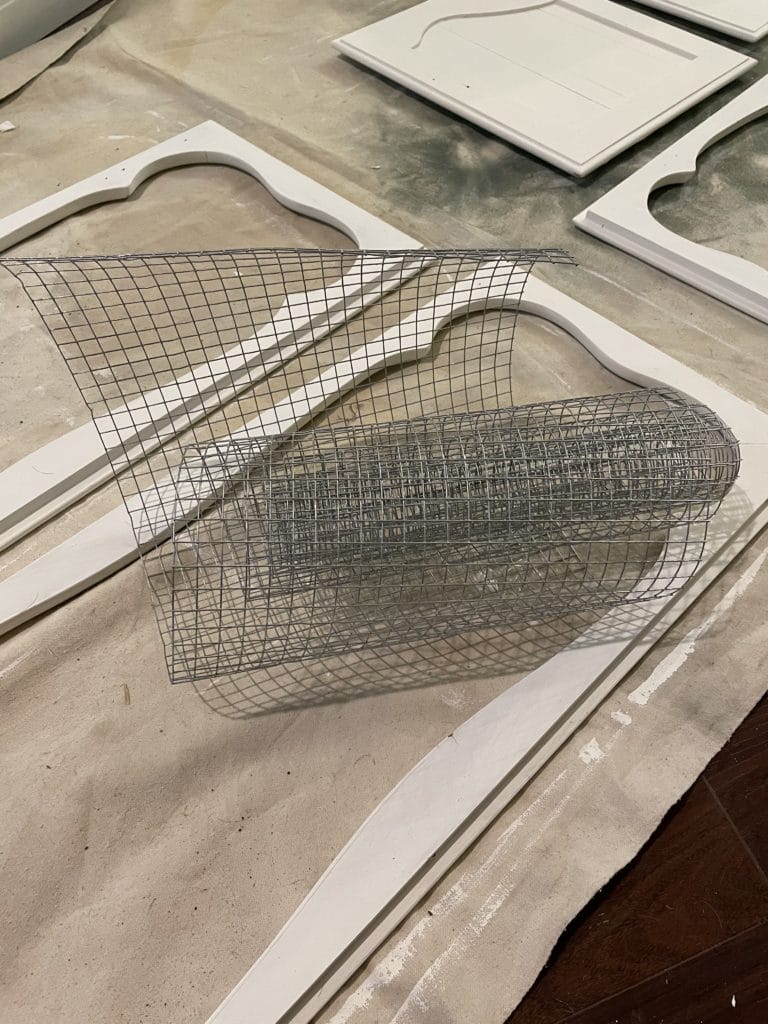
Now for the doors. I went to the garden section of my local Home Depot and grabbed a couple of rolls of wire mesh.
You have to be really careful cutting this because the wire is very sharp. A pair of work gloves or garden gloves are a really good idea and you can just cut each wire with regular wire cutters.
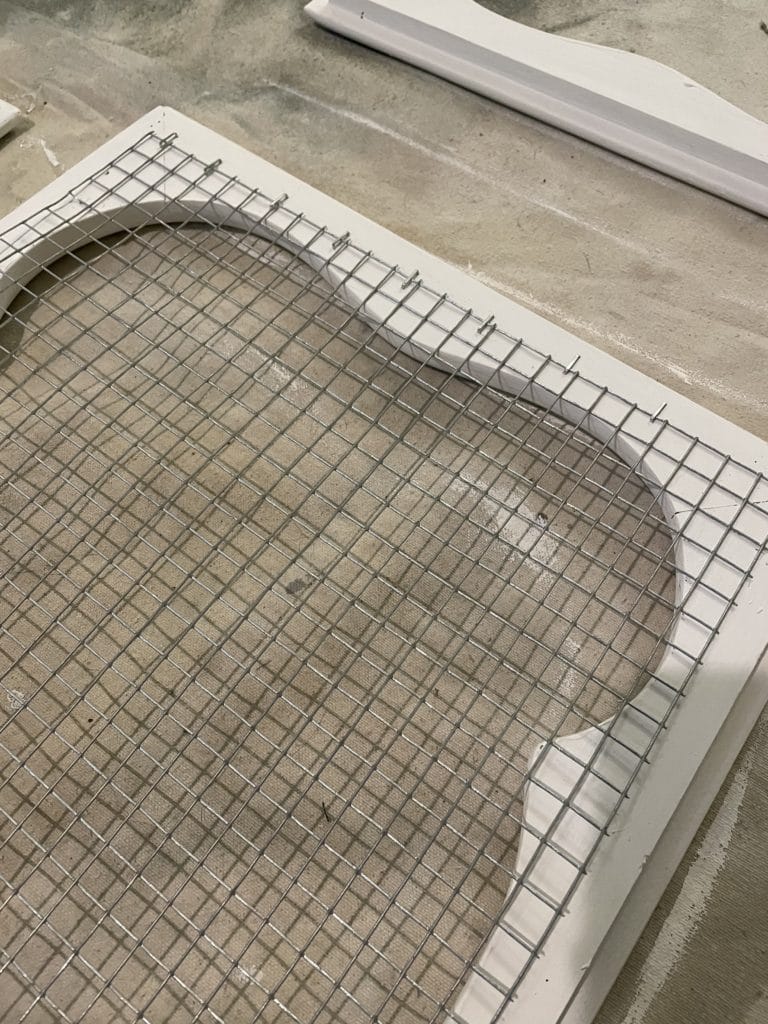
It’s very stiff and a bit tricky when you first start attaching the piece to the back of the doors but once you get one edge stapled down it gets so much easier.
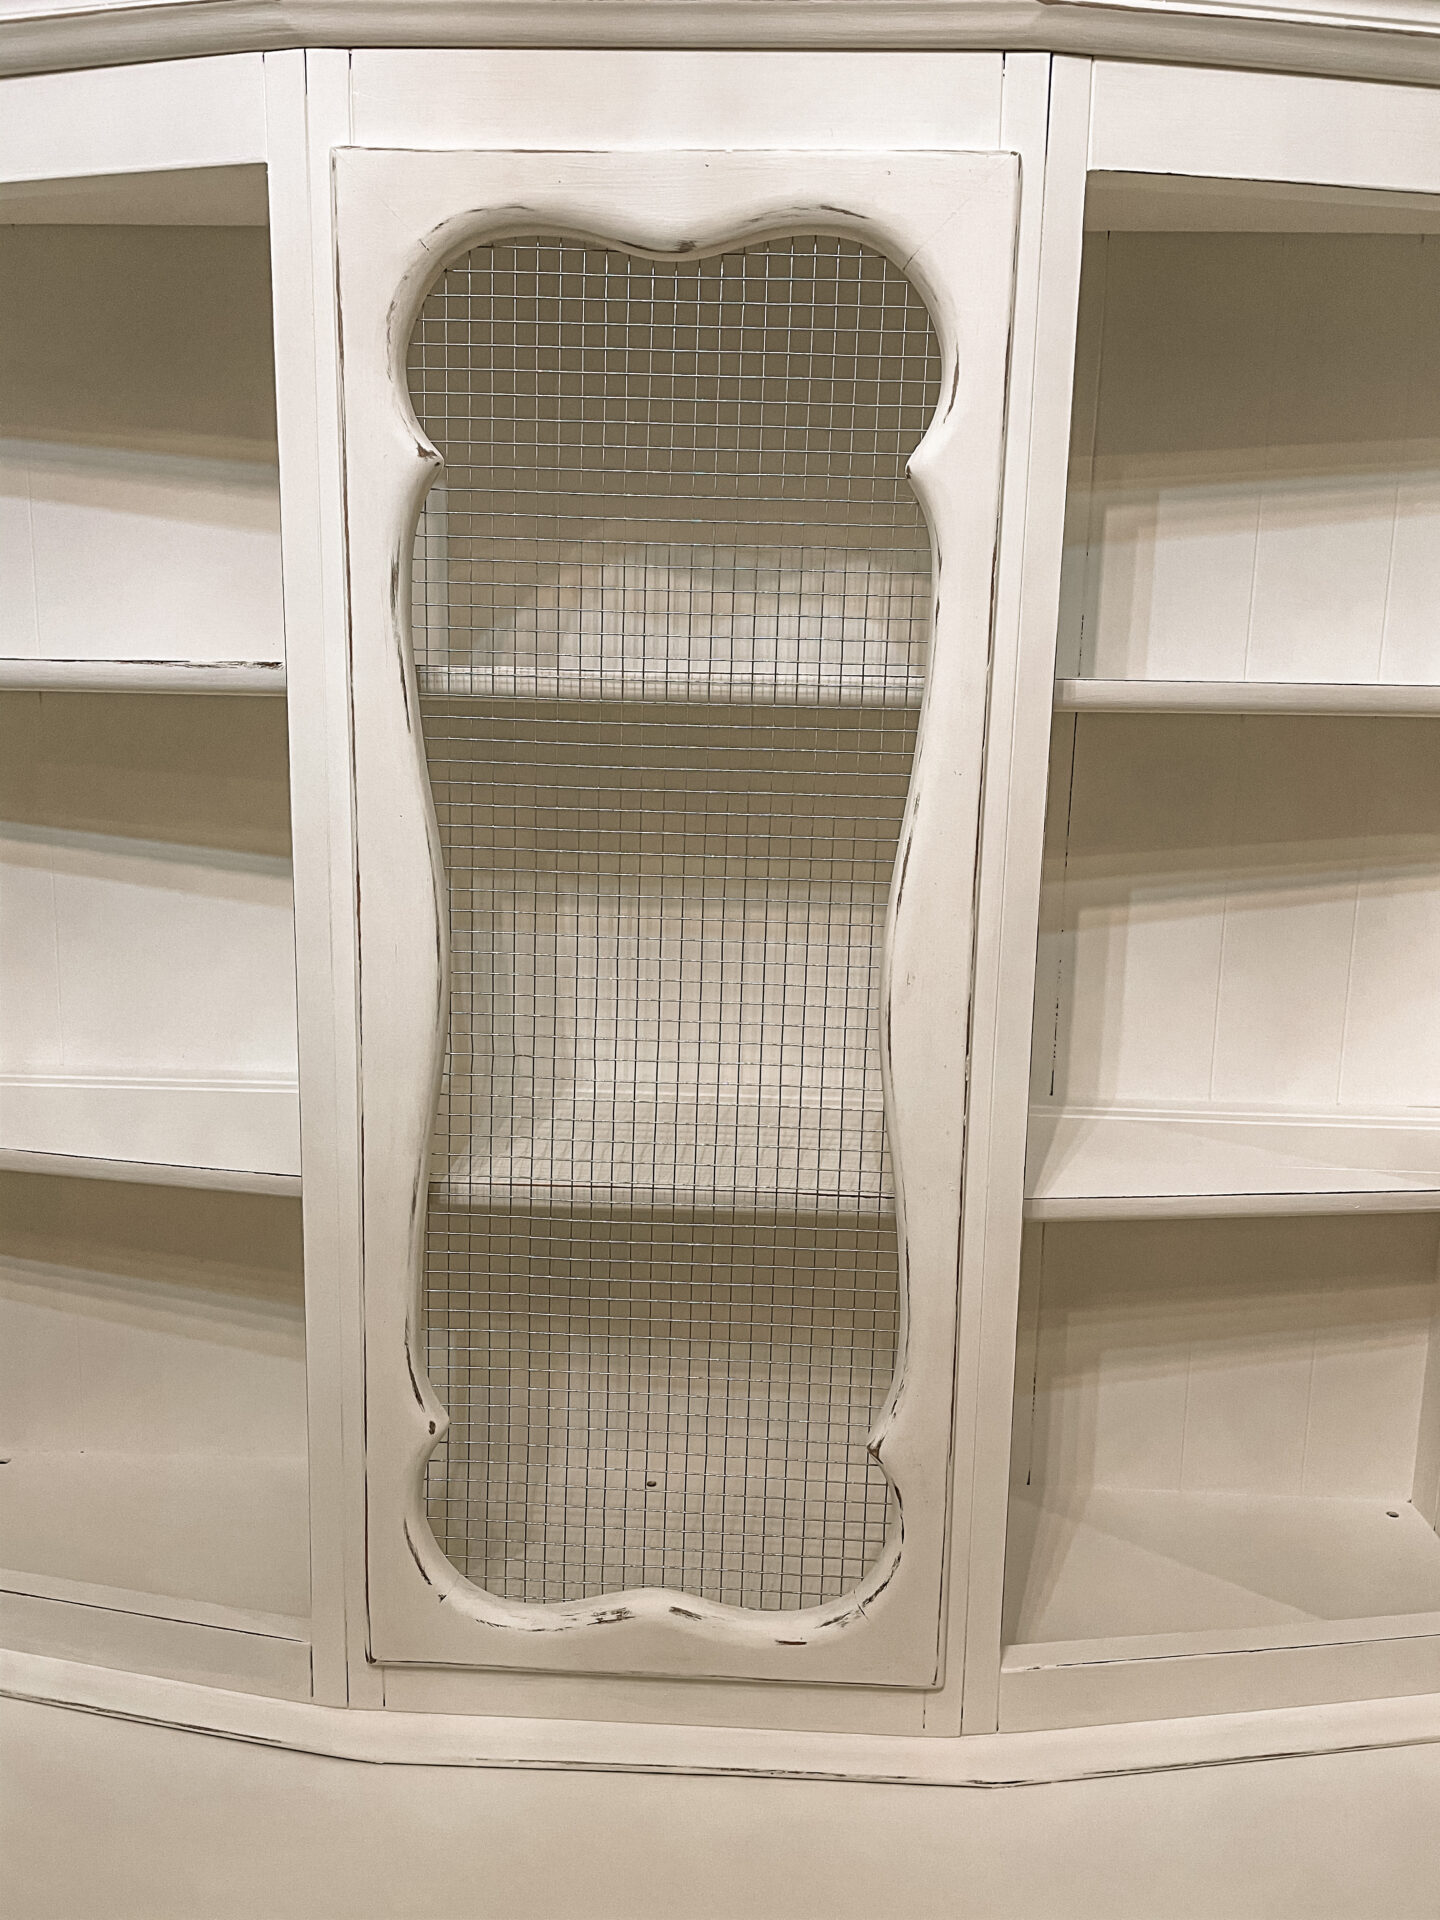
Ta Da!
I love it! Now only 2 more doors to put wire mesh in.
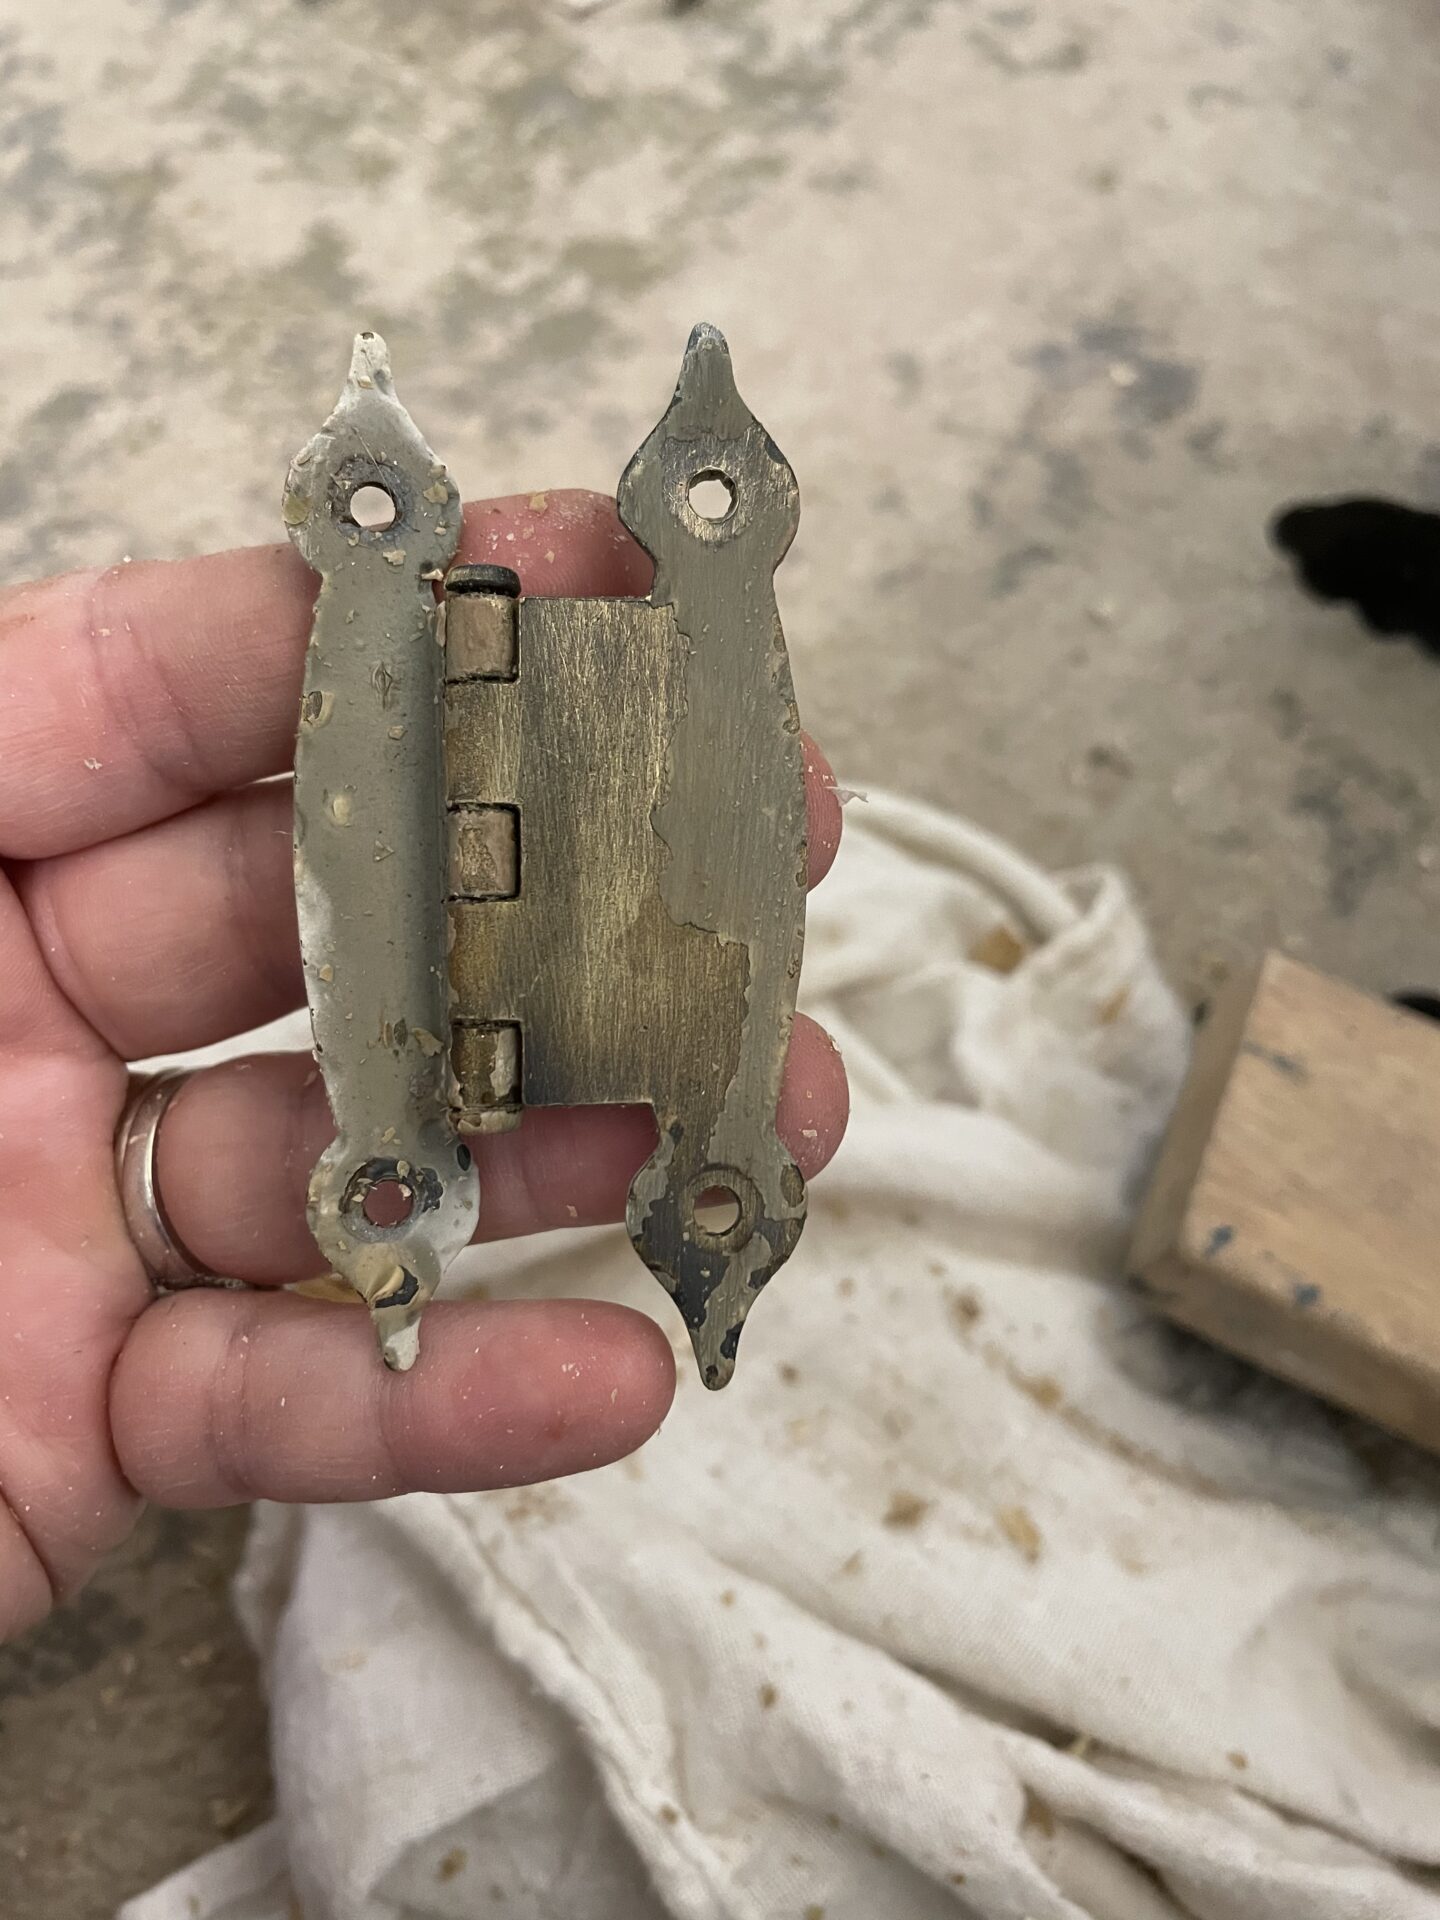
The hardware that I kept was pretty dirty but overall was in good shape so I kept them all. I cleaned them really well using a soft cloth and lots and lots of elbow grease.
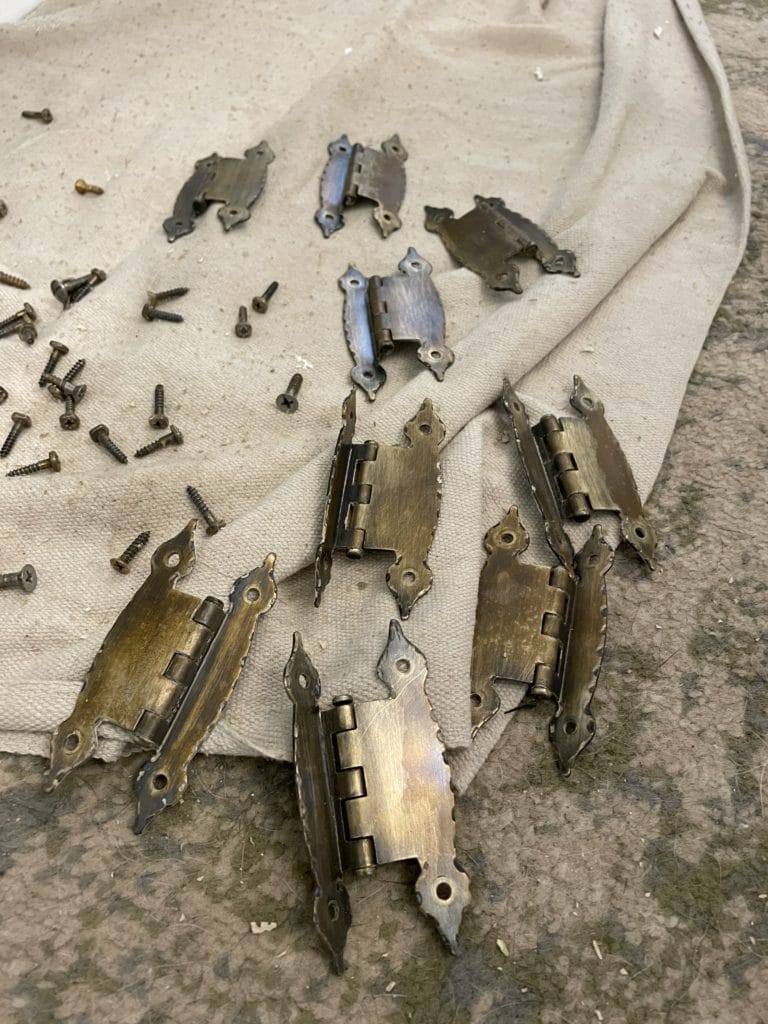
Here are the hinges once I had them all cleaned. Perfectly functional but not that pretty but I had an idea!
Don’t I always?
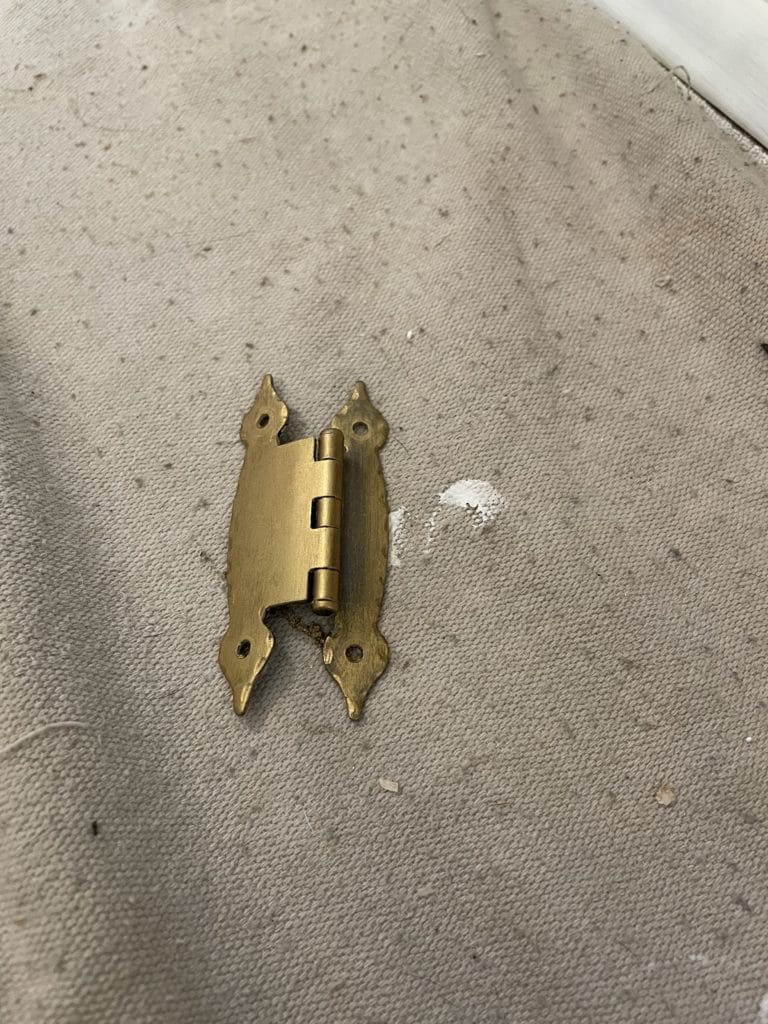
Can anyone say Rub ‘n’ Buff?
I used the color Gold Leaf and rubbed it on with a soft cloth.
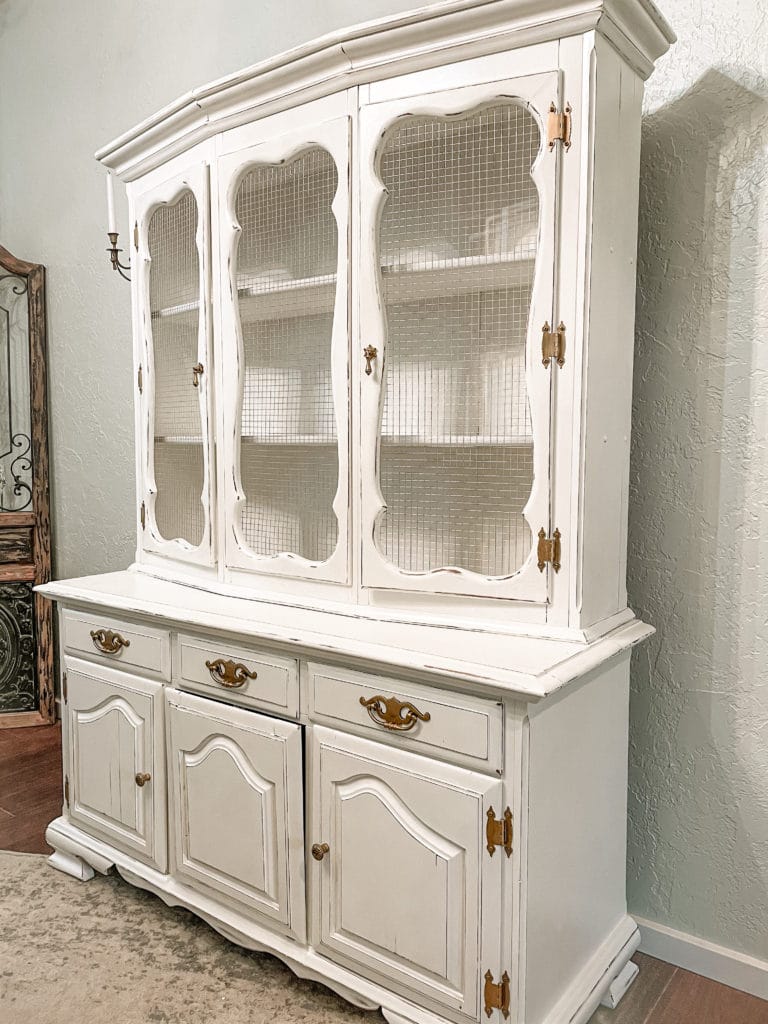
I put everything back together and replaced some of the knobs and pulls for new ones.
Done, right?
You’d think so but not me. It still needed a little something.
A little bling.
Some jewelry.
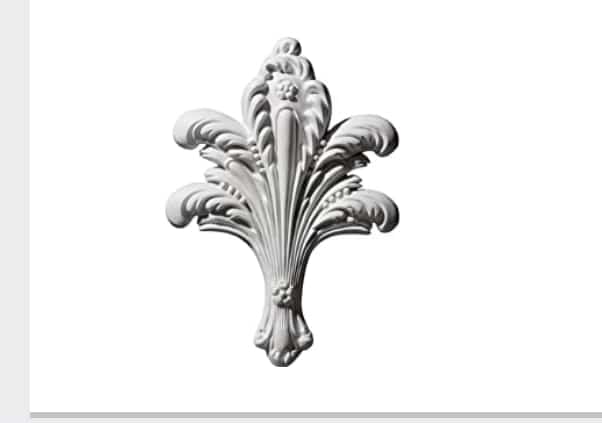
I ordered some onlays from Amazon including this one for the middle lower door. (Product links at bottom of this post)
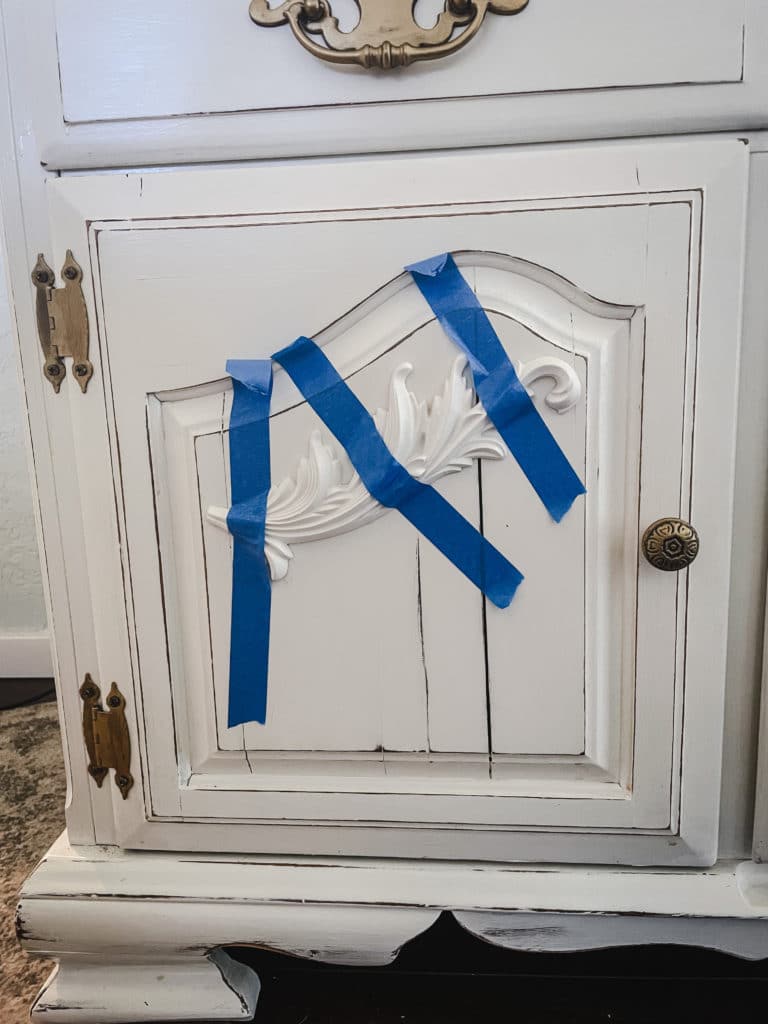
Then I glued them on with E6000 adhesive and held them in place with some painter’s tape while the glue dried.
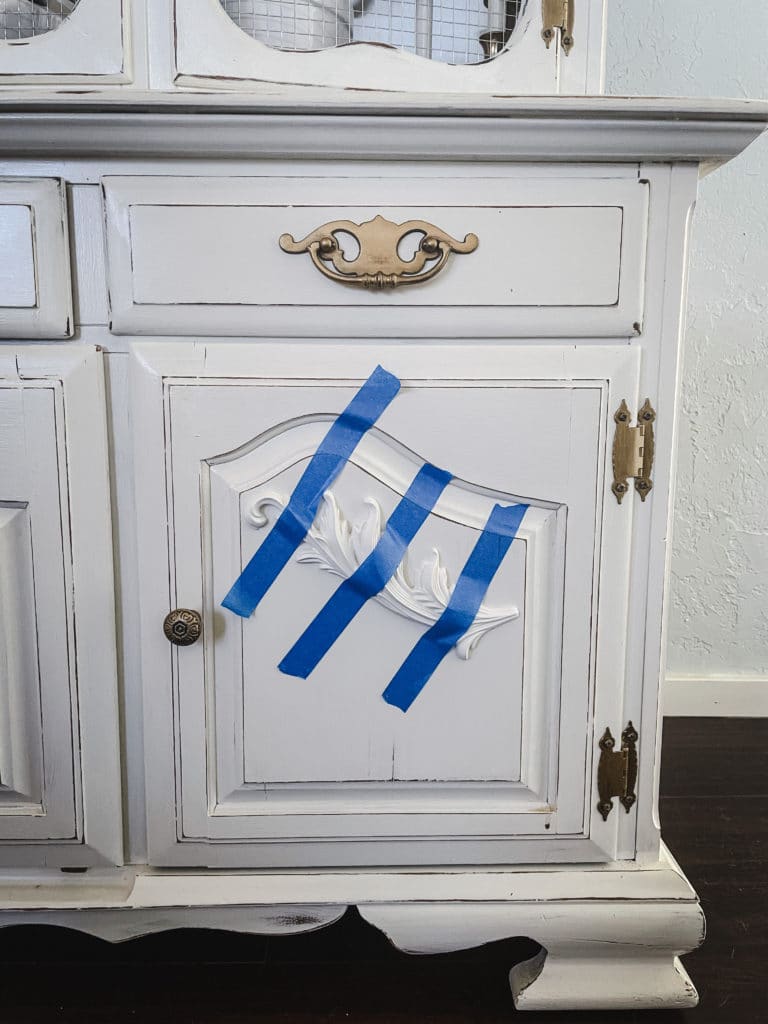
Don’t forget to caulk around the edge of your onlay. It might take a little time and be a bit annoying but it makes all the difference in the look of your finished piece. Trust me.
Once the caulking had dried I painted over the onlay with the same chalk paint as I used for the entire piece so the color would be the same.
You can always add some dark wax or antiquing glaze if you want the details of the onlay to stand out a little more. I wanted mine to be there but subtle and not take over the piece so I just left them white. If your onlays are made of wood you can always distress them a little as well.
But you’re still wondering why I call this hutch Aurora, right?
It’s simple.
When I found her she was sleeping and needed to be awakened by a kiss of chalk paint!
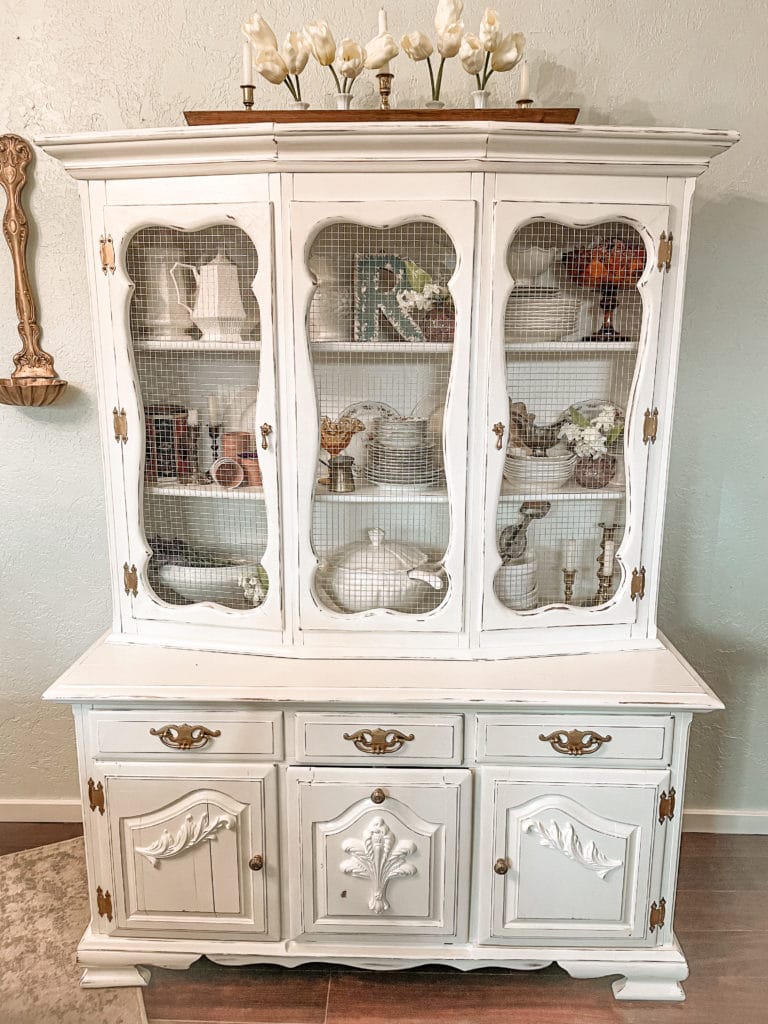
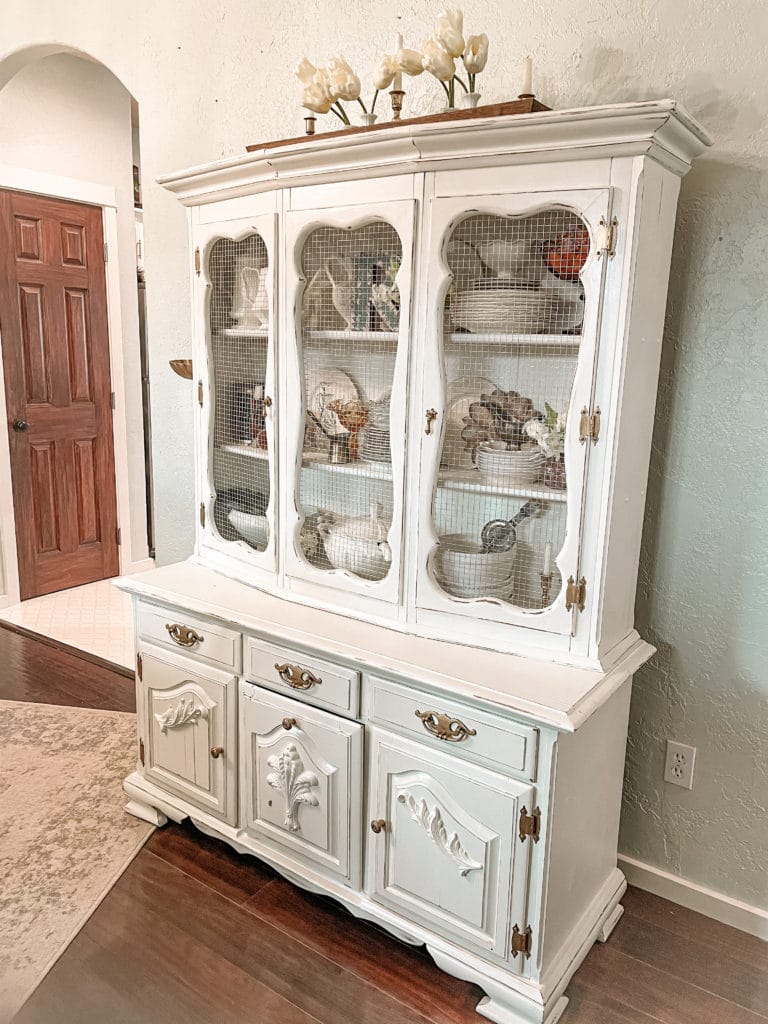
Until next time…
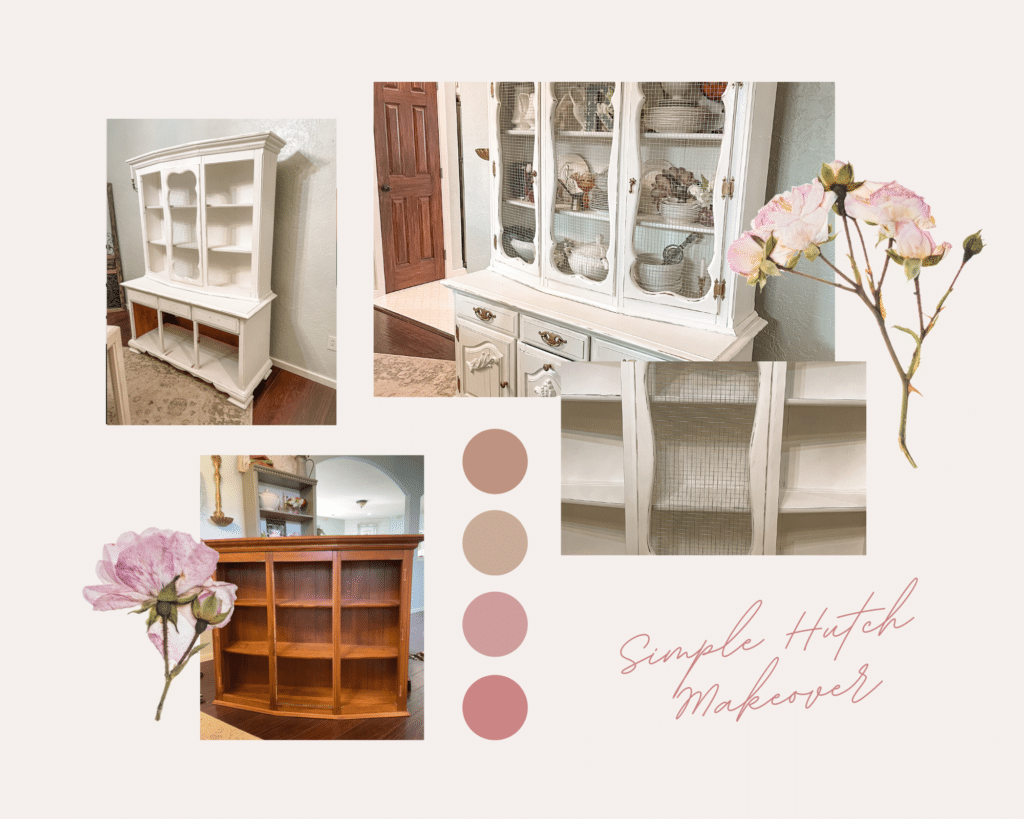
Pin for later…
This site contains affiliate links to products. I may receive a small compensation for purchases made through these links but it will not affect your price in any way.
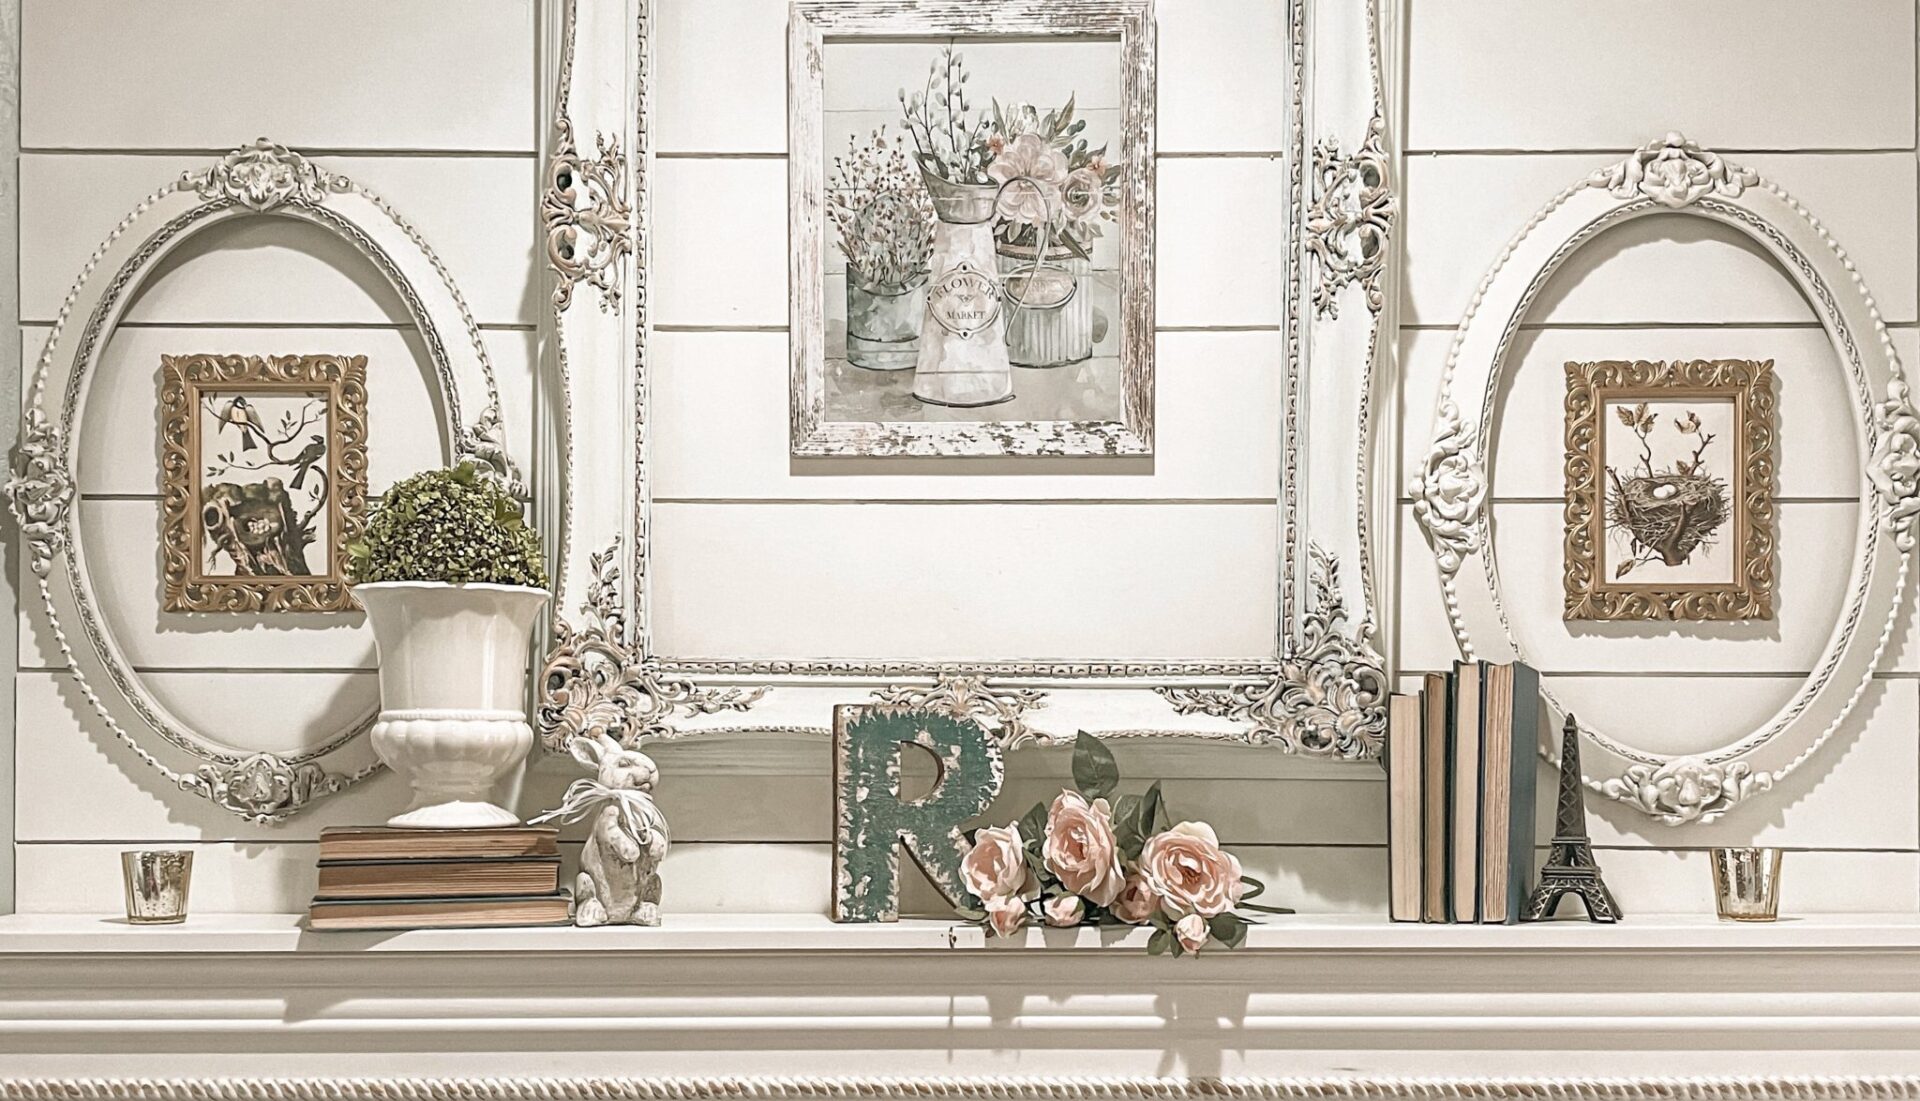
beautiful job, Tara. Love how you have this styled; it turned out lovely!
Thank you so much, Debra. I appreciate you stopping by and taking the time to leave me a comment. You made my day.
[…] Tara – China Hutch Makeover […]
Tara the hutch turned out fabulously, I love the jewelry elements and how you applied them.
Thank you so much! I appreciate that. Don’t those little extra details make all the difference? I’m a detail person for sure….
Thanks for stopping by my home today 🤗
Wow that looks absolutely stunning, great job
Thank you so much! I really appreciate you stopping by my home. Have a wonderful day!
[…] Why I Call My China Hutch “Aurora” […]
[…] the moment I’m admiring them on my dining table but you can bet they’ll end up in Aurora at some point and be made into many lovely tablescapes and centerpieces over […]
[…] SO looking forward to dressing up Aurora for Christmas this year. The possibilities are endless and I honestly think it might be the first […]
[…] am ridiculously excited to think about styling Aurora for fall and Christmas this year. It’s gonna be piles and piles of fun! She will likely see a […]
[…] Aurora now stands where the piano once was…. […]
[…] I really get Aurora all decked out for fall without buying some new fall things? I’ve never had a hutch to style […]