
I’m so ready for some crispy cold weather and some snowflakes to be seen floating through the air. There is a good chance that I won’t see that any time soon – we don’t typically get much, if any, snow until January or February here. Kind of annoying since December and Christmas is when you want snow and about the time you are ready to be thinking spring thoughts, BAM! Along comes the snow.
I am not the only one that feels this way. My perennials in my flower garden get the same rude awakening every year when they’re considering poking their little heads above the cool ground to take a peep out at the fine day. Just then WHOOSH! Frosty the snowman!
Anyways, I’m so busy inside making things all cozy and festive that it can do what it likes outside and I probably wouldn’t notice anyways. Let’s crank up those Christmas tunes and get to work – shall we?
Y’all might remember the small riser I made quite a while back for one of our Thrift Store Challenges from a chunk of white oak I found. You can read all about it HERE.
While I like it, the size really doesn’t work most of the time for my large dining room table. Mostly I use it on my kitchen counter and it’s great to have for that. Still, I have been wanting a longer one for my dining table.
When that happens there is only one thing to do about it.
Make one!
Welcome back to another French Vintage Friday!

This week it’s all about french and vintage style, not a truly french or vintage piece. You can bet I will be styling it with vintage pieces though….
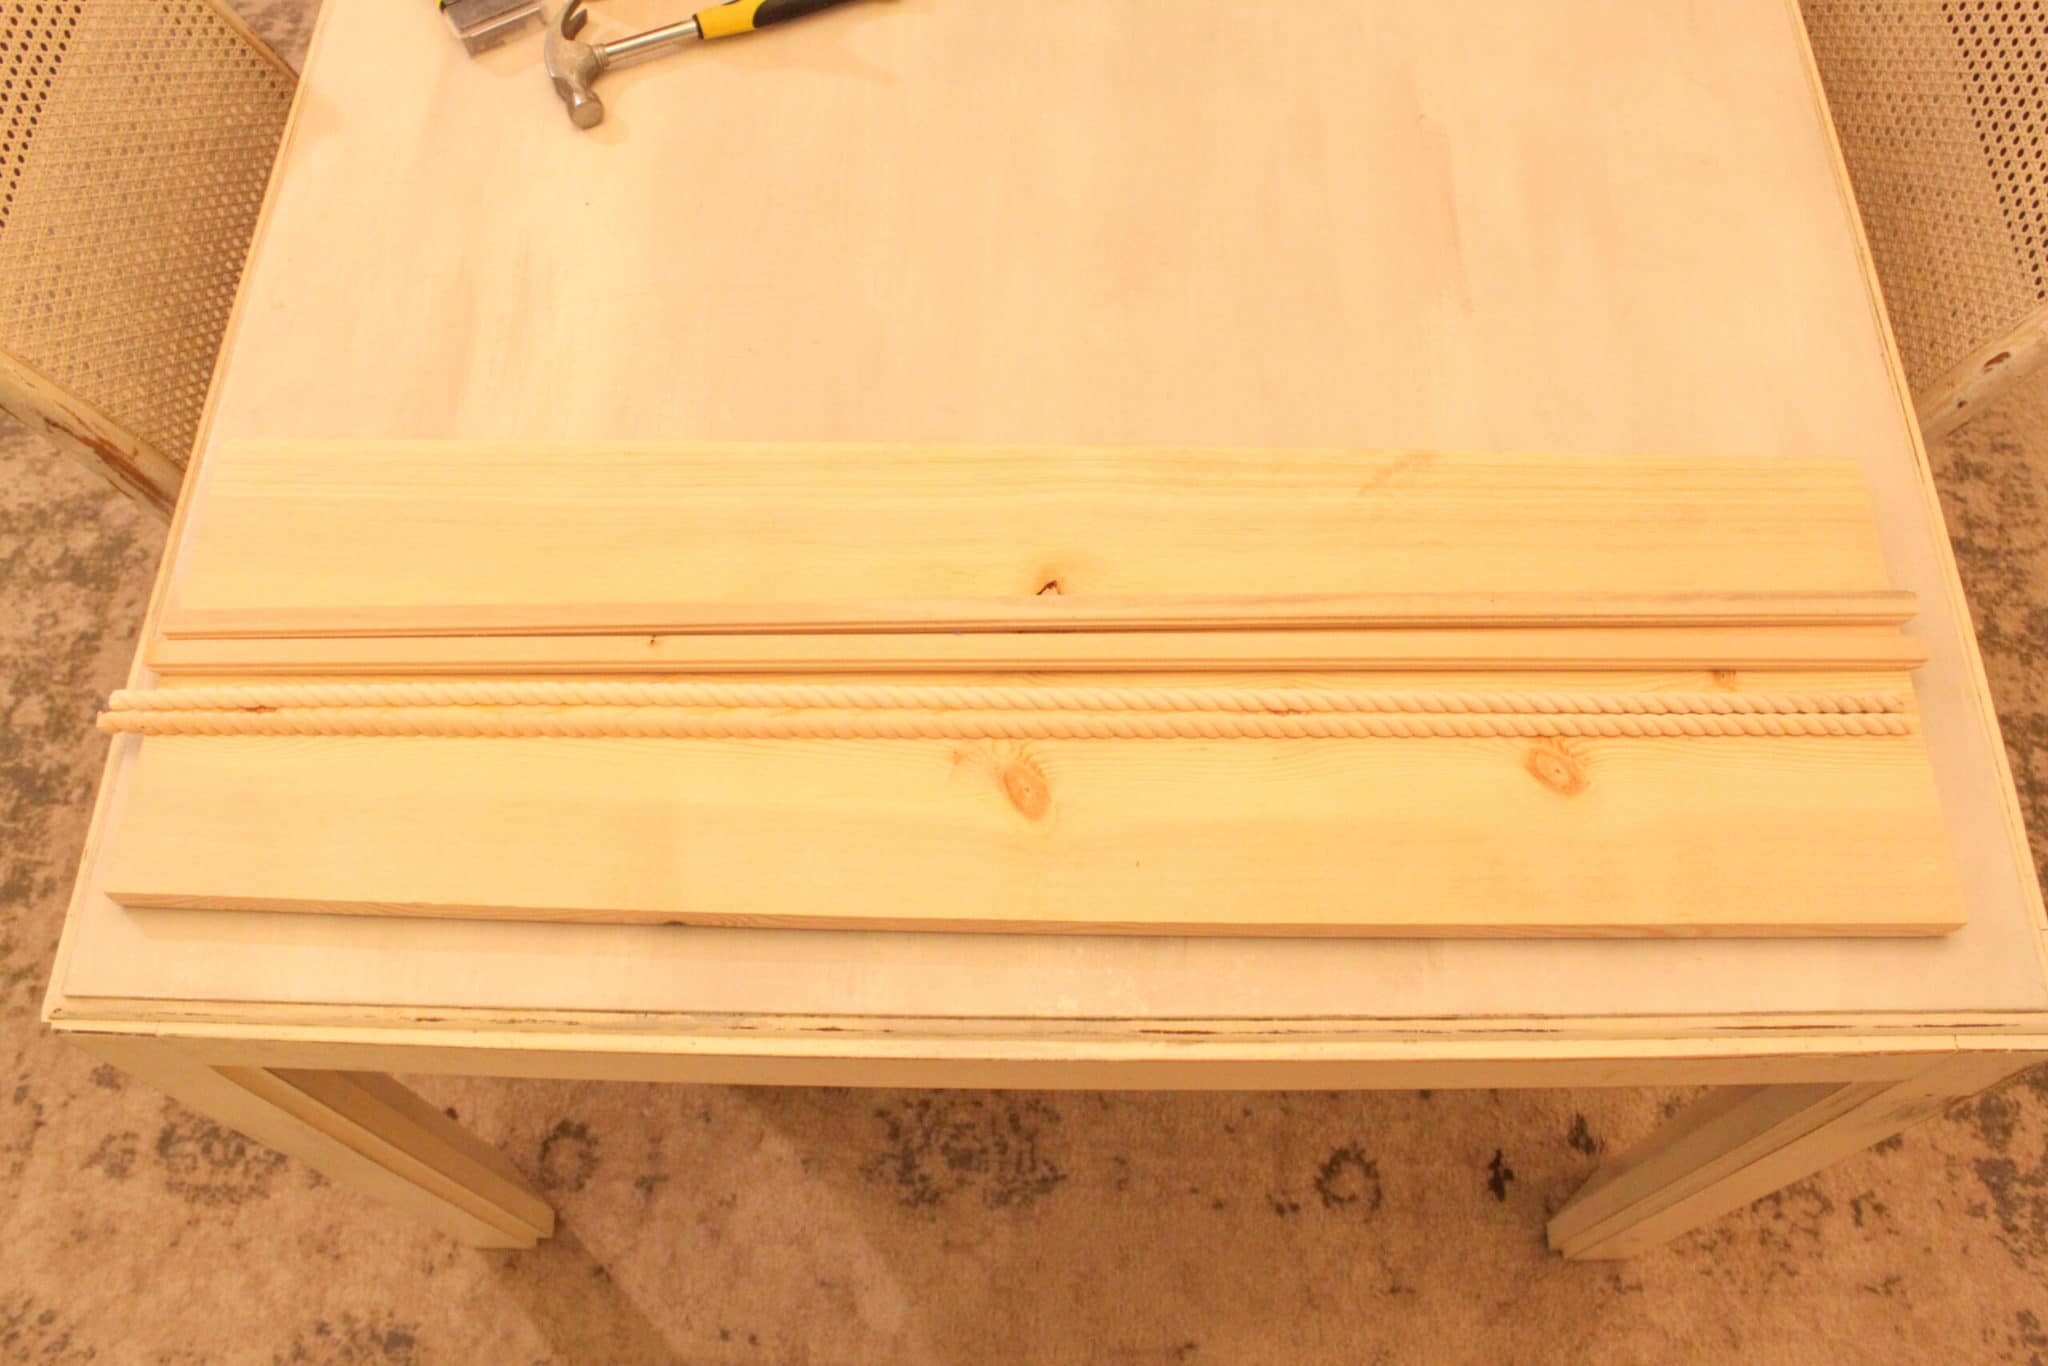
I went to Home Depot and grabbed a large piece of unfinished pine and some small trim.
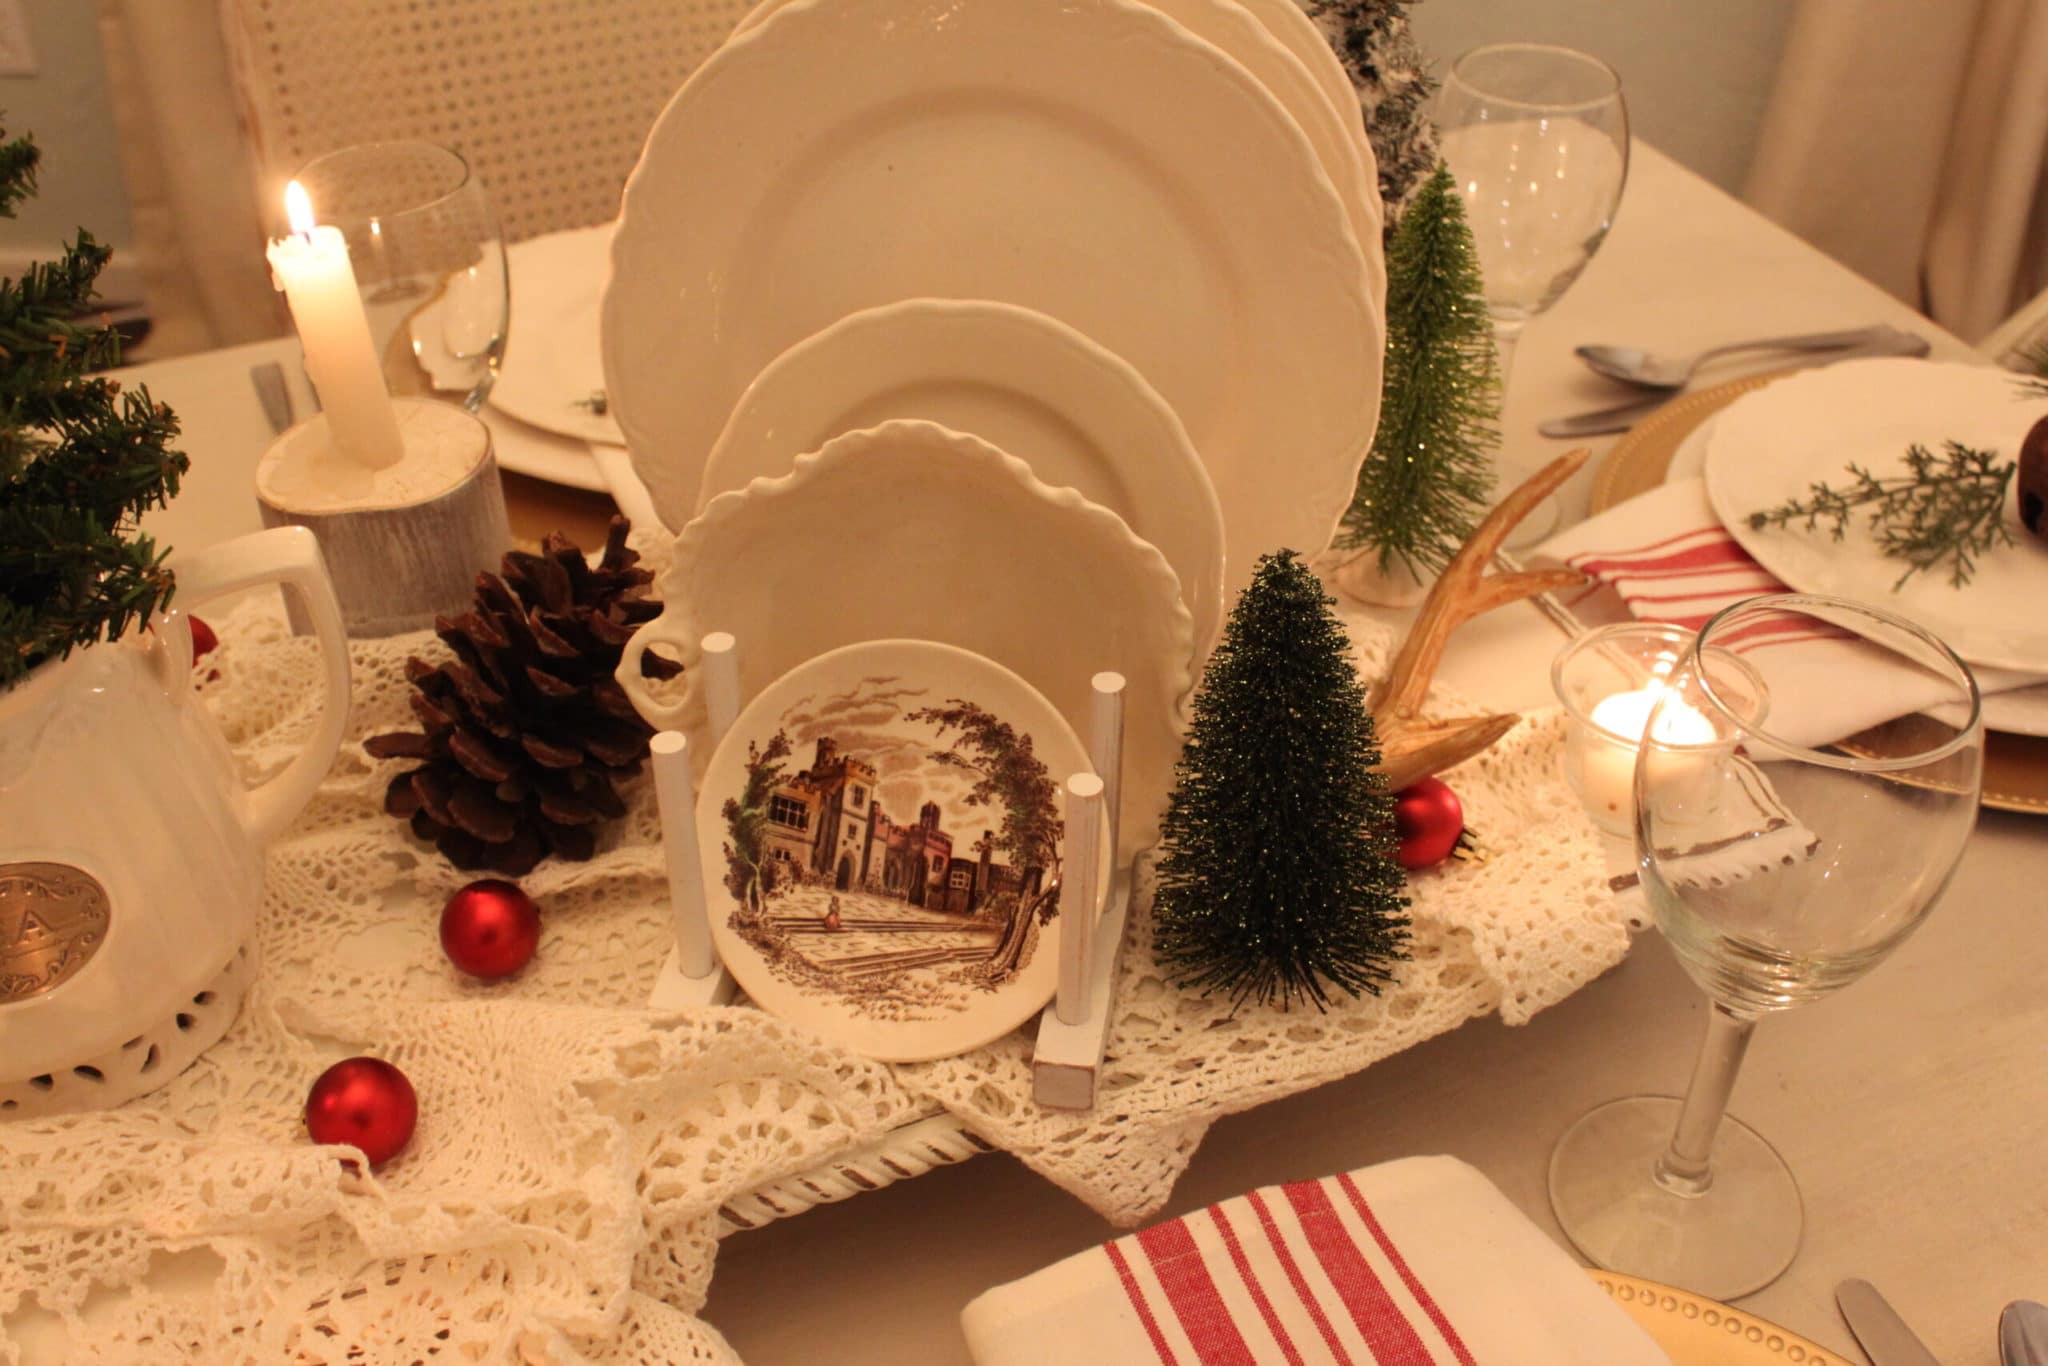
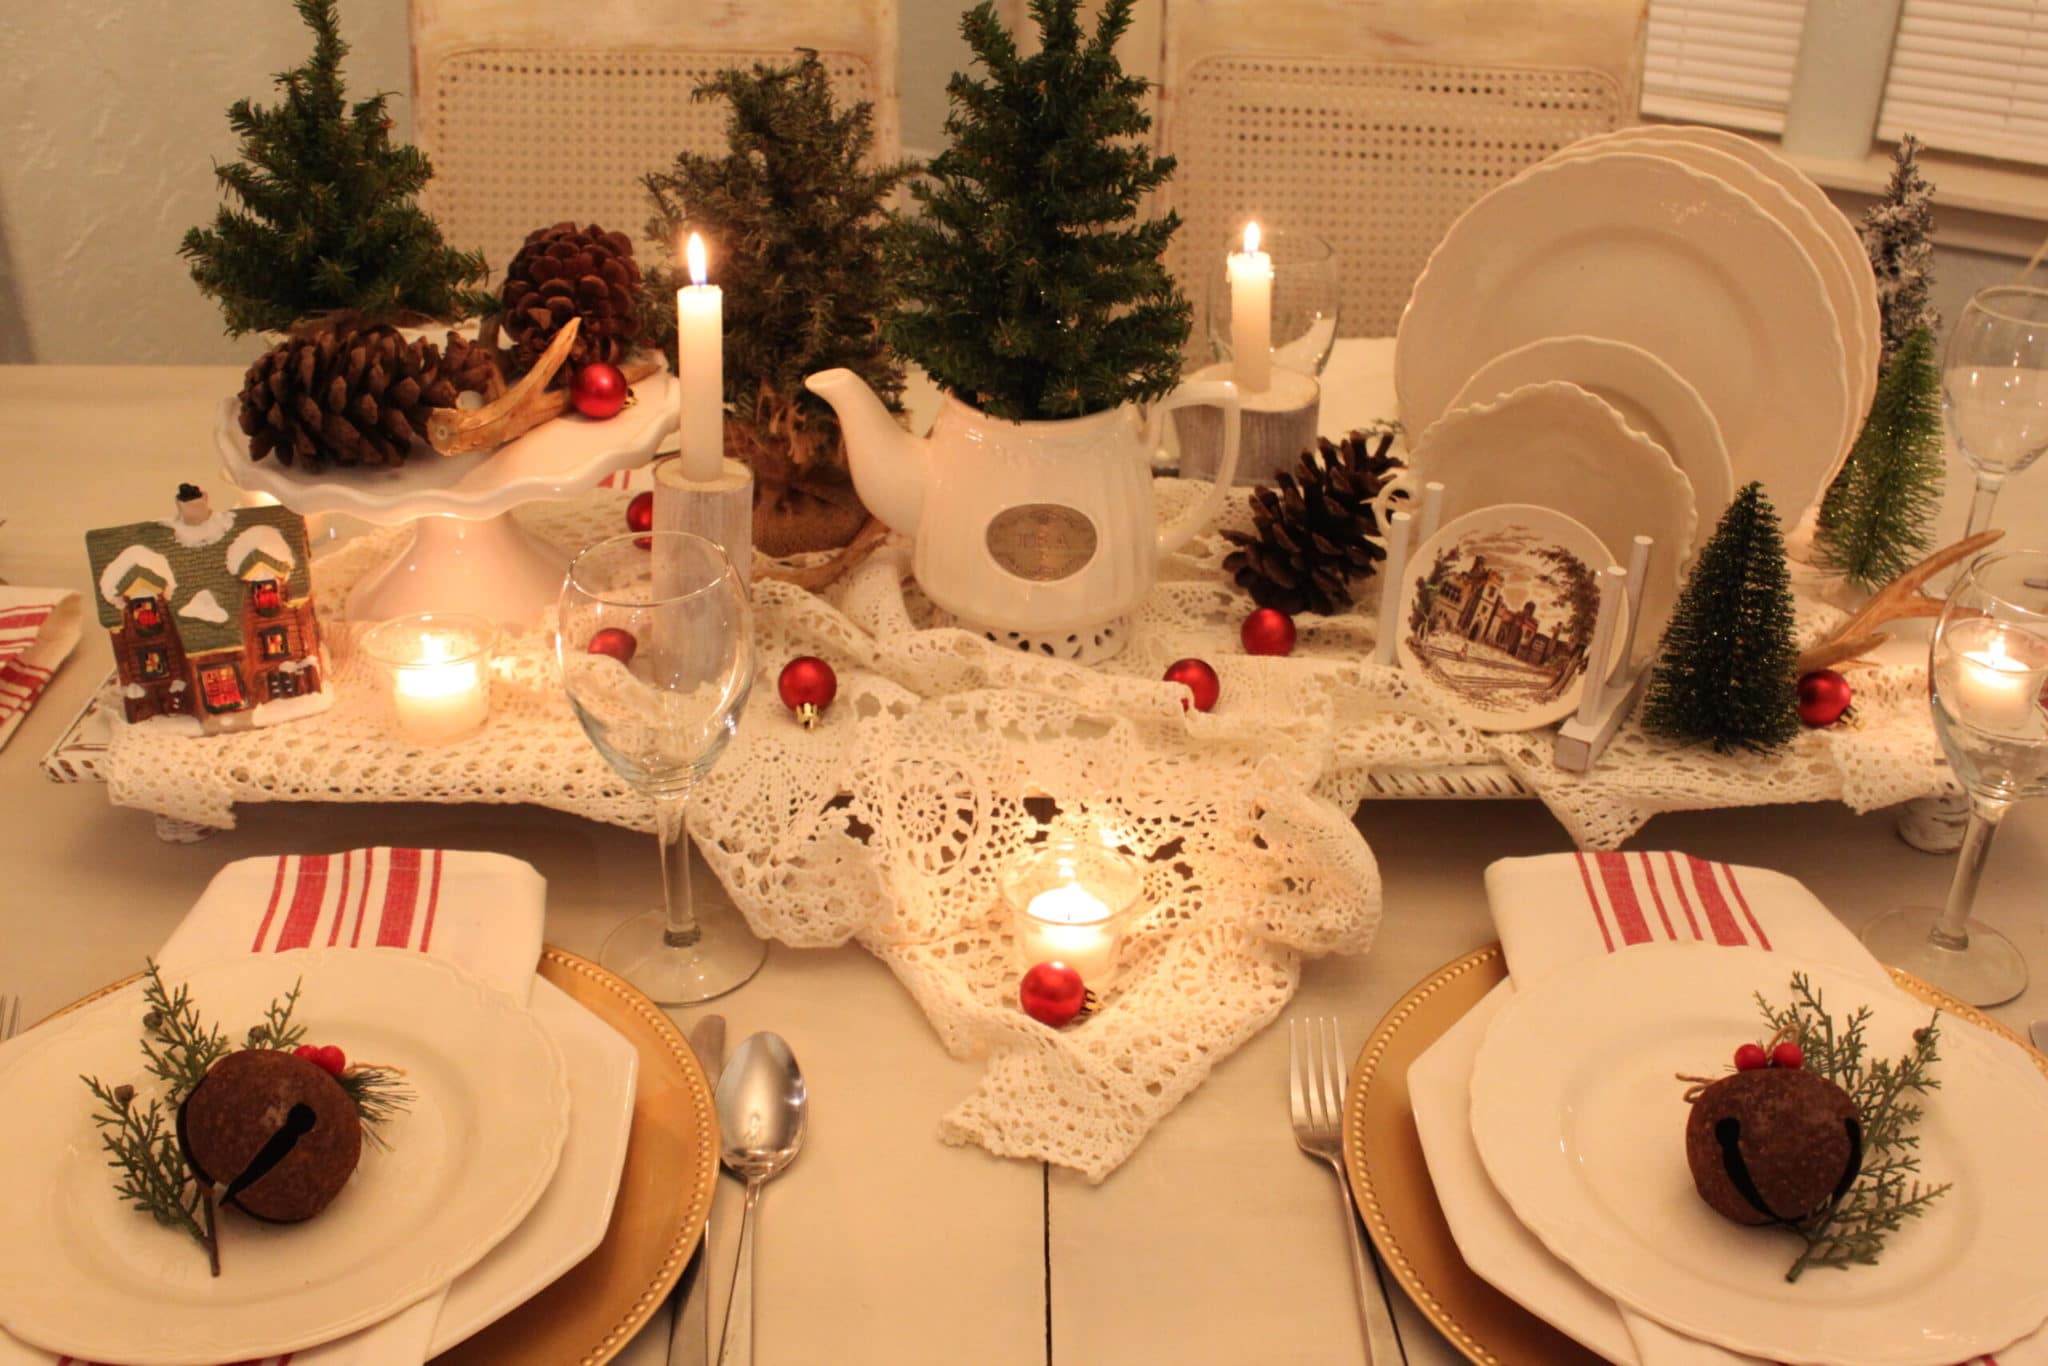
After some measuring, I decided to make my riser 38″ long. Now that might not be the right length for everyone – it’s pretty long. Here is the thing though….The size that you normally see of my dining room table is it’s smallest size. If I’m having company over and preparing a nice meal (the time when I am MOST likely to set a pretty table) I would be adding a leaf.
Or two.
Yup! I have two leaves that go into this table making it the stretch limo of tables. I didn’t want to make a riser that looked just right for the smallest my table goes and looks like a piece of ice floating in a punchbowl when I add the leaves.
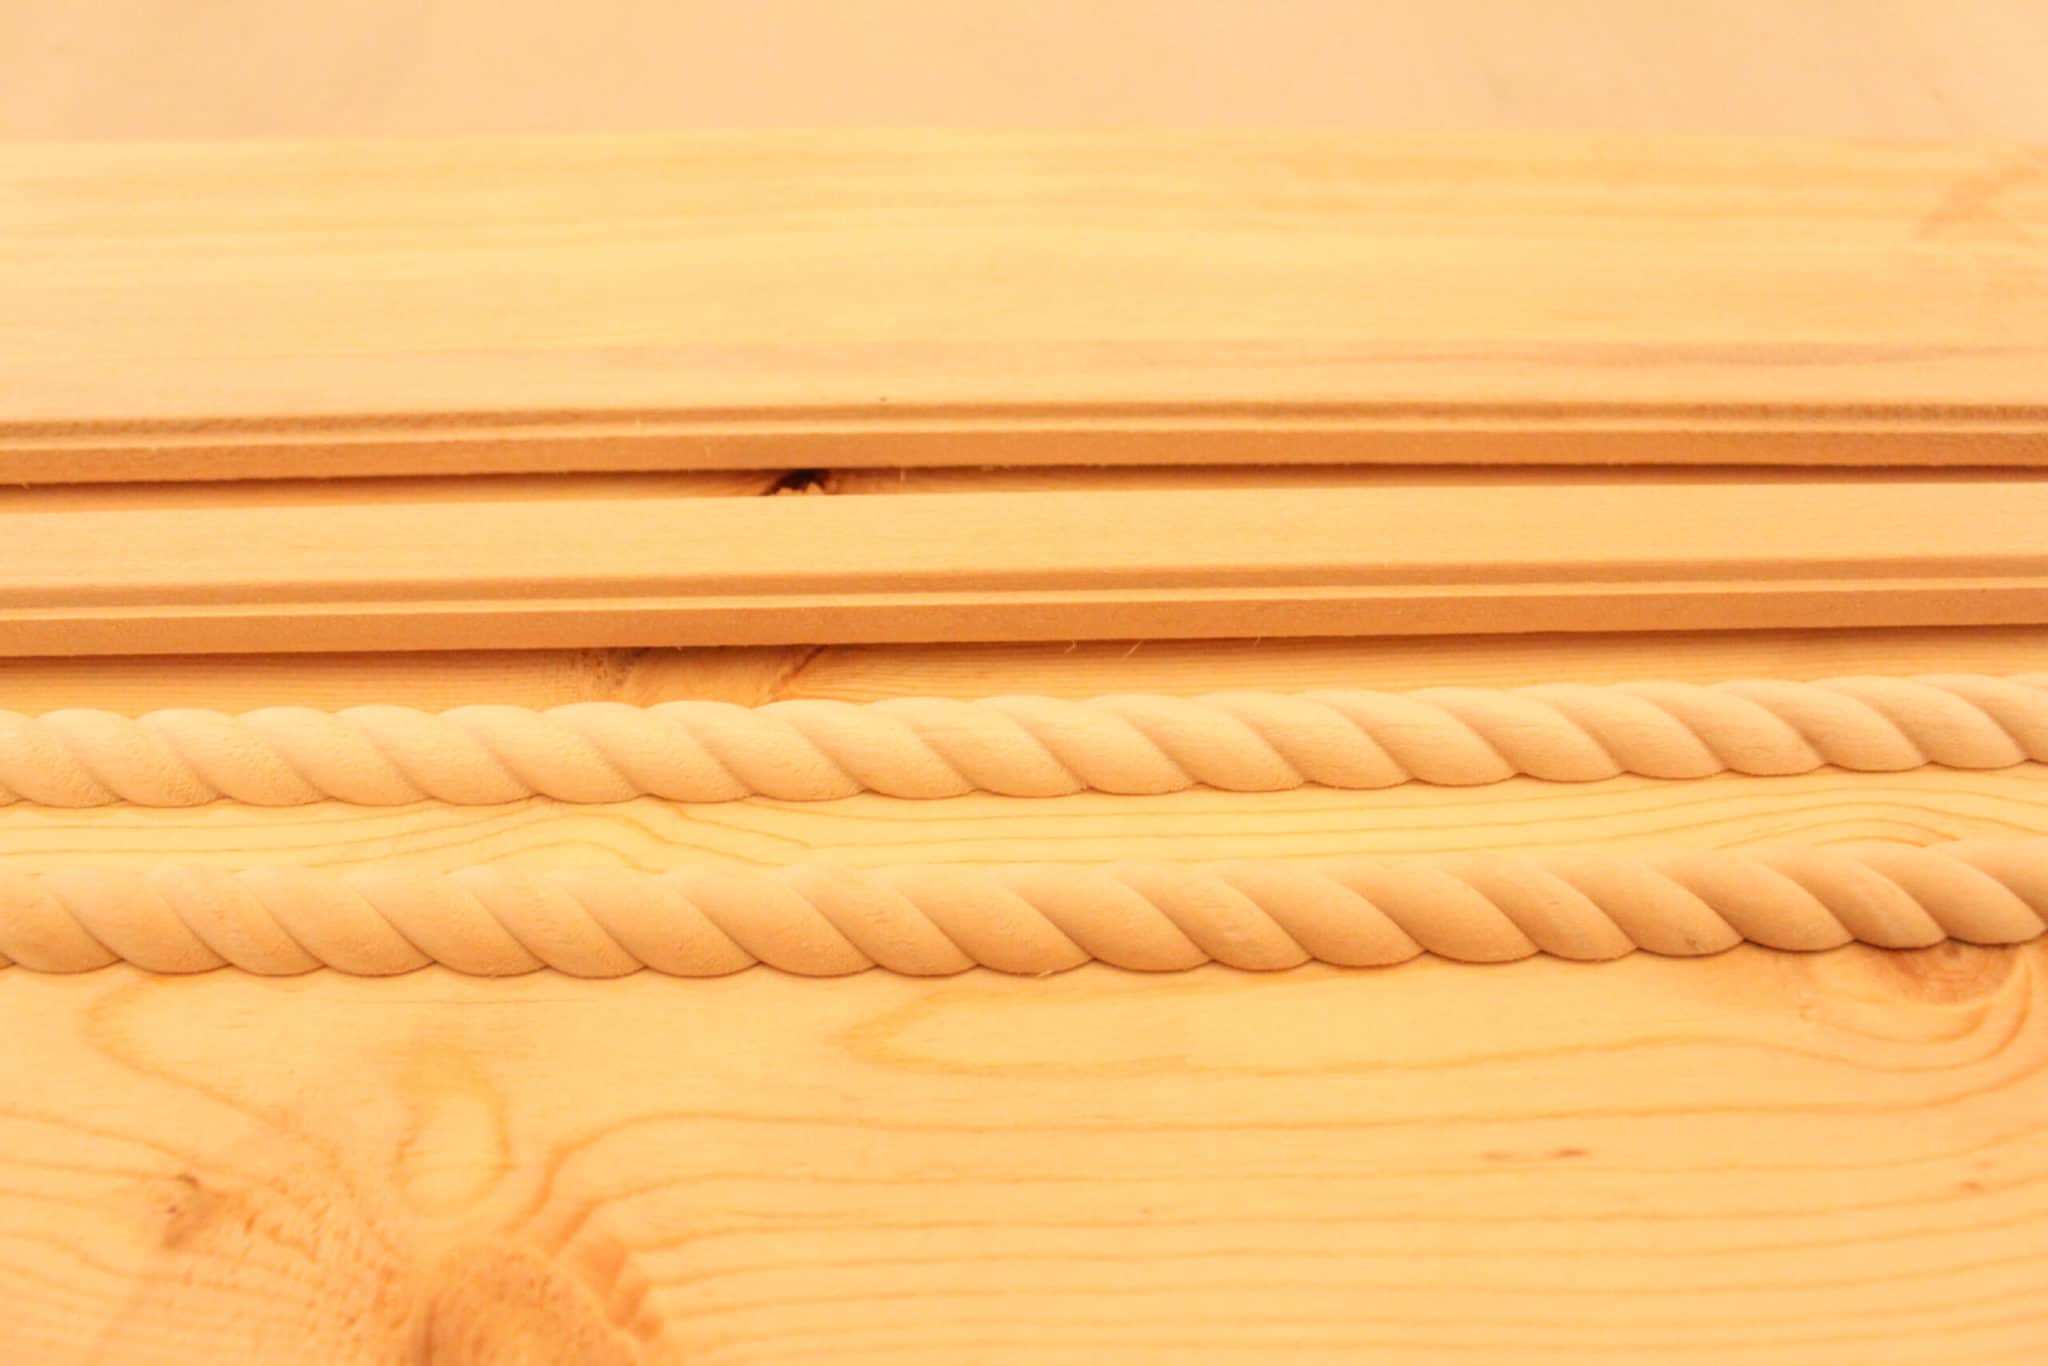
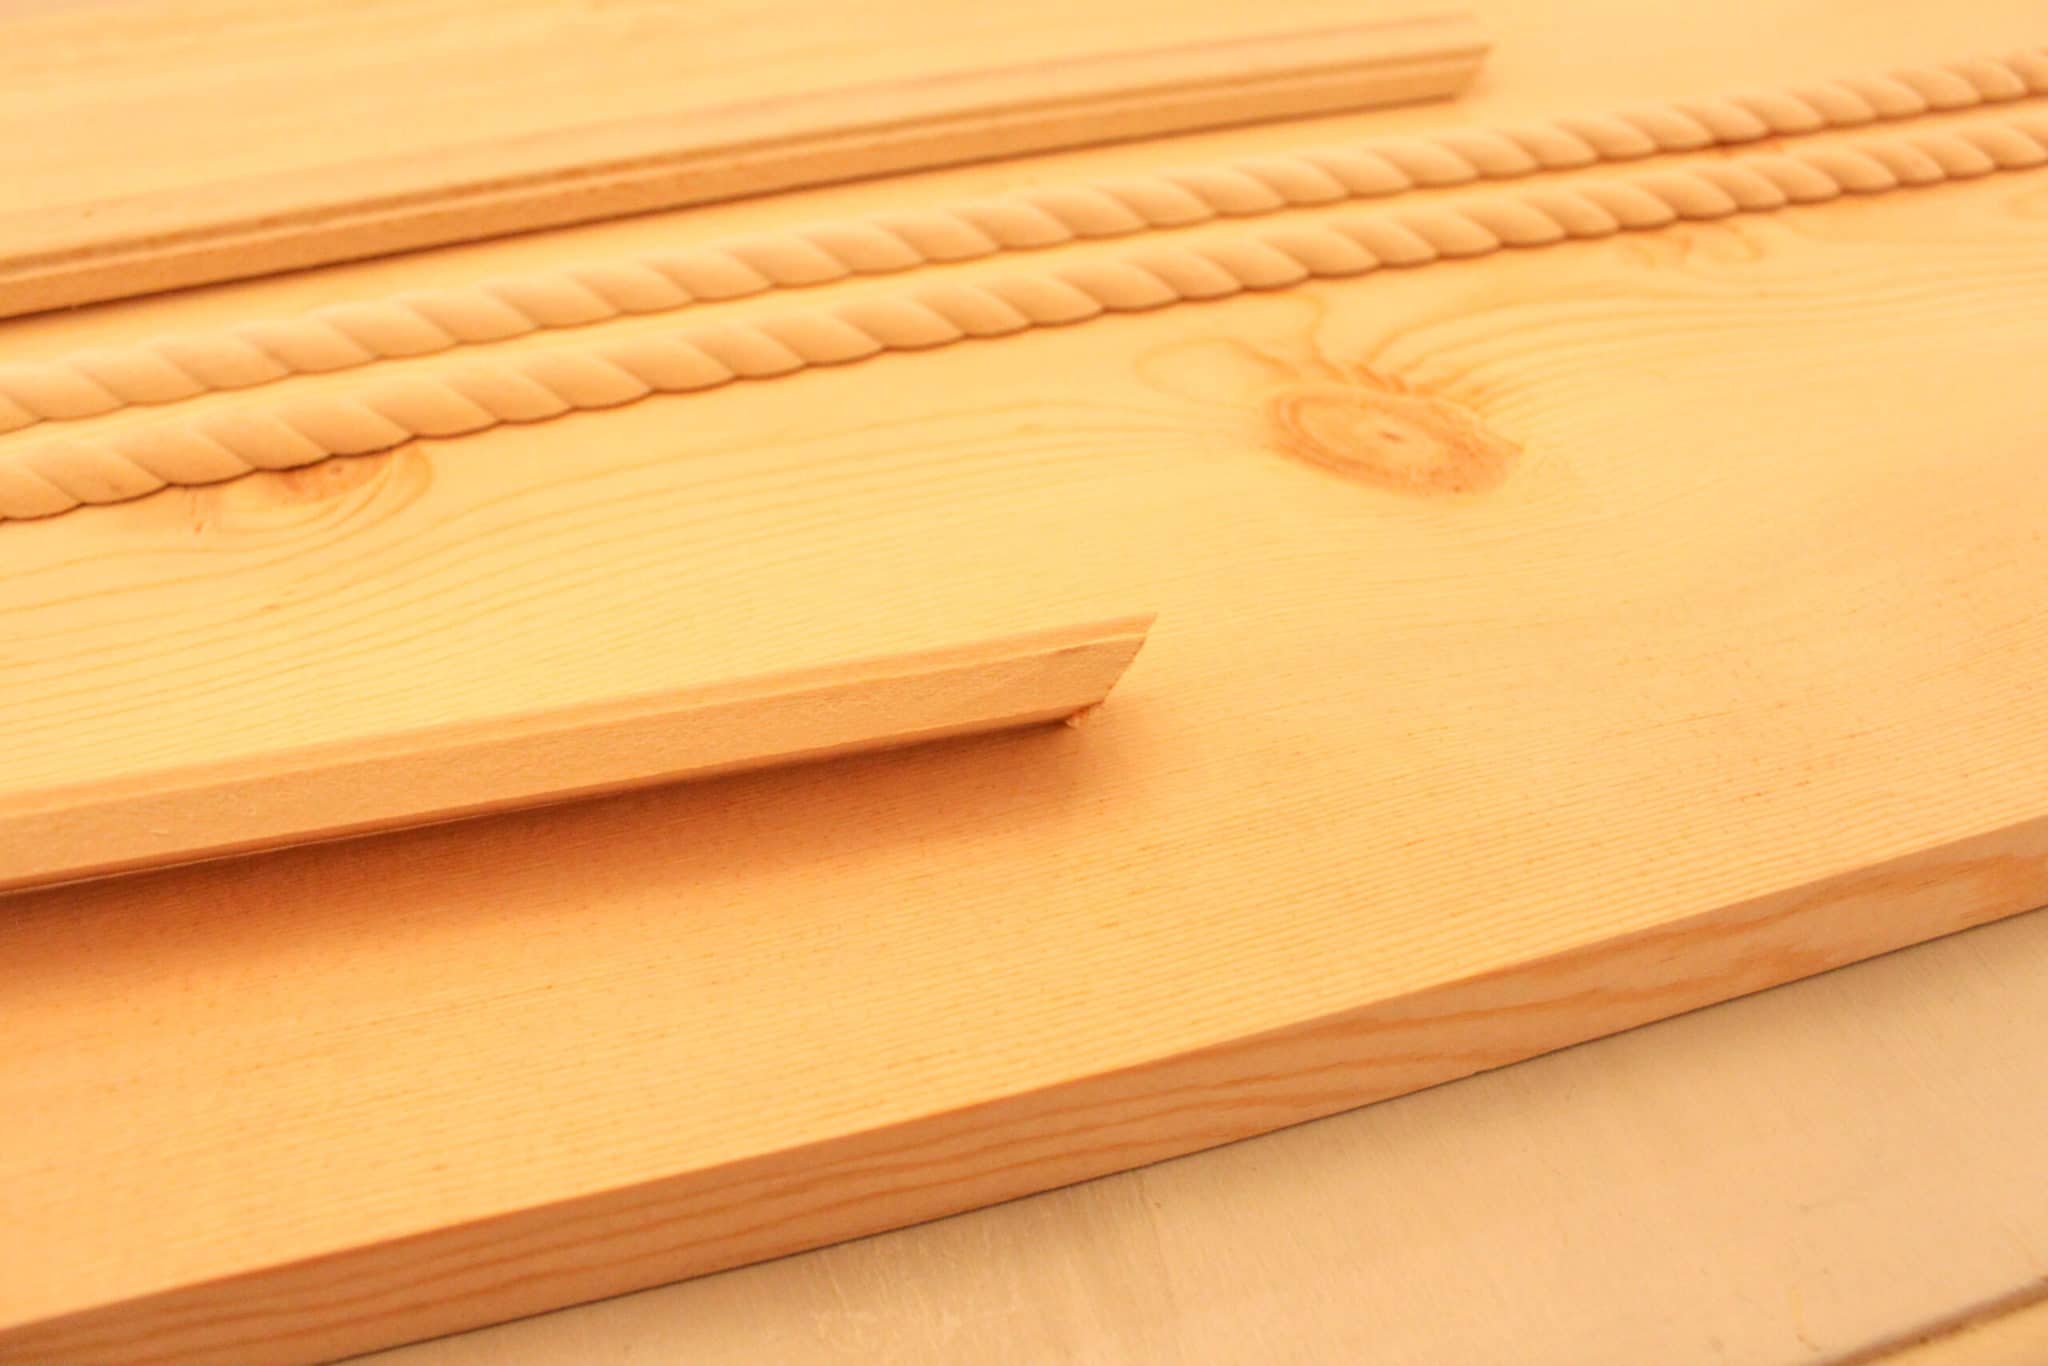
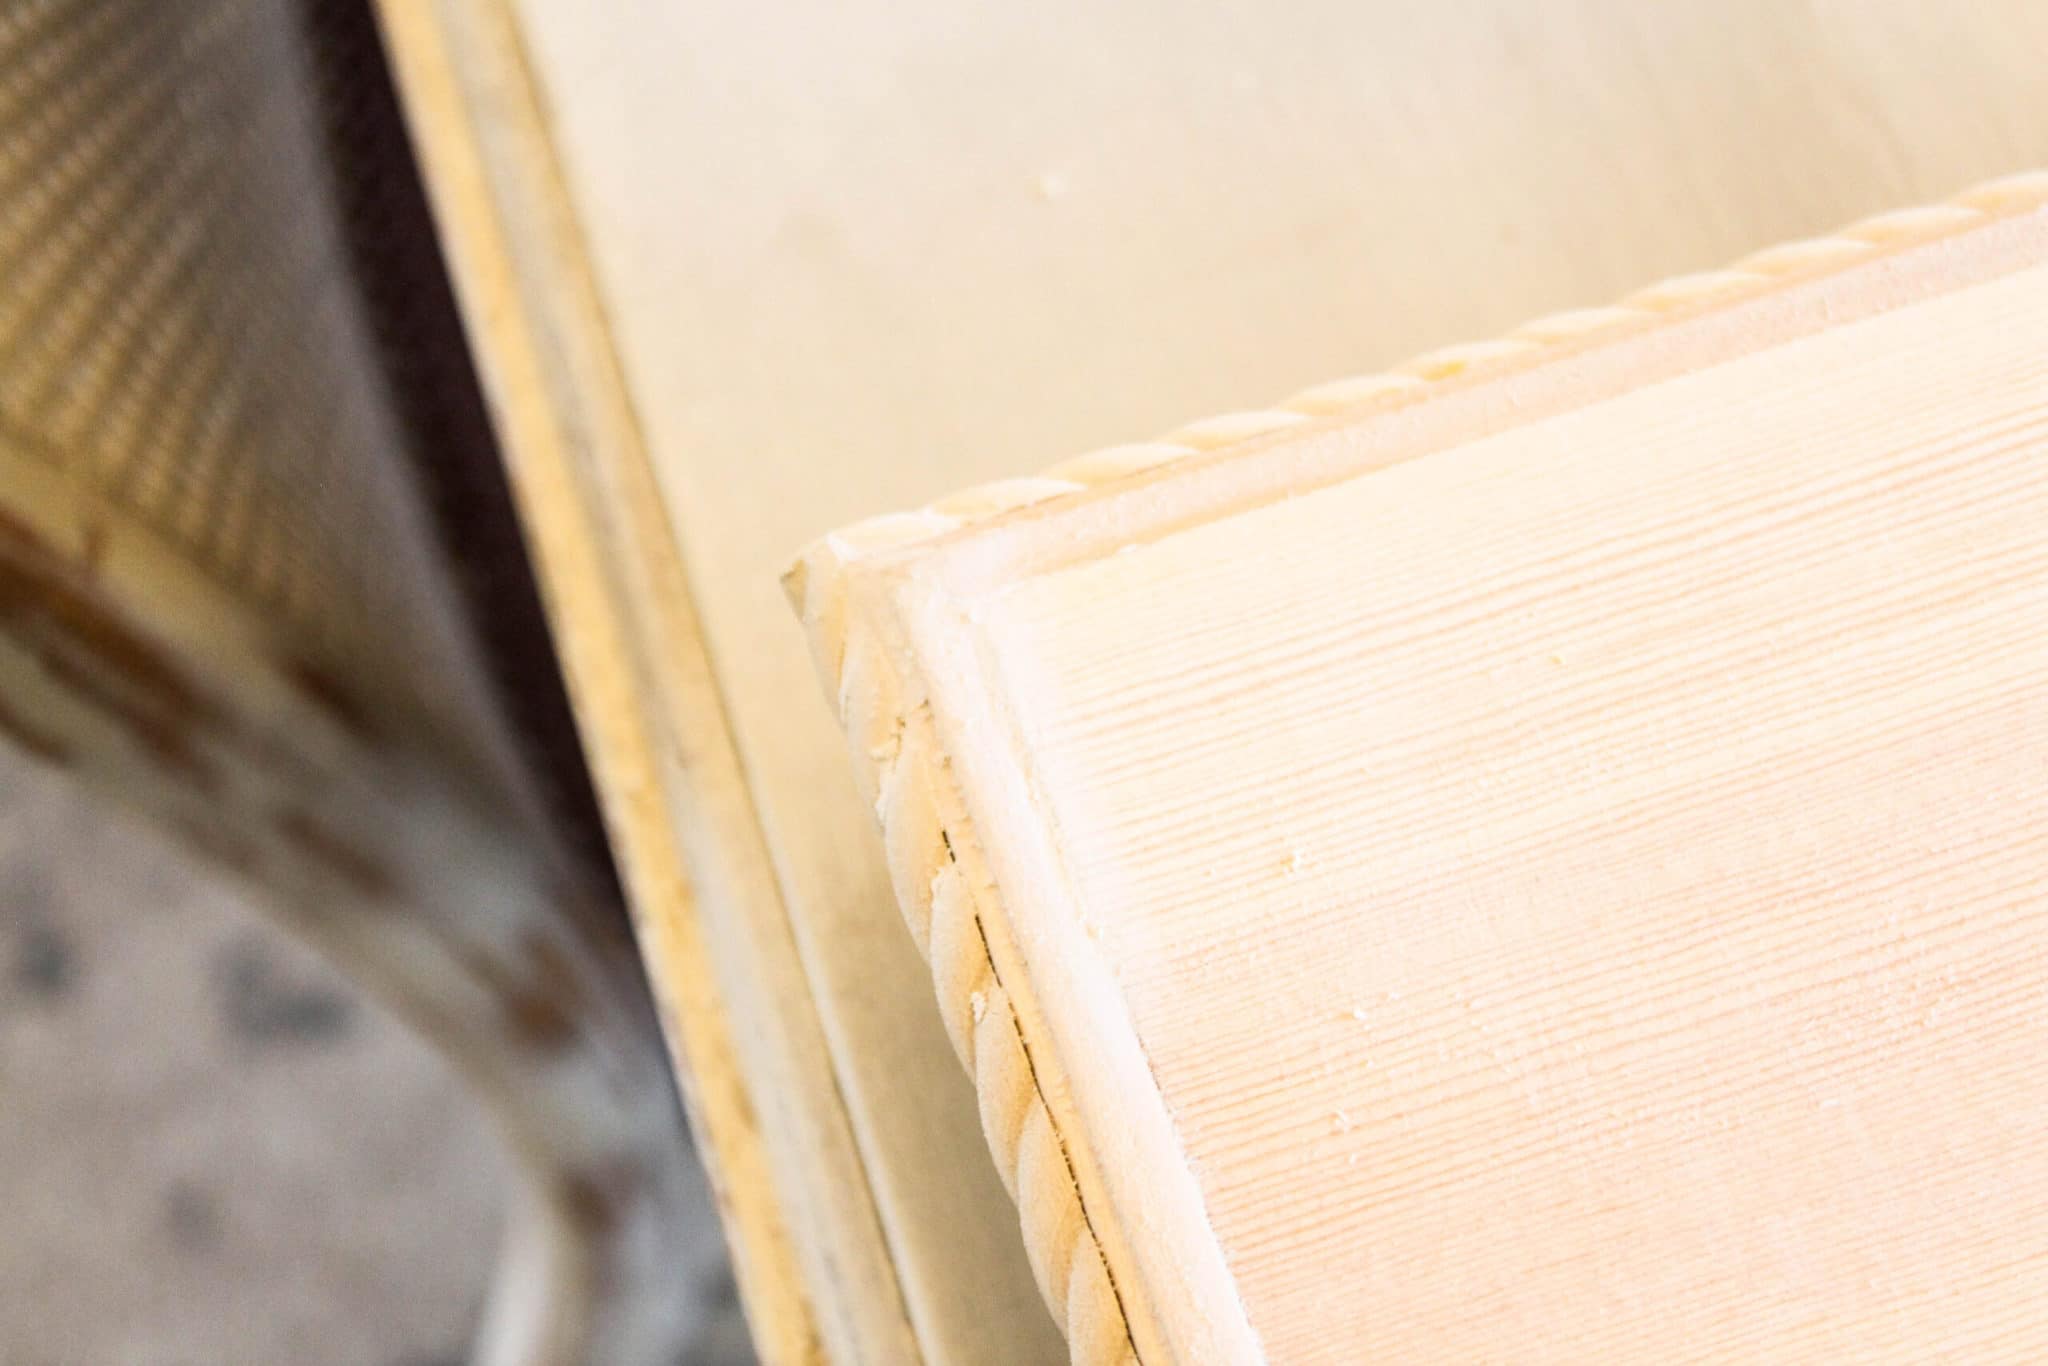
Now a person could just leave the piece of pine as it is but I’m all about the details and so I chose 2 pieces of trim to edge this riser with. First a wider but mostly flat piece with just a tiny bit of detailing on the edge and then a piece of rope trim to add like a cherry on top.
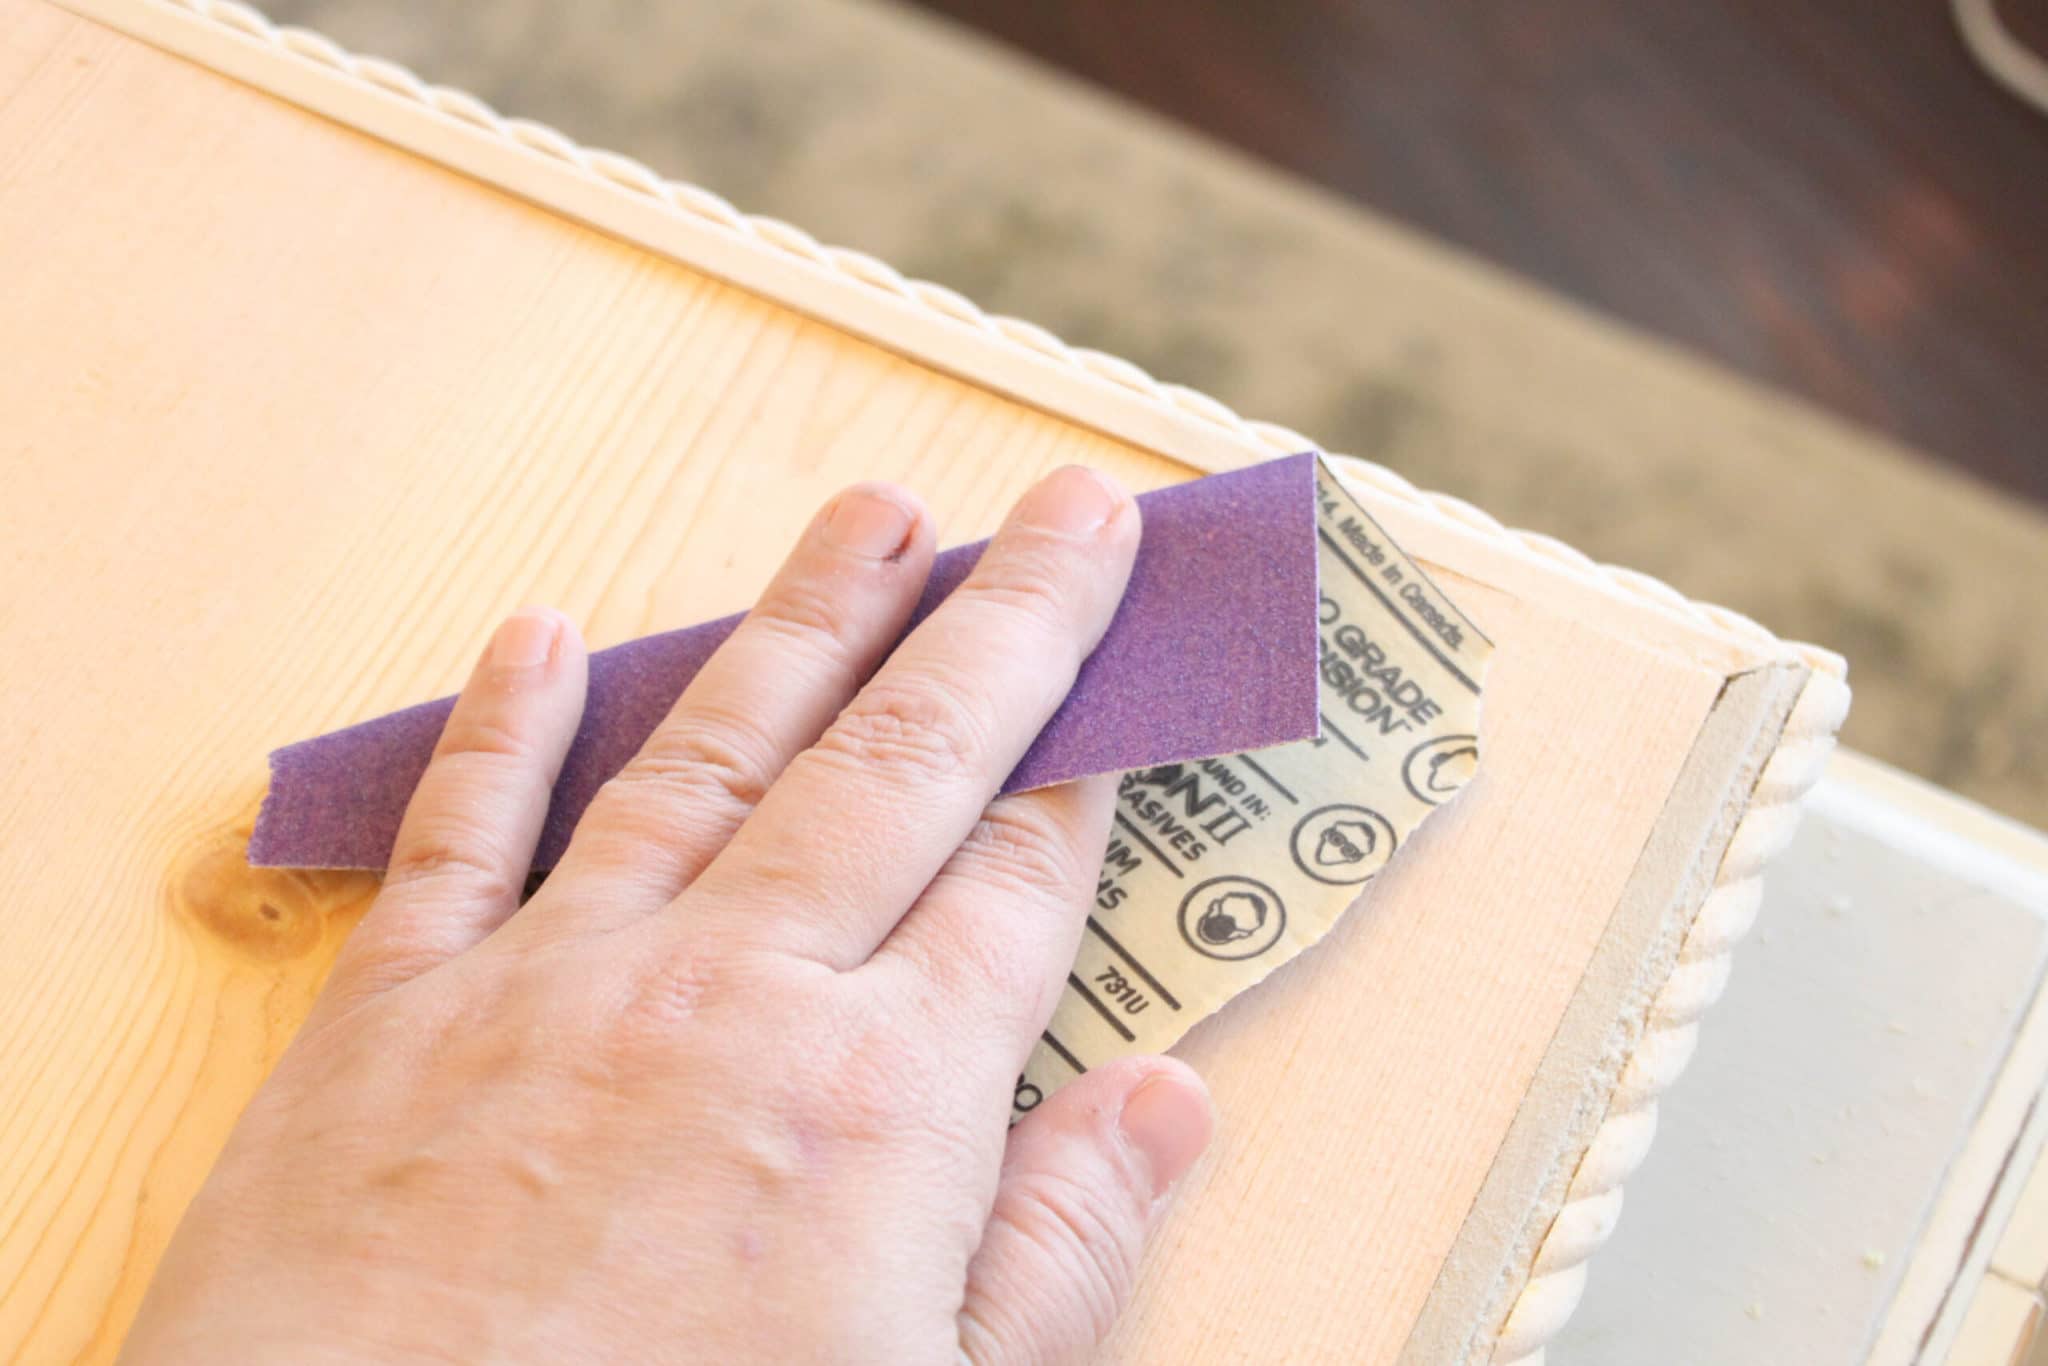
I’m all about the power tools for most things but there are certain situations when I like to go old school and cutting tiny trim is one of those times. For cuts like these I still like to use a miter box.
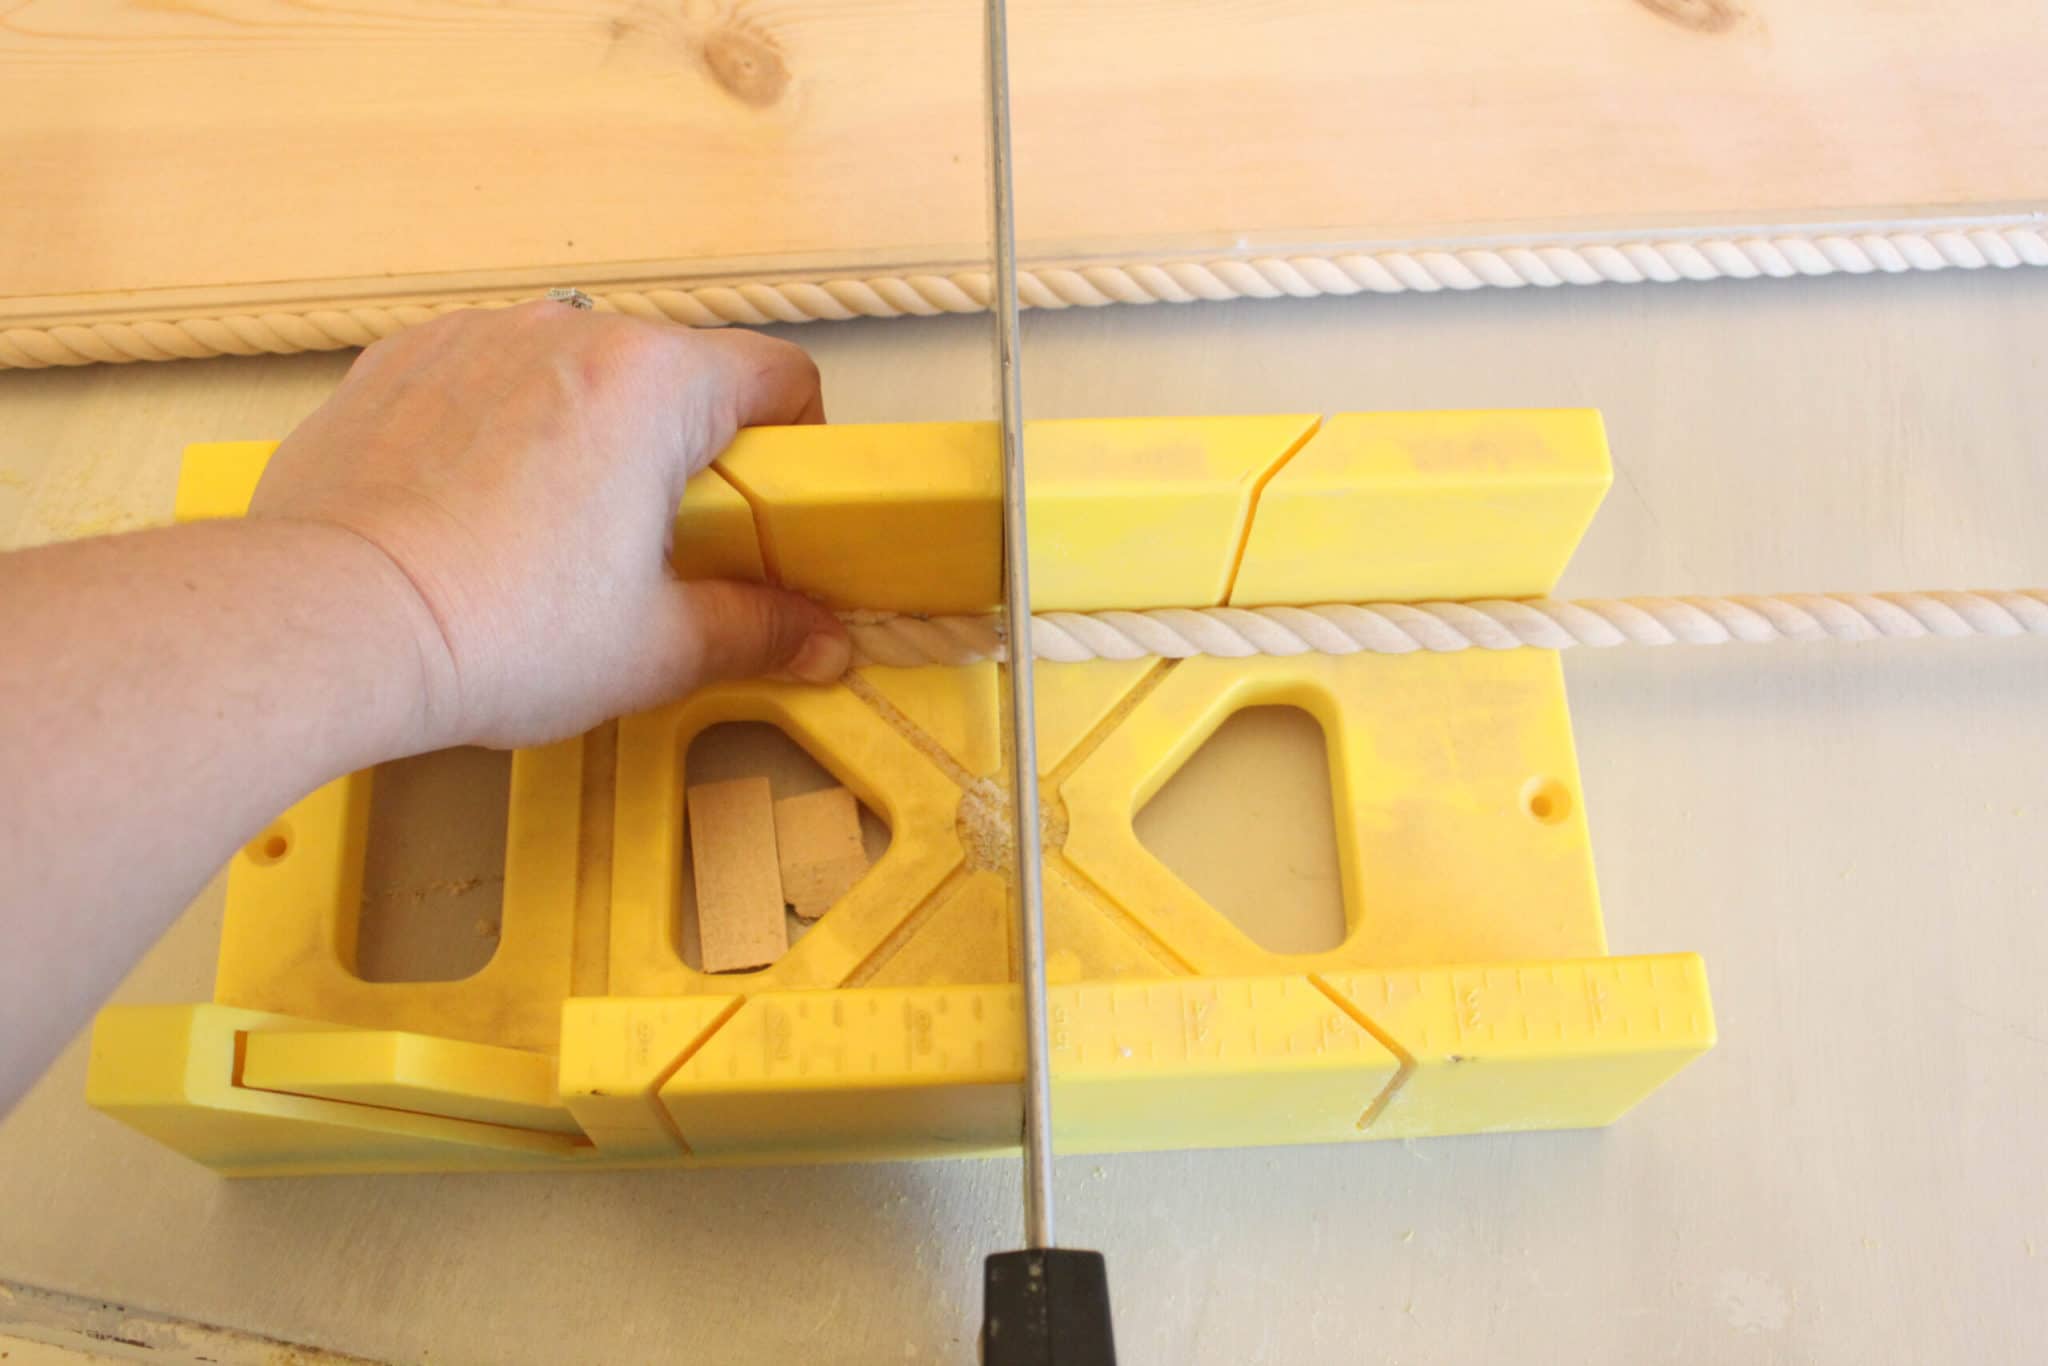
This is what I’m referring to. They can be bought anywhere that sells hand tools usually and are very inexpensive.
It’s a lot easier to avoid accidental amputation on tiny trim cuts and makes the cut smoother than a chunky power saw blade.
You want to cut the ends of your trim at a 45 degree angle. Now for the rope trim I just cut it off straight because I had the wider trim cut at a 45 and the rope trim is so small and has very little to work with. On the rope trim a 45 looks sort of silly and doesn’t match up nicely anyways. I just cut it off straight with the end pieces overlapping the side pieces.
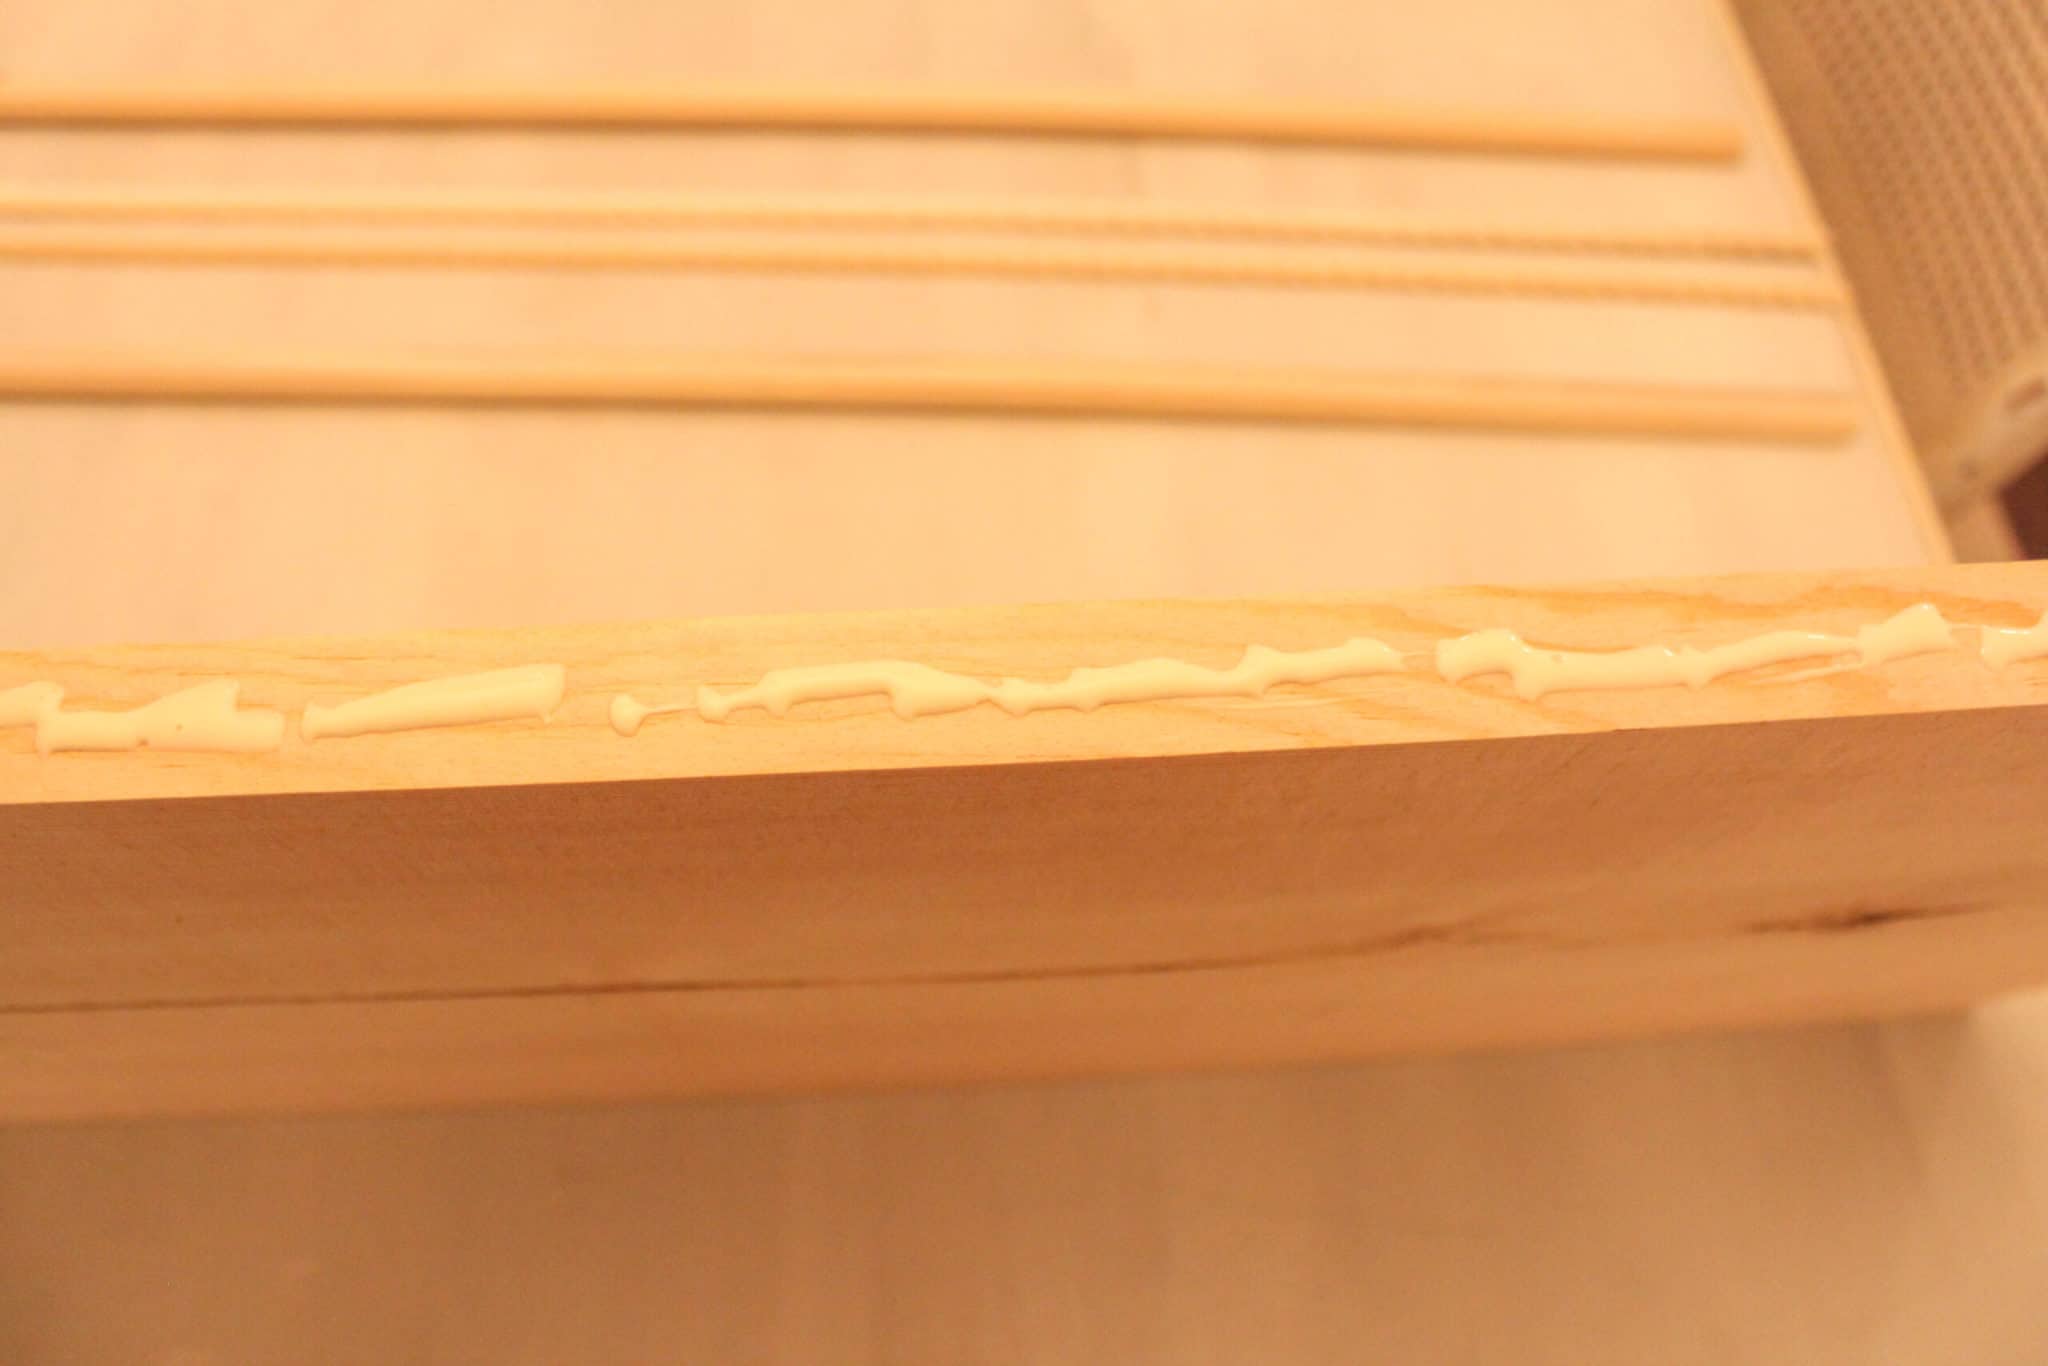
Next I added a little wood glue to the edges.
And since this piece is going to be covered anyways, I added some tiny nails to hold it in place while it dried rather than clamp it or tape it in place and have to wait. This allowed me to put the rope trim in place right away and then let them both dry together.
Once I had the rope trim in place I used some tape to hold it securely while it dried. Painters tape works the best for this.
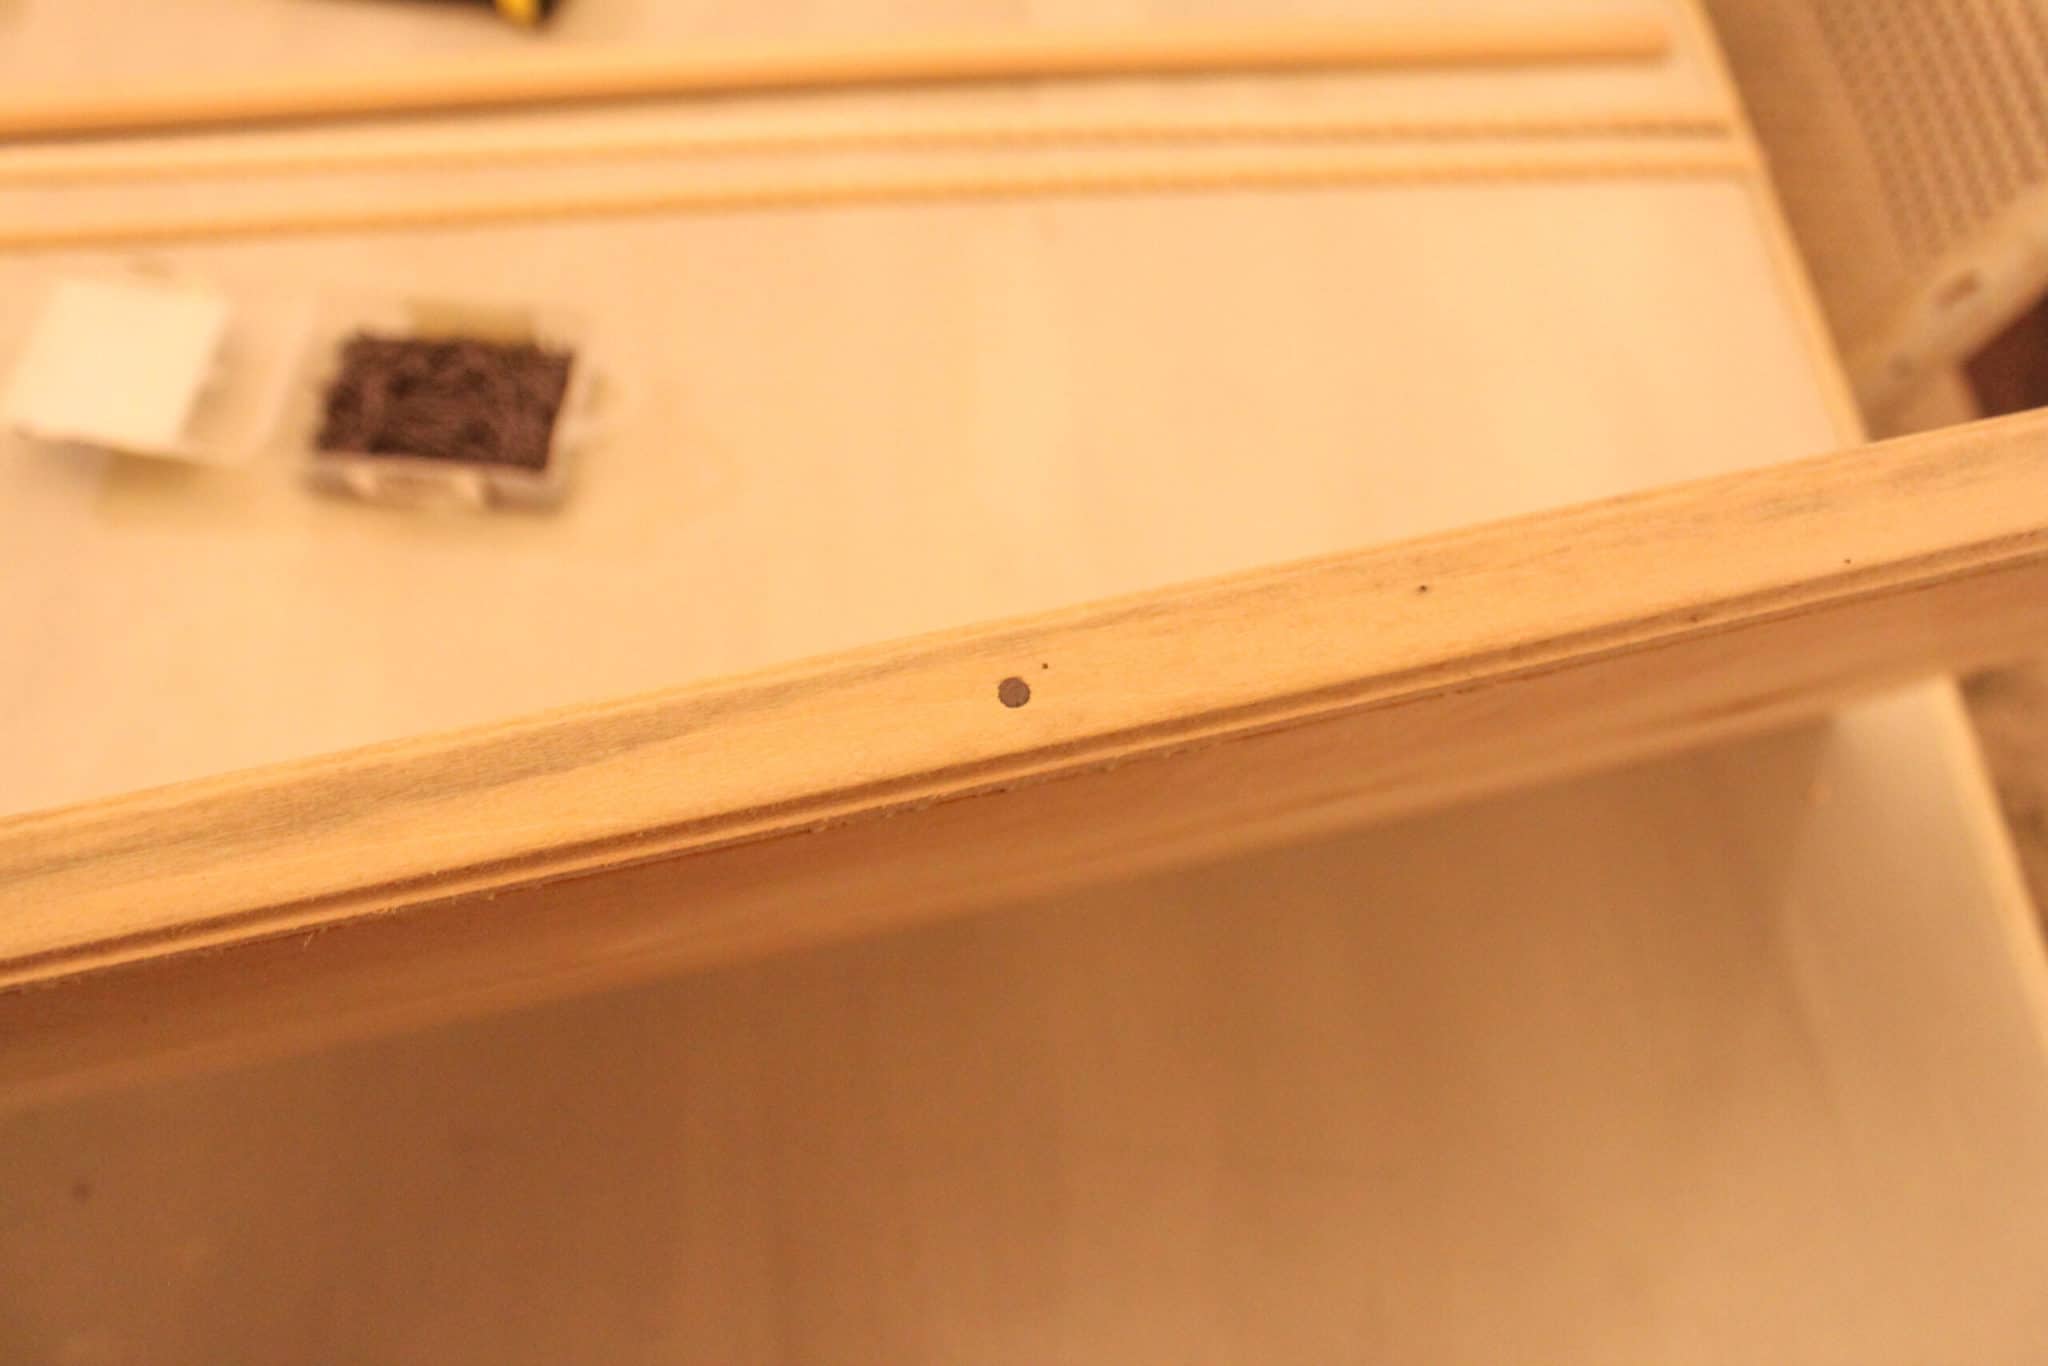
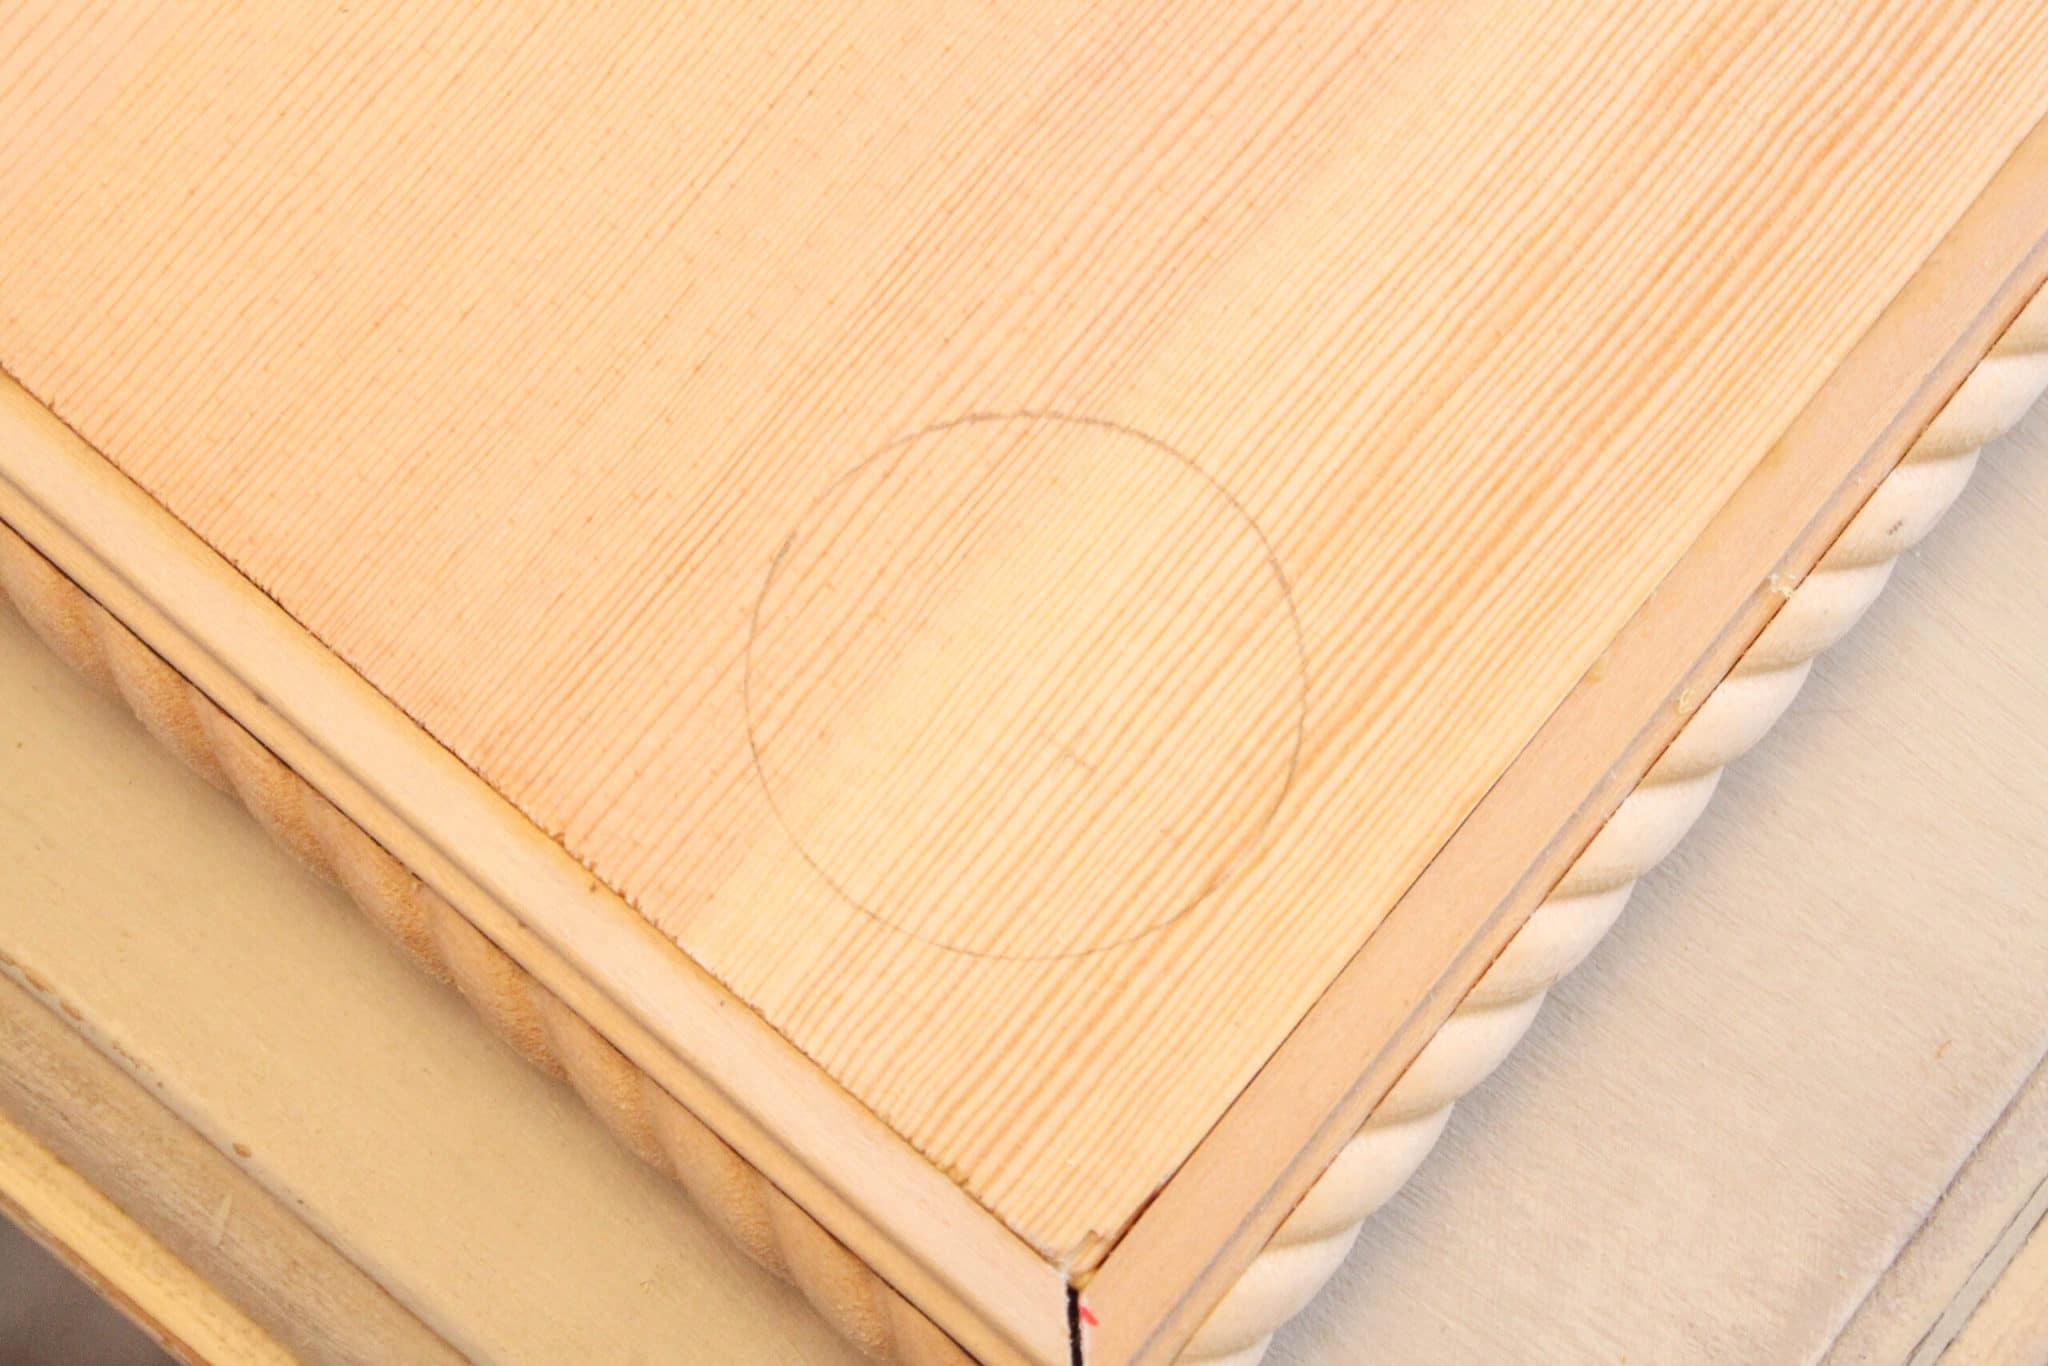
While waiting for the trim pieces to dry I marked out the placement for the feet I was going to use for this. I chose my go-to feed for wood projects – unfinished wood candleholders from Hobby Lobby.
In this case I put them on upside down so that I had a larger, solid surface to glue to my riser rather than just a rim.
Then I used wood glue and added some weight to hold them snug while they dried.
Feel free to get creative with your weights!

Besides, then if I got thirsty I didn’t have to walk all the way to the kitchen to get a bottle of water.
Once the glue was all dry on the trim, I removed the tape that was securing it and I used some wood filler to fill in any gaps and cracks and to smooth the edges where the trim meets.
Once the wood filler was dry, a quick sanding over the entire piece gets it ready to stain. I paid special attention to the spots where I had added wood filler and sanded the bottom as well.
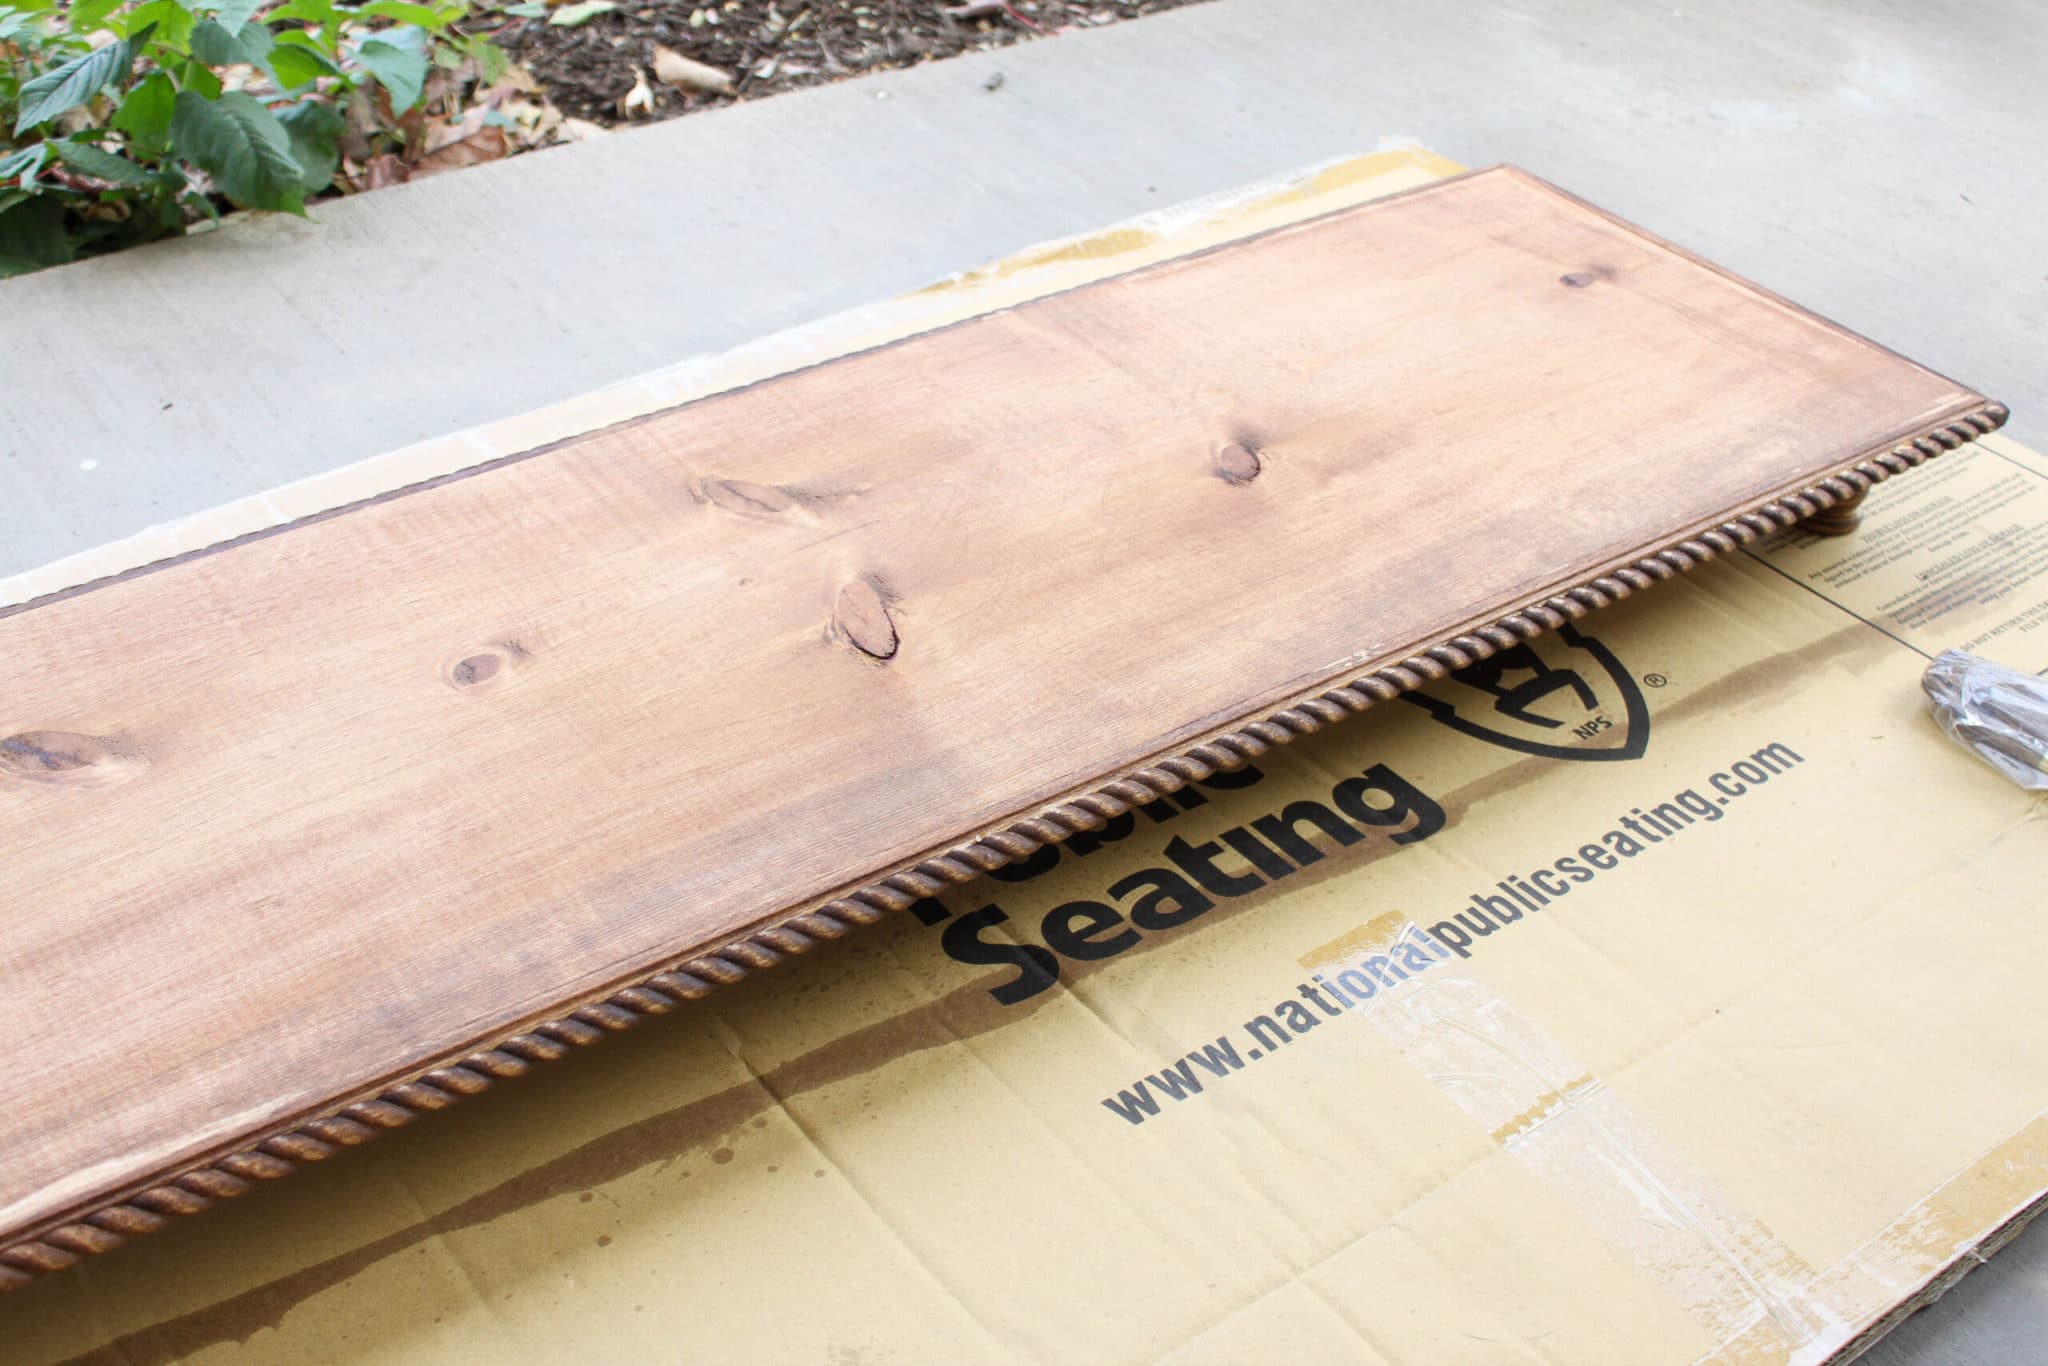
I used my favorite stain color – Early American by Minwax. It’s pretty much my go-to all the time. It has such a rich warm color with no orange undertones.
I always try to do any staining outside since the smell of the chemicals really bothers me. Luckily it was a really warm day so I was able to do that.
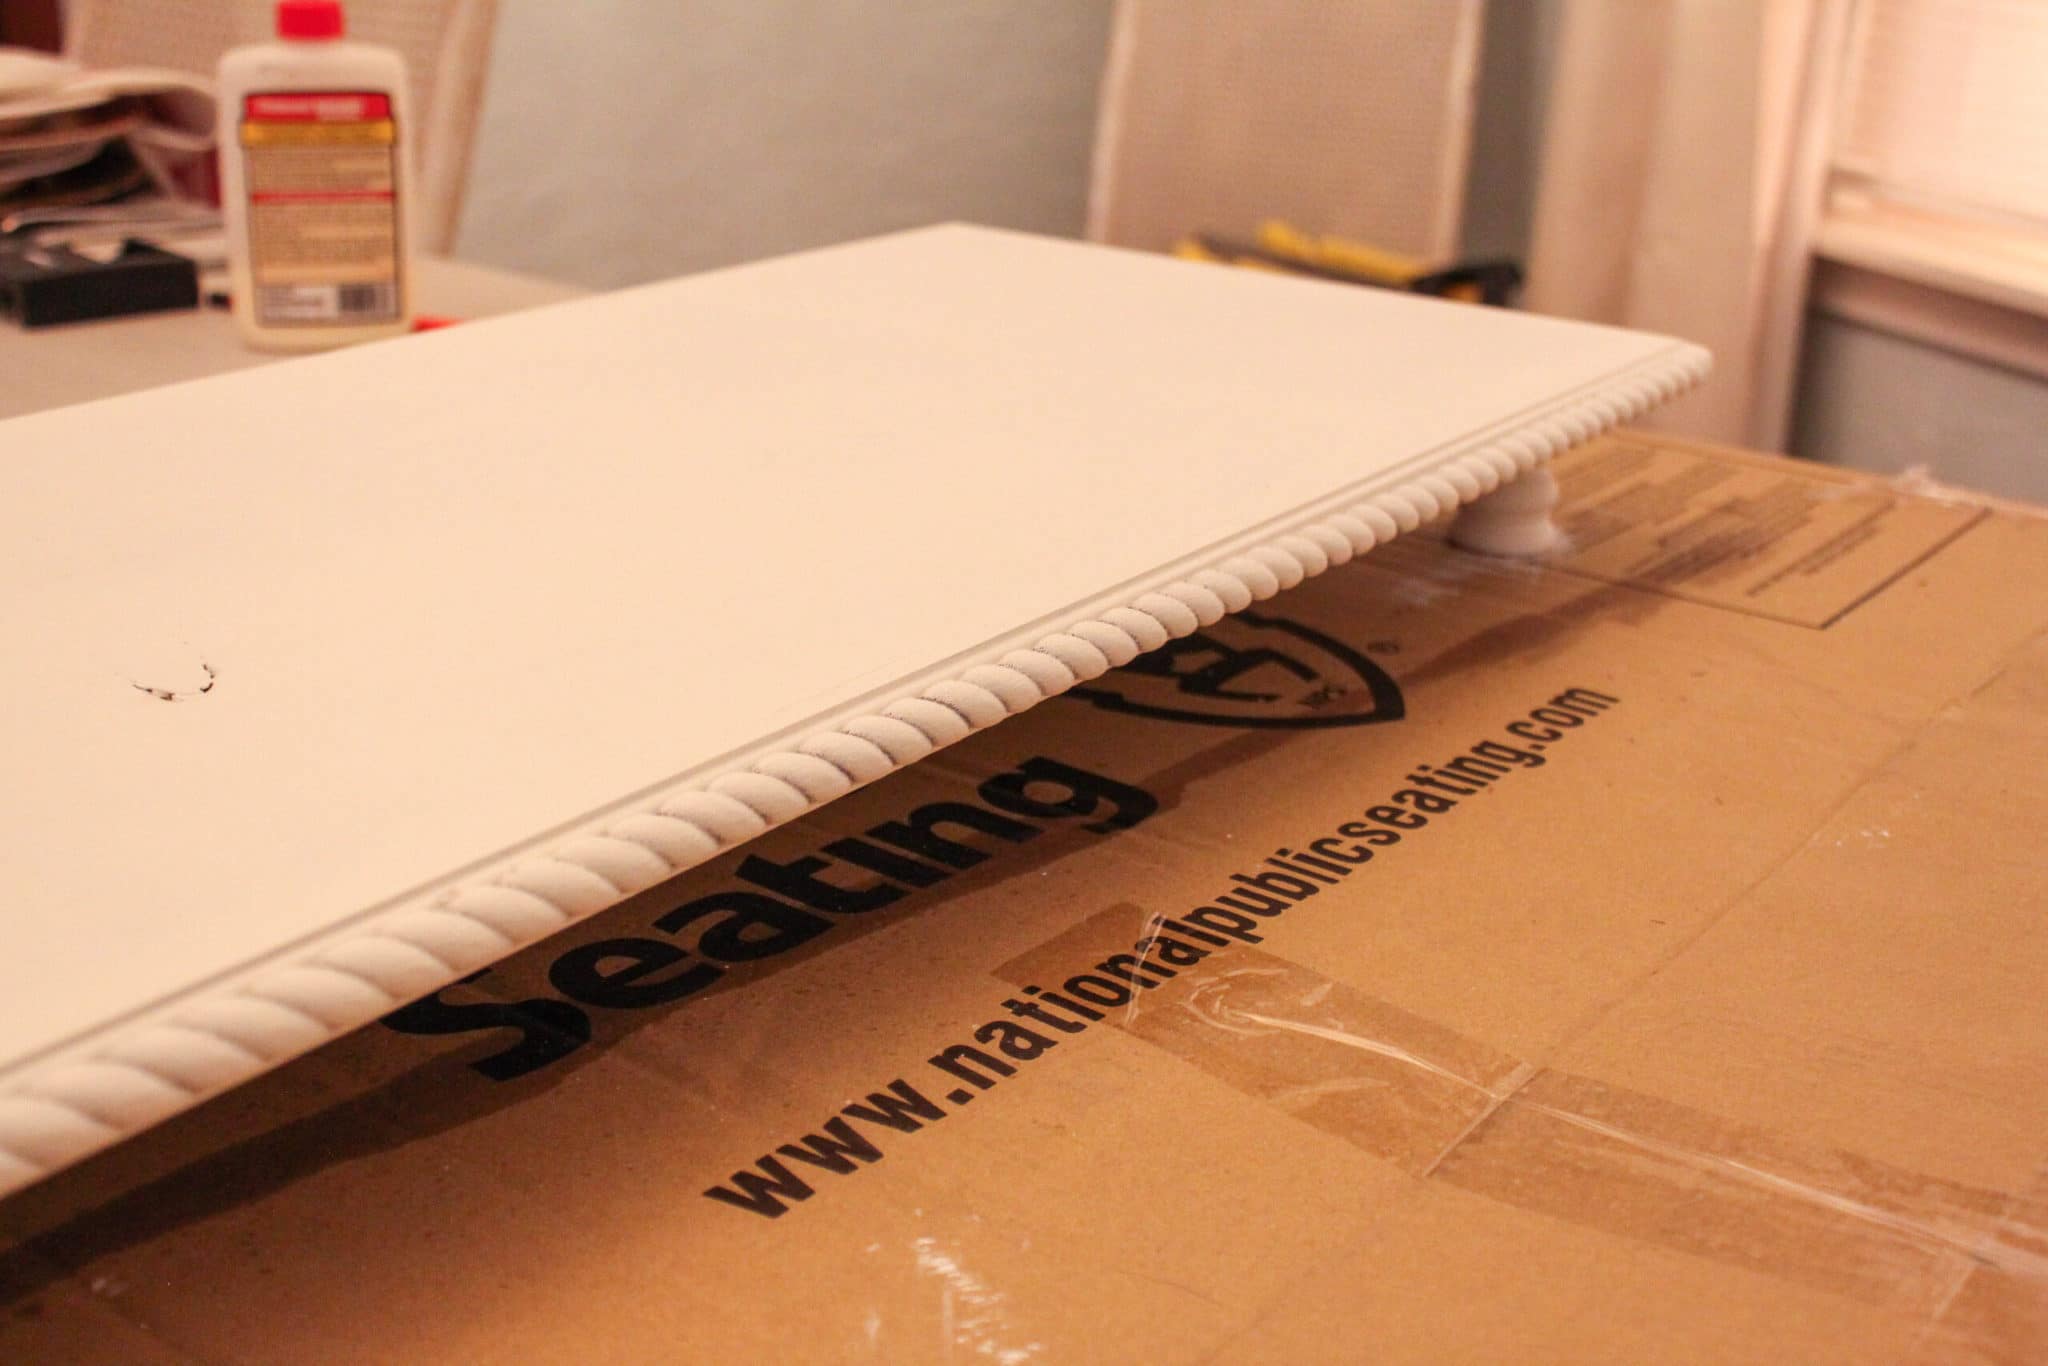
Once the stain was dry to the touch I coated the entire thing in 2 coats of my homemade chalk paint in the color White Dove. (If you want the recipe I use, check out this blog post of Emily’s.)
You are wondering why I bothered to stain it if I was just going to paint it anyways, right?
Well let me tell you why…..
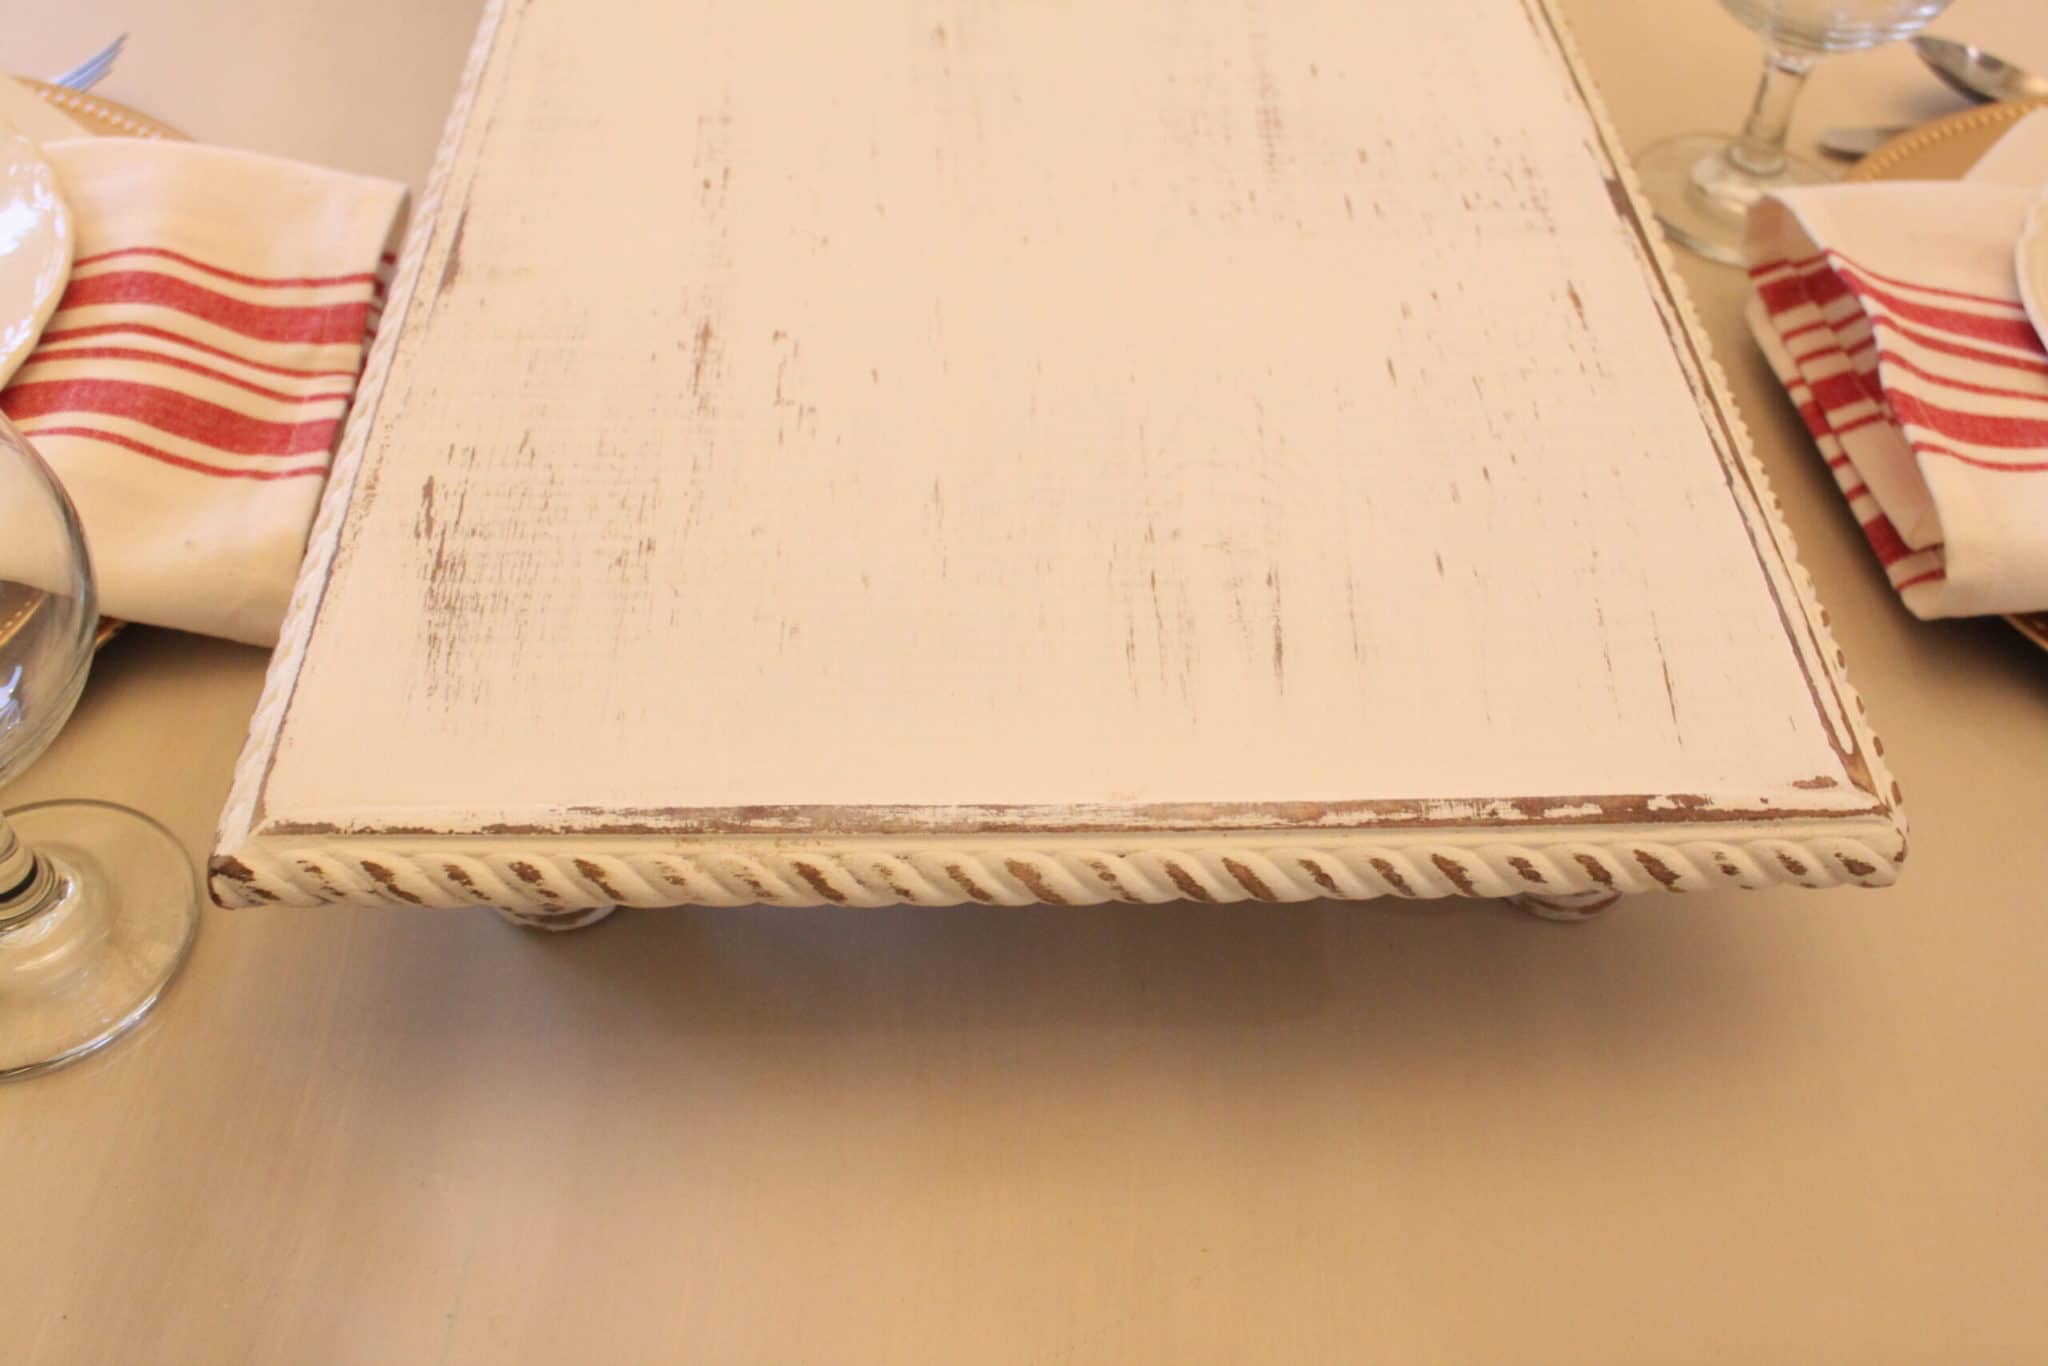
Because I fully intended to distress this piece and make it look really old and if you stain it first, then the wood you reveal by distressing the piece is so much nicer of a color. Had I left it the pale pine color, this would not have nearly the contrast and depth that it has now with the stained wood revealed.
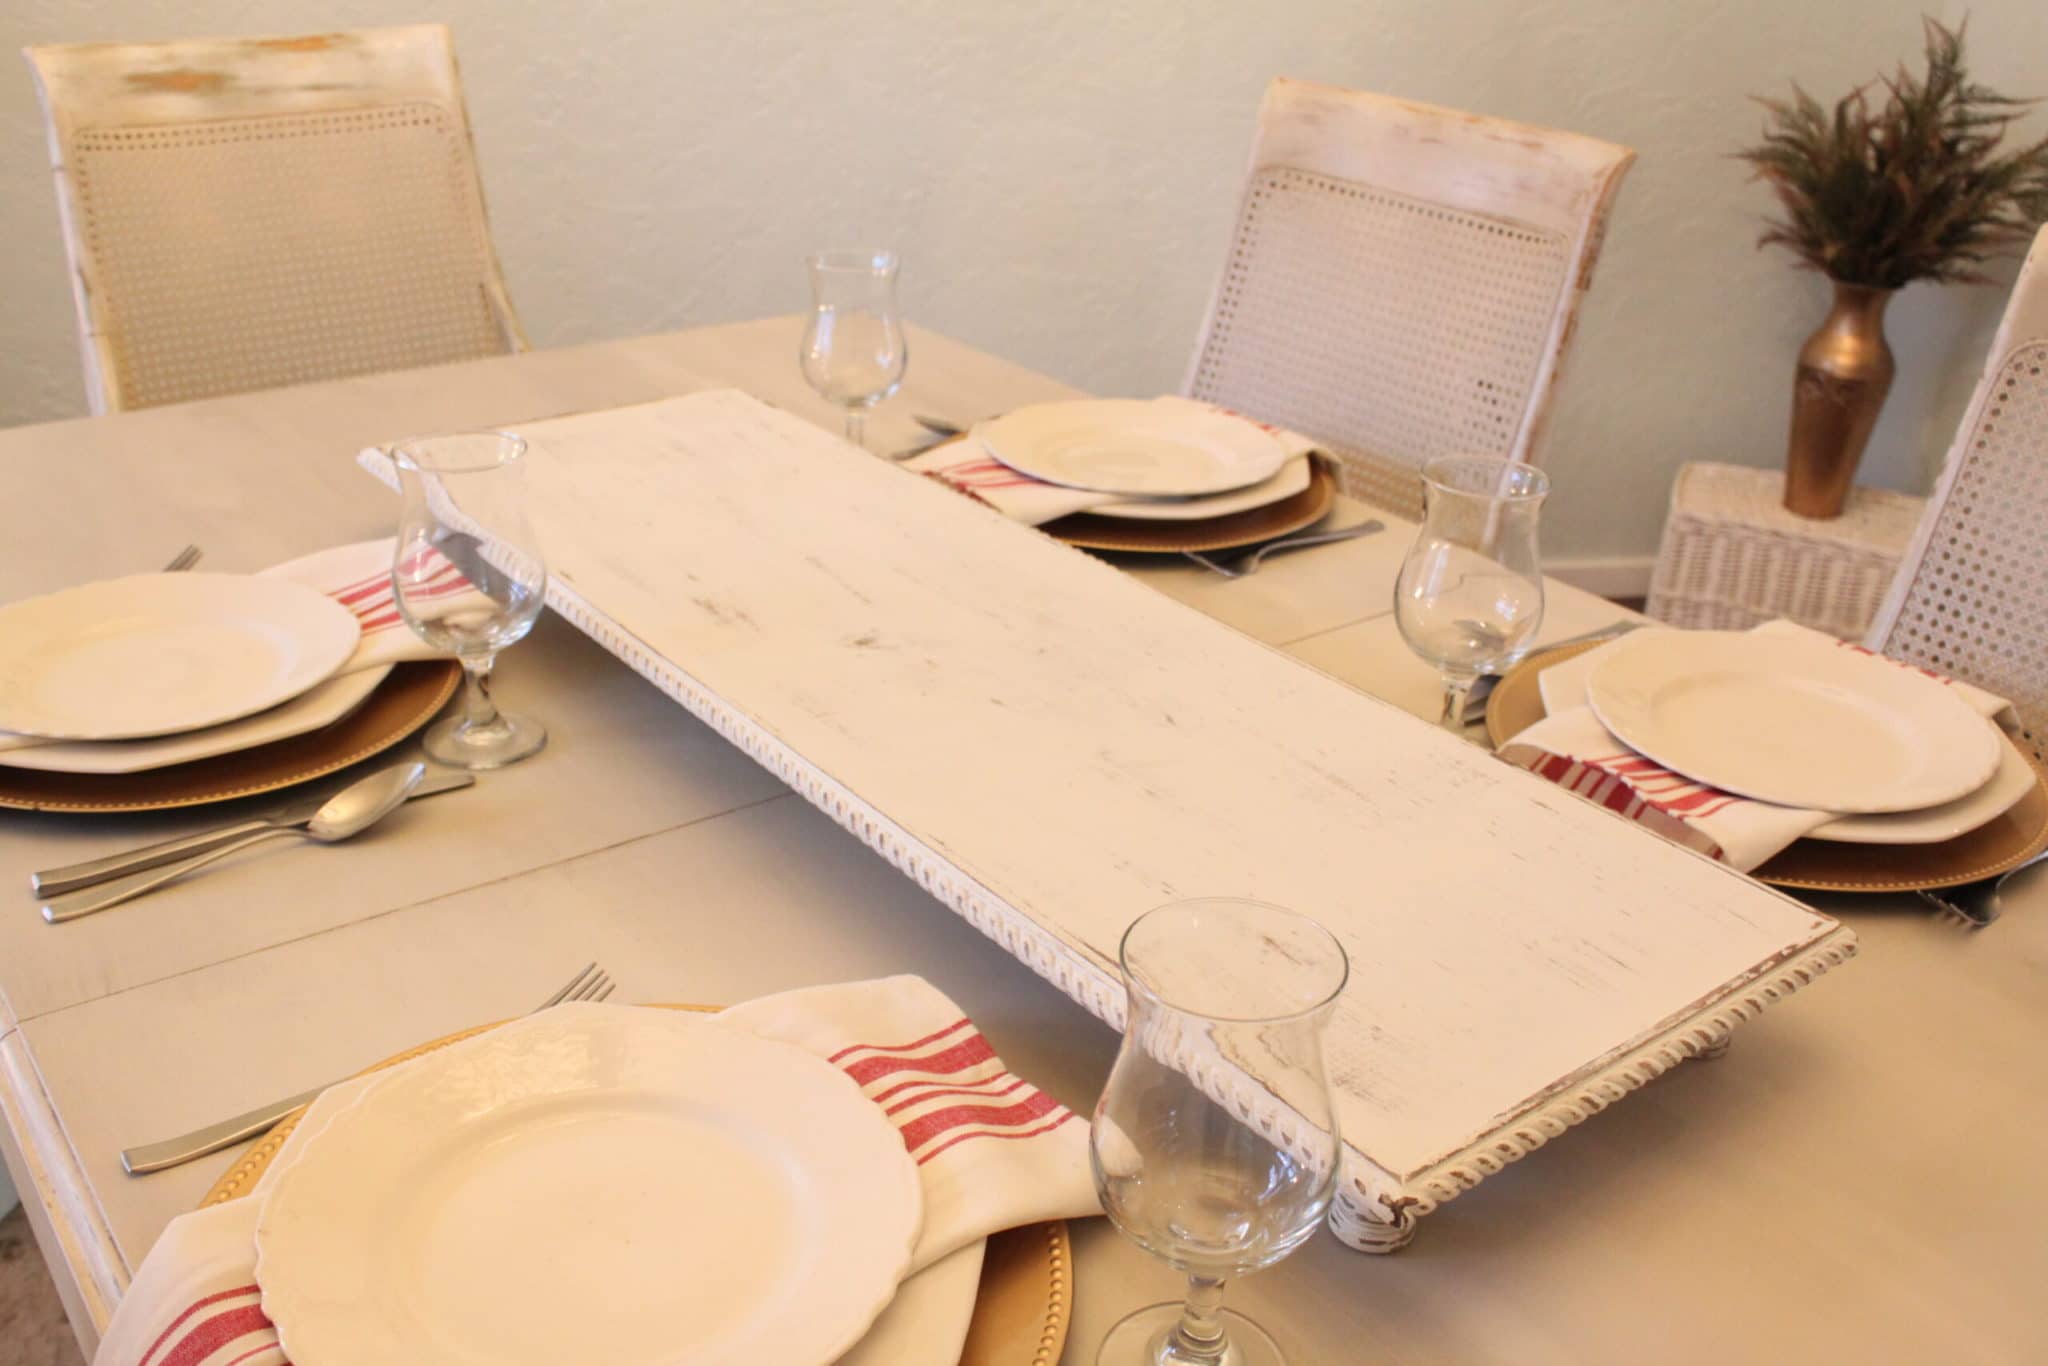
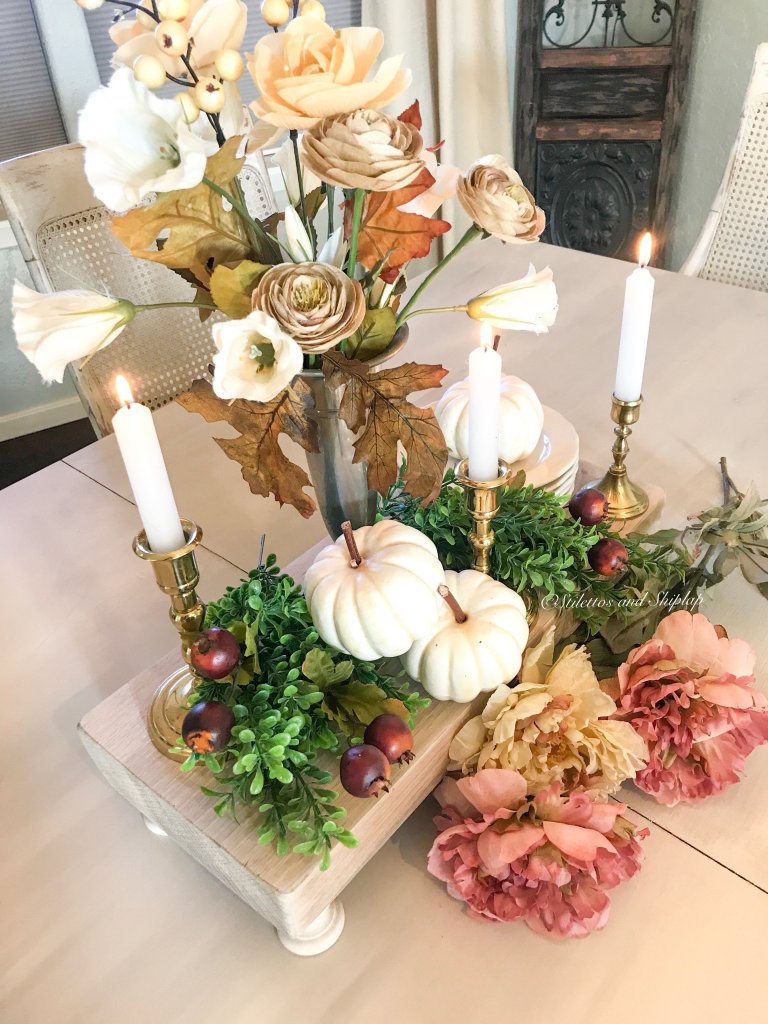
Here is how it fits the table, leaving plenty of space at either end for a place setting as well.
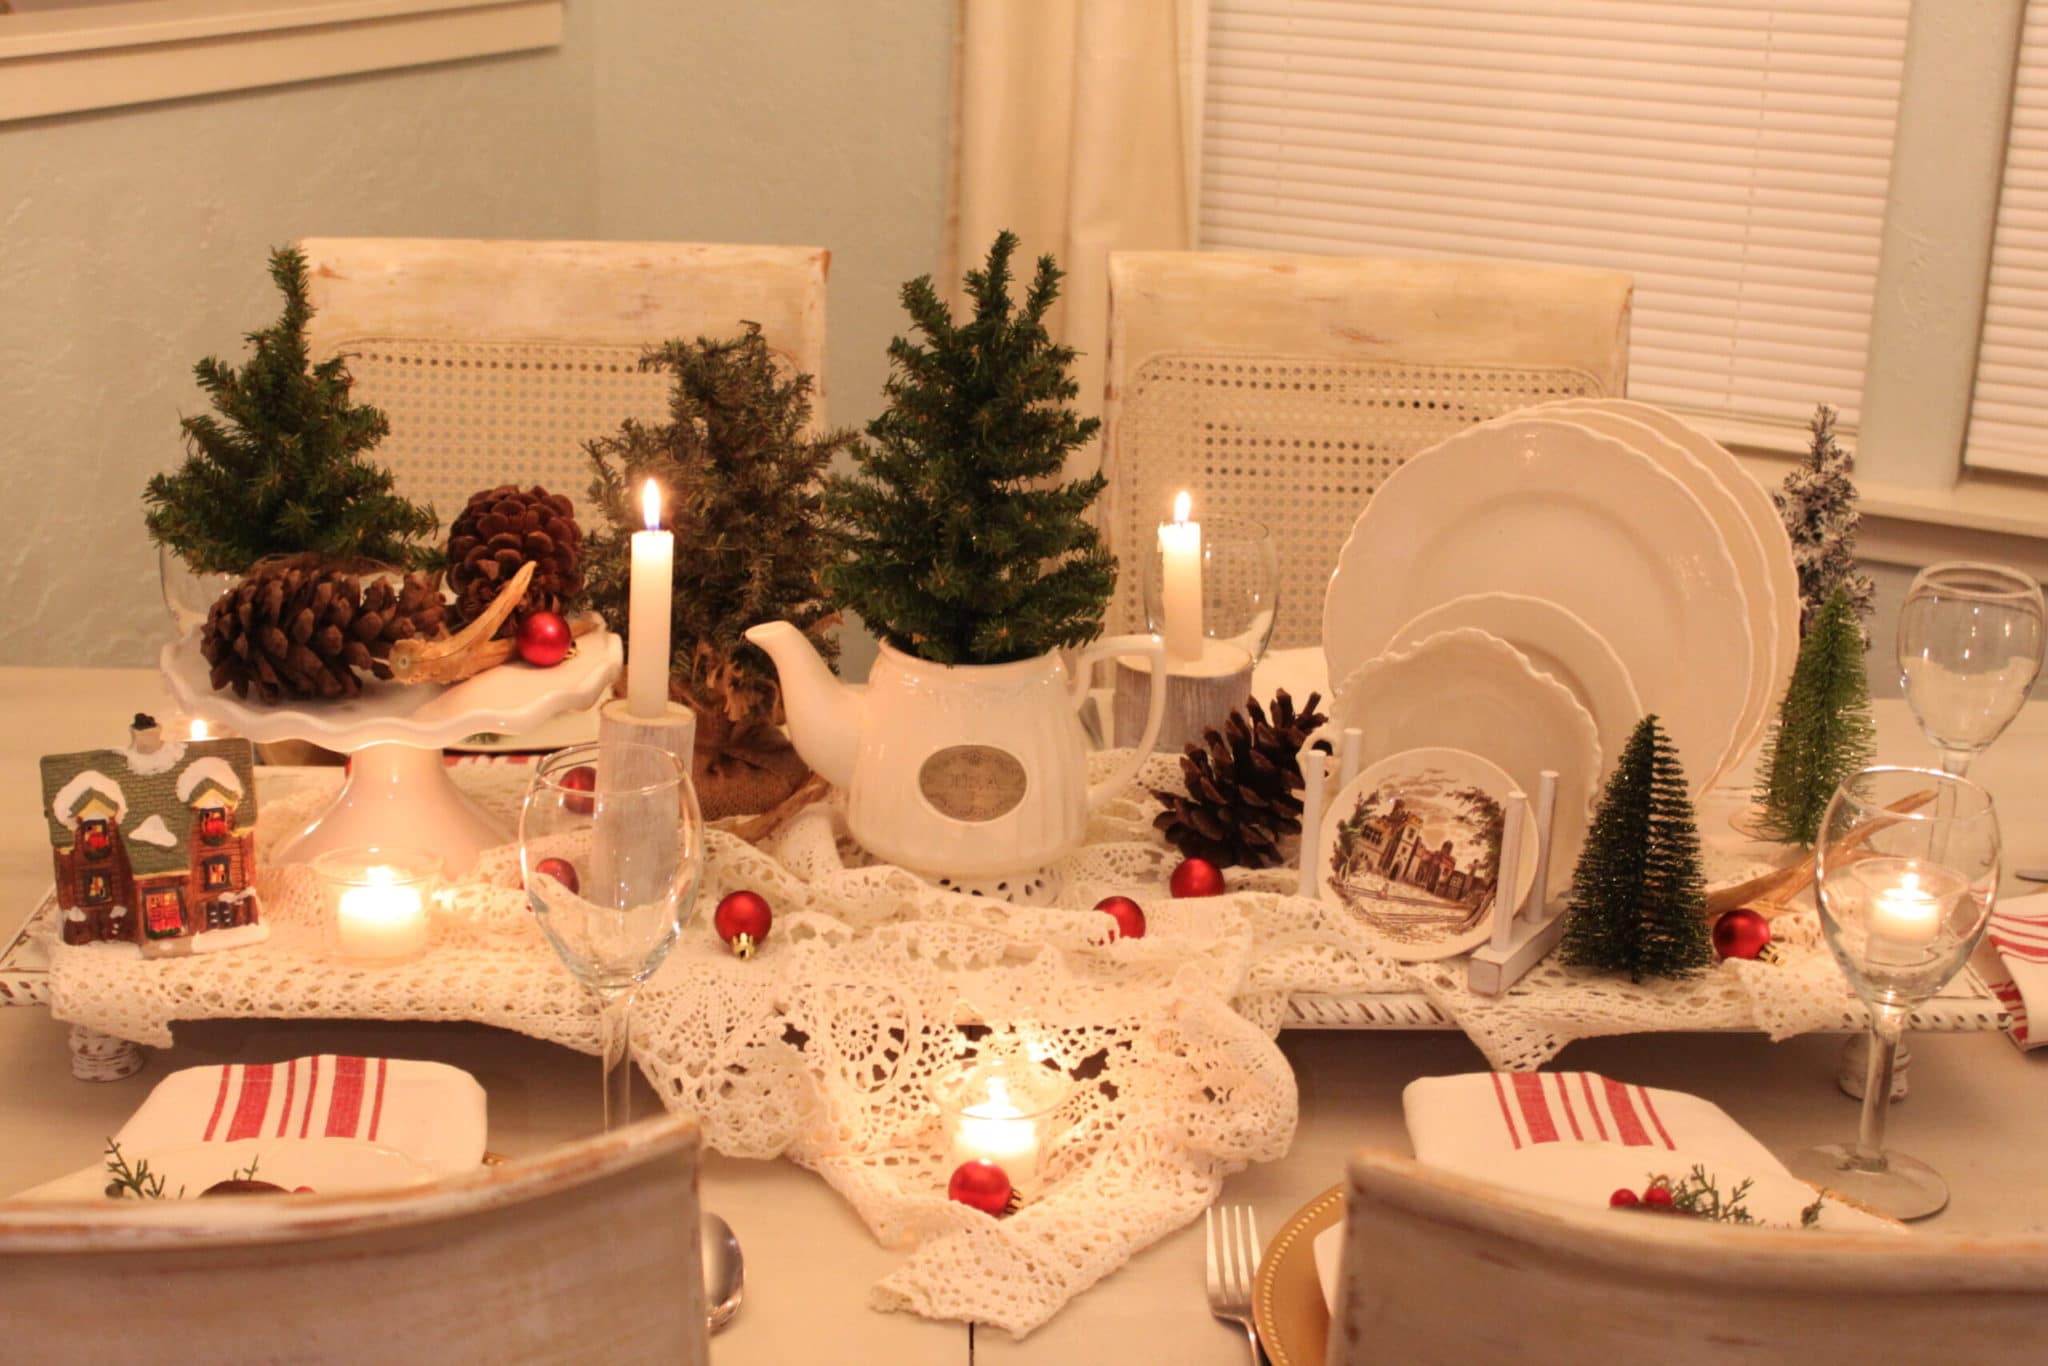
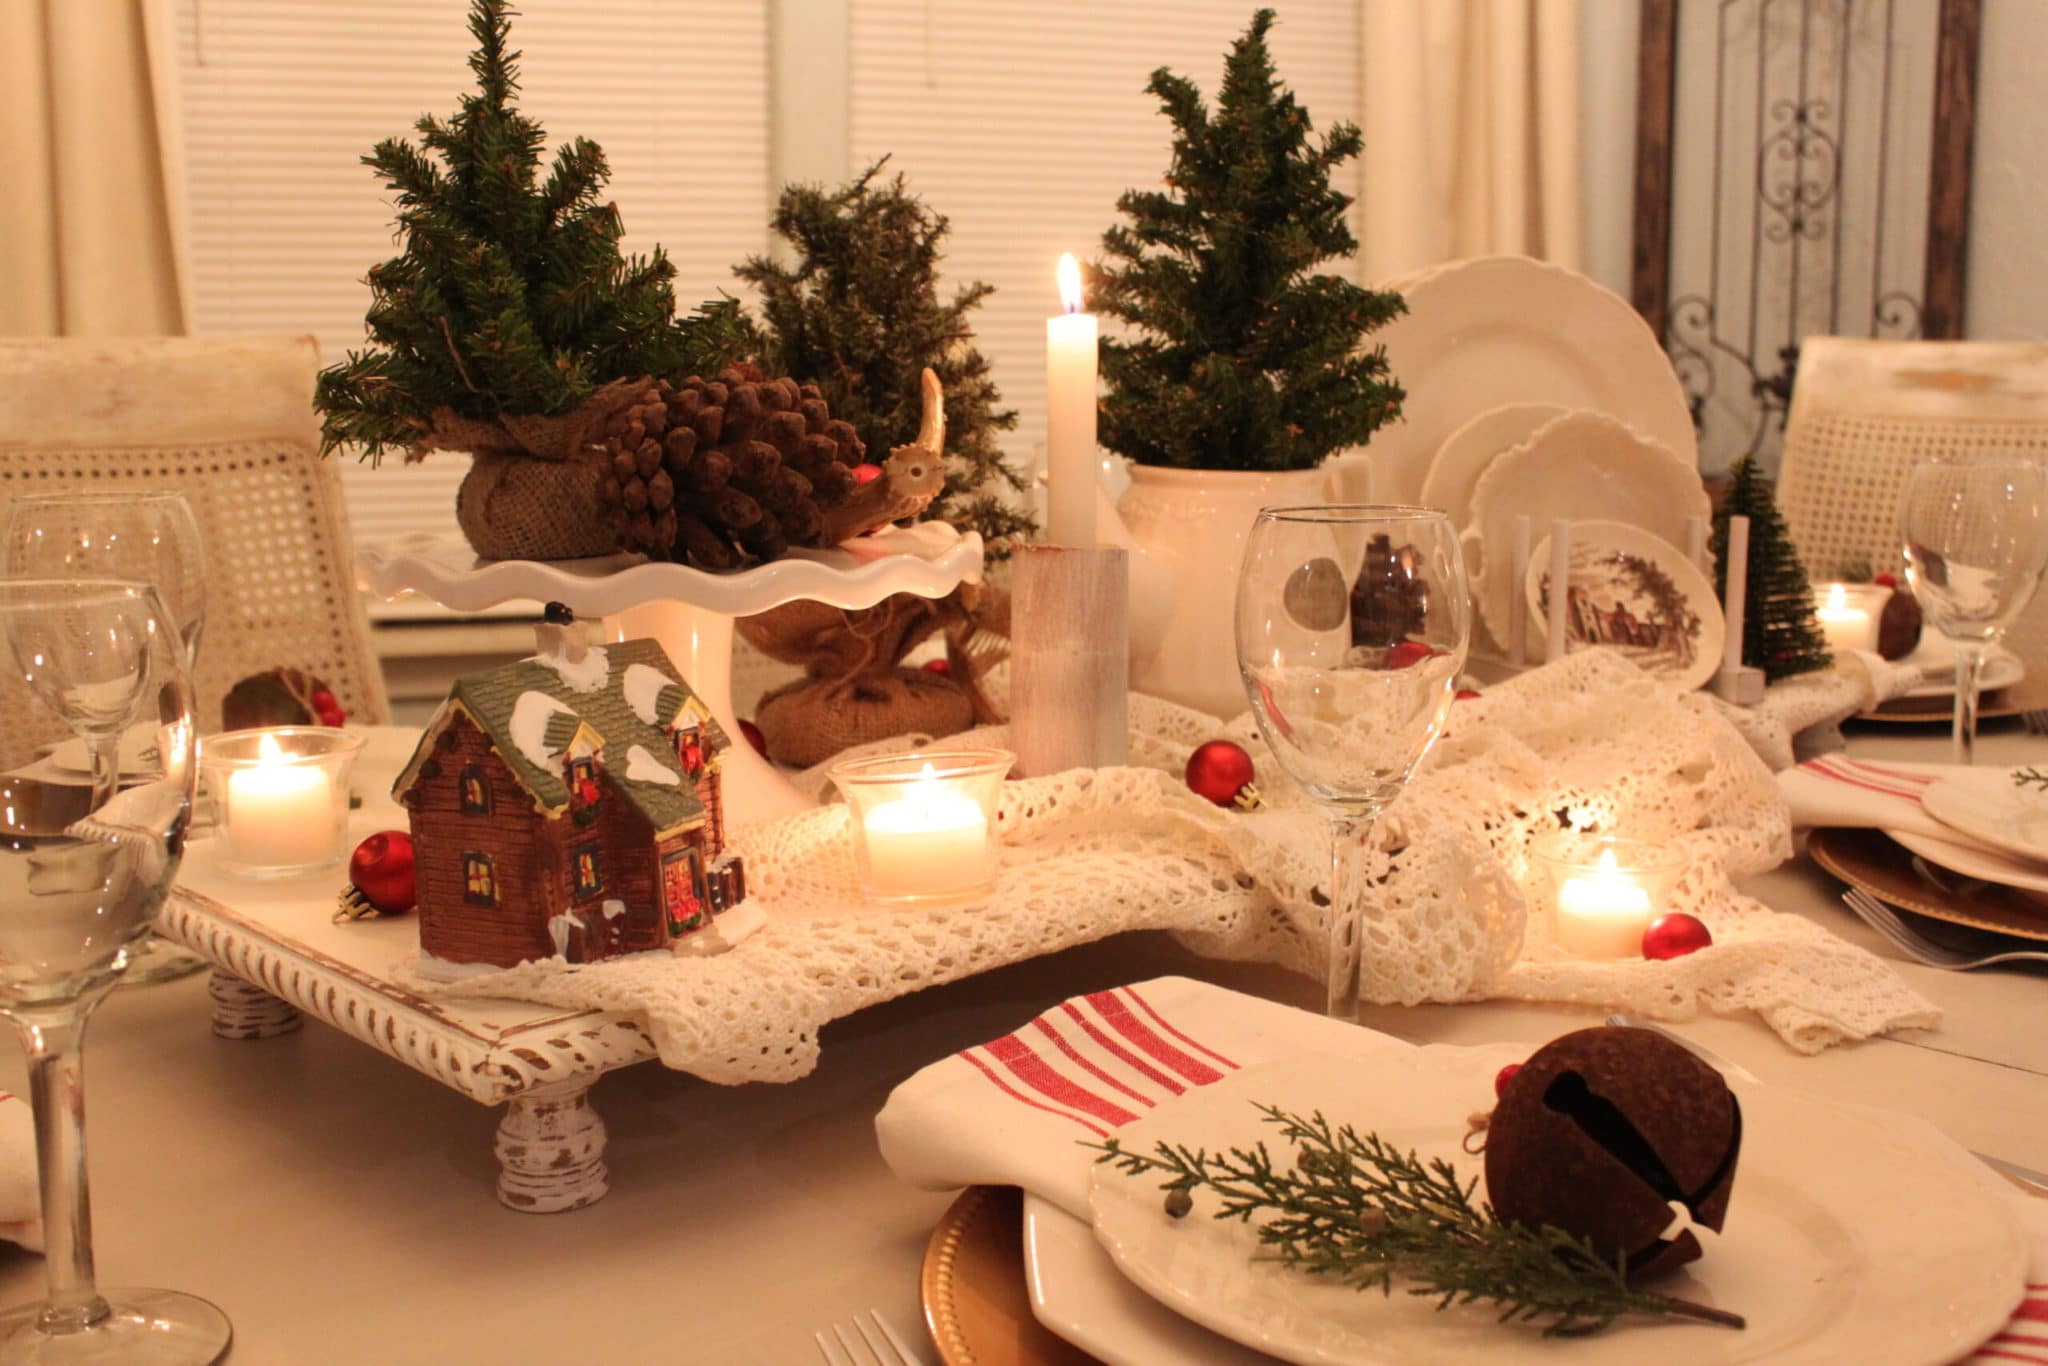
Now it’s time to style it! The best part!
Emily’s Post
I can’t wait to see what lovely project Emily worked on this week! I know it’s gonna be amazing and that I am going to want to do it too as soon as I see it. That always happens to me when I see her creations!
Just click on the photo below to go straight to her blog post.

Thanks so much for stopping by! I’d love to see your pictures if you make a riser like this some time.
Pin it for later…


Totally great project, Tara!!! It looks beautiful and perfectly distressed (I love the white!!!) and just the right size for your table with leaves. That’s something I really like about our antique oak table ~ four leaves and it can extend to 102″ with room for two more leaves, if our house was big enough! Lol!!
Beautiful job,
Hugs,
Barb 🙂
Yes! It isn’t easy to find big tables like that these days. At least not without taking out a second mortgage 😄. Thanks for stopping by and I’m so glad you like it!
Its absolutely stunning Tara , I love this! this is what makes me so inspired .
I cant wait to get back into creating crafts and diy’s . This is so inspirational.
It beautiful… Teresa
Awww so kind of you, Teresa. Thanks for stopping by
Excellent idea…certain would work for any size also. Good tutorial directions, also! Sandi
Thank you so much! I’m glad you liked it. Thanks for stopping by 🤗
Great riser for any table, Tara. Love the rope trim. Adds the perfect finishing touch. Thank you for sharing at Tuesday Turn About Link Party.
I’m glad you like it. Yes it could so easily be made to fit any size table or any style decor and they’re so inexpensive to make. Thanks for stopping by.
[…] DIY table riser from Tara of Stilettos and Shiplap is perfect for a long dining room […]
Thanks so much for the feature! I really appreciate it.
I can’t locate the recipe for your White Dove paint. Can you direct me to it?
Absolutely! I will see what I can do to make it more obvious to find also but you can find the recipe I use for chalk paint at Homemade Chalk Paint
My most common is to use White Dove which is a Benjamin Moore color, but mixed in Behr flat paint because it’s cheaper and convenient for me to get and I really like the consistency. I just ask them to mix “Benjamin Moore White Dove” and they can look up the particulars on their computers. By using this homemade chalk paint you can make any color you like rather than being stuck with the chalk paint colors you can get.
I hope this helps,
Tara
[…] regularly start a tablescape with my DIY riser. It just helps to add some height and definition to the […]