Okay maybe “built” is a bit of an exaggeration but I did have to do put in the trusses, sheet the roofs, shingle the roofs, paint the exterior and decorate them for the holidays. And yes, I did that all in less than 24 hours.
True story.
Wanna see?
Oh good!
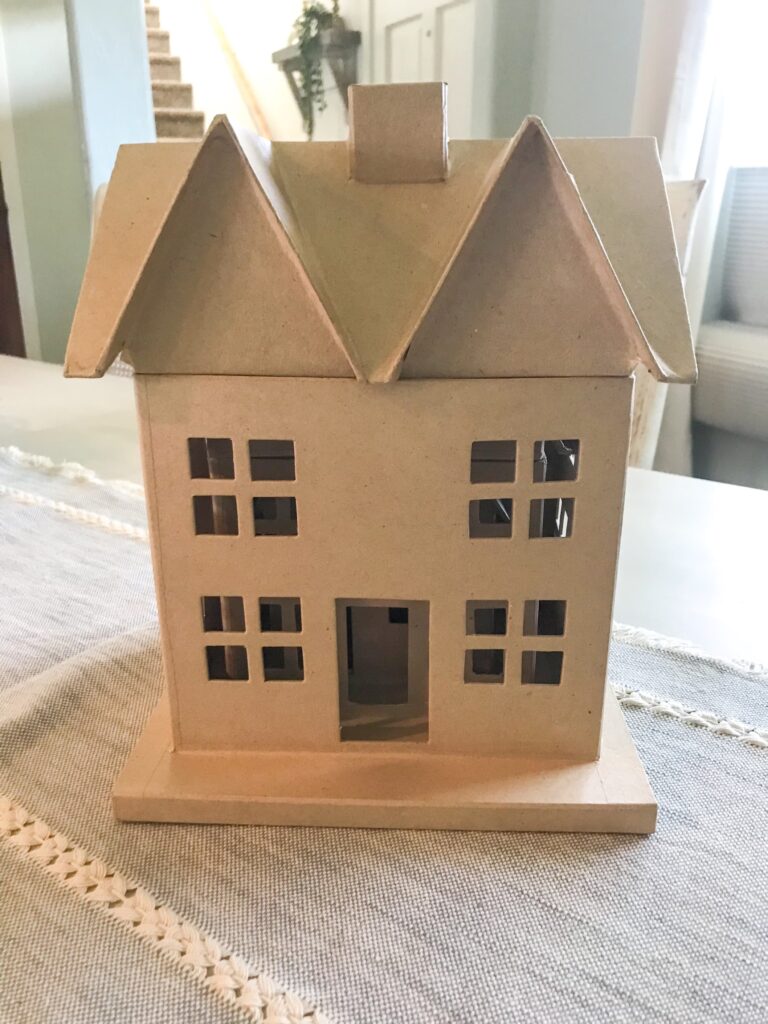
This is what I started with. Three little houses, one inside the other, all brown cardboard basically.
But not for long.
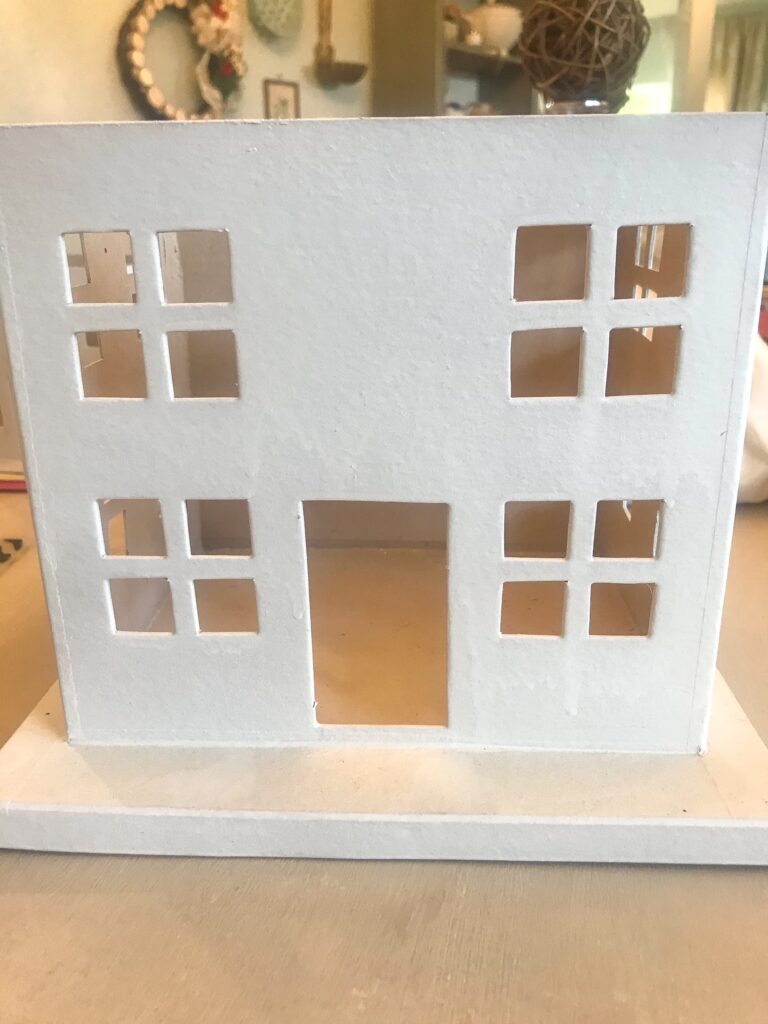
First I painted them all white. Would you believe me if I told you I used spray paint because I was feeling lazy? (I used Rustoleum chalk spray paint in the white linen color)
I’m feeling much better now that I was completely honest about that 😄
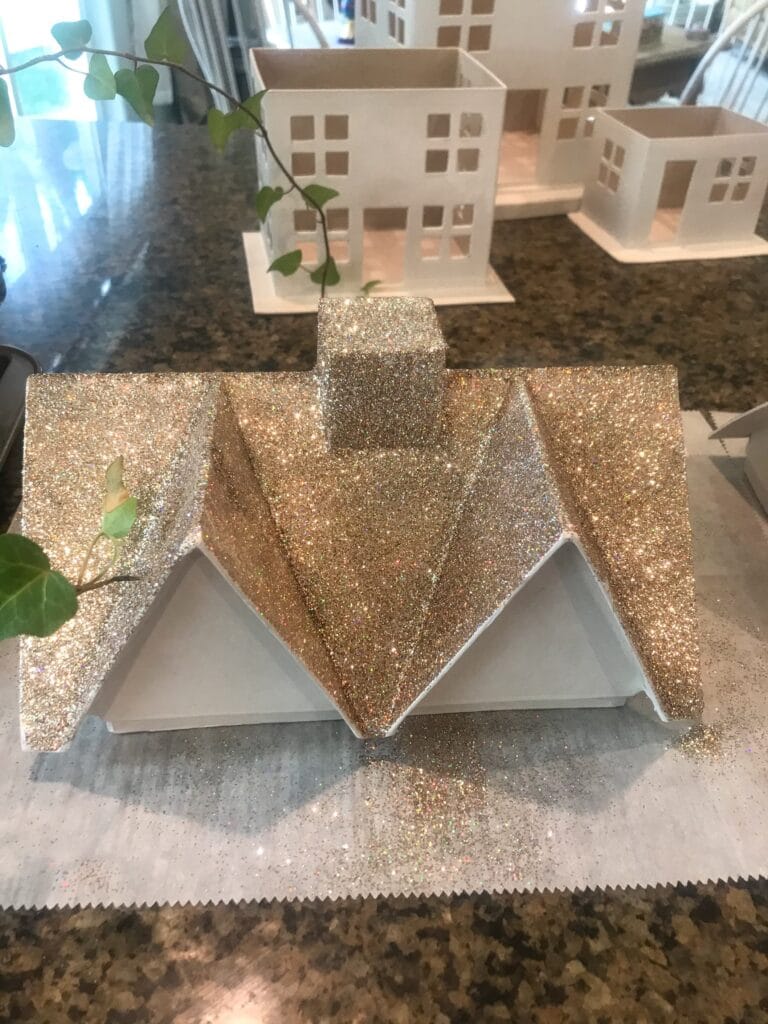
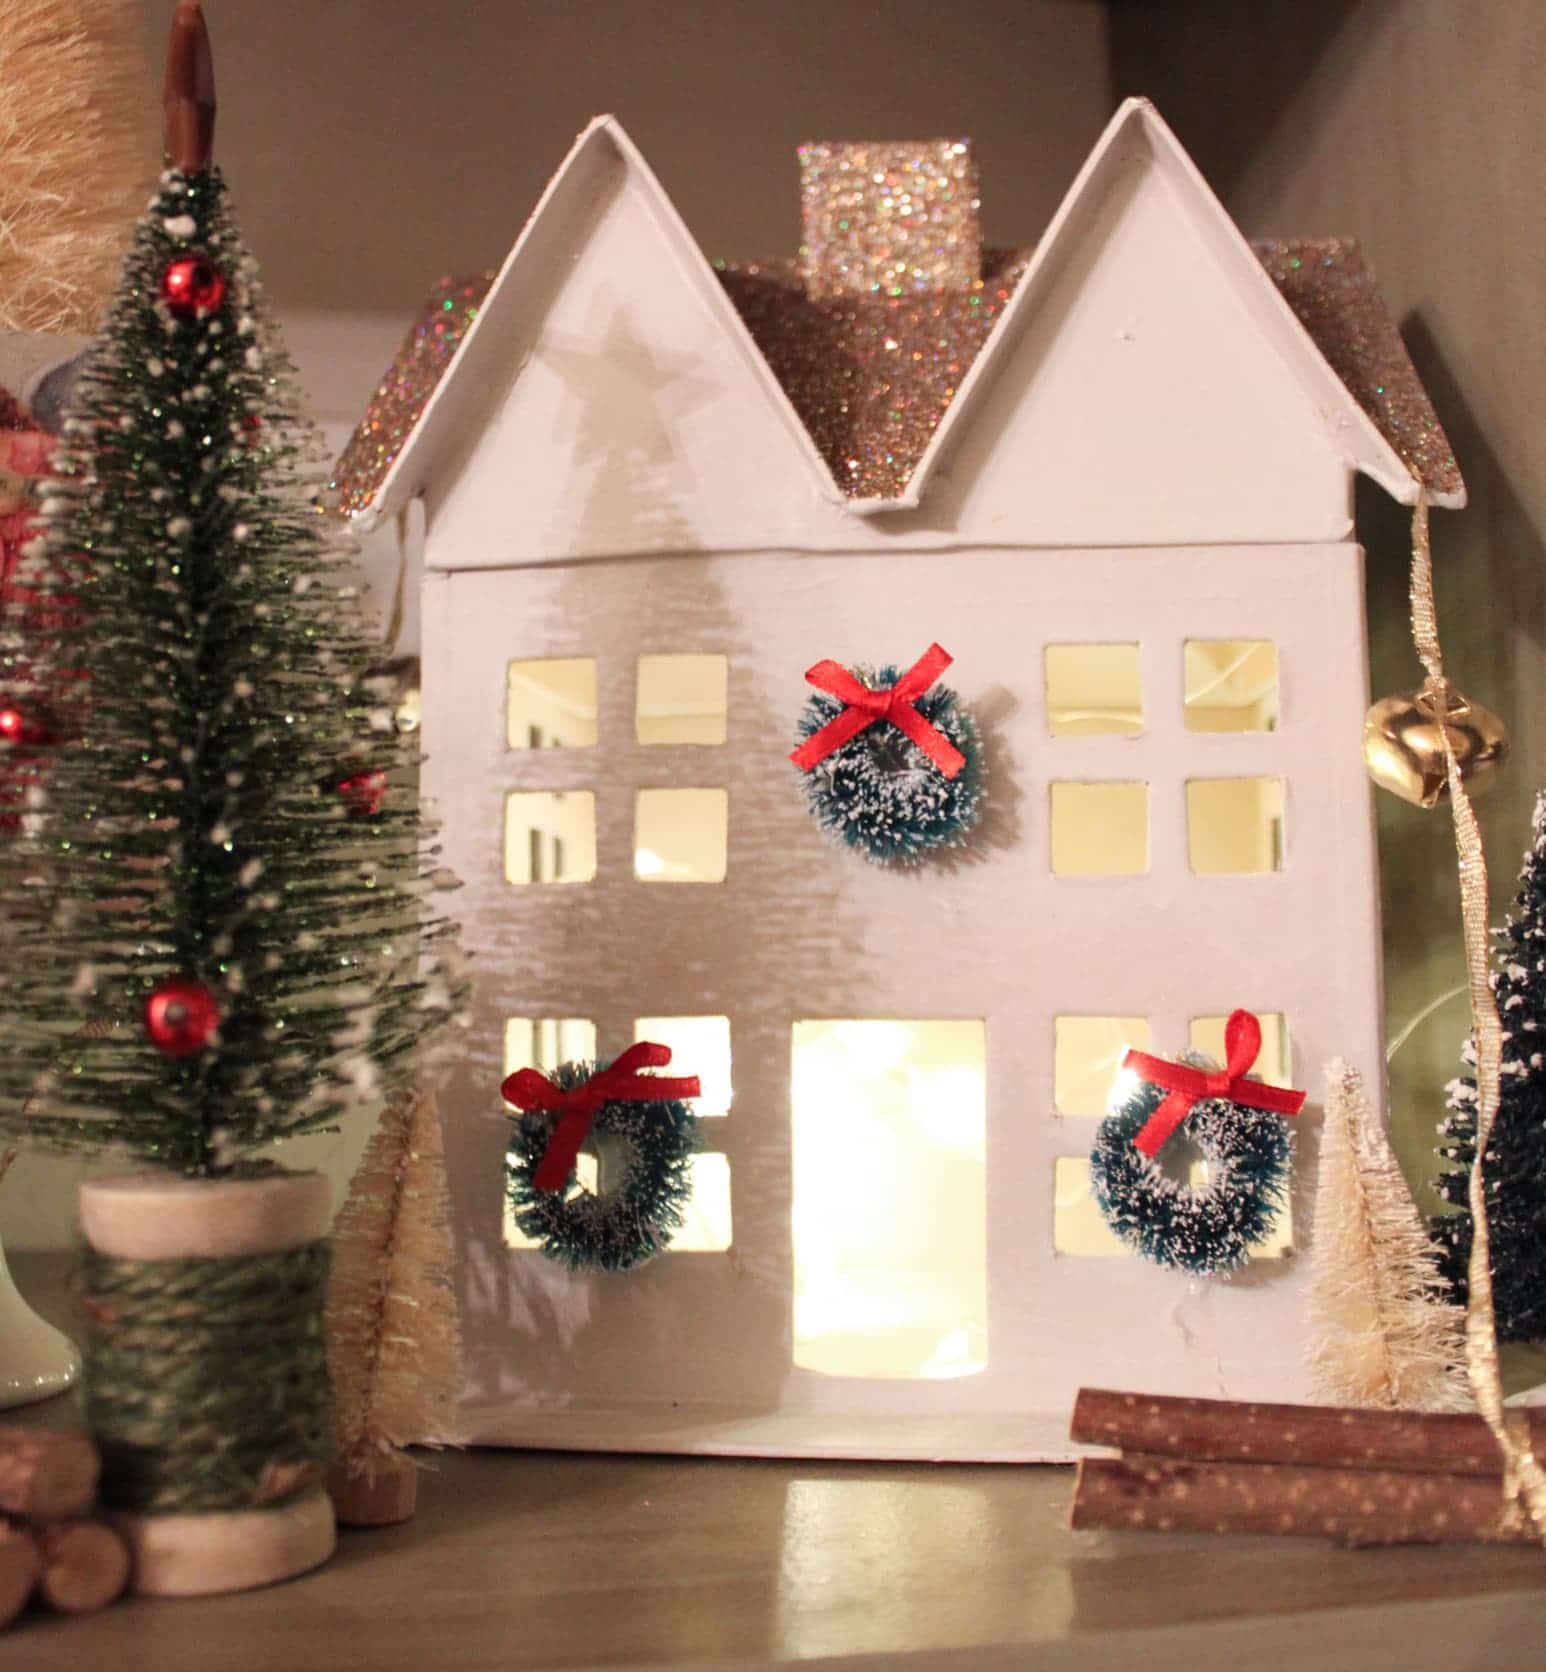
Then came the roofs. I applied a thick coat of Elmers School Glue to the surface of the roof and then shook glitter all over them thickly. I let them set like this WITHOUT shaking the excess off until the glue had dried, then tapped off the excess glitter.
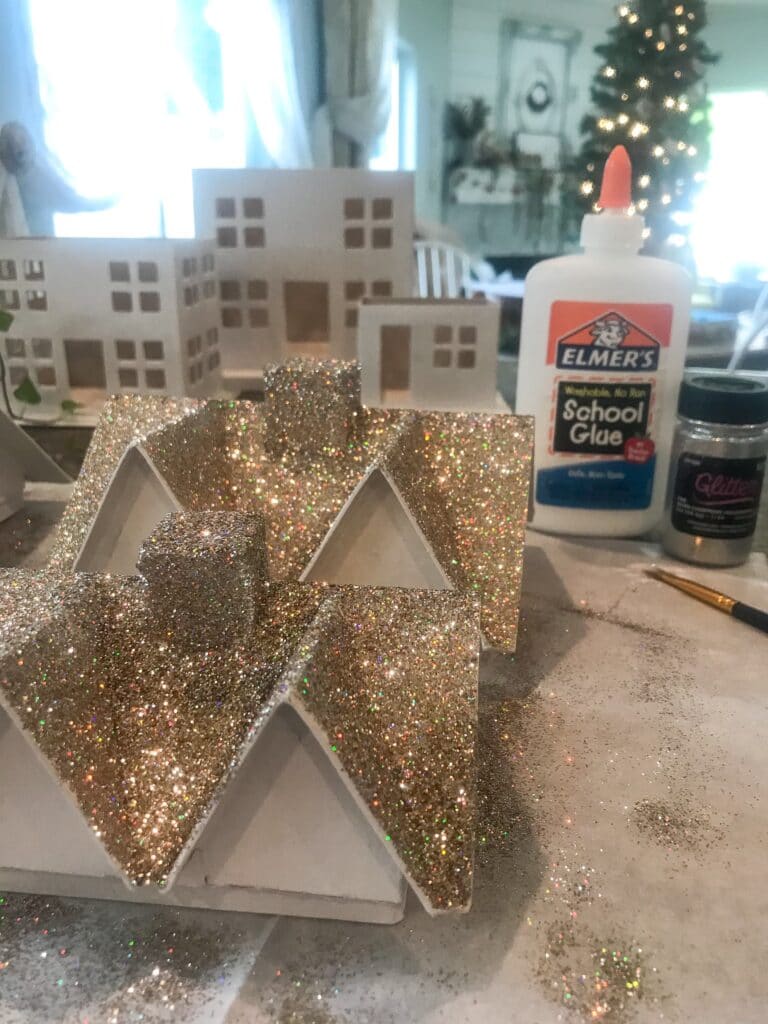
Rinse and repeat. (Seriously don’t rinse the little houses. You’ll destroy them. They’re made of paper!)
Now that we’ve got that worked out it was time to put the roof on each house and a normal person would style them like that but I’m not normal.
I thought it was only fair that they got some Christmas decor since I had Christmas decor on MY house.
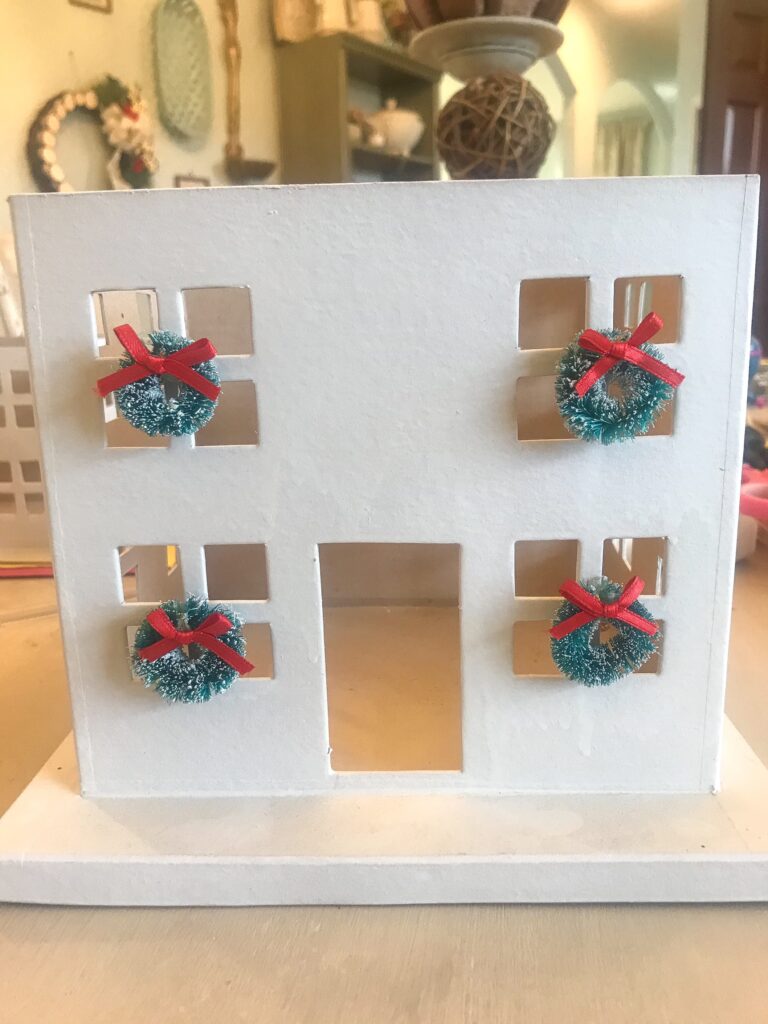
Out came some tiny wreaths with the cutest red bows. A dab of hot glue and we were all set!
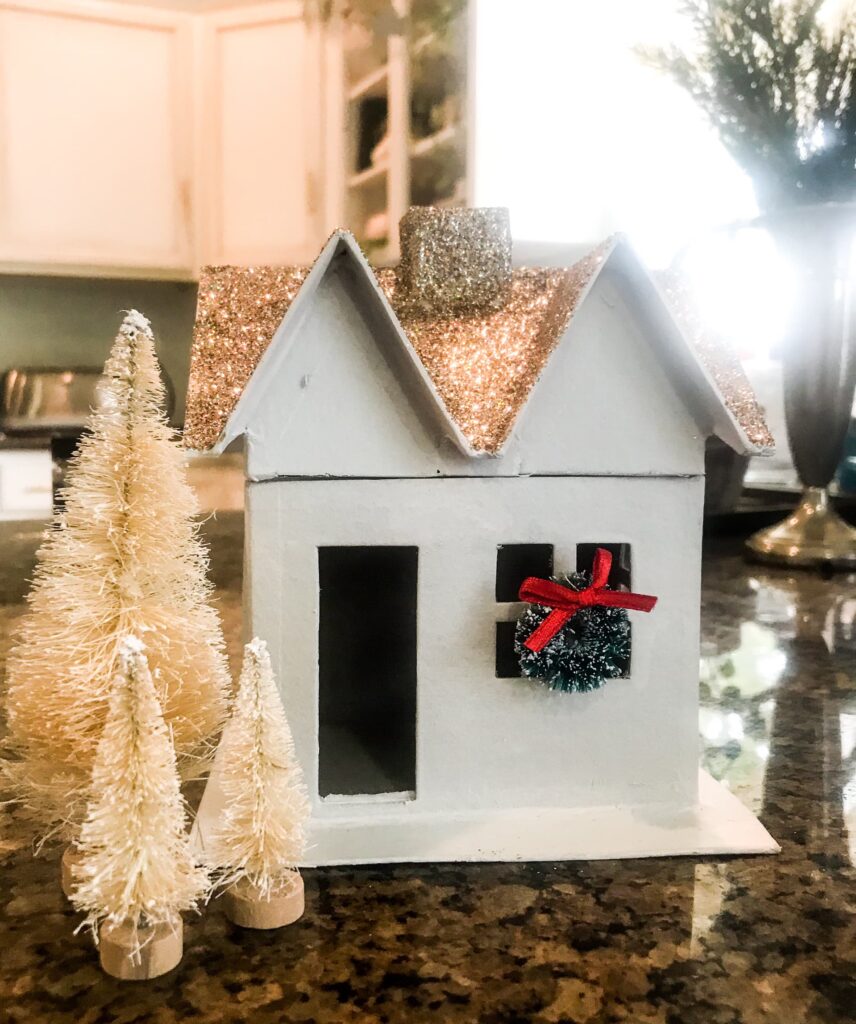
Even the tiny house had room for one wreath.
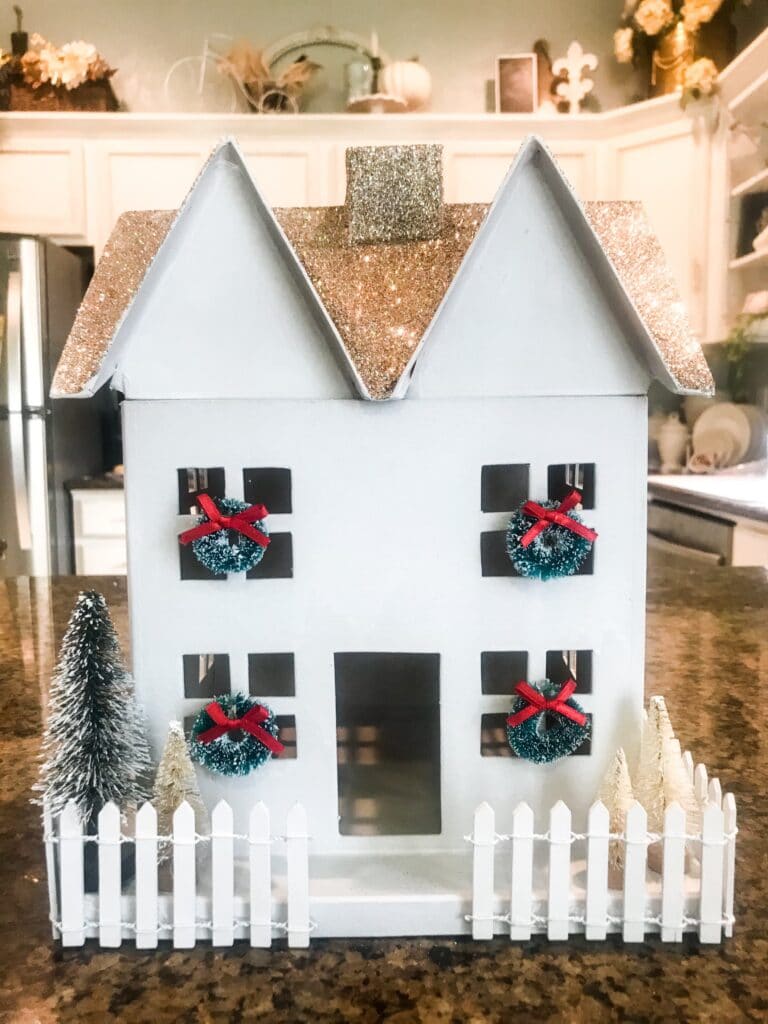
And the big one got a little white picket fence!
Now to style them!
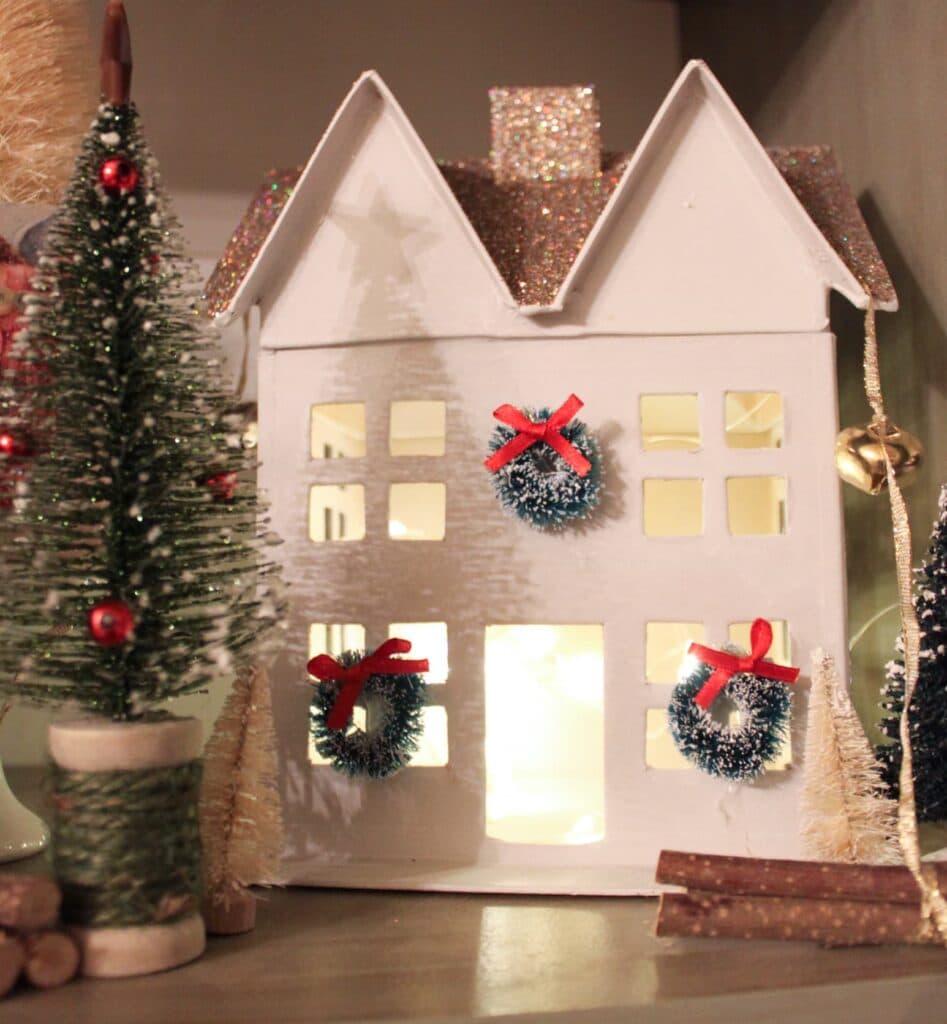
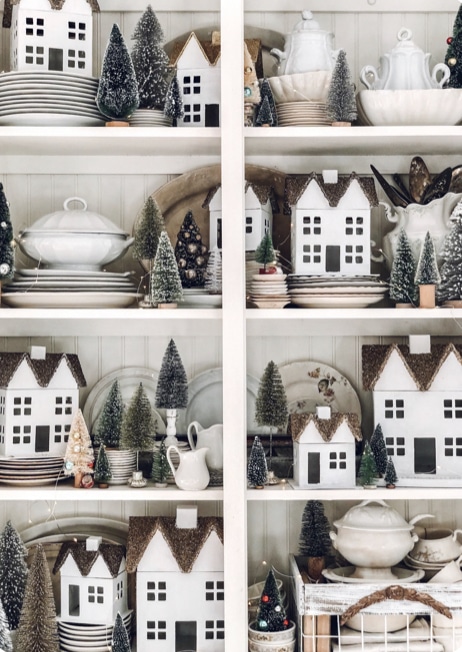
They fit in perfectly with all my ironstone and serving dishes in my dining room.
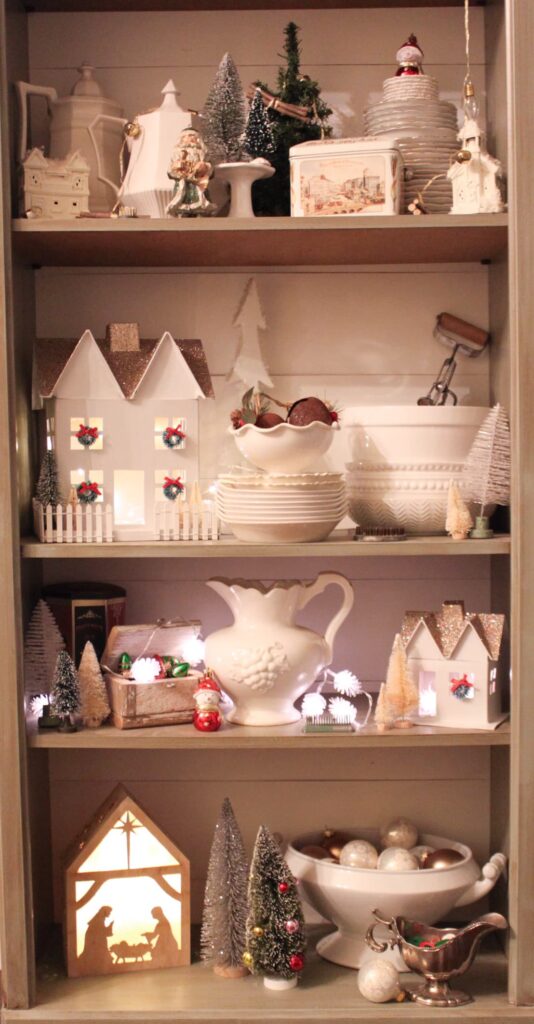
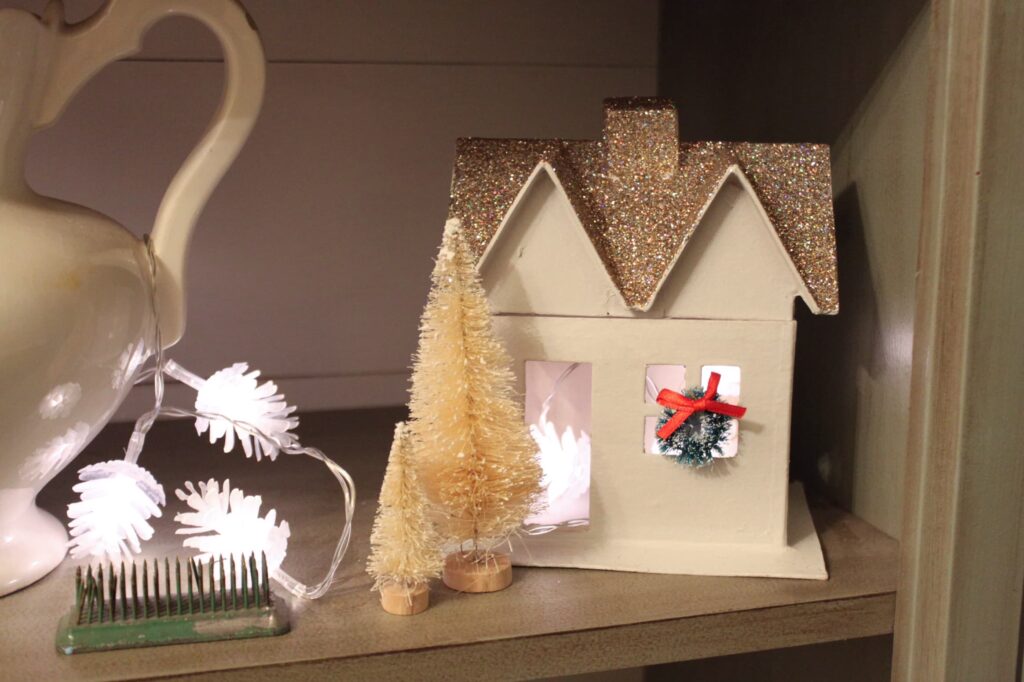
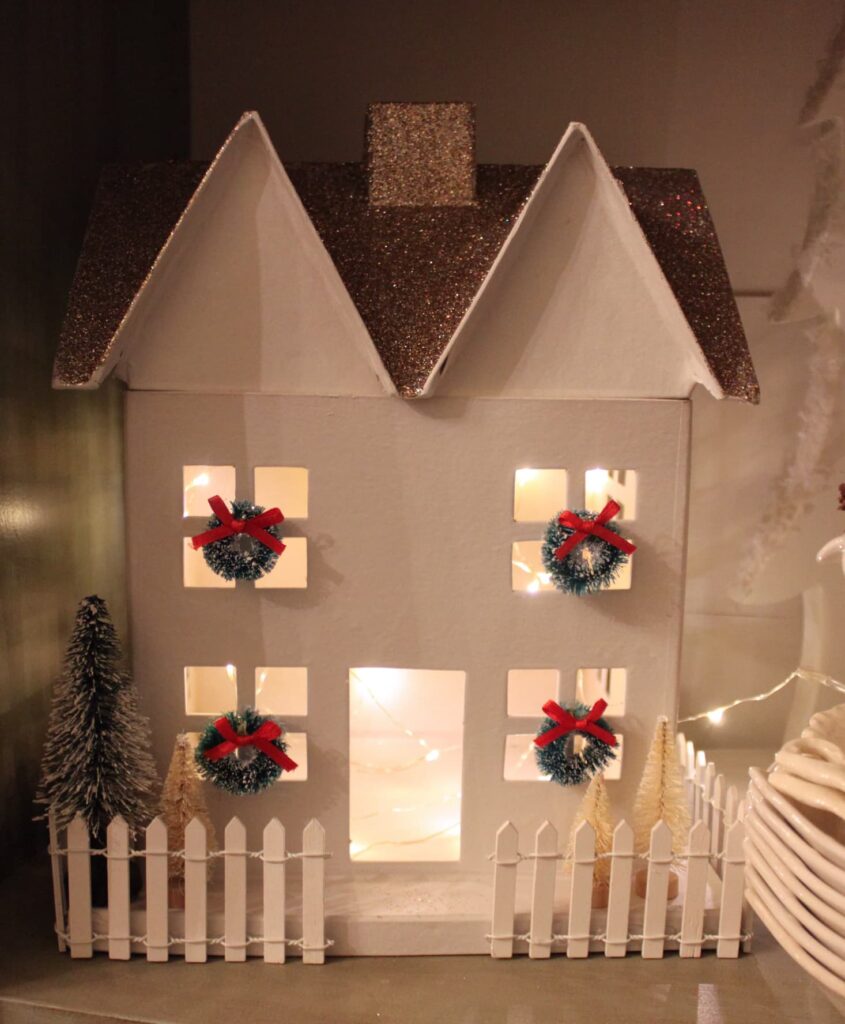
Of course they could work beautifully on my table, in my open cabinet in my kitchen, on my countertop or pretty much in any other room of my house!
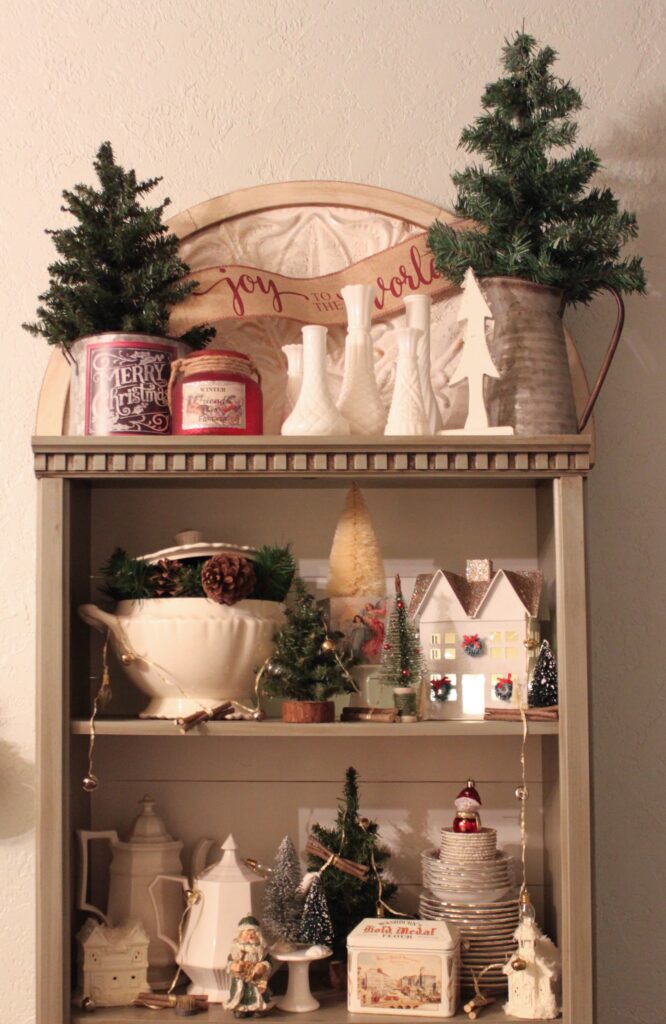
I just might have to get another set of them so I can use them in more places at once!
Wanna see some more ideas of how to finish and style these little houses?
Great! Just click on the pic below.
Your winter village is so cute!!! I LOVE the little picket fence, and the sweet little wreaths! And the glittery roof tops, so perfect!!! Such darling details!!! Soooo very cute!!!
-Emily
I love the glass glitter you did on yours but I didn’t have any made and no ornaments to make some with and I didn’t want to wait a long time to order some. In the end I just used a regular glitter in a pretty color. Anyways I love the houses and I think I’m gonna get another set and do them a little differently just so I have a few different looks!
I have see. People buy those houses but have never seen the. In the stores around me. Ugh. Love the way you styled yours. The glitter roof looks pretty.
Thanks so much Terrie. Emily and I got ours from Hobby Lobby and they’re about $14 and then you can either use the 40% off coupon or wait until it’s their week to be on sale. Makes them pretty inexpensive if you use paint and things you already have.
Looks like you had a lot of fun…Yay on the spray paint, they are so improved with the finishes now. Great display in your cabinet…a little early, but then I never decorate until later. Hugs, Sandi
It was a lot of fun! Yes, I like the Rustoleum spray paint for some applications but not if it’s something that’s gonna get a lot of traffic. I wouldn’t decorate as early if I wasn’t a blogger. It doesn’t do anyone any good if I give them ideas AFTER they’ve done their seasonal decor so I’m the odd one in the neighborhood whose house is all lit up a month before everyone else! 😄
CONGRATS! Your post is FEATURED at my #UnlimitedMonthlyLinkParty 19, open until December 26 at 12:05 am.
Thank you so much! I really appreciate that.
[…] I always loved the idea of these cute little paper mache houses and especially how they looked with a little bit of something extra added to them when I saw how Emily added glitter to the roofs on hers. When they went on sale at my local Hobby Lobby I picked up a set of them (there are 3 different sizes in each pack) and proceeded to add my own touches to them. You can see the entire project HERE. […]