It’s finally time! Time to show you my progress in my master bathroom. It’s always a slower process than you want it to be, especially if you’re doing all the work by yourself like I always do. Finally it looks like I’m getting somewhere though.
You might recall this look…..it’s how my bathroom has looked nearly since I moved in. When I did move into this house the master bathroom was painted a very dark blue, almost a navy. With no window in this space and only the one light fixture above the vanity, it was pretty much like a cave. Get into the shower and it was like reading by braille.
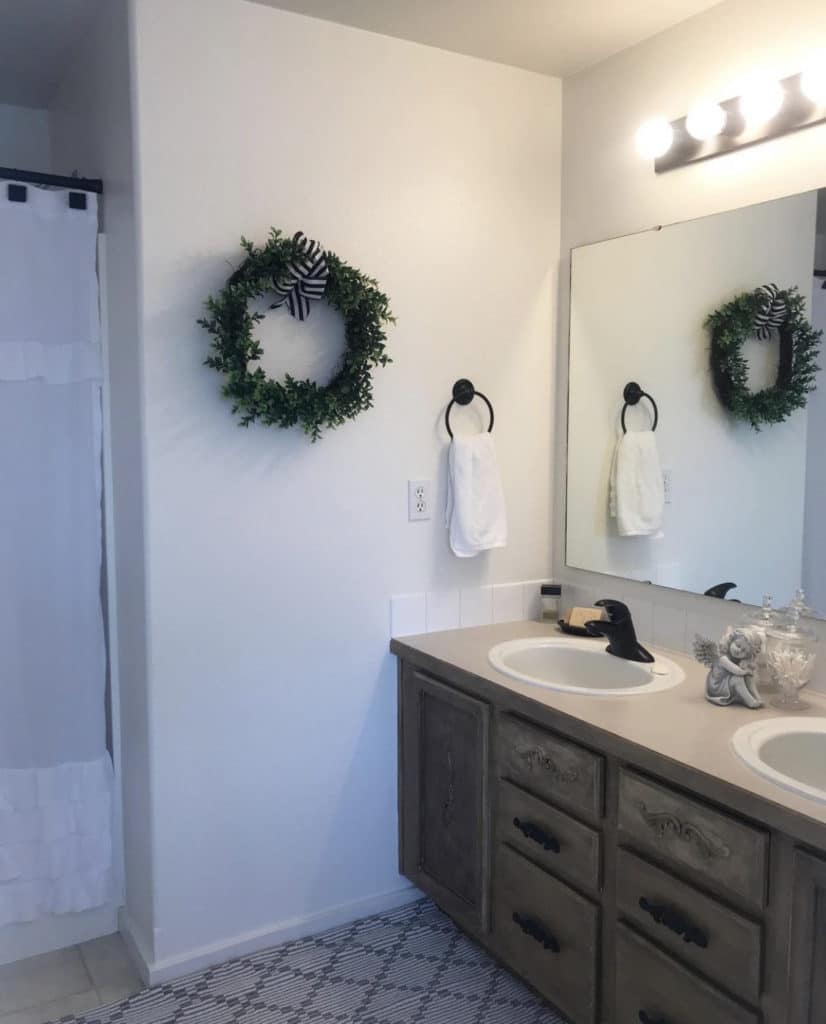
All I really did was paint and antique the vanity, add hardware and some trim details to it, paint the walls white and put a very small bit of decor around. I always planned to do more but like my bedroom, it always gets put to the bottom of the list.

I must say the space was ever so much lighter and brighter but that’s about all I can say for it.
Now if you happened to catch my blog post outlining my plans for this room, then you already know where I had to start.
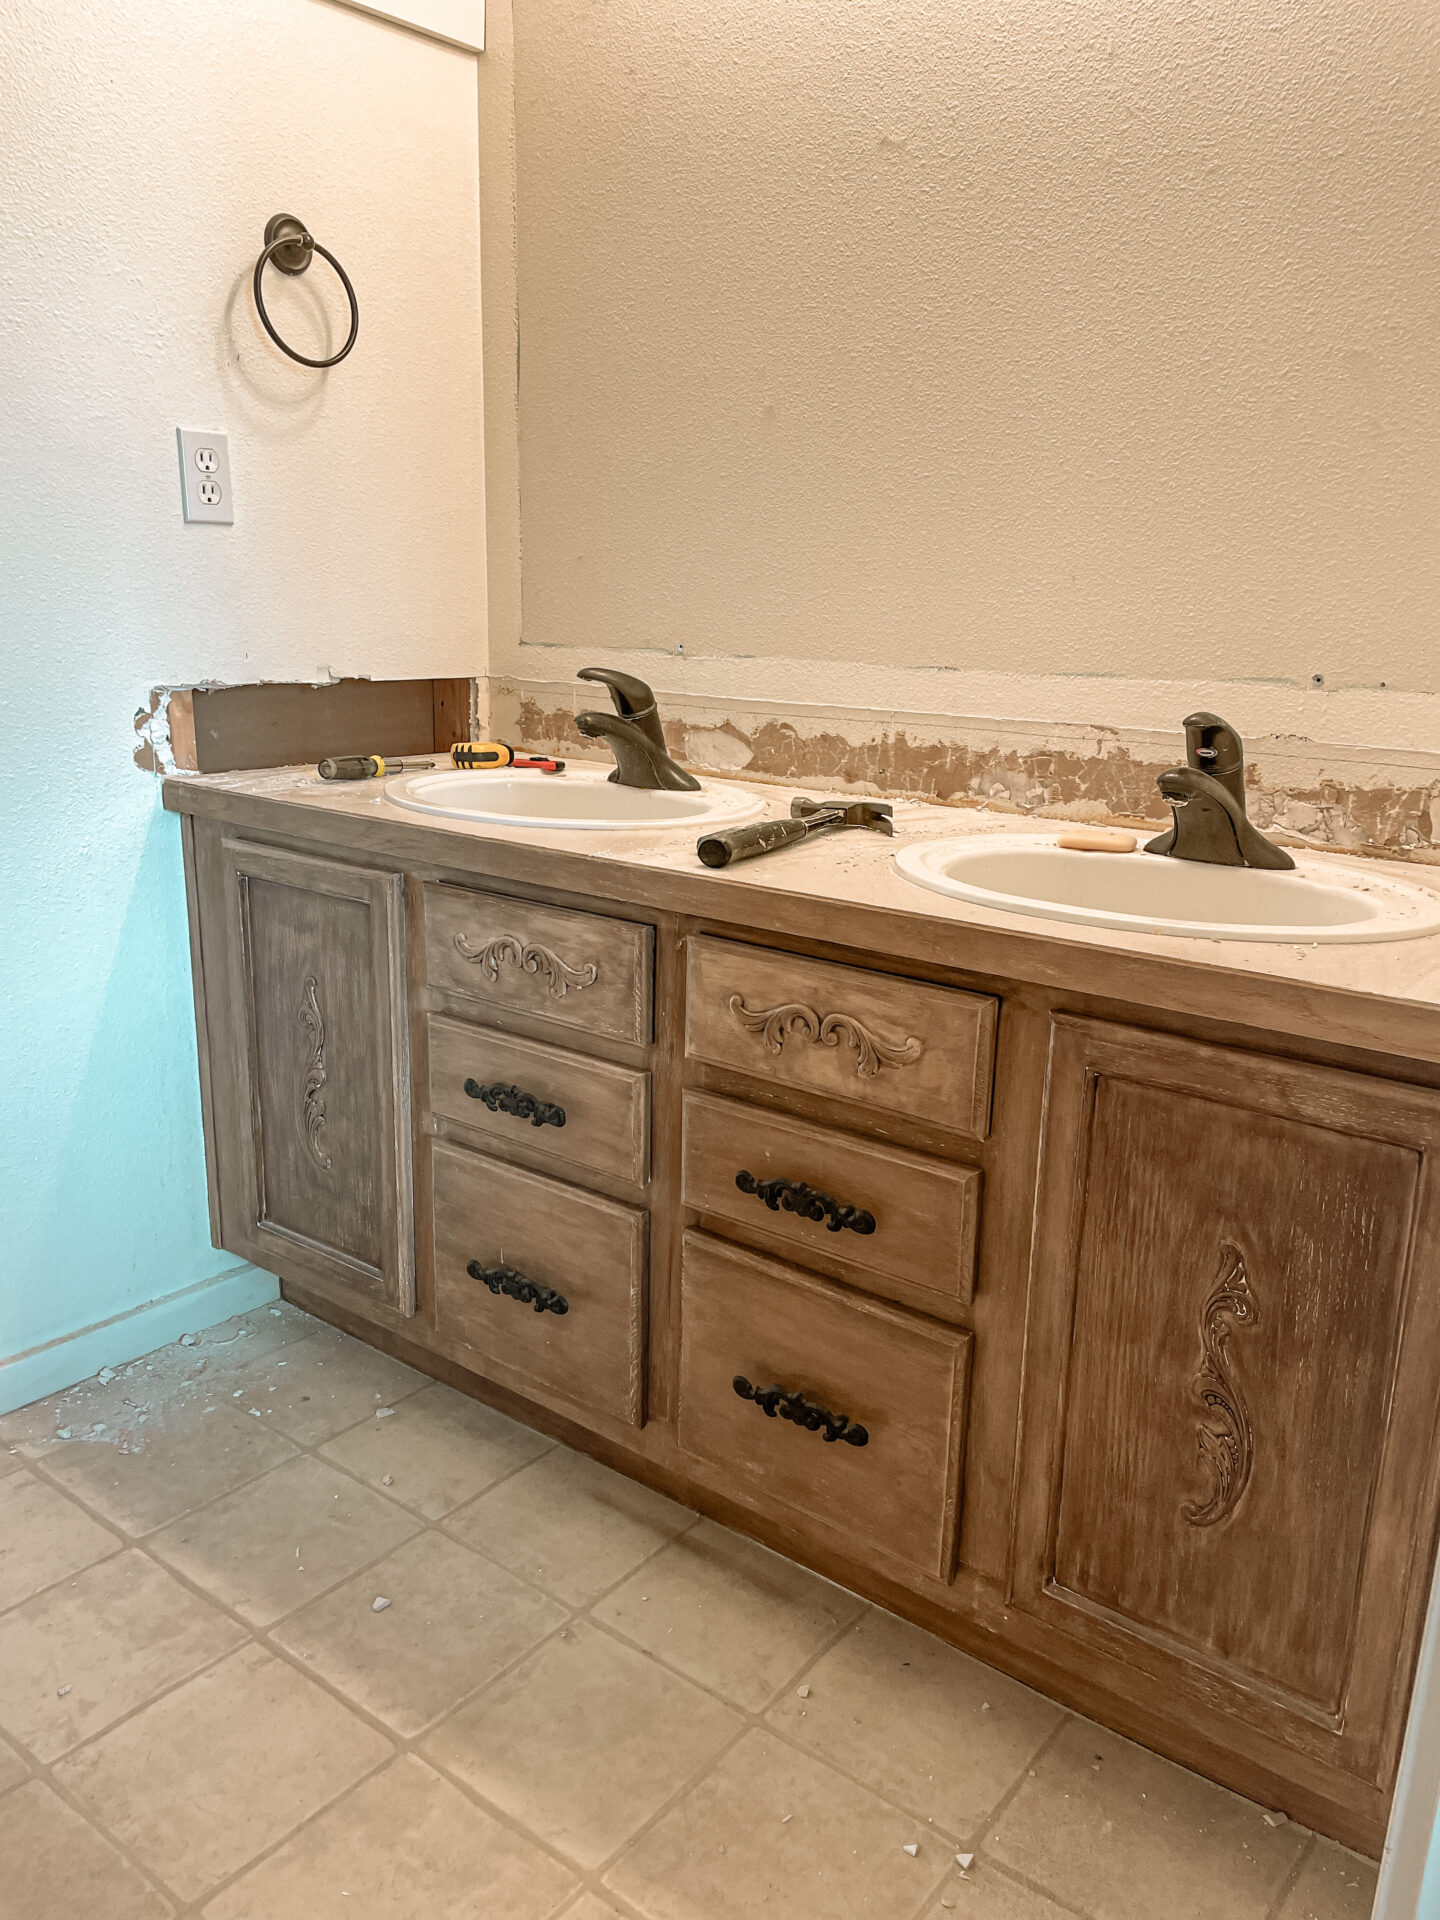
I removed the plain, flat, builder-grade mirror and the ugly square white tiles on the backsplash. I was able to get most of them off without doing too much damage to the drywall but considering they were put on with excessive amounts of construction adhesive rather than properly set in thin-set mortar, that was no small feat. Along one side of the vanity the drywall was so chewed up that I had to replace a piece of it.
Next came the really time consuming and REALLY BORING task of smoothing out the walls with drywall mud. It’s called skim-coating but it takes quite a while and its messy. I had to patch the drywall around the vanity as well and that took even more coats.
I hate the sanding part. It makes such a mess and the dust is so fine that it covers your entire house no matter what you do to prevent it. I just had to grit my teeth and go for it!
I just wish all my walls and ceilings were smooth like they should have been!
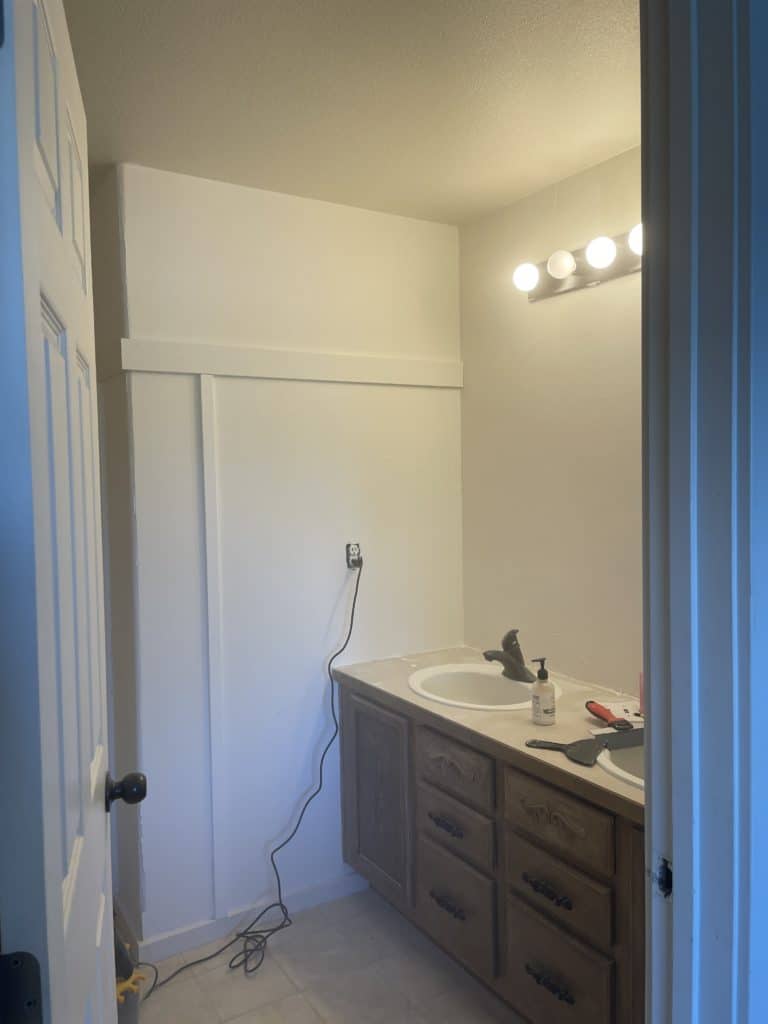
It felt like weeks before that part was finished but finally I was able to get out my drywall primer. Although it doesn’t show any progress by priming it, it’s such a necessary step so I was happy to get to that point.
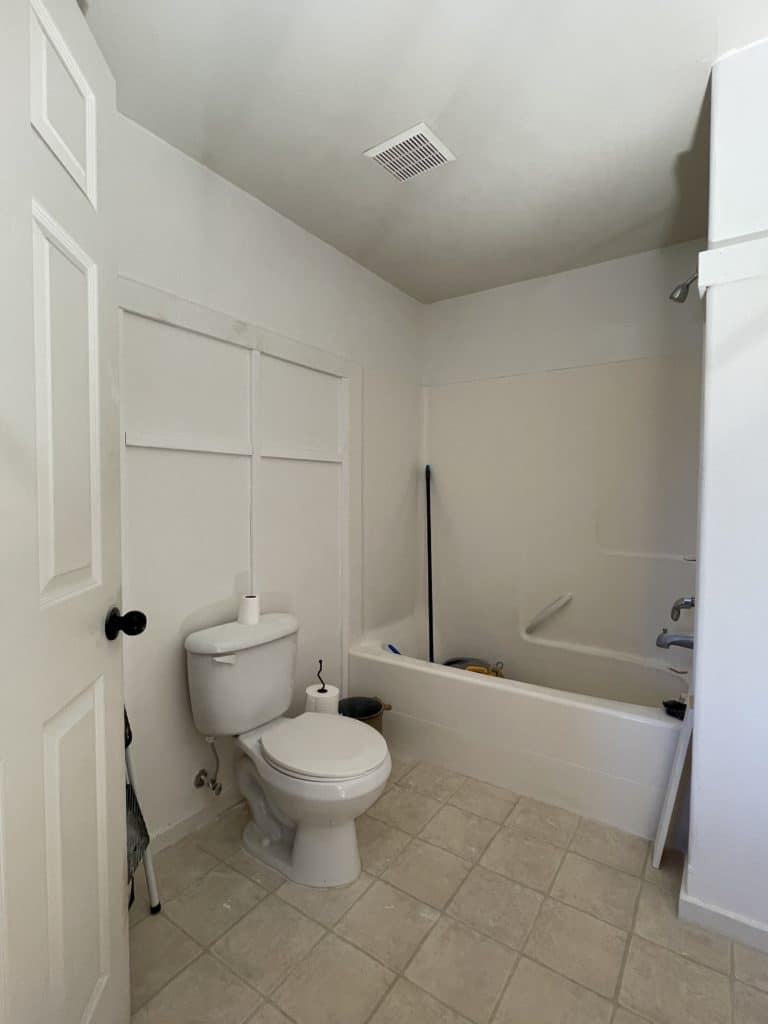
Time to put in the board and batten. I used a tiny bead of adhesive and my Ryobi finish nailer to secure everything in place. I chose the height of my tub surround to be the height of my board and batten.
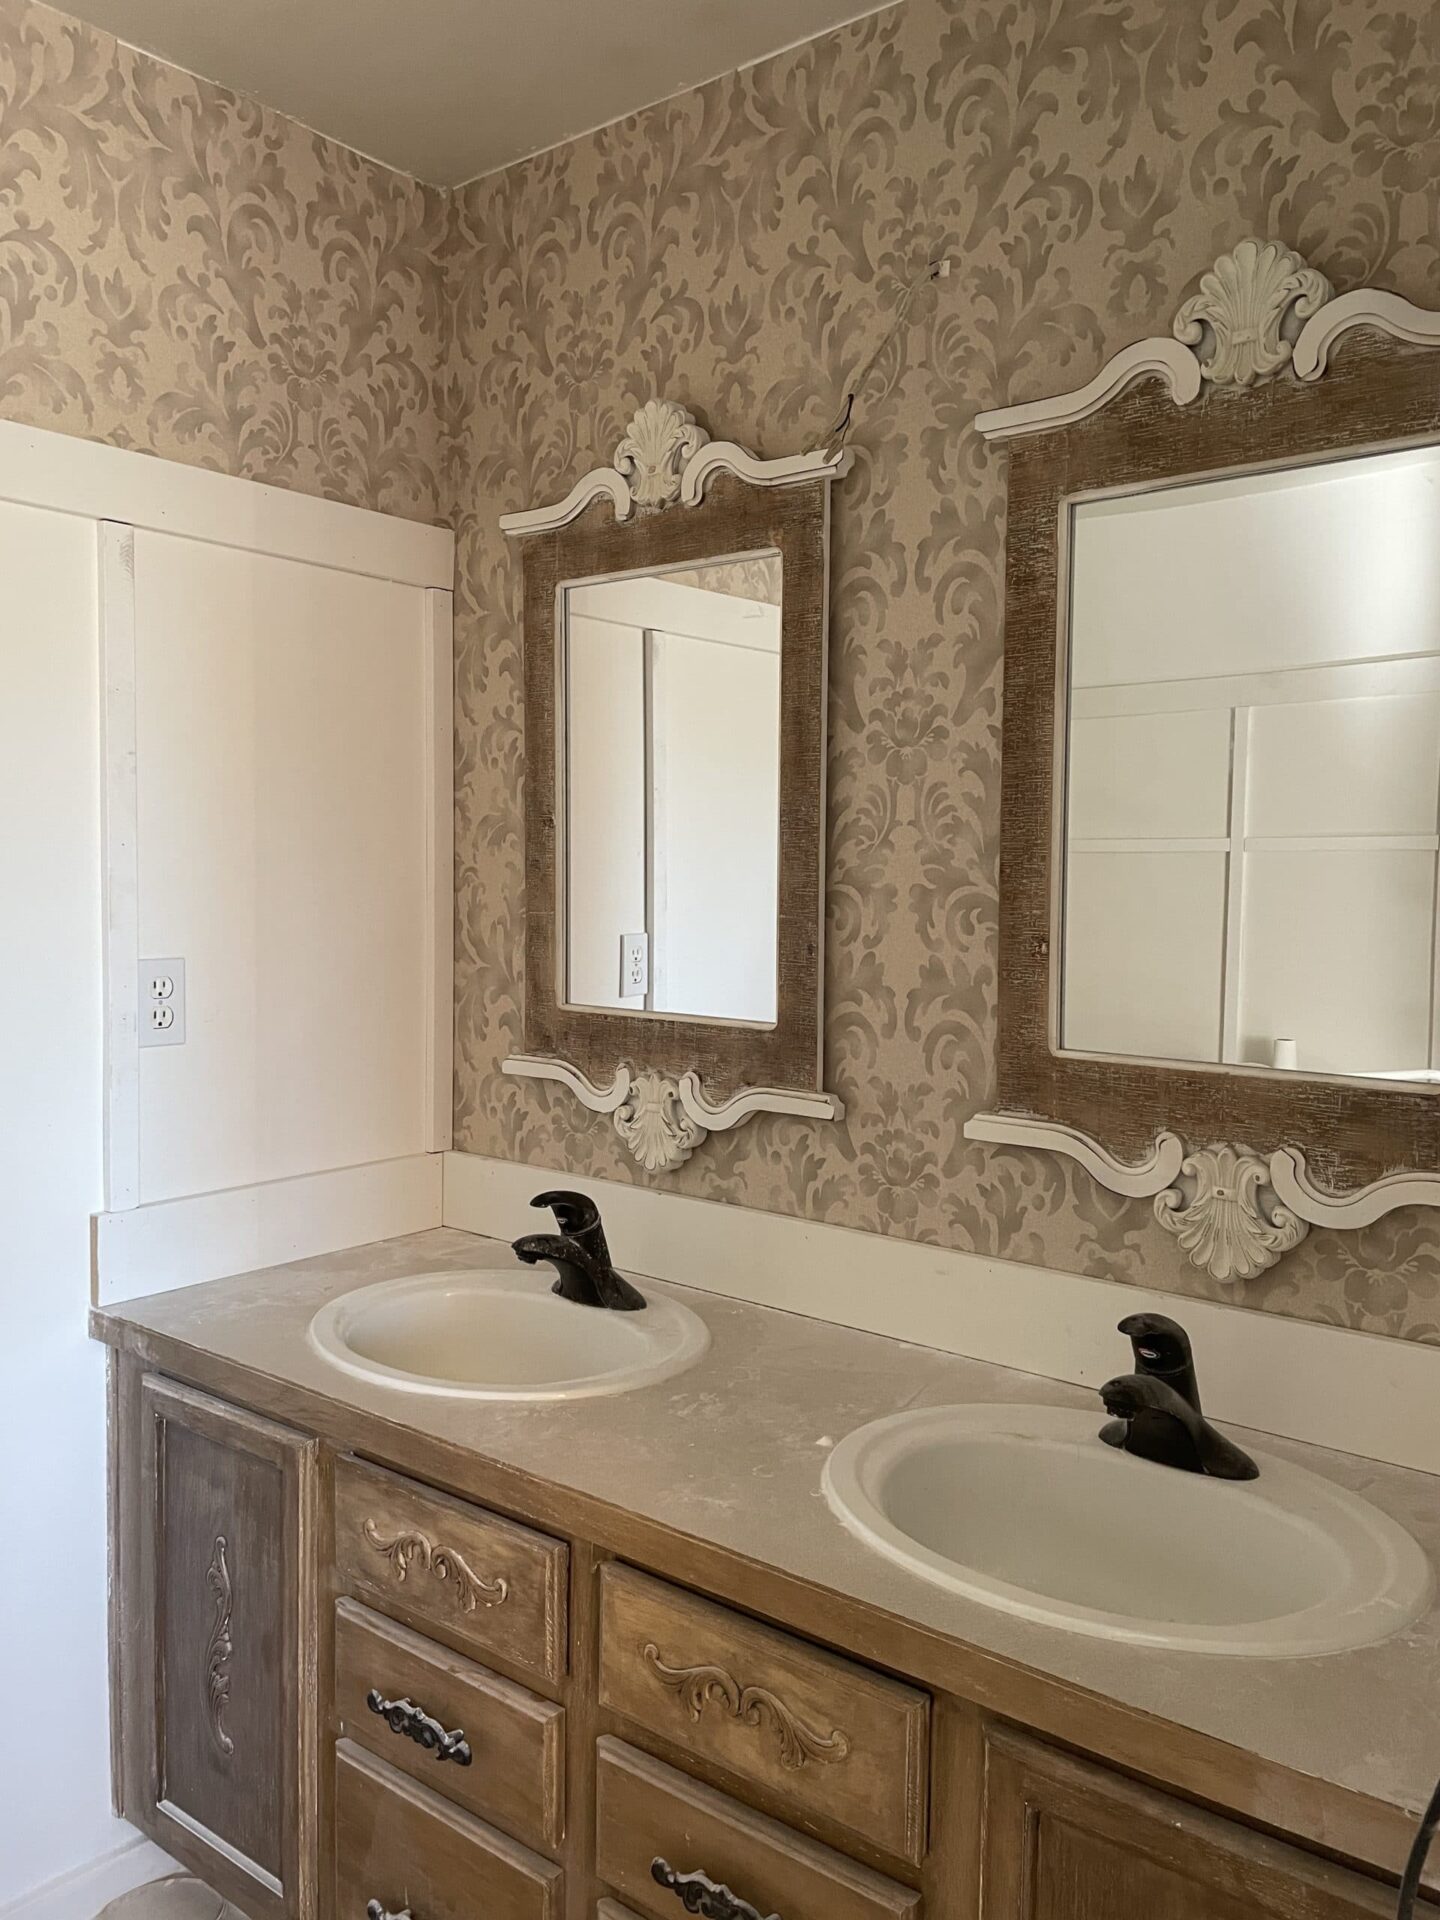
Now the next logical step would be to fill all the holes, caulk along the top and edges of all the battens, then paint it all and THEN put up the wallpaper but I’m not exactly logical. I’ve been waiting for this moment for so long that I couldn’t resist putting up some wallpaper just to see what it would look like in the space and to see how it would look against the board and batten.
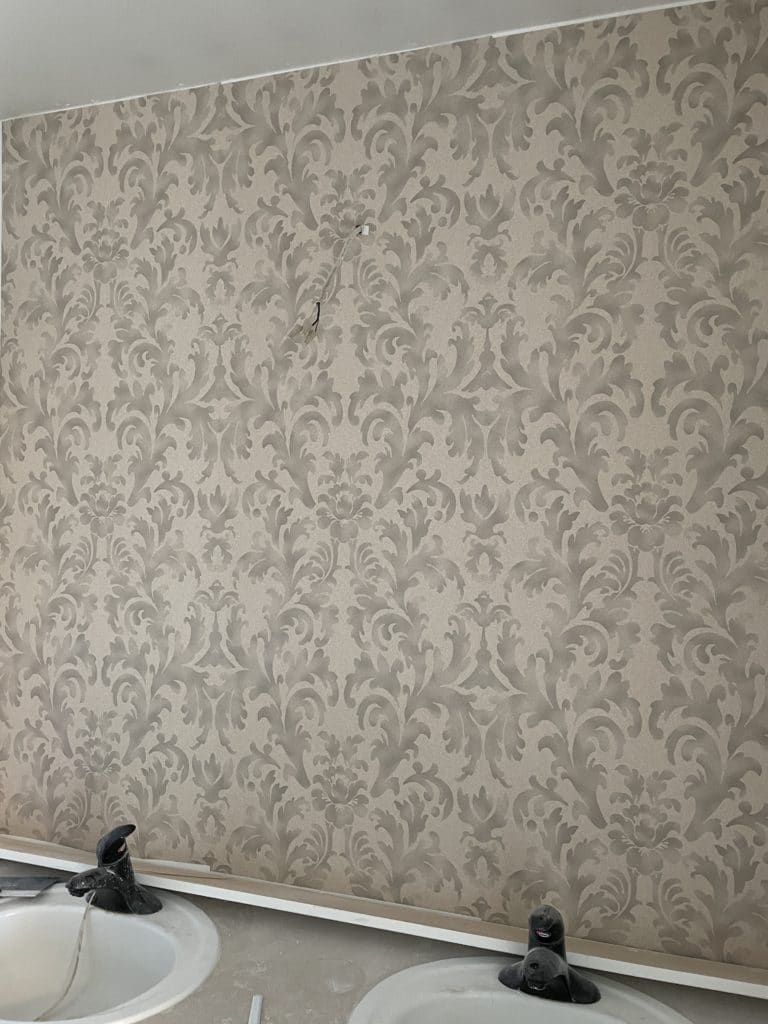
Since I ordered this online and had only seen pictures of it on my computer screen, it was a bit different coloring than I thought when it actually arrived so I was really hoping it would look as good as it did in my head!
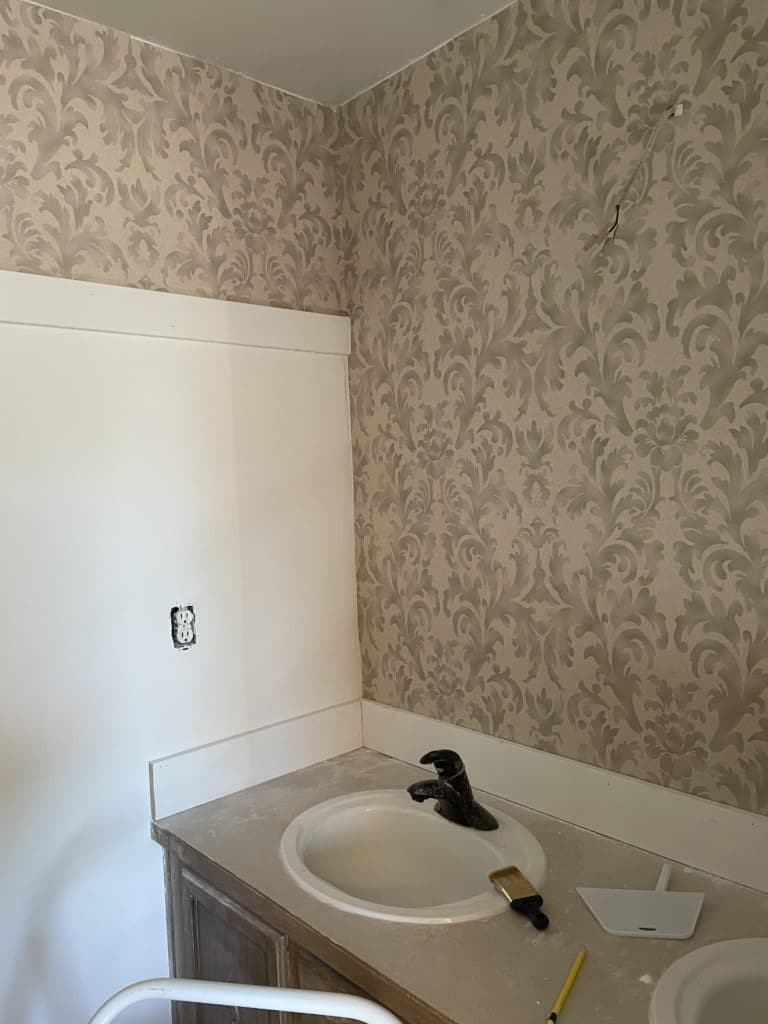
Don’t mind the crooked wallpaper along the ceiling. This room is going over the top and getting crown moldings!
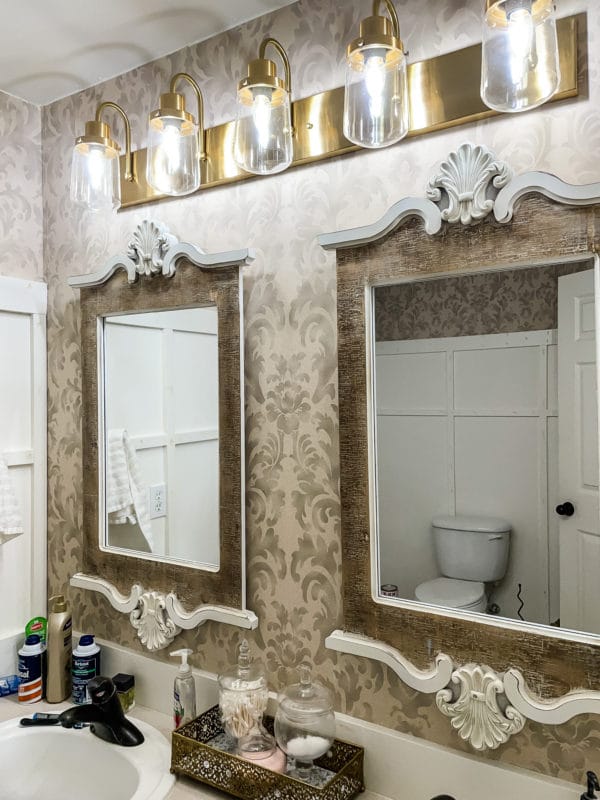
I couldn’t resist quickly hanging my new mirrors just for a sneak peek. (Did you notice how the light magically appeared too? haha)
Okay, now back to reality…..I’ll just be over here hanging wallpaper and filling holes. I’ll be back soon to show you my next step but it’s gonna take me a while to get all the filling and painting done.
Maybe you better grab a coffee…..or 10!
See you soon…