
Remember when Emily and I made our lists for this year of all the major projects we wanted to work on?
They’re always in the back of my mind but to be perfectly transparent, here we are at month 4 for this year and I haven’t completed any of those projects.
If I’m being honest I haven’t even taken a large chunk out of any of them.
I’ve maybe dipped my toes in the water on a couple.
I guess that means it’s time to get started and stop playing in the water!
Since I always put my bedroom and my bathroom off until last, I’ve decided to start on that project first. I’m so proud of myself!
Every good project begins with at least a basic plan though, so I thought I’d share the plan in detail. I’ve shared some ideas before but hadn’t gotten down to the minute details or chosen actual materials yet. It was more of an overall feeling I wanted.
Ready for the particulars?
Oh good!
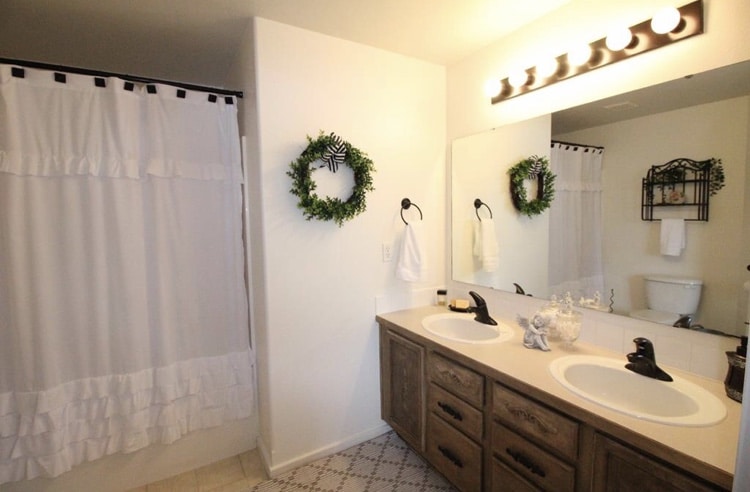
Here’s is what I’m starting from. Pretty builder basic and bland. I did refinish the honey oak vanity a couple years ago and put hardware on it as well. Otherwise it’s only been painted in here.
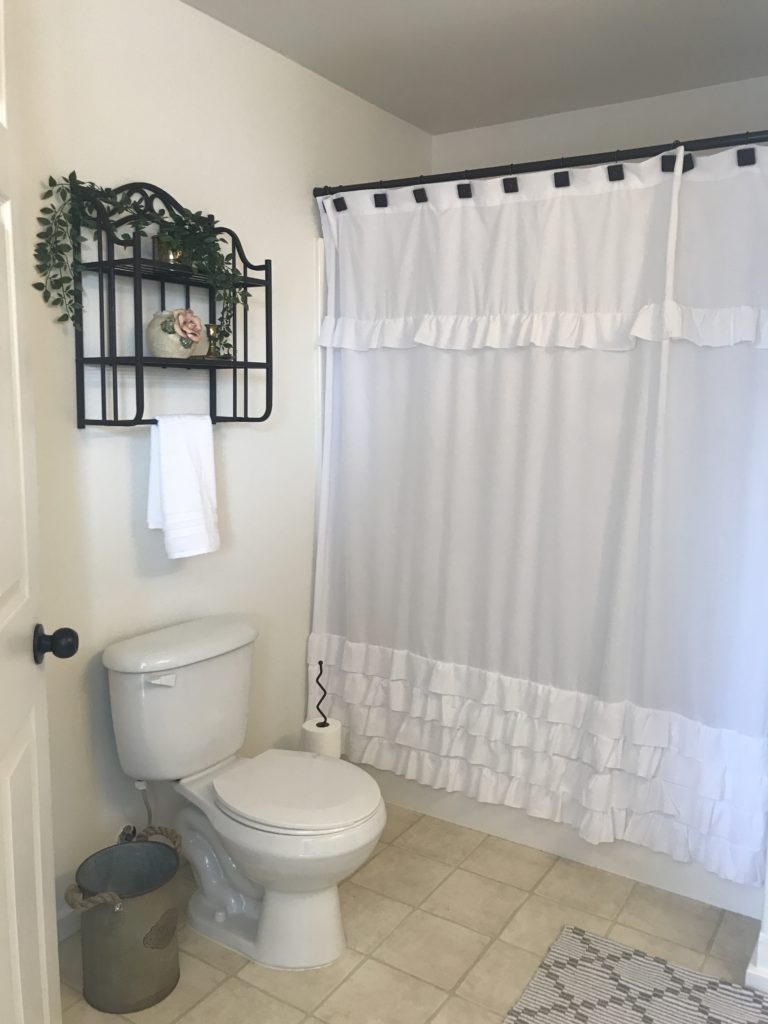
I do like the shower curtain and will be keeping that.
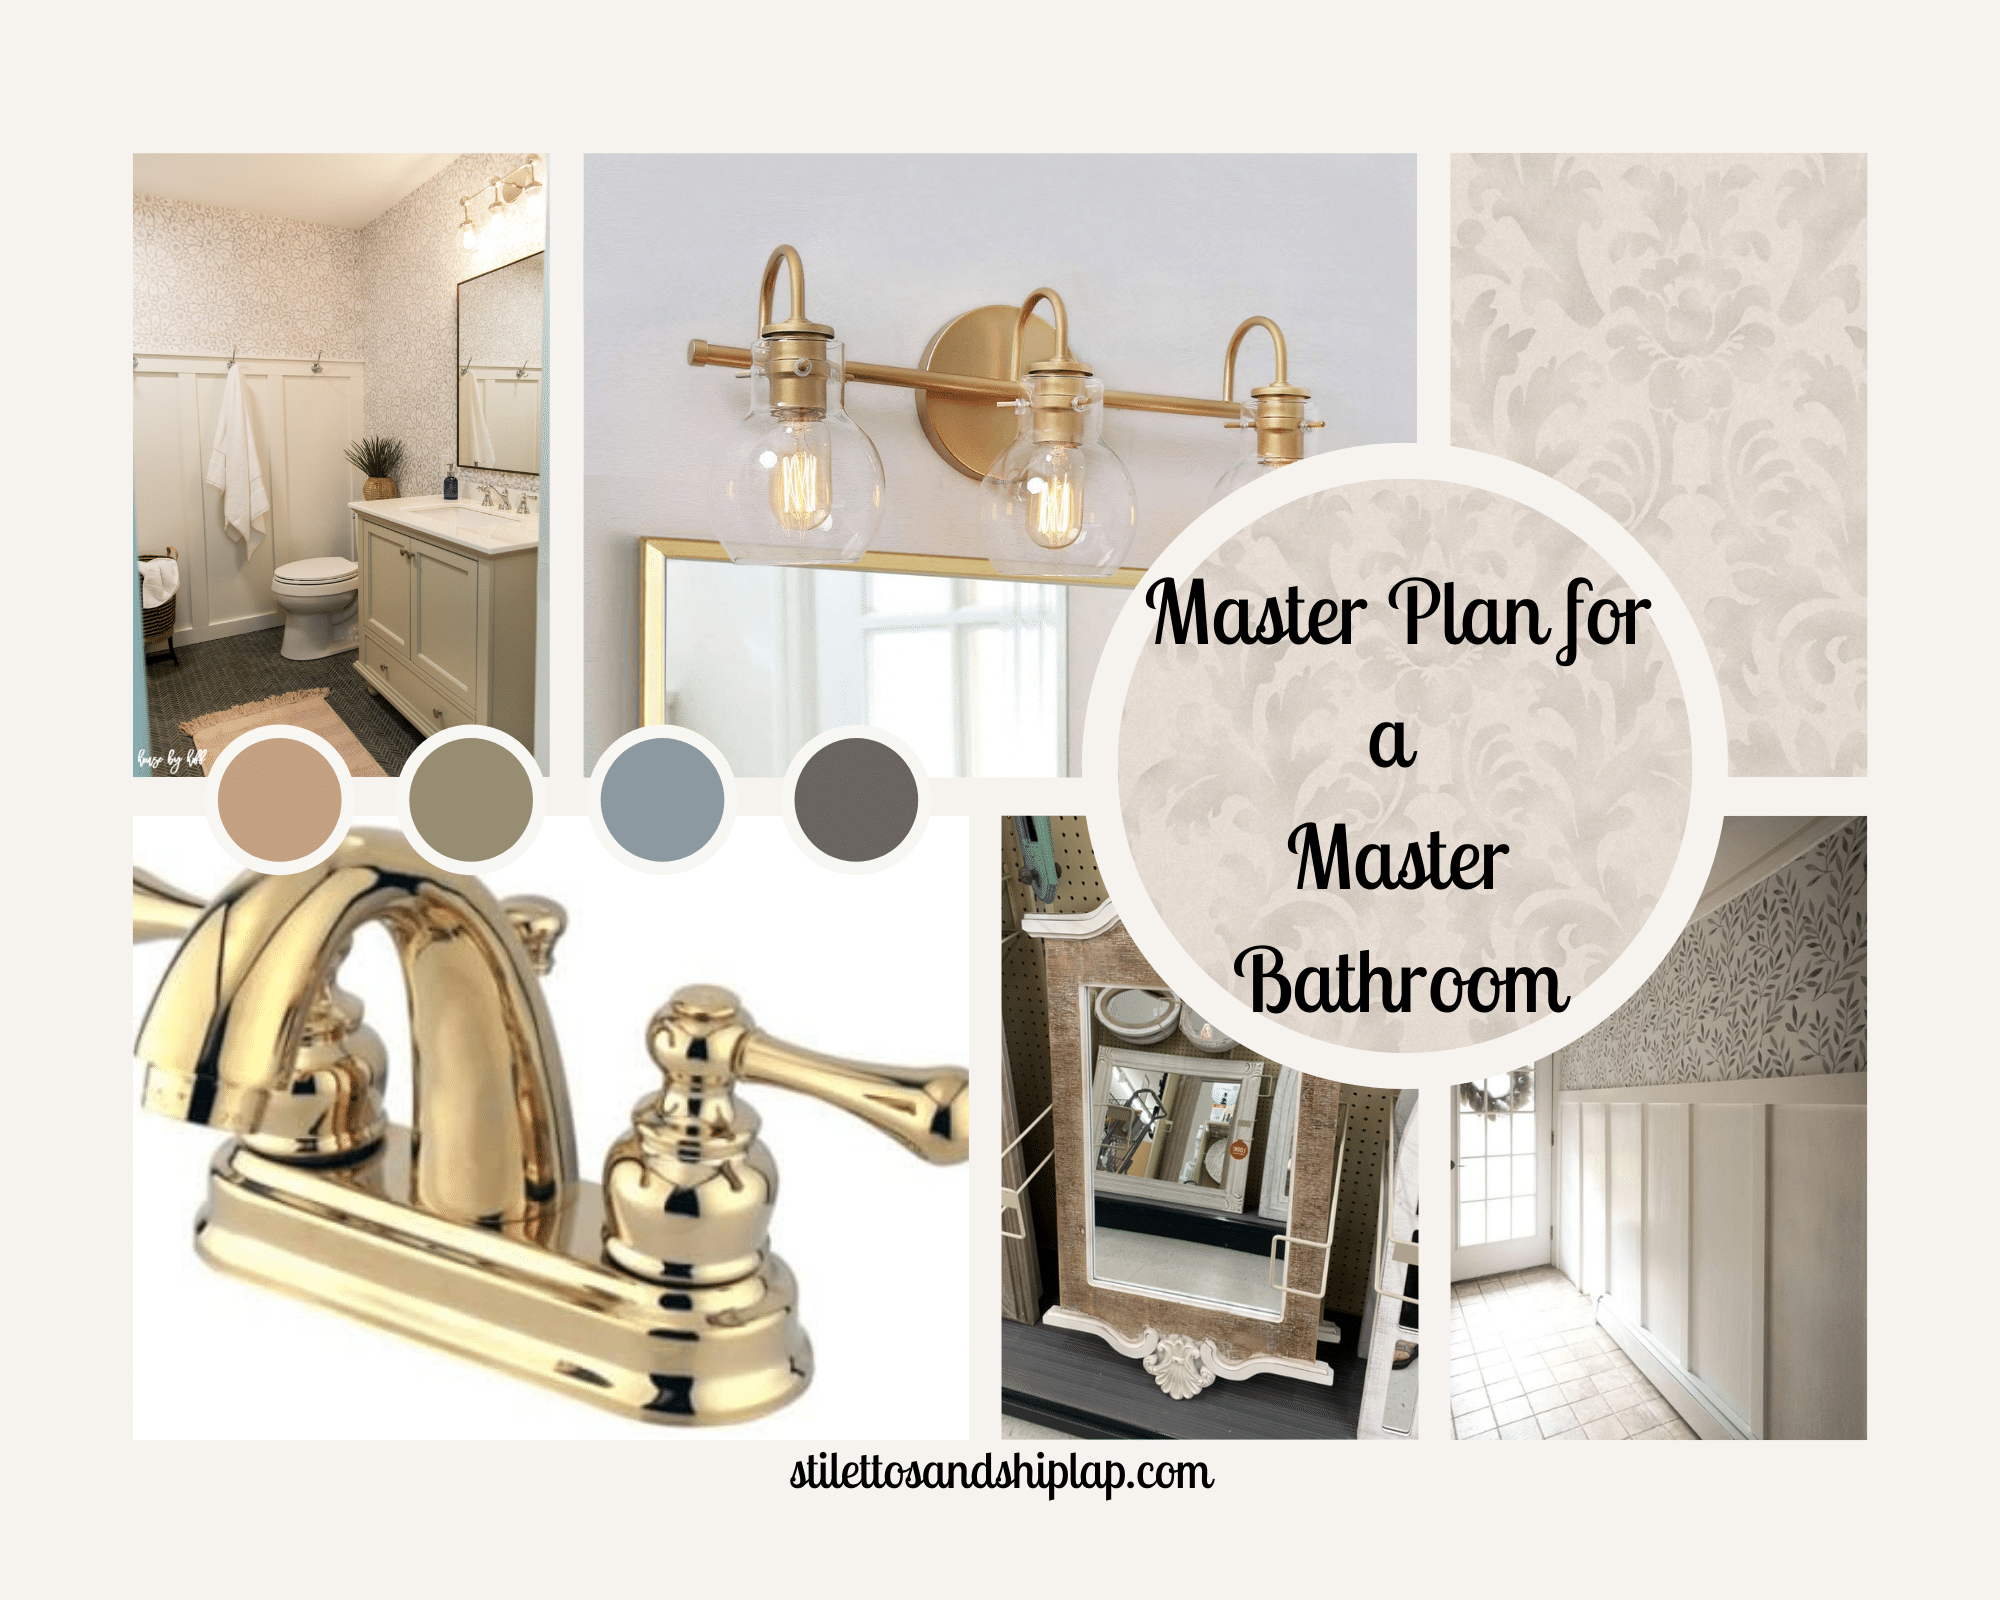
Now for the “master plan”!
Since walls will make the biggest difference in the space and is the largest portion of this entire project, let me show you what I plan to do.
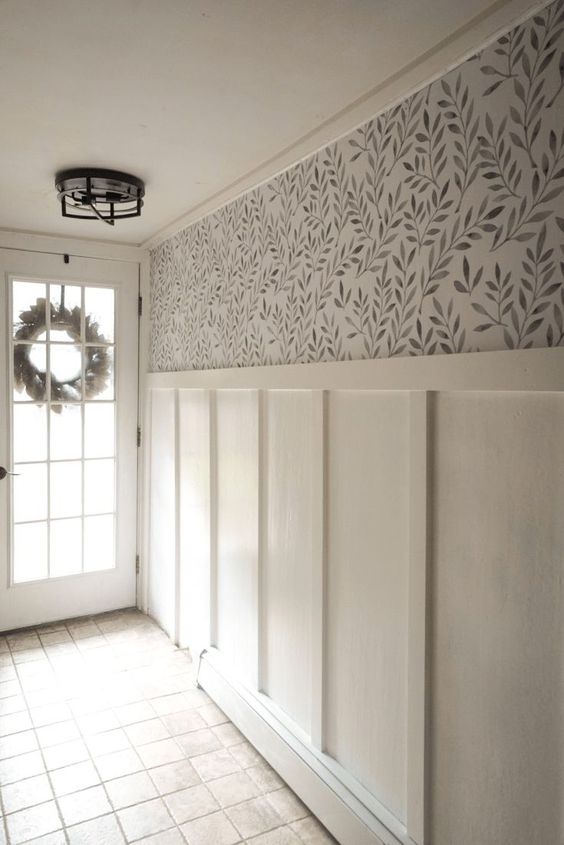
Board and batten about 2/3 up the wall just like above with wallpaper on the upper section of wall.
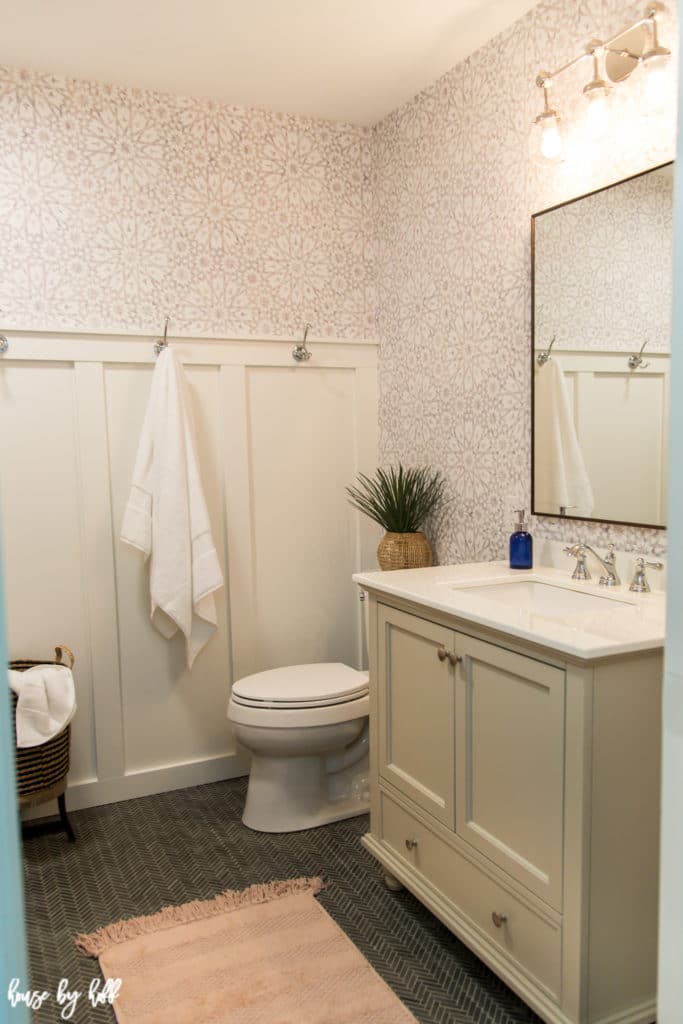
Here’s another example of the same idea.
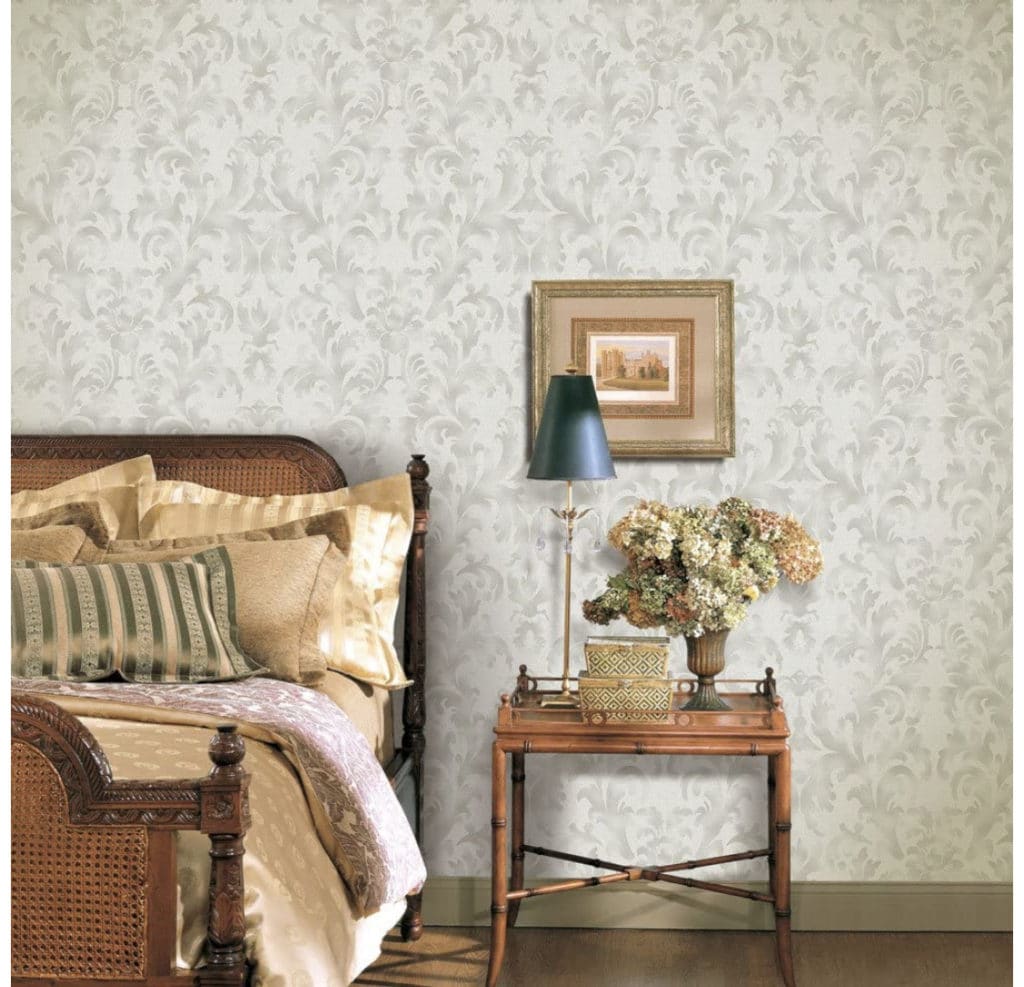
This is the actual wallpaper I purchased. It’s really heavy vinyl wallpaper that is NOT pre-pasted so I will be going back to my roots and doing wallpaper the way I originally learned way too many years ago! I really think it will hold up well in the bathroom though with all the moisture a room like that gets.
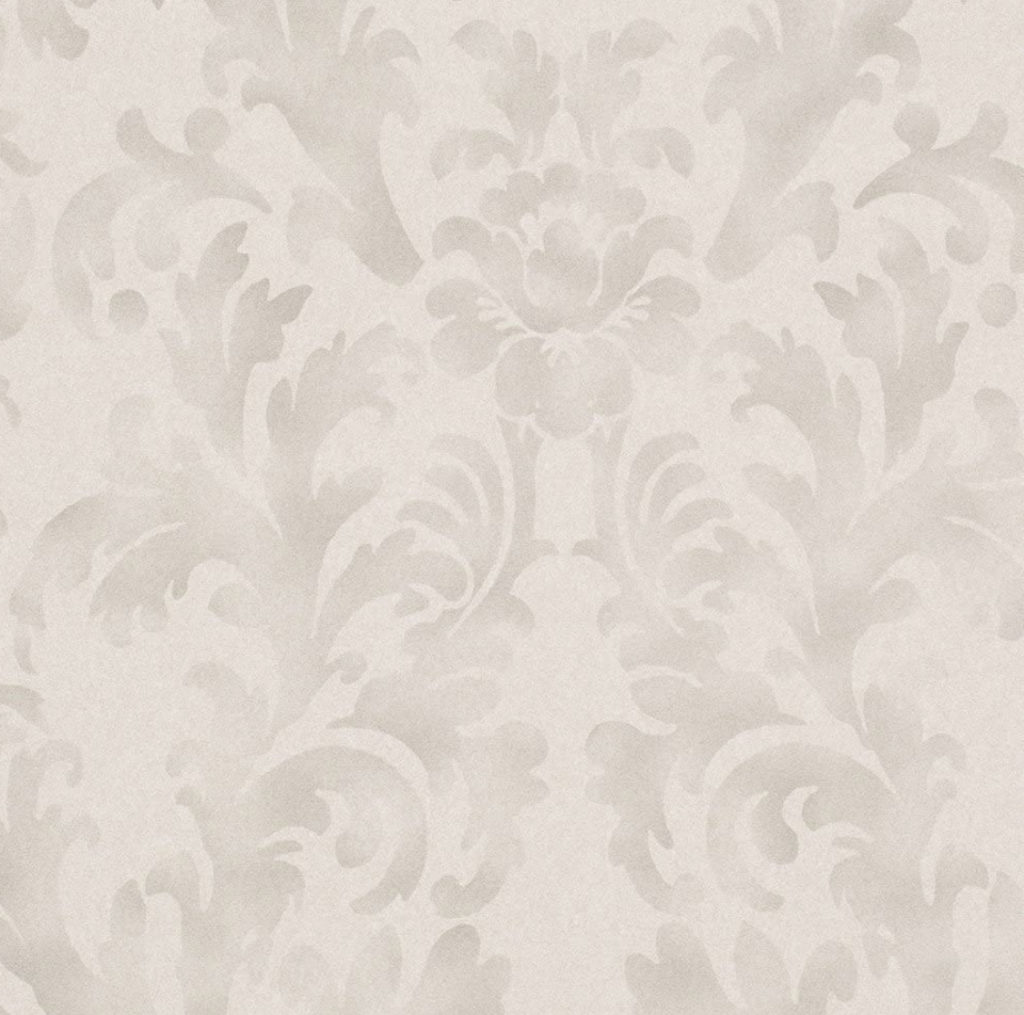
Want a closer look?
I thought so….
On the wall with the mirrors and vanity, I plan to put wallpaper on the entire wall with no board and batten to make hanging lights and mirrors so much easier.
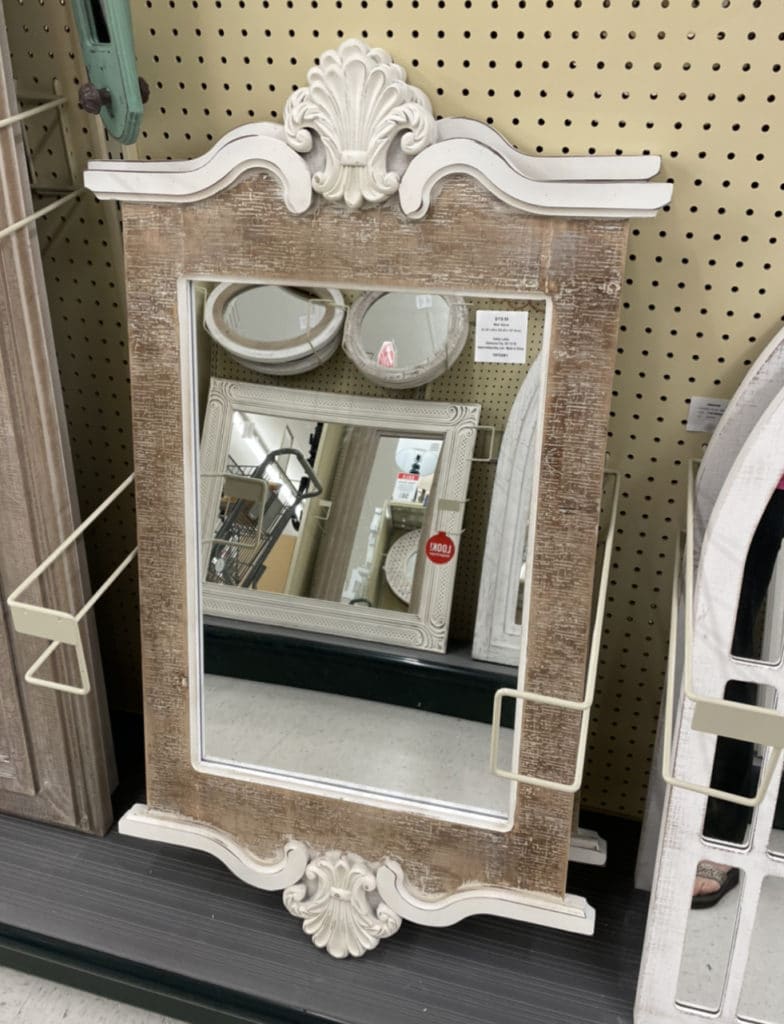
These are the mirrors I currently have my eye on for over each sink. If I don’t get these actual mirrors, it will be something very similar to this feel.

As for lighting, I have to remove the current bar light to see what I’m working with for wiring. In an ideal world I would like to have a smaller light over each mirror. If that’s not possible for some reason then a large bar light something like this vintage inspired one, will be what I will choose.
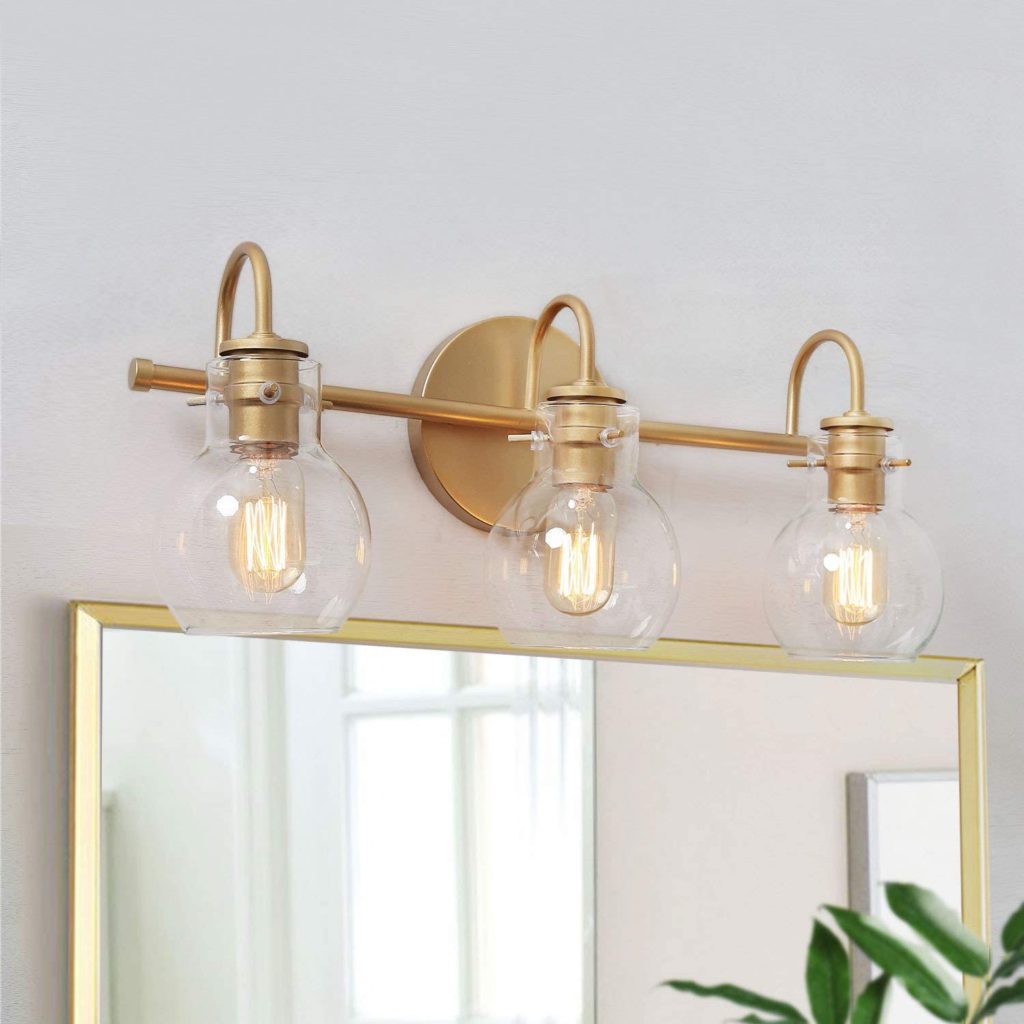
Something like this one would be my choice if I go with 2 smaller fixtures. I would love to have some crystal chandelier wall sconces instead but since there is no ceiling light in this bathroom, I need a fair bit of light from whatever is over the vanity. Sconces aren’t known for their “wattage”!
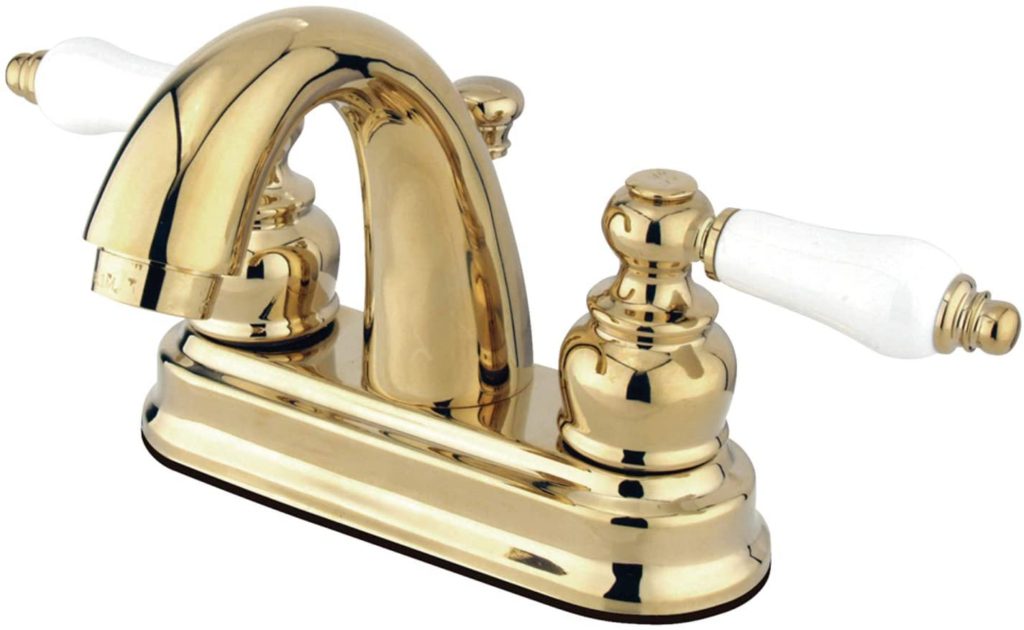
For my faucets I will be going brass for sure, possibly with the addition of a little white on the handles.
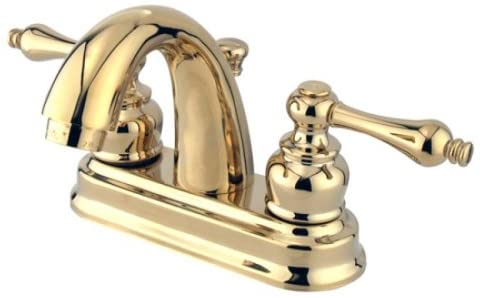
I think most likely it will be a style like this with 2 handles rather than one like I have now. I just typically prefer the options available in the 2 handle styles.
As for the floor, it needs to be addressed. Especially once I get the walls done because it is such a shabby and dirty looking vinyl that even though it is clean and in good repair, it always looks dirty and unkept. I would ideally like wood but since I already have wood in the bedroom and I don’t want a different type of wood in the bathroom (the kind I have in the bedrooms upstairs won’t hold up to all the water my kids spill in bathrooms!), I will likely try to go with some different vinyl or if I get really adventurous and feel like dragging this project on for a little longer – maybe tile!
Are you ready to get started?
Well what are you waiting for?
Roll up your sleeves and let’s get to work!
You’ll have to wait to see how I accessorize this space until I actually do it. I have to keep SOMETHING a surprise!
Until next time….
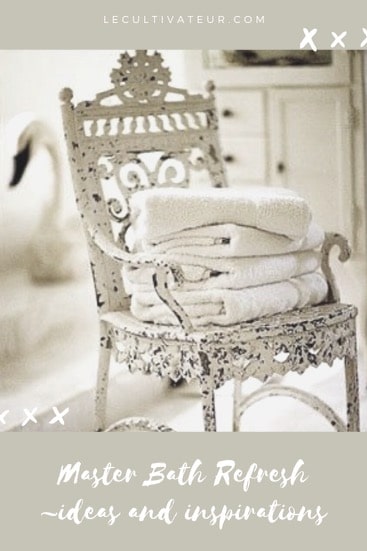
Emily’s Master Plan
To check out what Emily is planning to do in her master bathroom, just click on the photo below.

Love that mirror!! Where did you find it? Love your ideas, can’t wait to see it completed!!
Isn’t it cute? I found that one at Hobby Lobby. They’re $120 each but of course regularly have a 50% off sale so I’m just waiting for that to come around again. I think at $60 each that’s very reasonable.
I most likely will end up putting tiny touches of gold here and there on the detailed parts just to glam it up a little more but I’ll see when I get them.
[…] if you happened to catch my blog post outlining my plans for this room, then you already know where I had to […]
I love the bathroom vanity. What wood and finish did you use?
To be honest that is a one of my many little DIY projects. It is a builder basic honey okay vanity that was in the house since it was built. I first chalk painted it white and then put an antiquing glaze on it, then finished it with clear poly. The raised onlay patterns I put on myself…..they are just wooden onlays from Home Depot and Hobby Lobby.