Yarn trees aren’t exactly a novel idea these days. Everyone is making them with all sorts of things used as the base and a variety of colorful or neutral yarns in all sorts of sizes and textures.
Some have things adorning them like ornaments.
Some have toppers.
Some have bases they sit on.
Some are tall and thin.
Some are short and stocky.
No matter how you made them they’re cute and you might have already made some but regardless I’m going to show you my super simple version that I threw together this morning using styrofoam cones and some silky white yarn from Dollar Tree.
I know! (My friend Terrie would be so proud of me!)

I used a tiny bead of hot glue on the cone to place my first row of yarn around the bottom. After that I just put a tiny dot of glue every few wraps of the yarn just in one little spot to make sure everything stayed where it was supposed to.
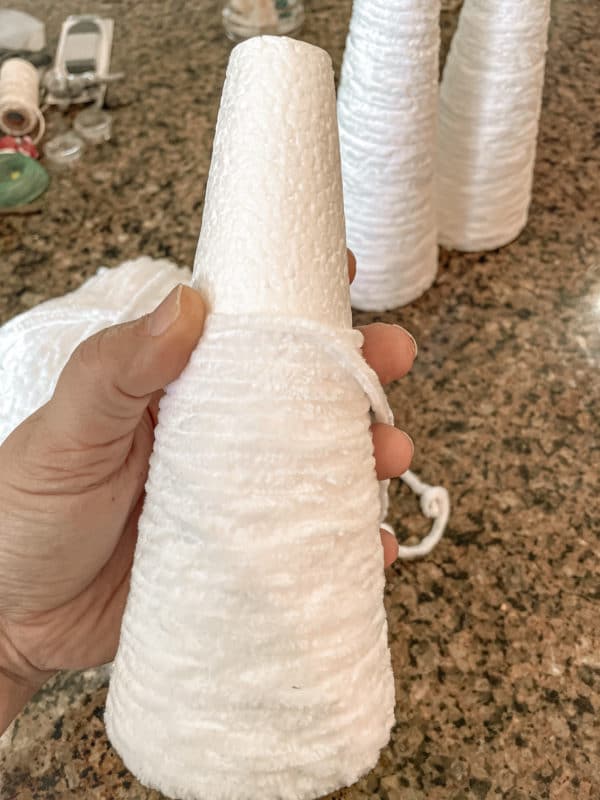
By placing the cone on the counter and holding the yarn in my right hand and spinning the top of the cone with my left, I was able to wrap the cone in no time at all! So fast!
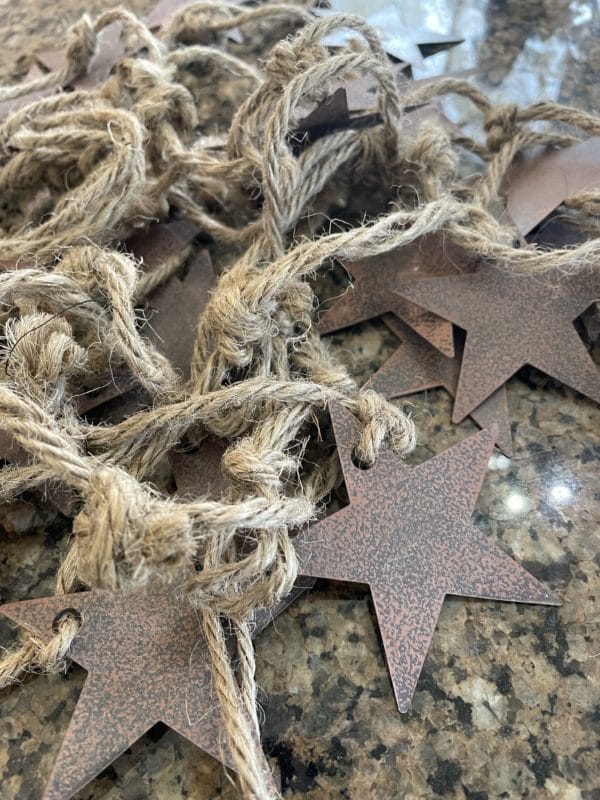
Because the cones I have are flat at the top I wanted to put something on the tops of the trees. I tried tiny little tree toppers but they were a bit large. I thought about putting a large jingle bell on the tops or a flower or even a bow. While searching for any of those materials I ran across this garland of rusty metal stars tied to twine that I’ve had for a couple years now just waiting for the right project.
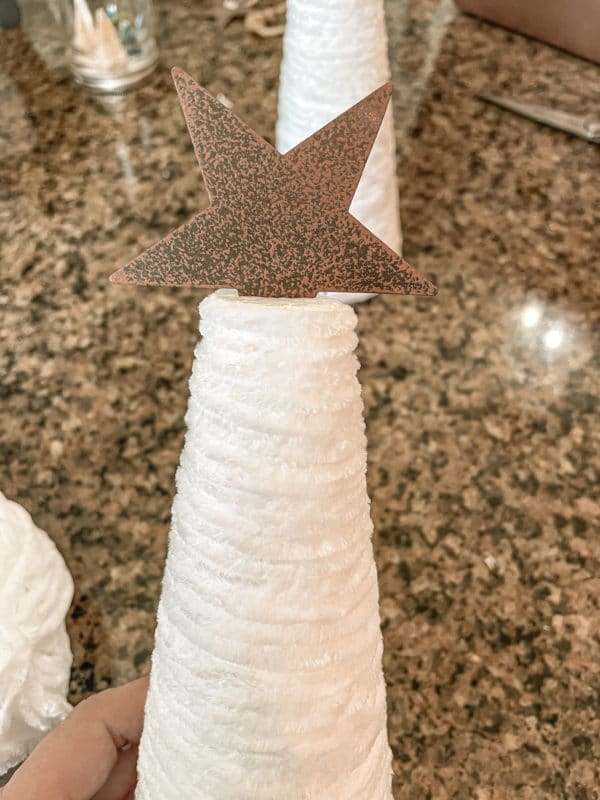
I cut the twine that was holding each star to the garland and pushed the point that had the little hole in it (for the string to go through) down into the top of the styrofoam cone.
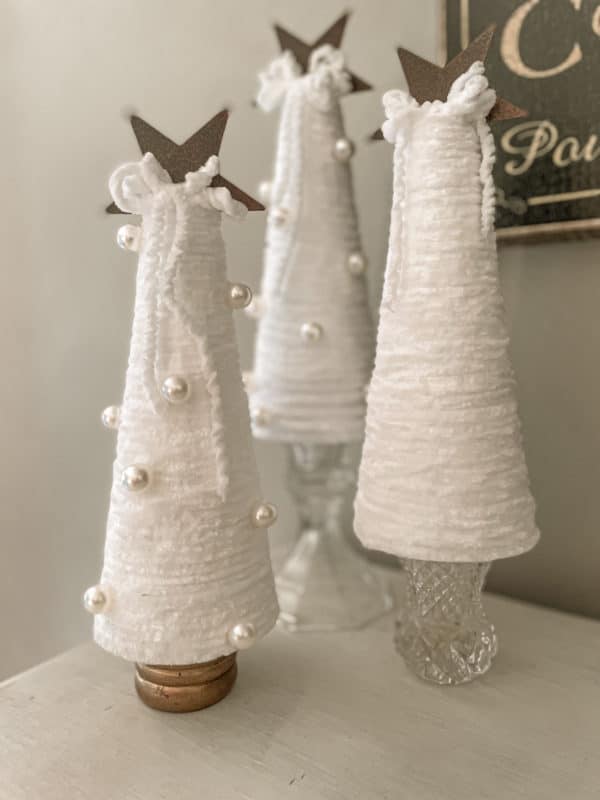
Then I mounted each tree to a different height base. One is a glass candle holder, one is a tiny crystal toothpick jar and the other is a wooden napkin ring!
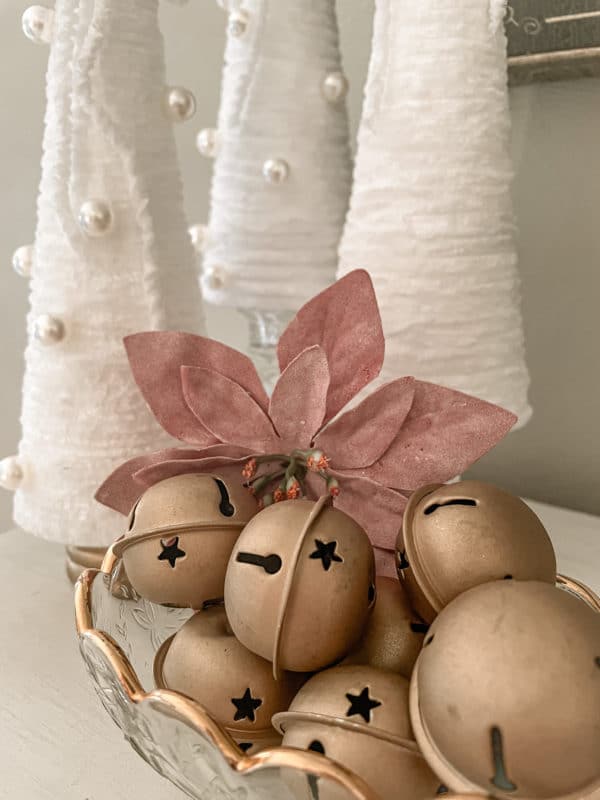
I also glued on some random faux pearls here and there to 2 of them and might put some on the 3rd one yet as well. I haven’t fully decided.
I wanted to keep the look very wintery and elegant and not veer too far to the strictly Christmas side of things with colorful beads or anything. Well that and I just love a neutral tree and color scheme!
I also made a loopy yarn bow and glued it to the top of the trees in front of the star to sort of fill in the empty space and just add that little extra pizazz.
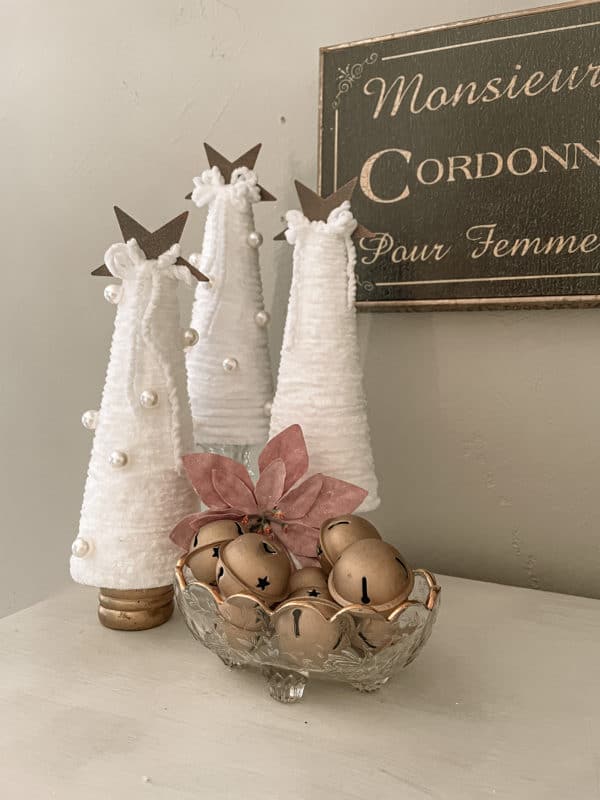
These trees are so neutral they could literally go anywhere in my house and look just right but I purposely made them for my bedroom. I decorate the rest of the house for each season from top to bottom but always neglect my own room and with the addition of some pieces of furniture this year (Aurora and my chippy cabinet) I didn’t have any winter decor left over to put in my bedroom so I realized I would need to make some!
I’m sure you know how disappointed I am to discover that!

It’s pretty simple on the top of my dresser right now but I’m okay with that. What you don’t see just beyond the borders of this picture is my giant tree that reaches the ceiling that is proudly standing tall in my bedroom this year!
I’ve really looked forward to putting this darling vintage inspired sign up some place and it seemed to fit right in above my dresser, just outside my walk-in closet which does in fact house my shoes!
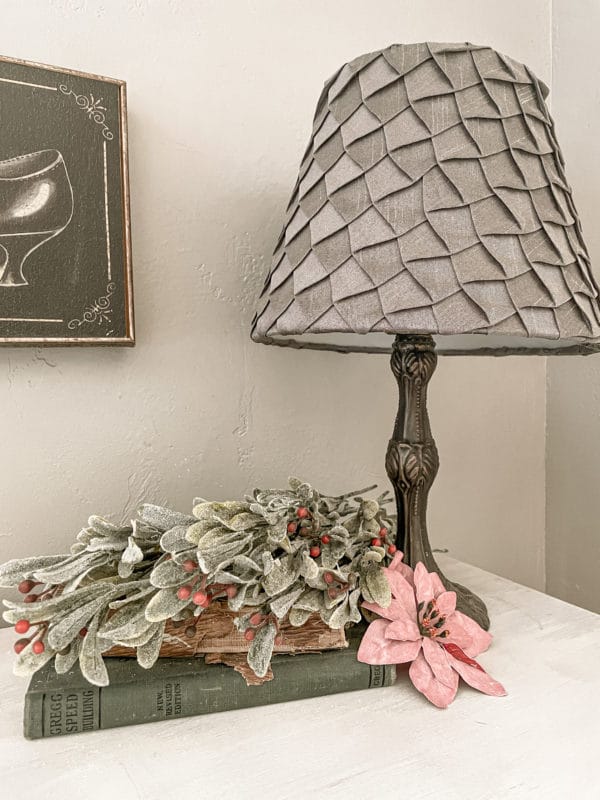
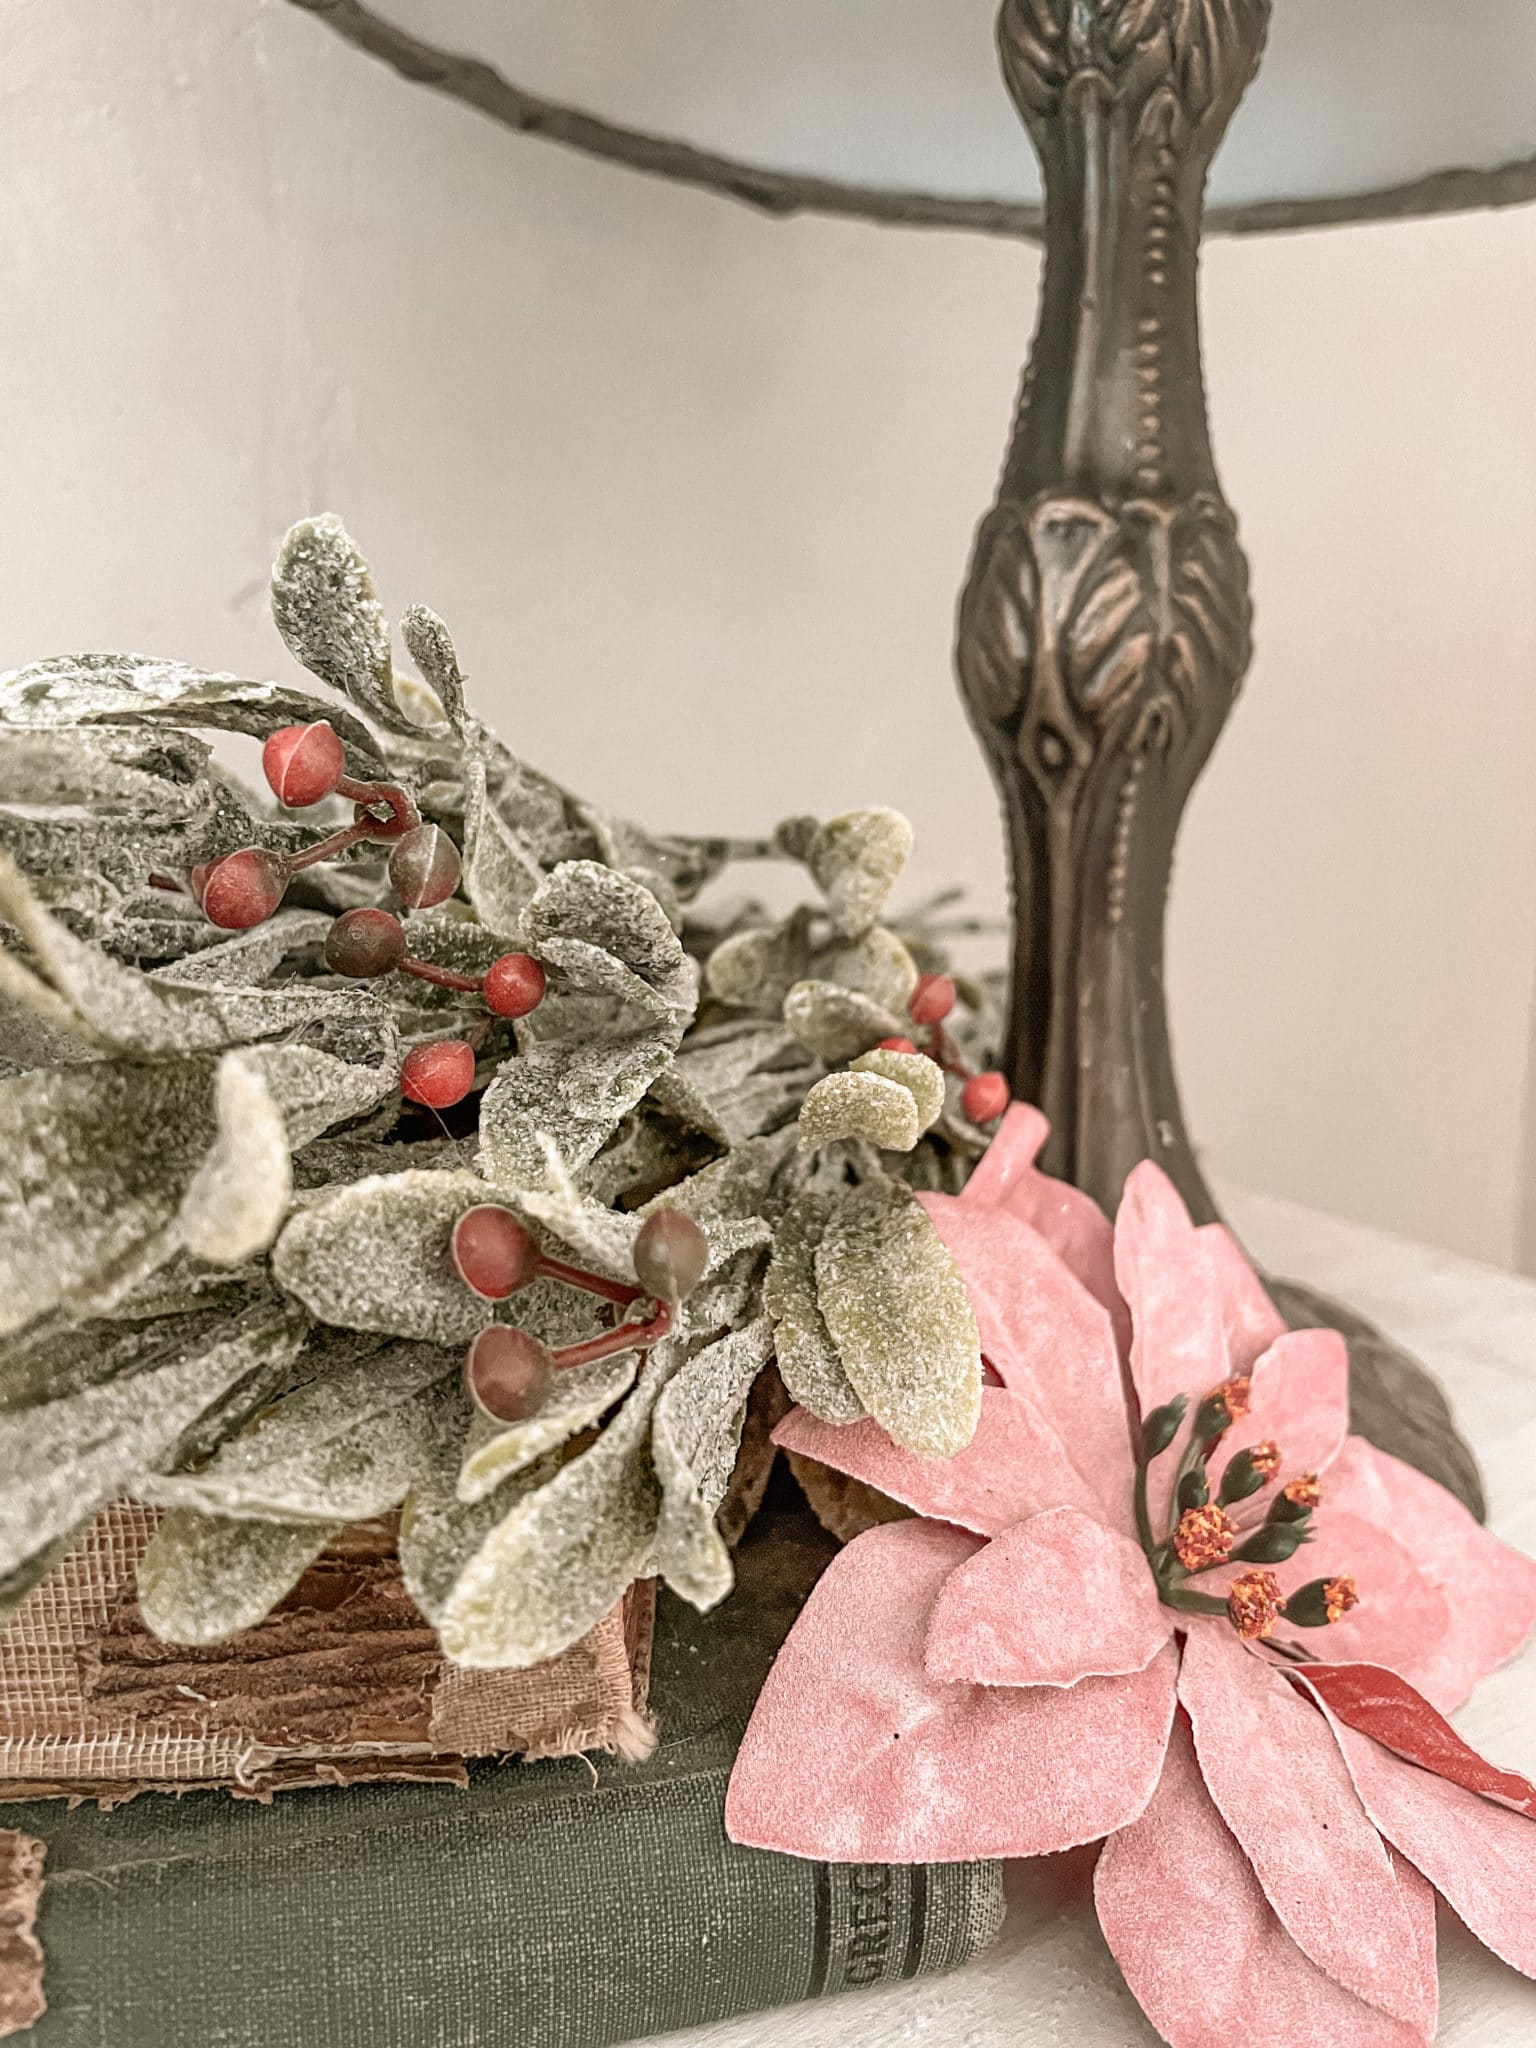
And what would ANY vignette be without some vintage books? I love them with this frosted mistletoe.
Emily’s Inspiration
Let’s go check out what Emily made today…..Just click on the photo below.
Promise you’ll try your hardest to have a wonderful holiday?