
Okay don’t run away! Give me just a moment to explain!
Maybe have a sip of that coffee you have there and take a deep breath…..
Are you ready?
Here goes!
I AM NOT WISHING FOR WINTER!
In fact, my favorite seasons of the entire year are summer and fall because I love being outside and planting things, picking fresh flowers, gardening, preparing meals with garden veggies and herbs….and I love the crisp Autumn air. The cozy sweaters and the hot drinks.
Okay I have to admit there are things I like about every season which means I am very happy with whatever season it is and am not wishing to rush through it.
Okay maybe just a little when it’s the last couple months of winter and I’m ready for spring and new life.
HOWEVER…
There are so many Christmas in July posts on Instagram and Pinterest and all over the web these days that you can’t help but be drawn in just a little and start just casually thinking about what you may or may not do for your Christmas decor this year.
When you walk into Hobby Lobby and other similar stores and you are greeted with all things Fall and Christmas, you can’t help but start planning in your mind while you wipe the beads of perspiration from your forehead because it’s still 150 degrees outside.
While scrolling the other day I happened across a picture that made me think of something I had in my Christmas bins. Something I had bought at a thrift store a couple years ago now and had always been feeling like they needed a little more but I hadn’t gotten to that yet.
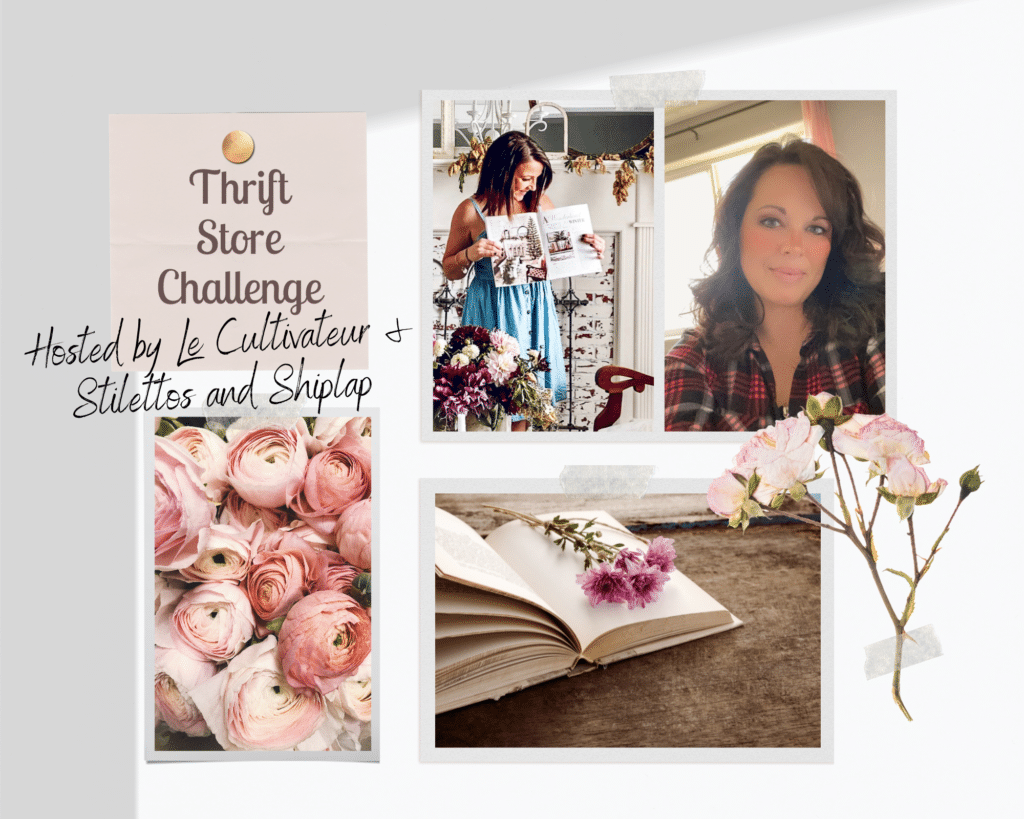
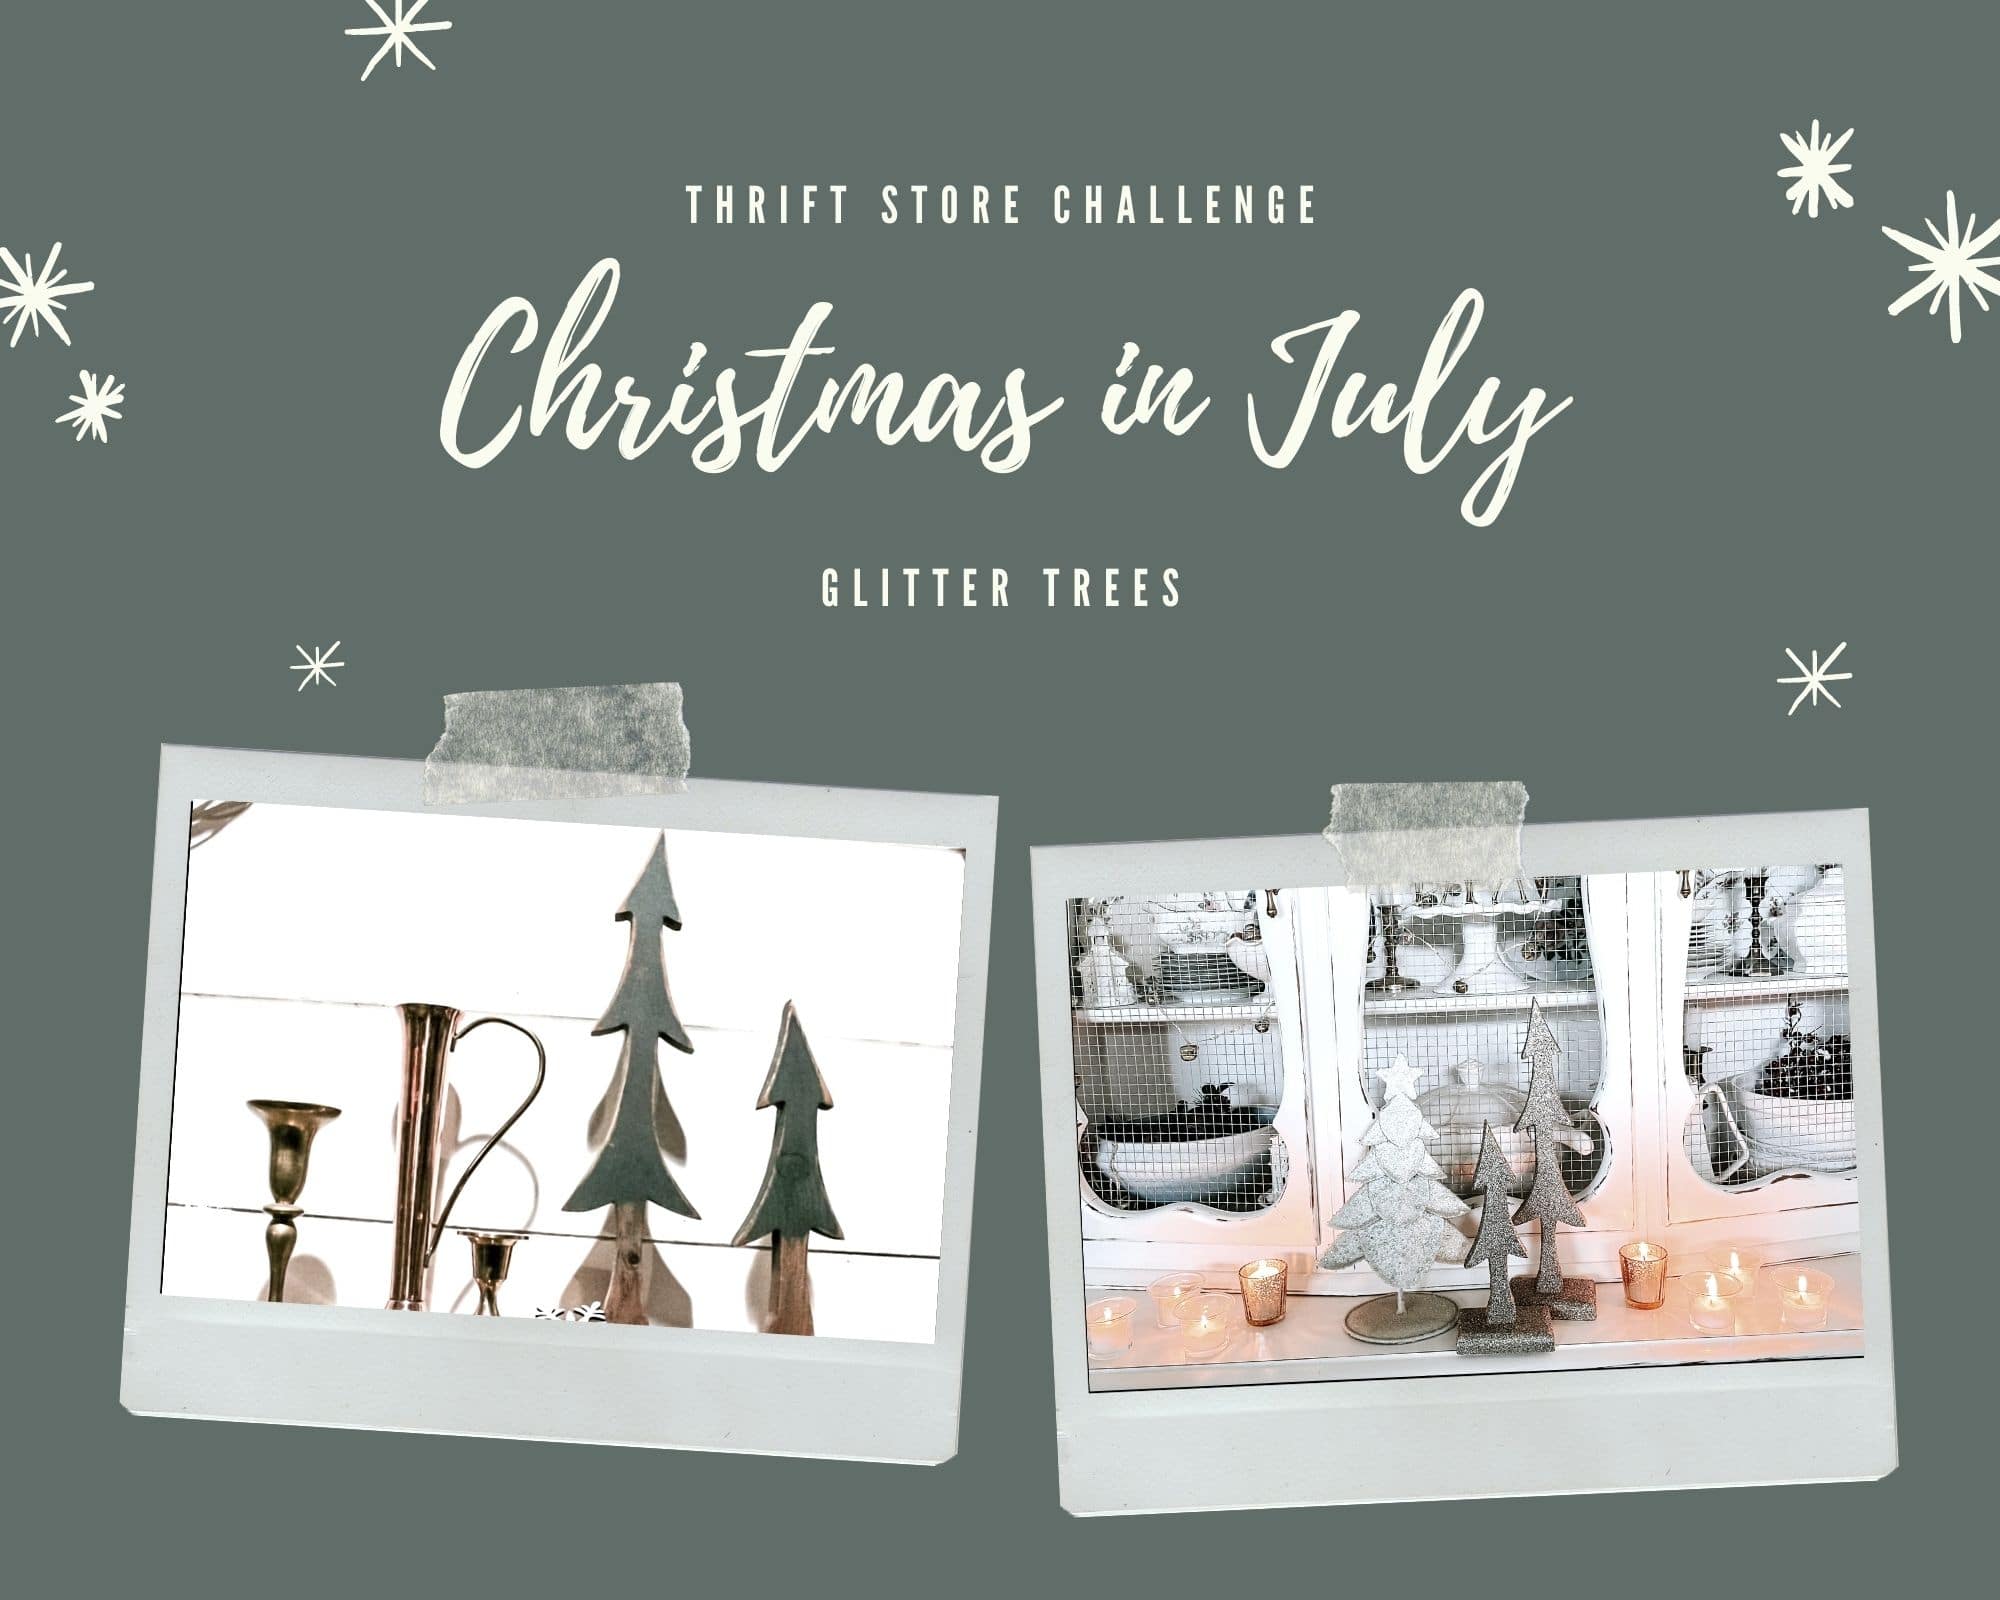
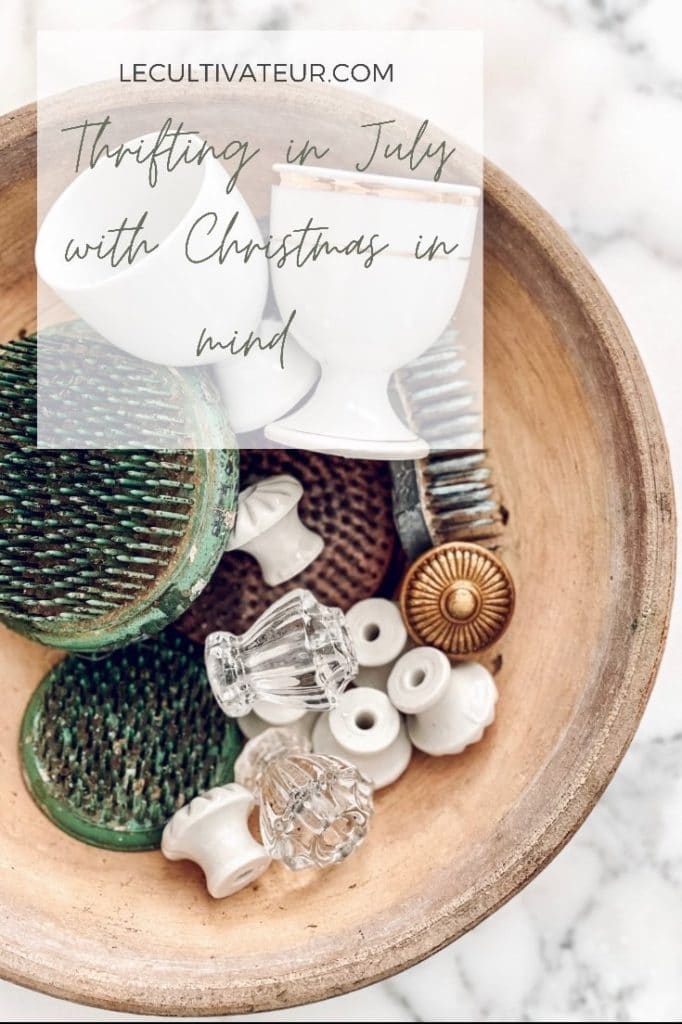
Welcome to this month’s Thrift Store Challenge! Thanks for joining me and Emily and our blogging friends again. Each month we share something we got at a Thrift Store, Flea Market, Facebook Marketplace, Yard Sales or found by the curb, then we share how we revamped it to work in our own homes and make it our style. I’ll link everyone’s blog post at the bottom.
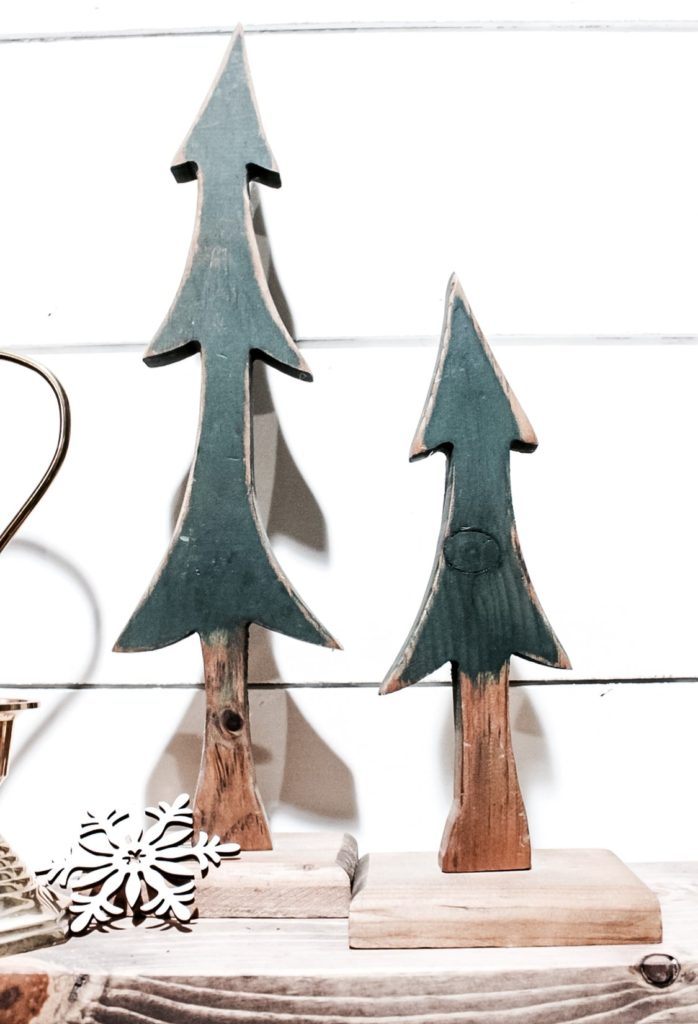
When I initially bought these 2 wooden trees they were just plain wood with some dark green tops. I used them like that for the first year I had them but wasn’t overly thrilled. I did like the shape of them however and envisioned greater things for them.
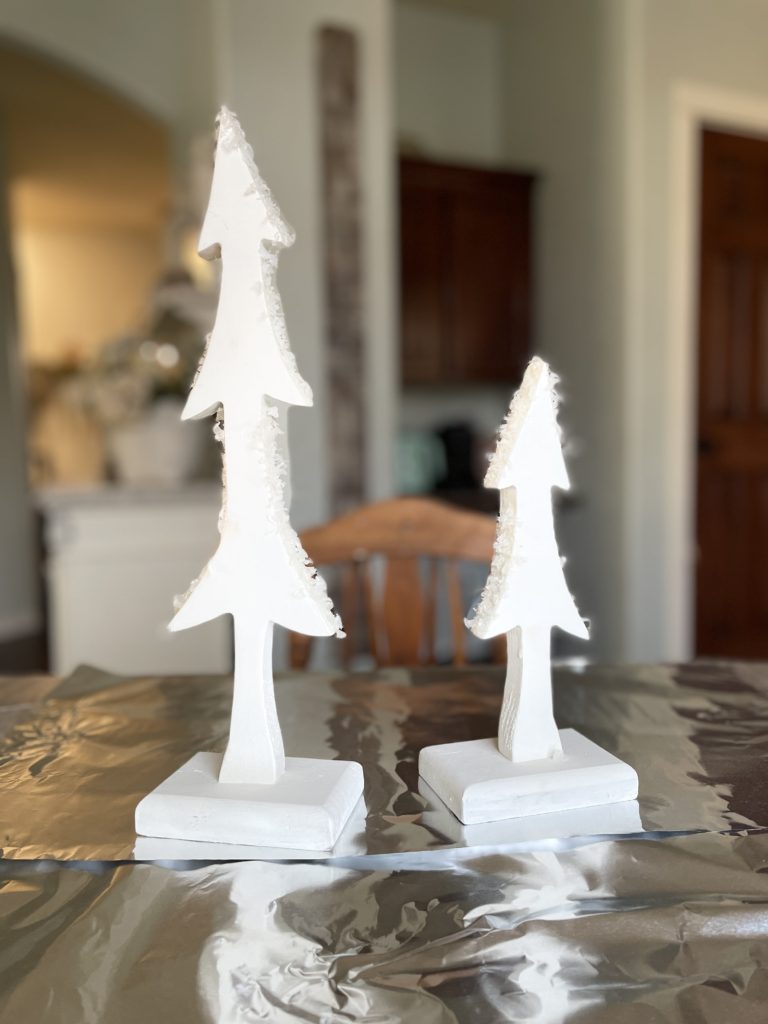
In 2019 I went ahead and painted them with white chalk paint (shocker, I know). It wasn’t bad. I definitely liked them better than I had when they were just plain.
In 2020 I added some faux snow to the outer edges of them for some extra pizazz and that was better but still not making the statement I think they could.
At the end of the season they went back into the storage bin for another year until…..
A couple days ago!
Then an idea struck me and I was off to the races.
Obviously I first had to crawl up into my VERY HOT rafters of my garage where I store my seasonal decor and open all the Christmas bins until I found them.
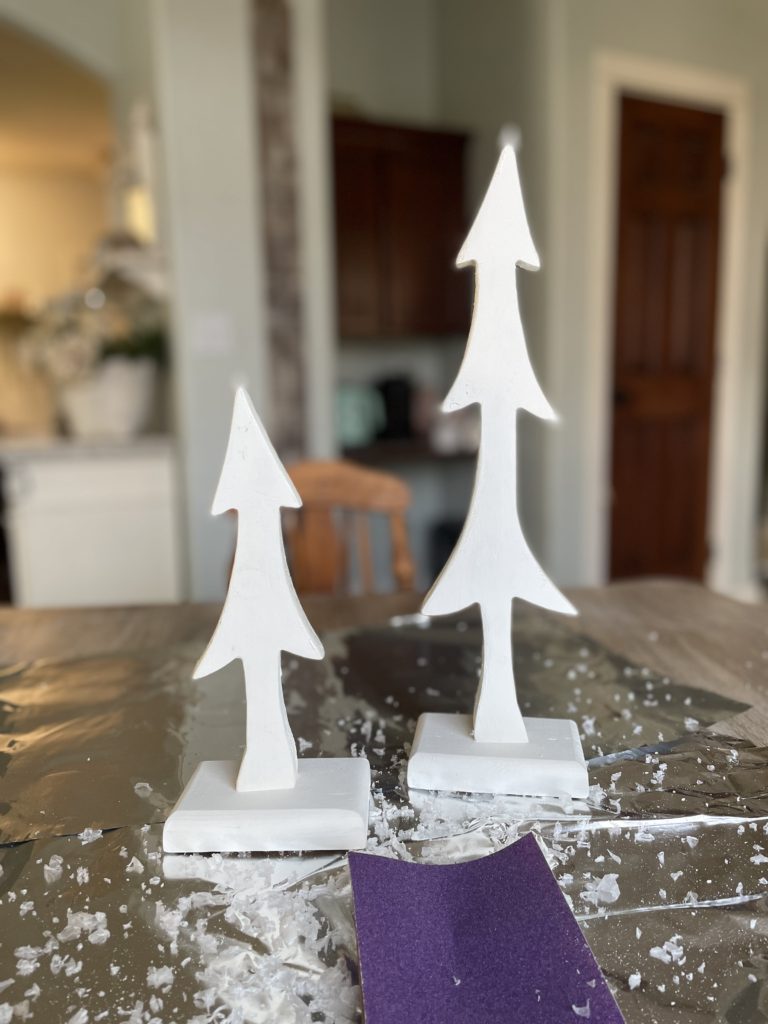
Then I took some fine sandpaper and sanded the edges to get the faux snow off.
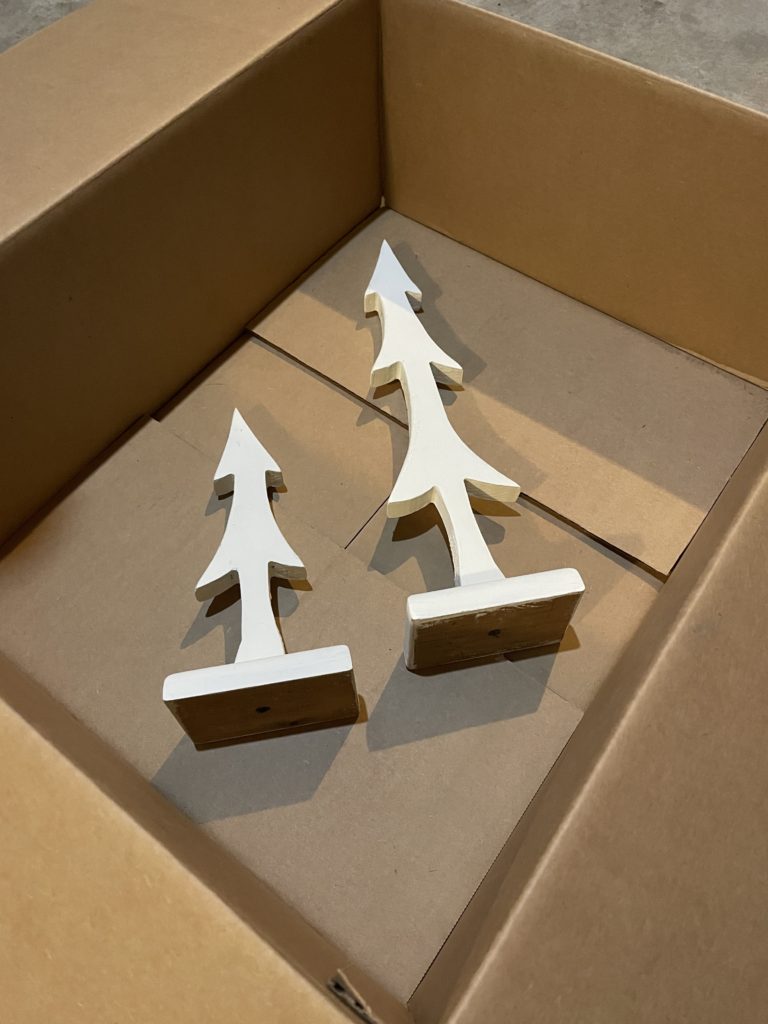
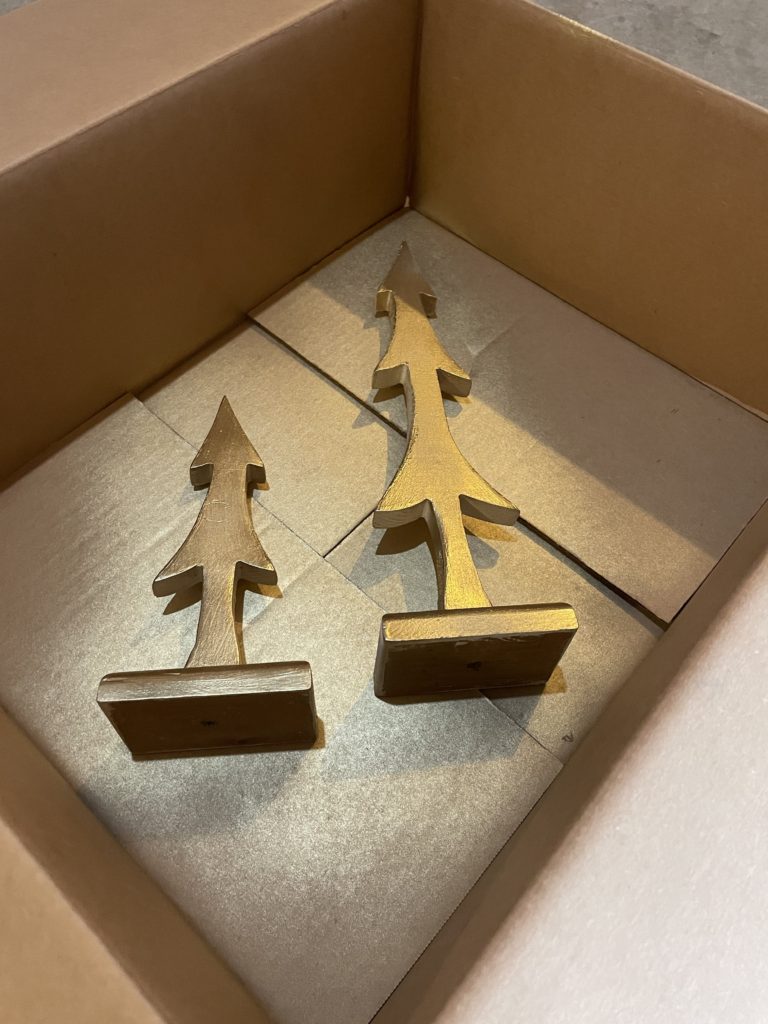
Next I took them back out to the garage and placed them inside a box to spray paint. I like using a box for small items like this because it helps contain some of the overspray and mess. I chose to spray paint them gold for what I had planned.
Curious?
Good!
Right about now you’re thinking I’m crazy and that I should have left well enough alone with the white paint and the faux snow…..
But wait!
After several coats of gold paint to make sure I had all the edges and little nooks covered, I sprayed them all over with spray adhesive while still in the box, one side at a time.
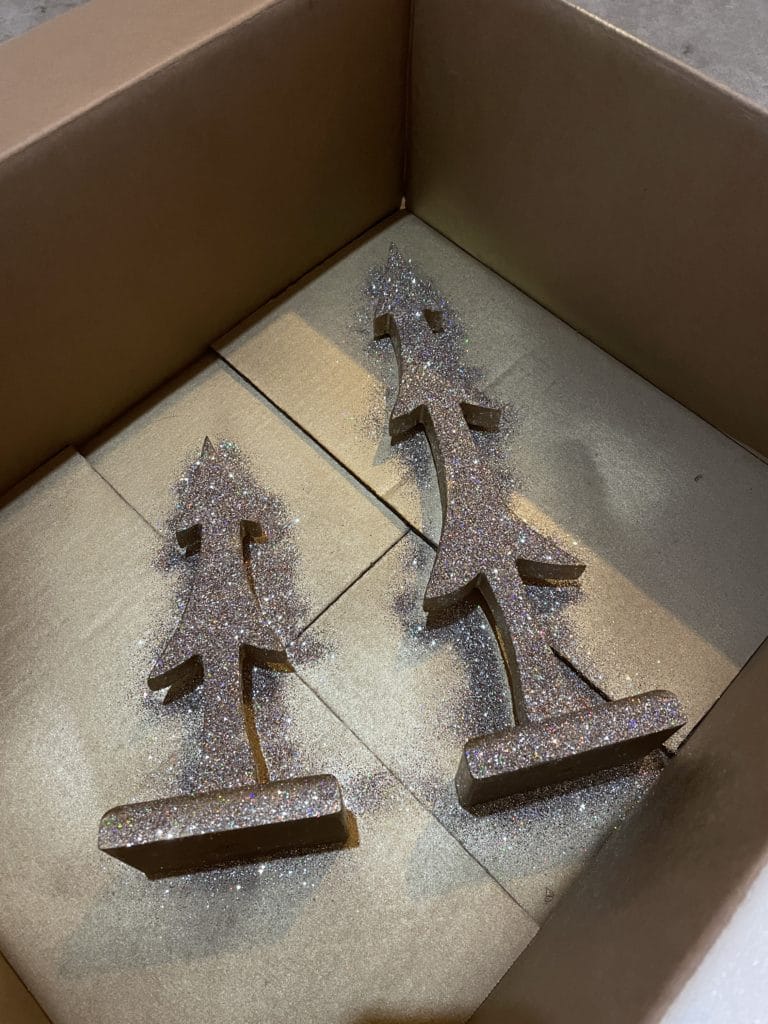
And then I sprinkled them liberally with my own glitter mix!
After allowing each side to dry for about 15 minutes, I gently shook them to allow the excess glitter to fall off, turned it carefully to another side and repeated the process until both faces and edges were coated with glitter.
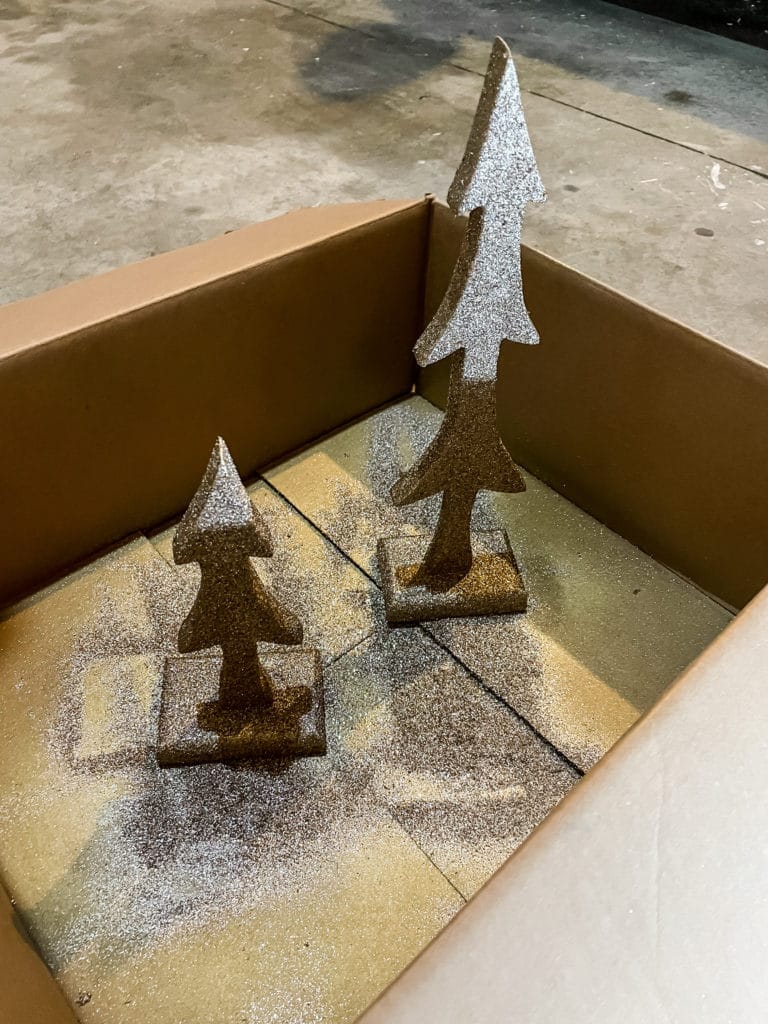
Once all sides were coated well I stood them up and gave them 3 coats of spray poly in a MATTE finish. You don’t want any sheen other than what the glitter already gives them. The poly really helps to keep the glitter in place and takes away the sticky residue that the spray adhesive leaves on everything so it’s a really important step.
Gently dust off any spidery bits that are clinging to any edges and clean off the bottoms. Let’s face it, there is always gonna be a little bit of glitter dust around where you display anything that’s been covered in glitter no matter what you do. I find with this process is really minimal however.
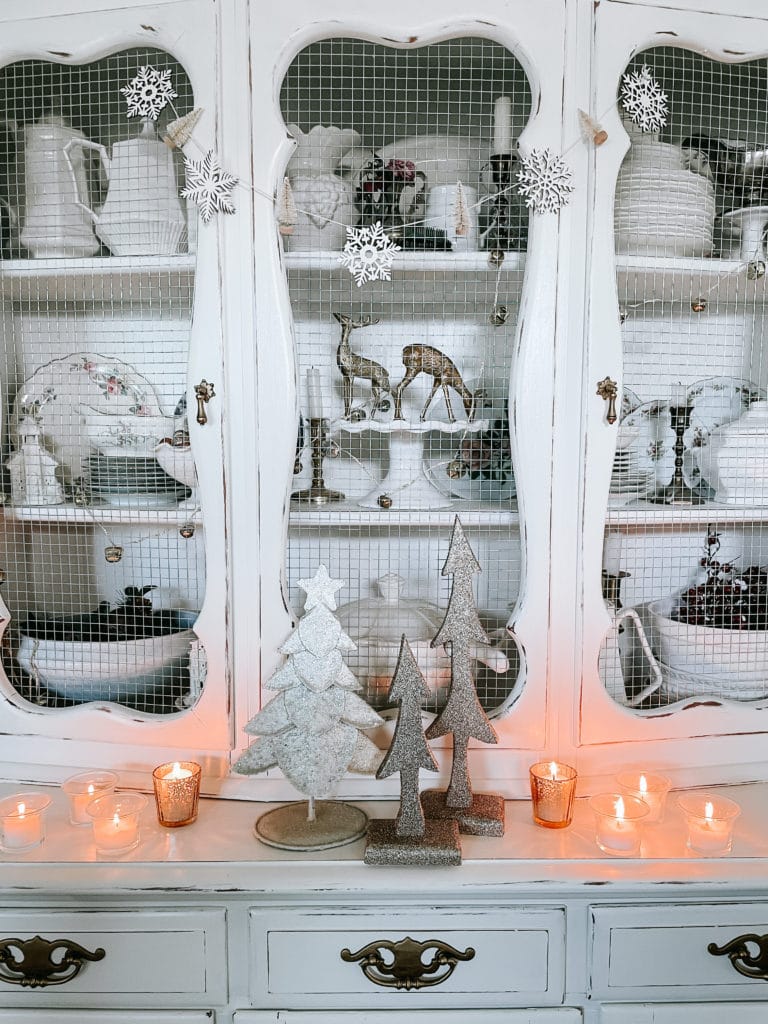
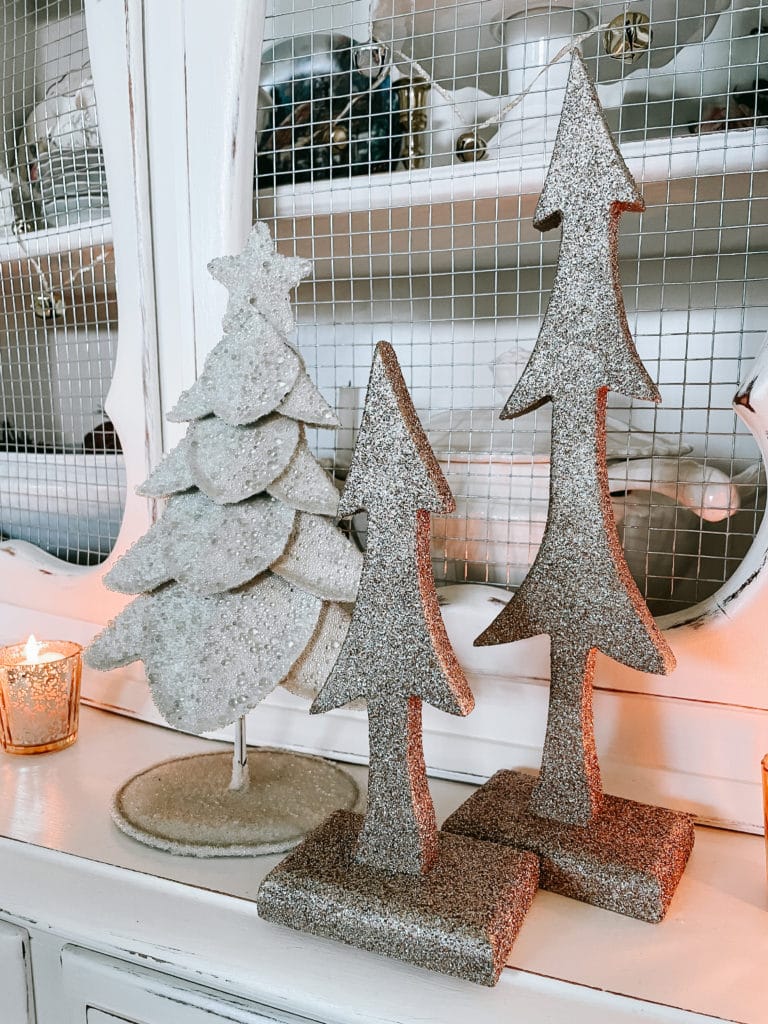
Now I actually love these little wooden trees! It only took me roughly 3 years to make them pretty.
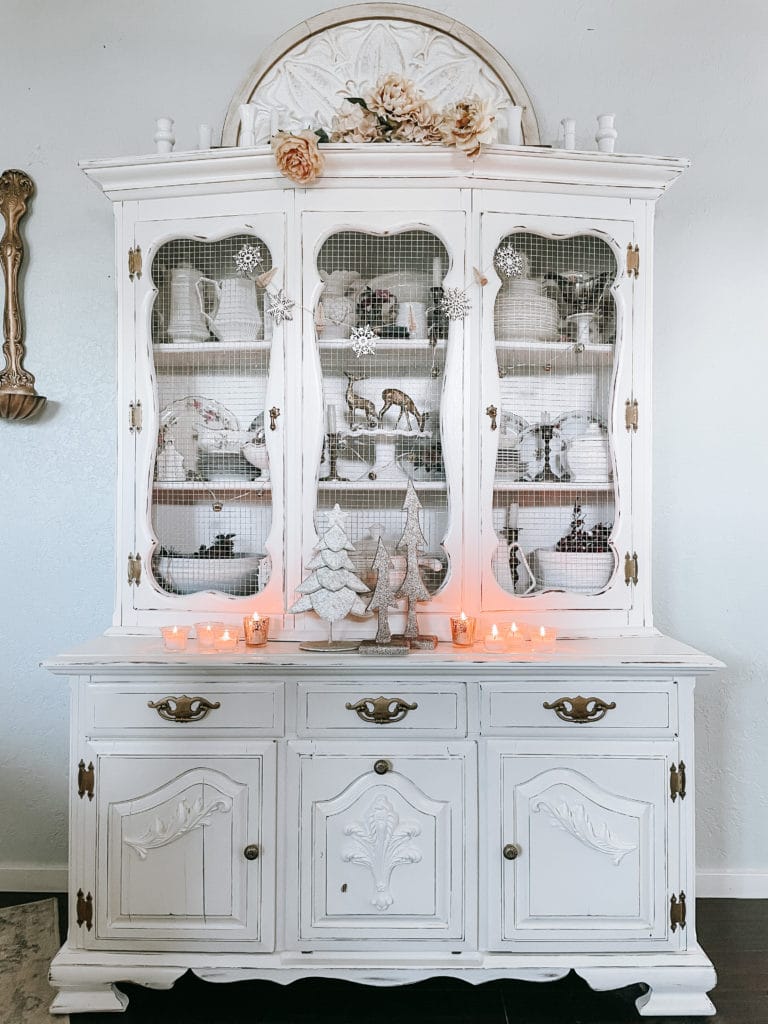
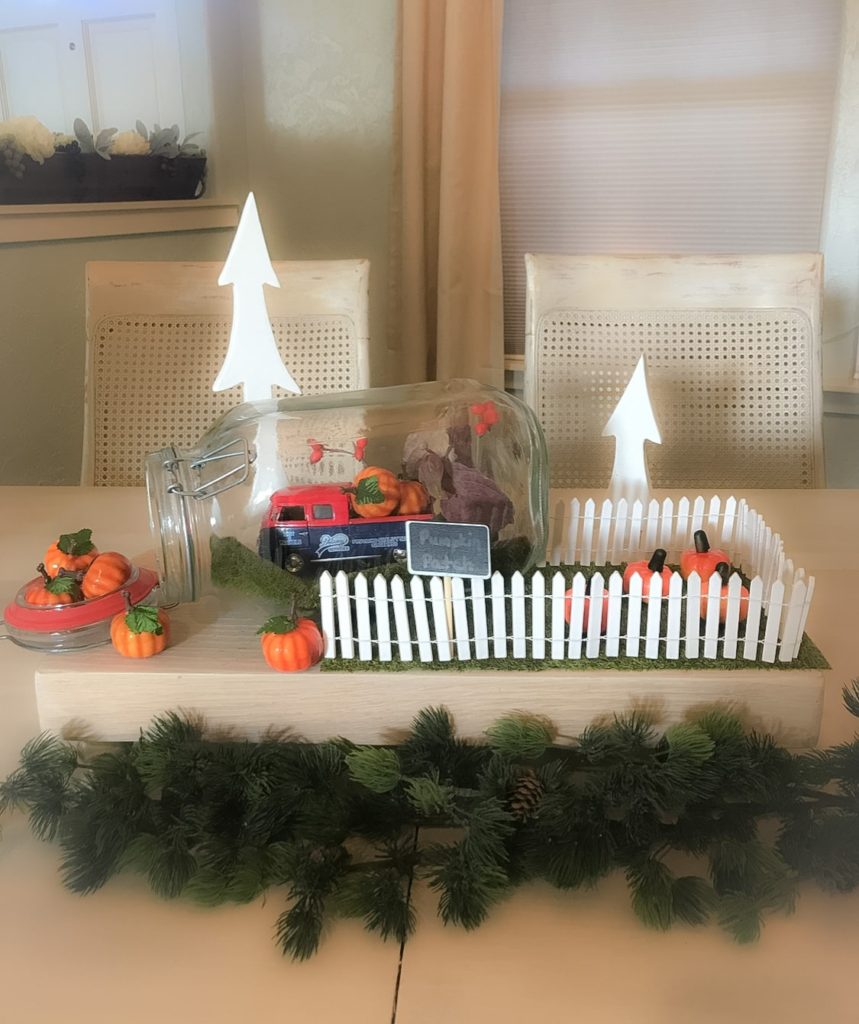
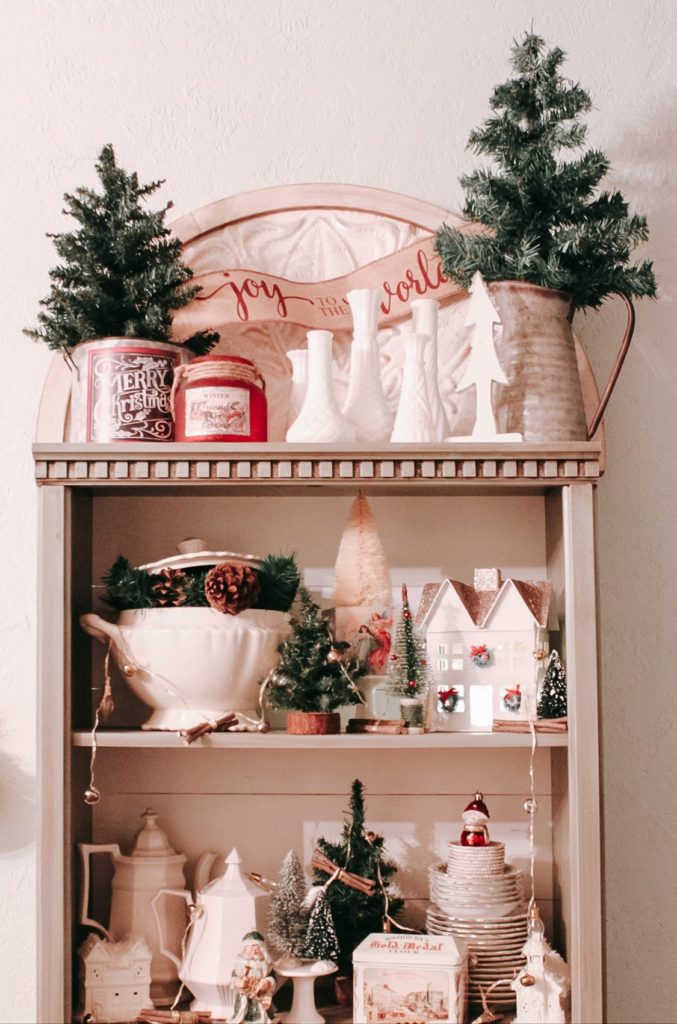
I will admit I did bring one bin of Christmas decor out of my garage rafters for the purpose of styling Aurora (my hutch) a little to showcase these little beauties…..It was so much fun and got me all excited for decorating for Christmas this year when the time actually comes.
I’m so glad you stopped by today and gave me a chance to show you my Christmas in July project…..
Check out what the others found this month….
Who knows? Maybe one or two of them went with a Christmas in July idea as well! Just click on any of the photos below to go directly to their post.
Your trees turned out beautifully and I agree with you about feeling the way about each season!
There’s something special about each one isn’t there?
I love how you’ve been able to transform these to fit your decor each year!!
Thanks! I think they’ll stay this way from now on…..
I love what you did with those trees (and your hutch looks incredible)! They are adorable no matter what color they are!
Thanks so much, Jodi. This was just a taste of things to come. I can’t wait to decorate this hutch for real this Christmas!
[…] I actually just made these glitter trees a few weeks ago for Christmas in July. I’ve had the trees for a couple years now and never liked how they looked but now I know they’re gonna be some of my favorites each year. You can see the full DIY HERE. […]