
Howdy friends! Welcome back to another Thrift Store Challenge! Each month Emily and I host this challenge and we are joined by some amazingly creative bloggers. Each one purchases an item(s) from a thrift store, garage sale, flea market, or finds something in someone’s trash pile. Maybe its even a family heirloom or meaningful piece that has been passed down. In either case, we take the item(s) and revamp it, restore it, repurpose it and the like and then show you how we style it in our homes.
Once in a while we even find something that we can use “as is” but often our creative juices get flowing and we have to put our own spin on it. Let me show you what I found this month!
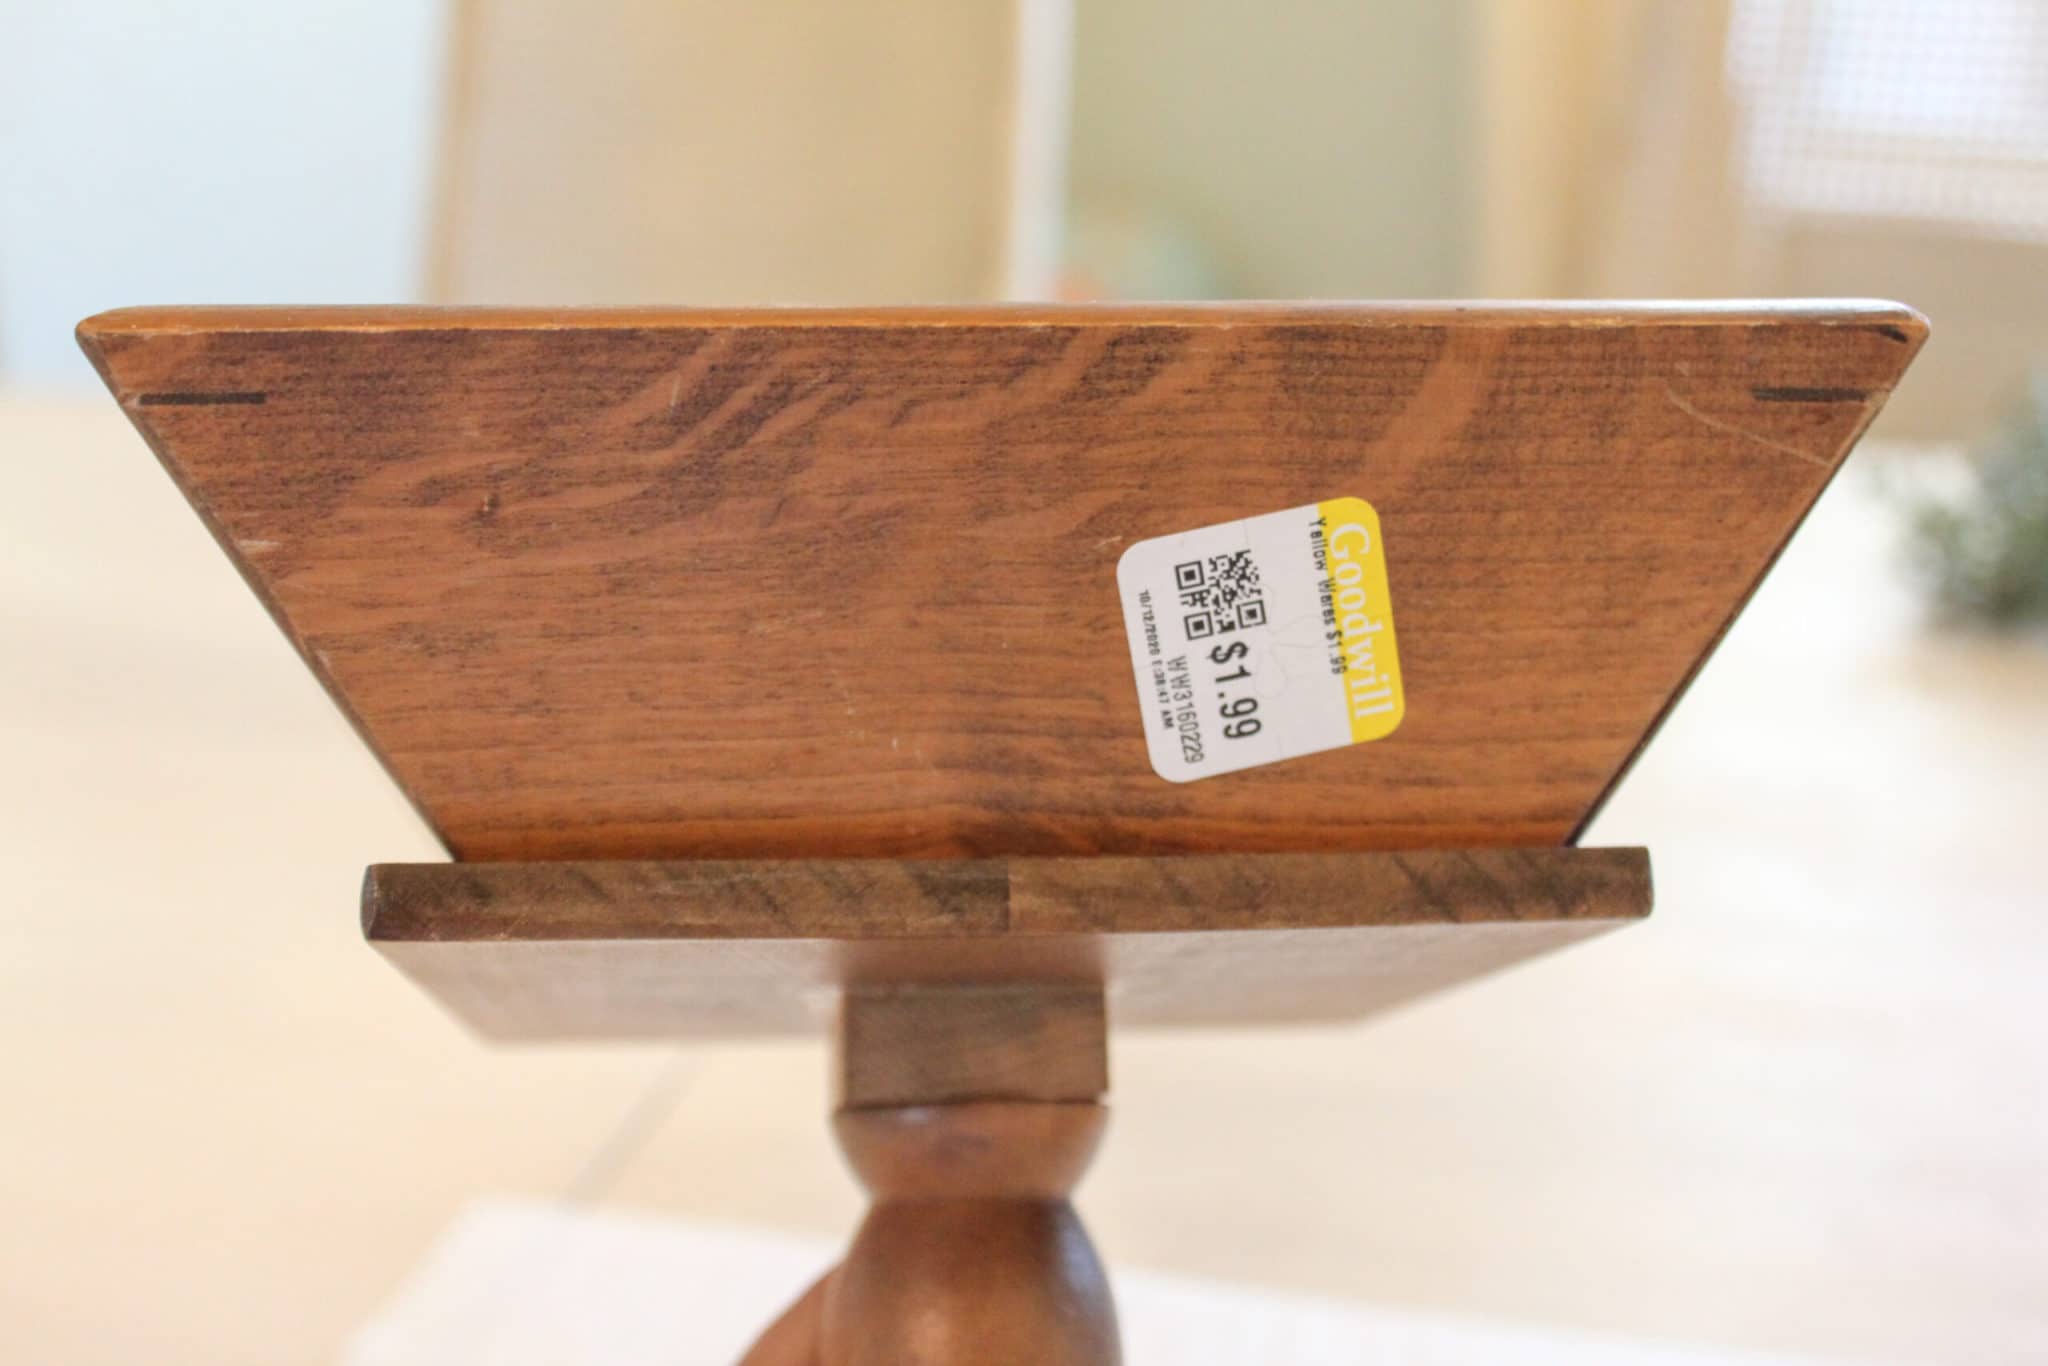
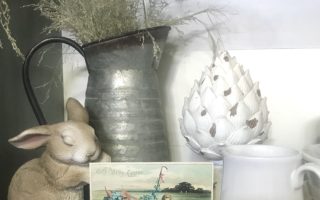
What is really neat is that while I was walking though my local Goodwill, I was looking for 2 things. Something for this challenge and something I could put some lovely potpourri in that my sister-in-law gave me last Christmas. What I didn’t expect was finding one thing that would work for both! Win/win!
Clearly the price was right too!
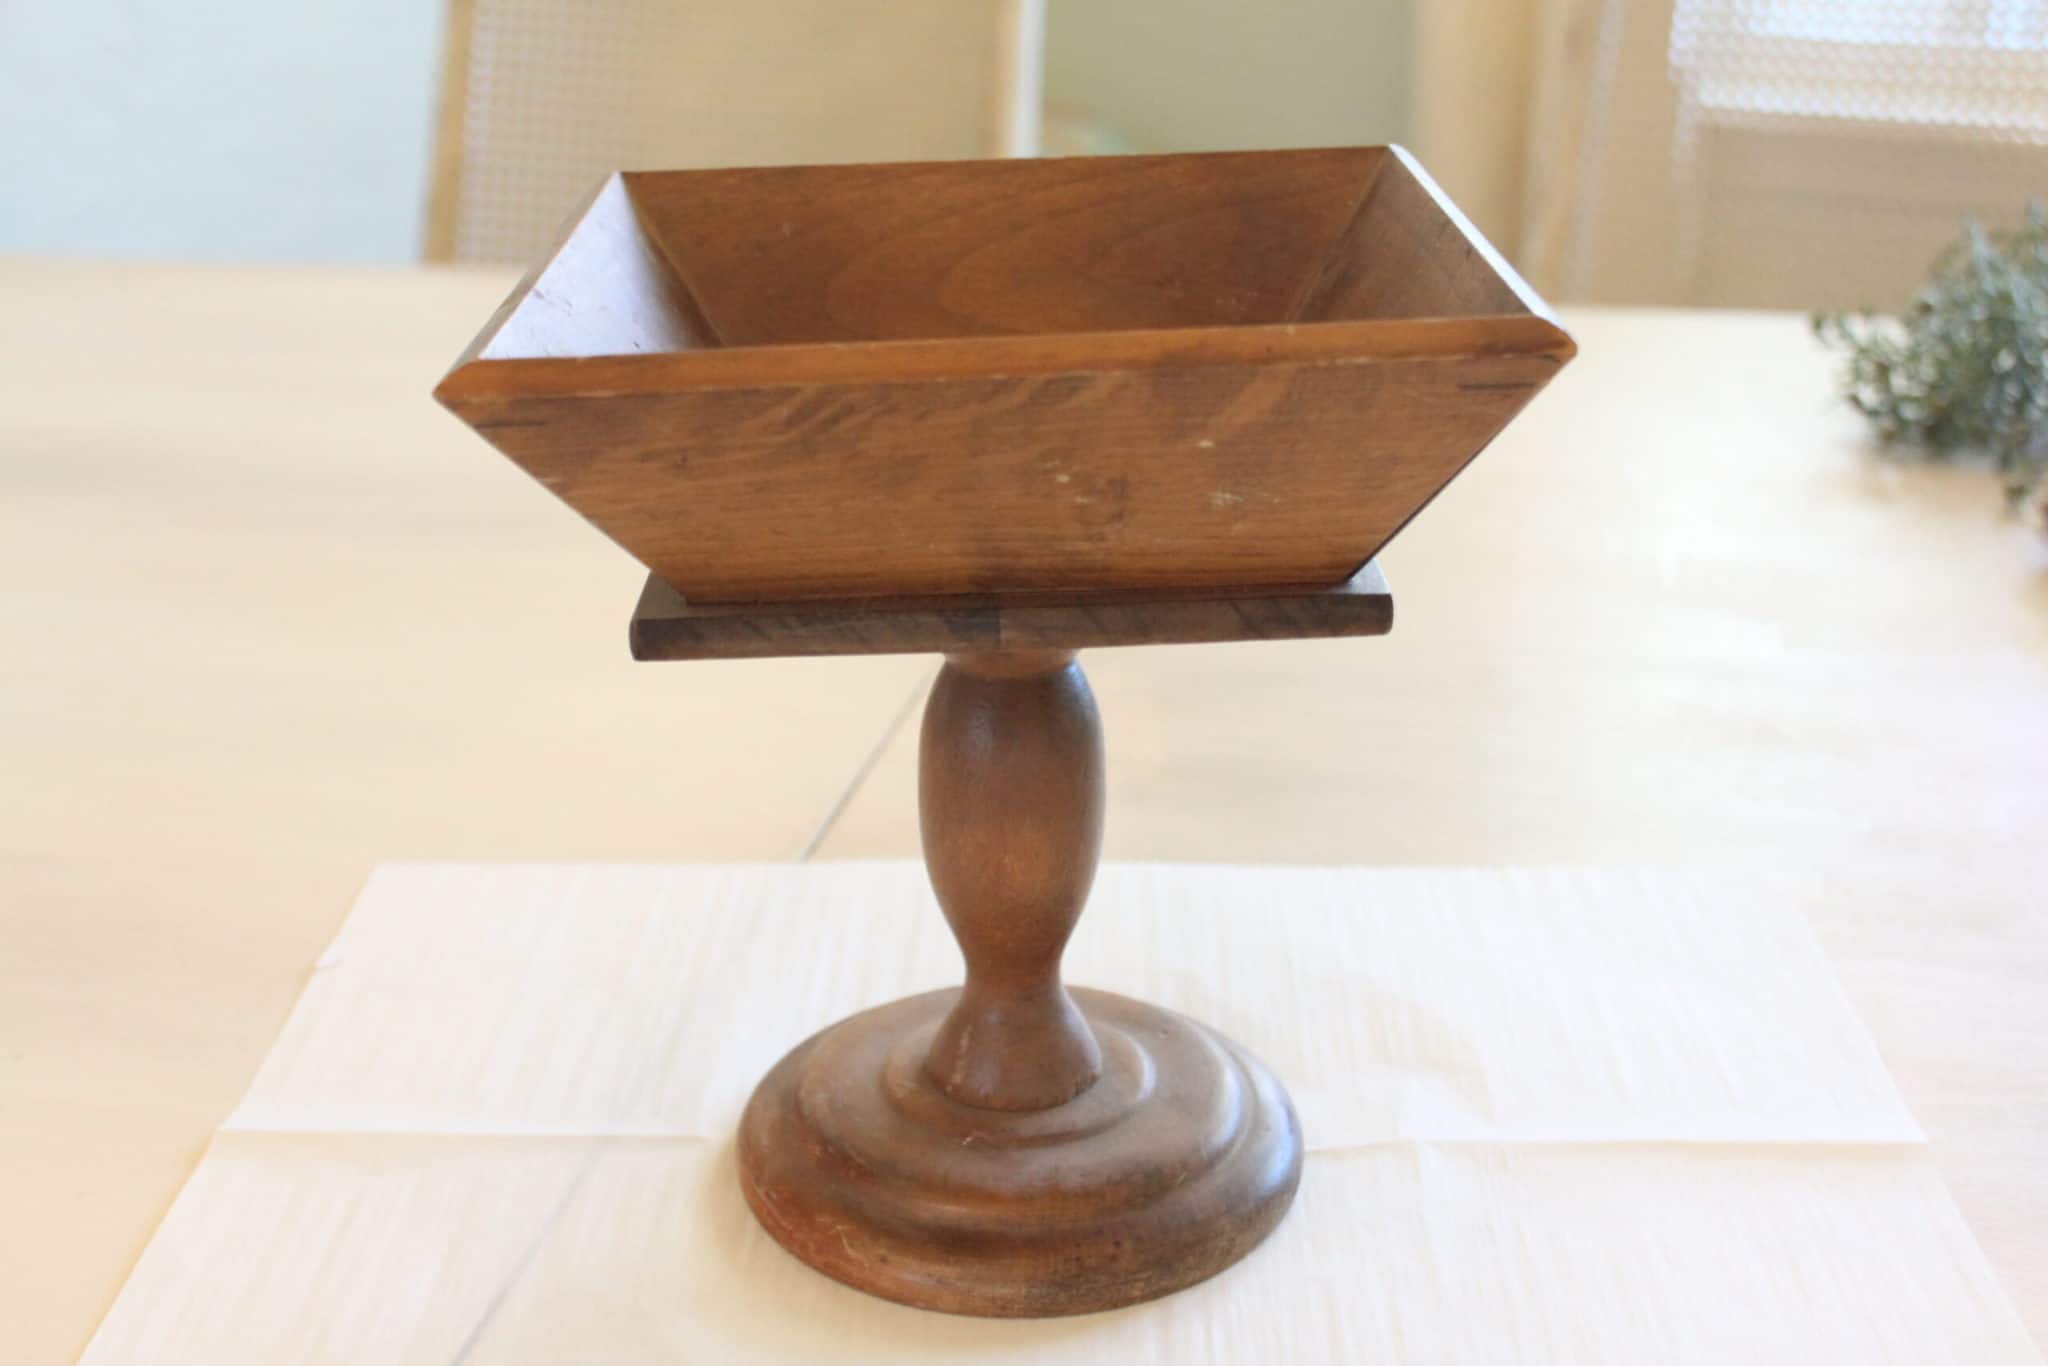
Now some of you might say “it’s just fine as it is” and maybe you could be right but it doesn’t really call my name like this and doesn’t really fit in with my style.
Never fear! I have my little buddy Elmer here with me!
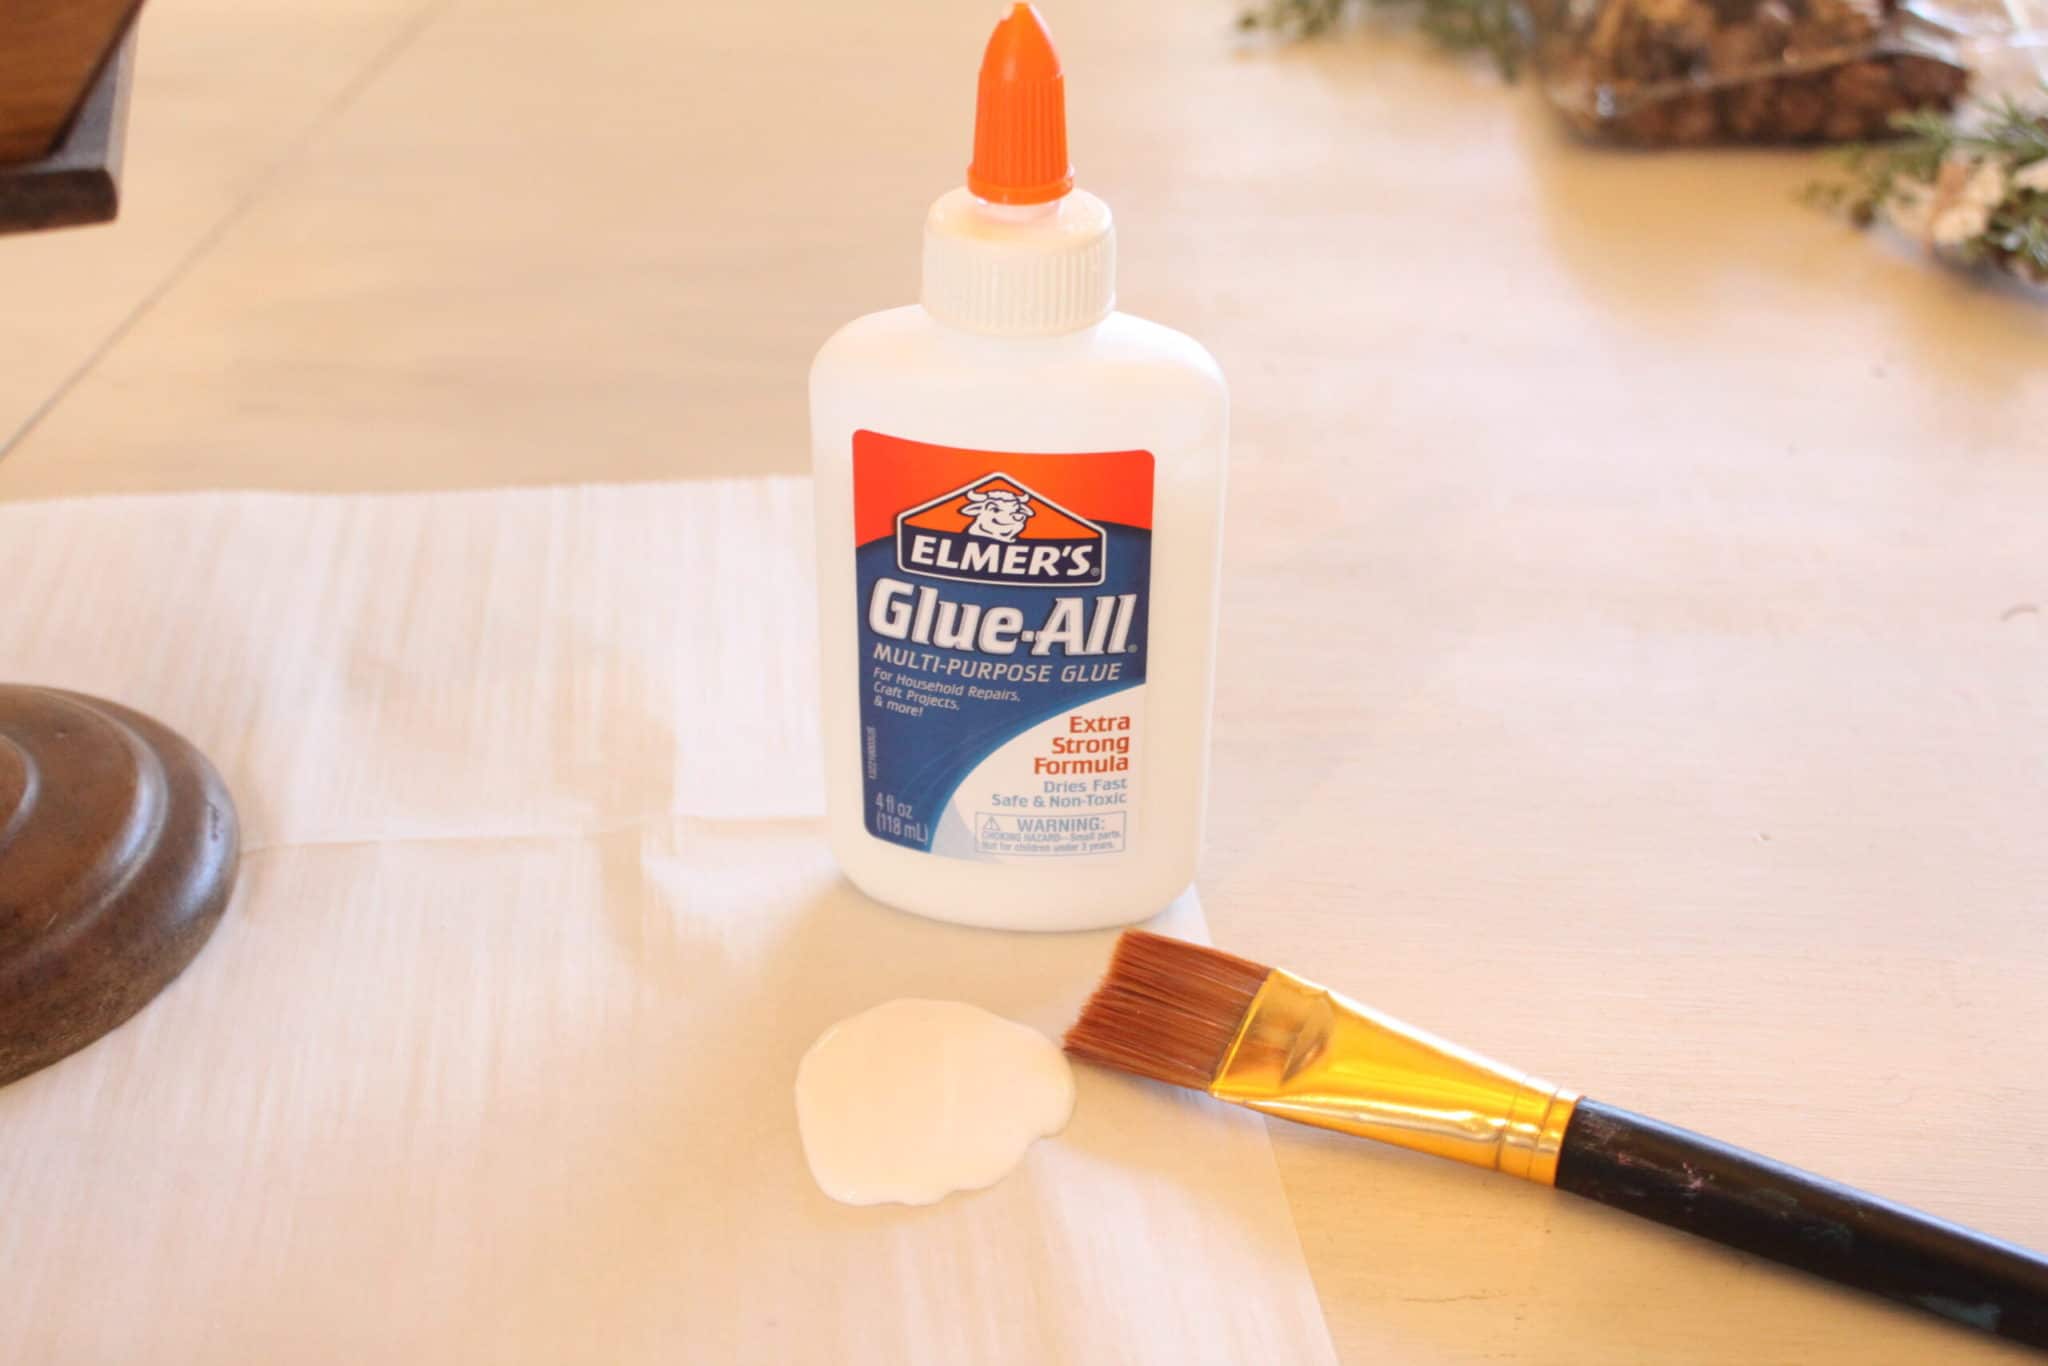
Elmer is my resident handy-man. He and Mr. Black & Decker, Mr. DeWalt and very often Will Power help me with a lot of my projects.
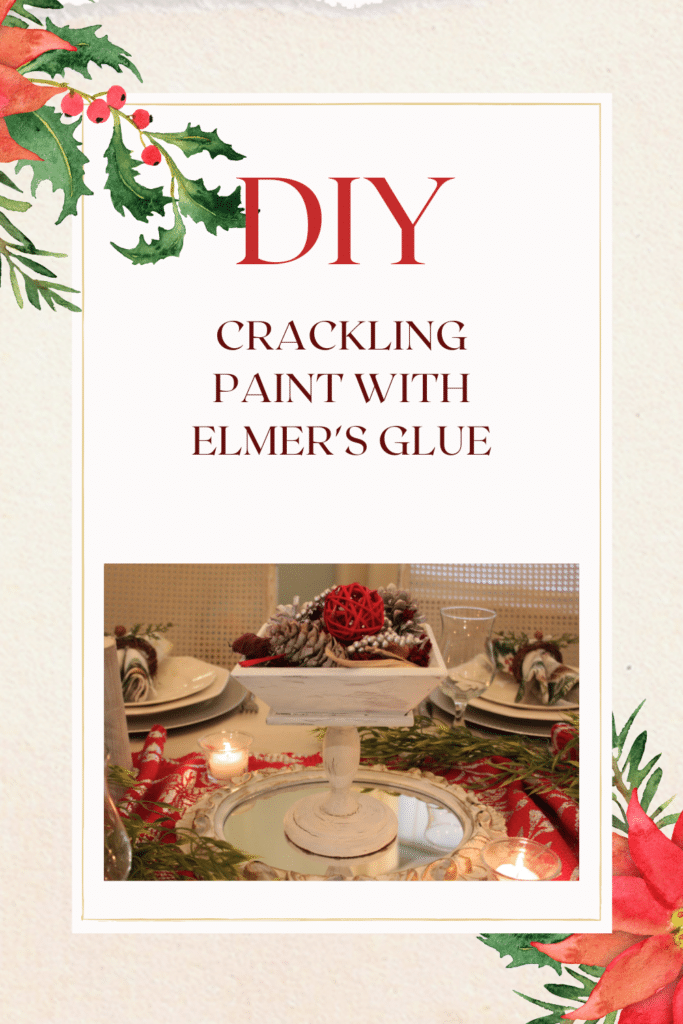
But I digress. Have you ever tried the crackle trick using Elmer’s glue?
You should!
Paint the glue on all over the project wherever you want it crackled. If you put it thicker, the cracks will be deeper and more noticeable. The thinner you apply it, the lighter and finer the cracks will be.
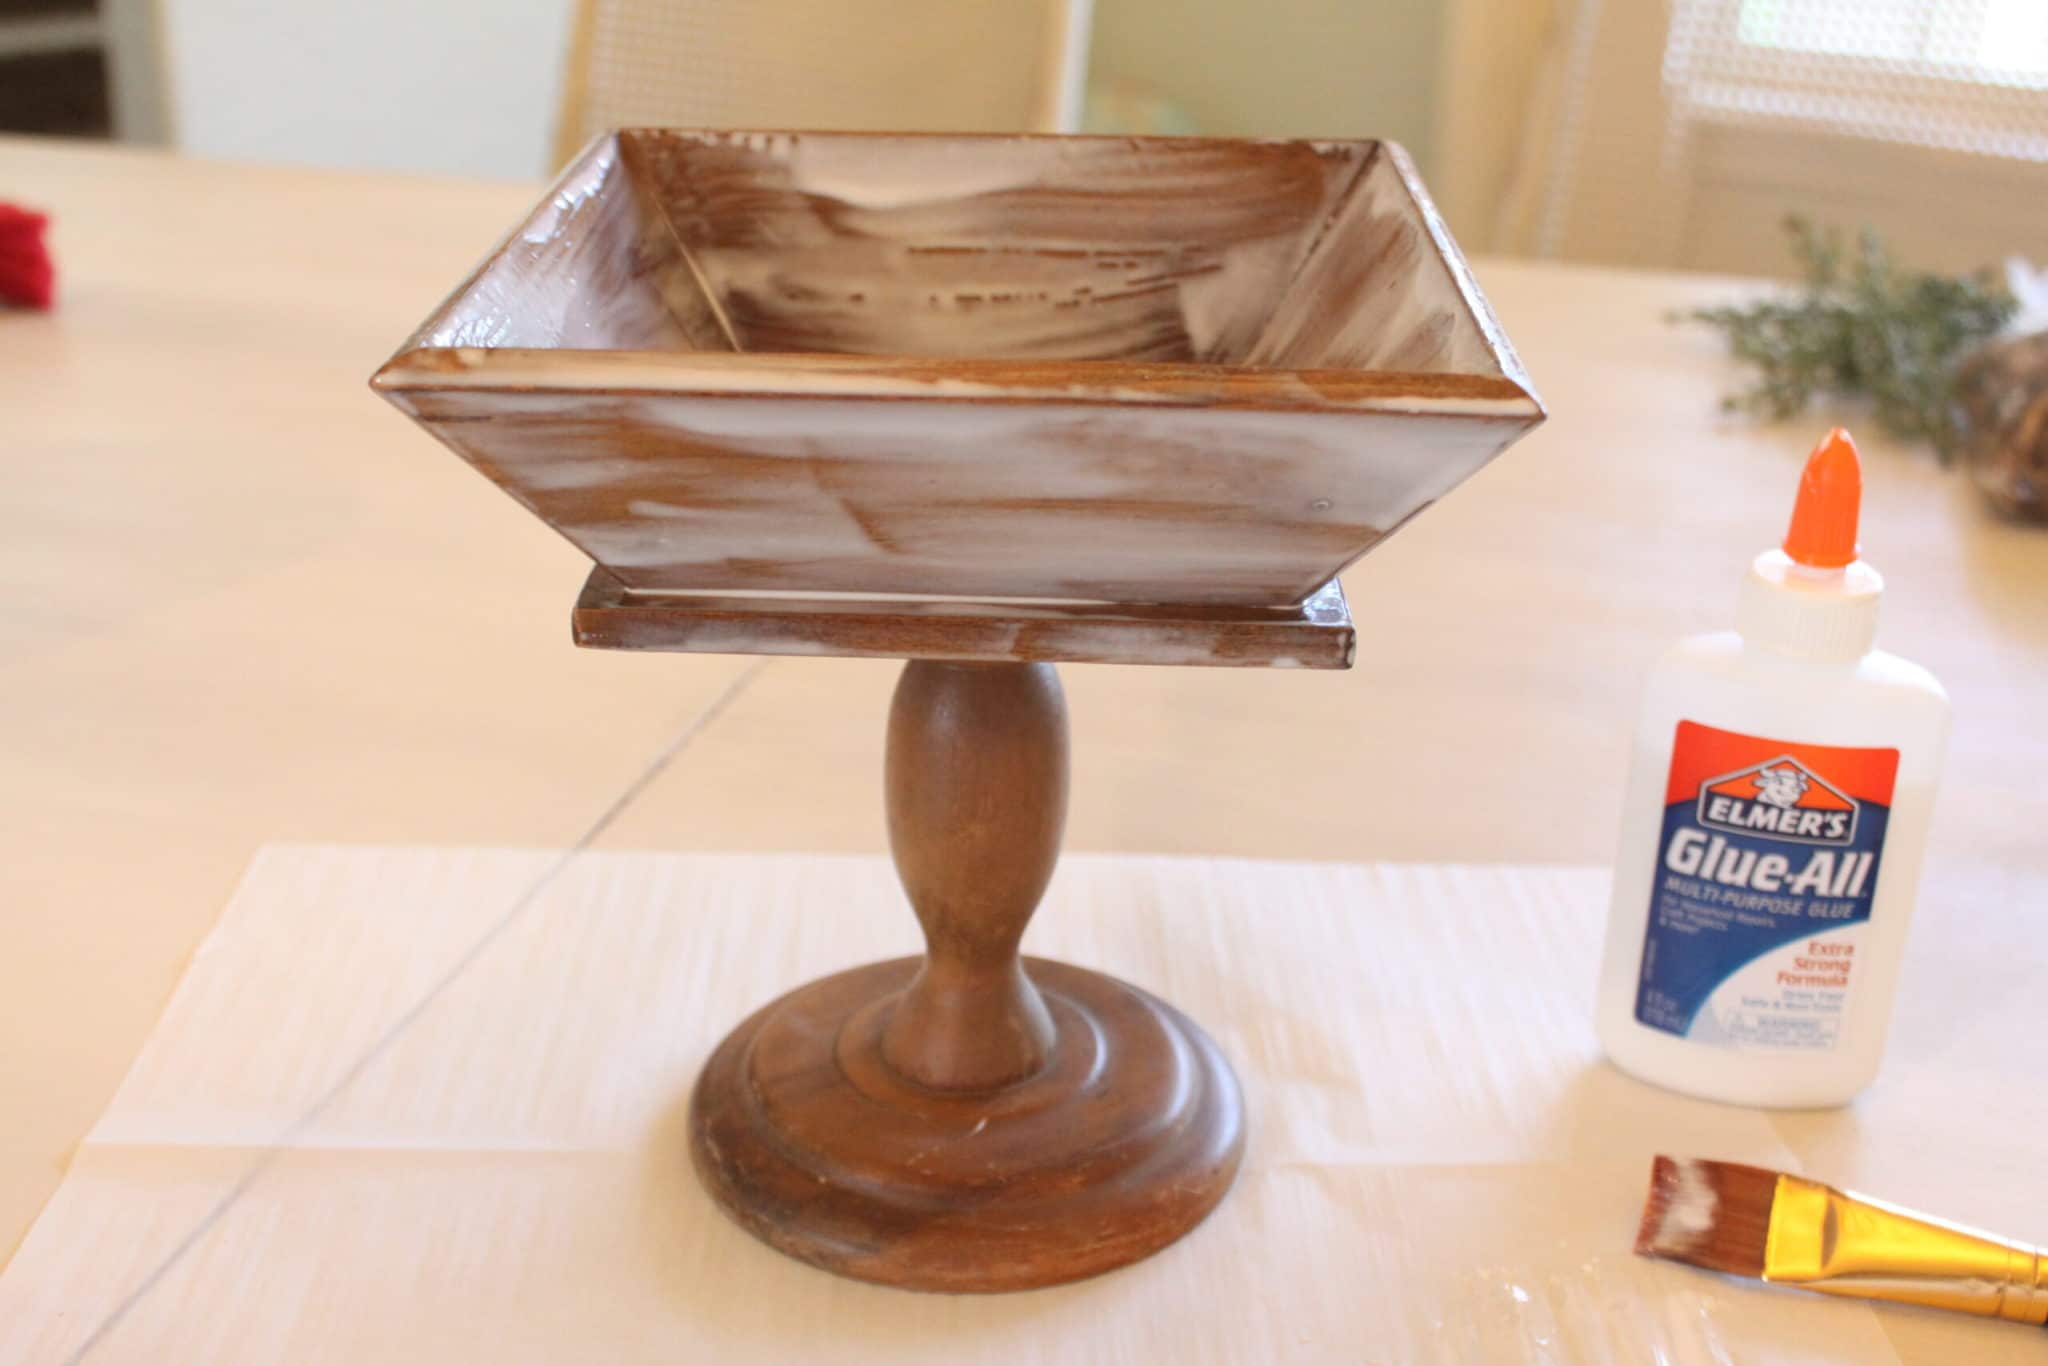
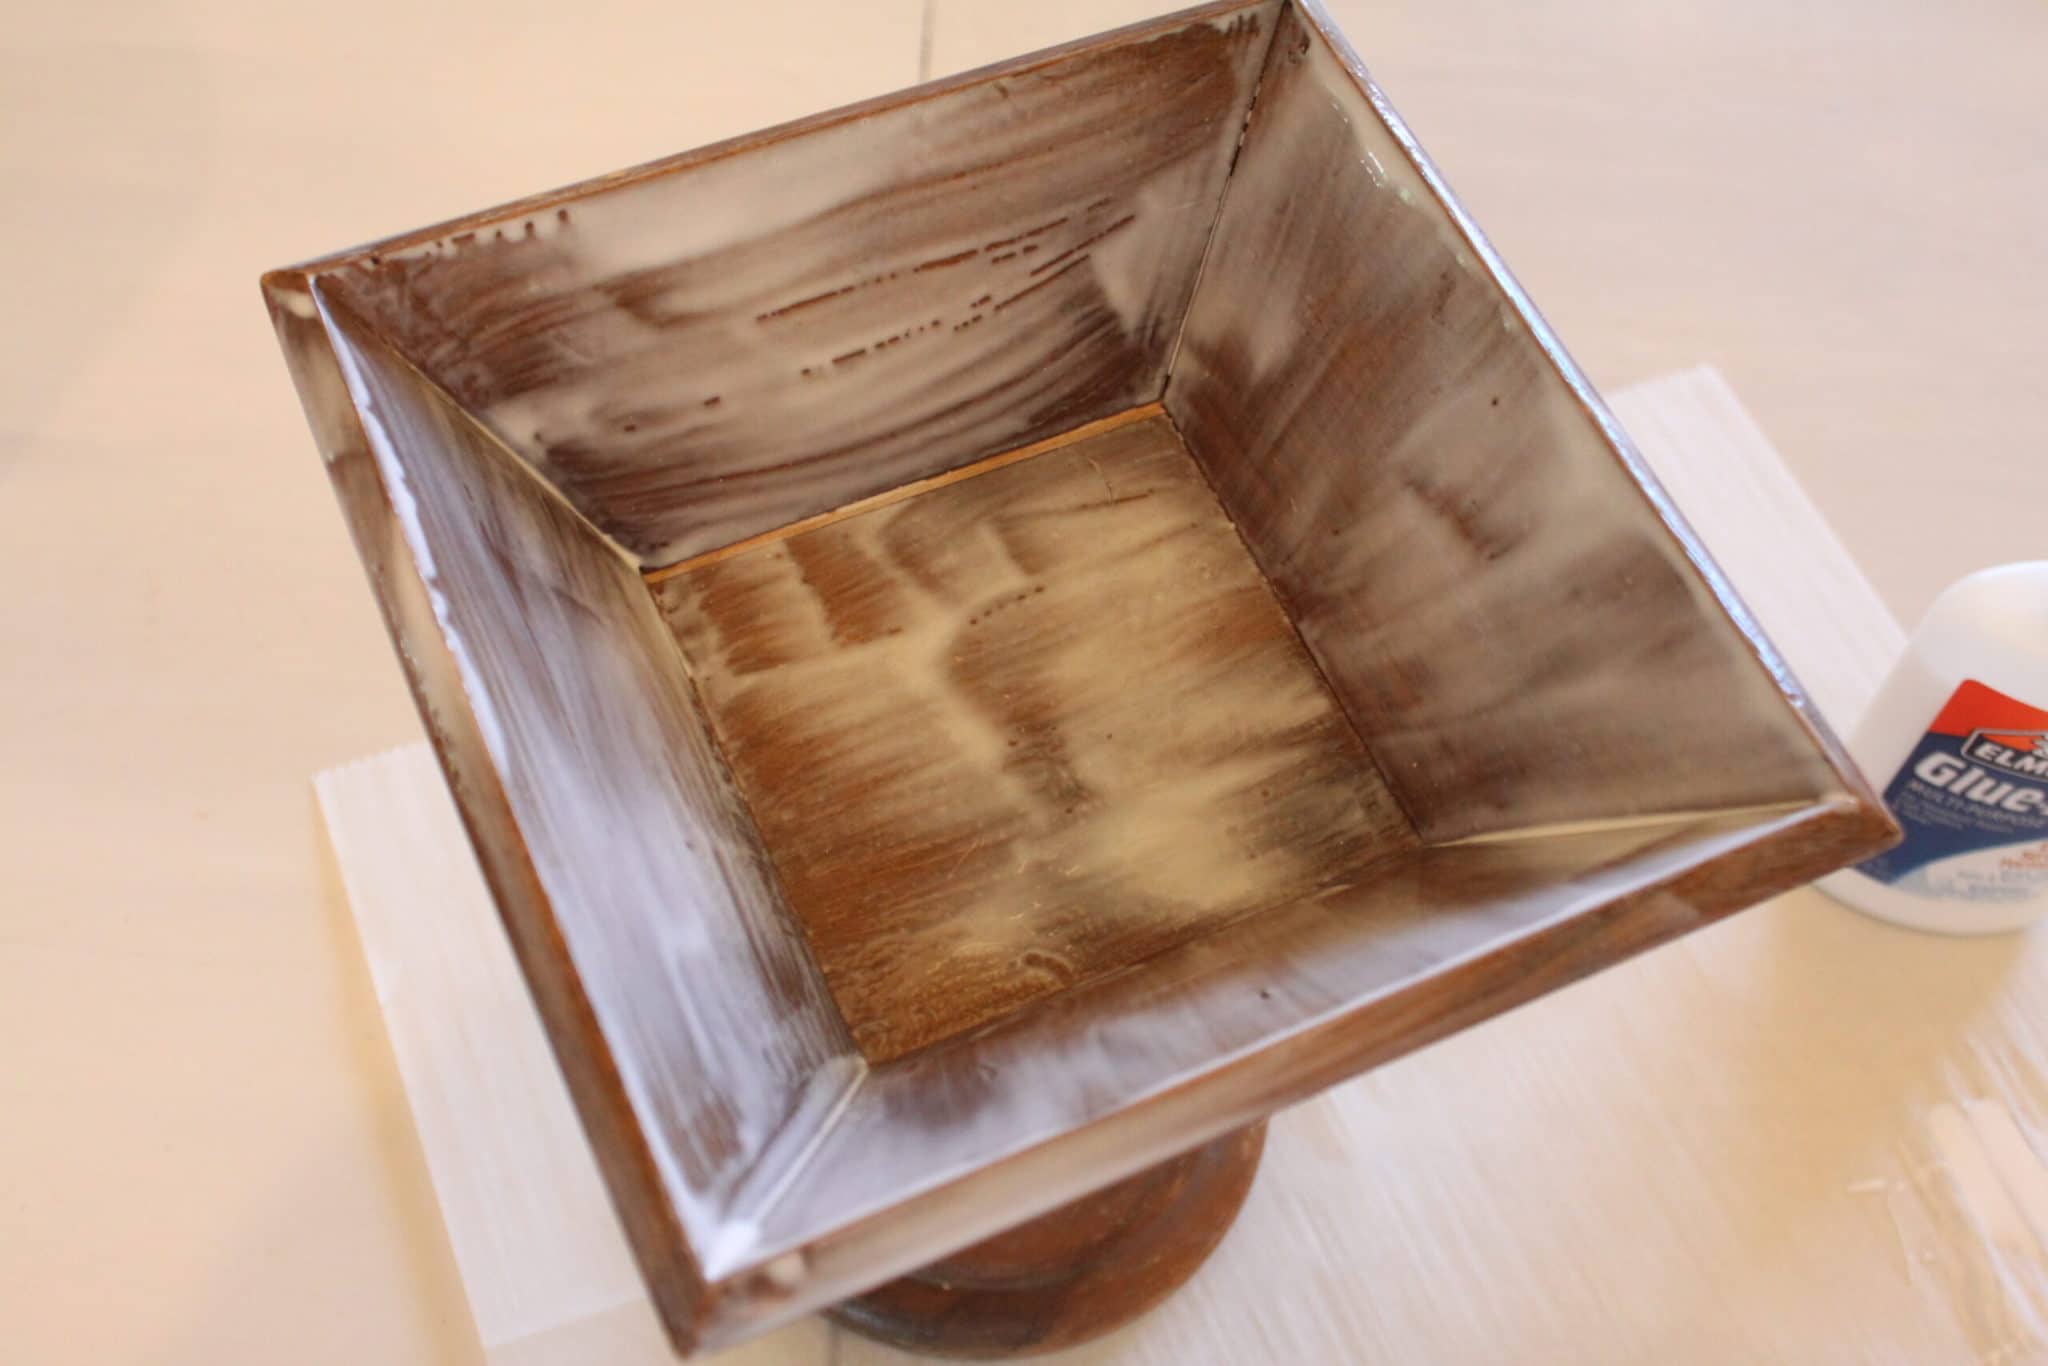
Once you have everything painted with glue that you want to crackle, let it sit to dry for approximately 10 minutes or until it sort of forms a skin but isn’t dry to the touch.
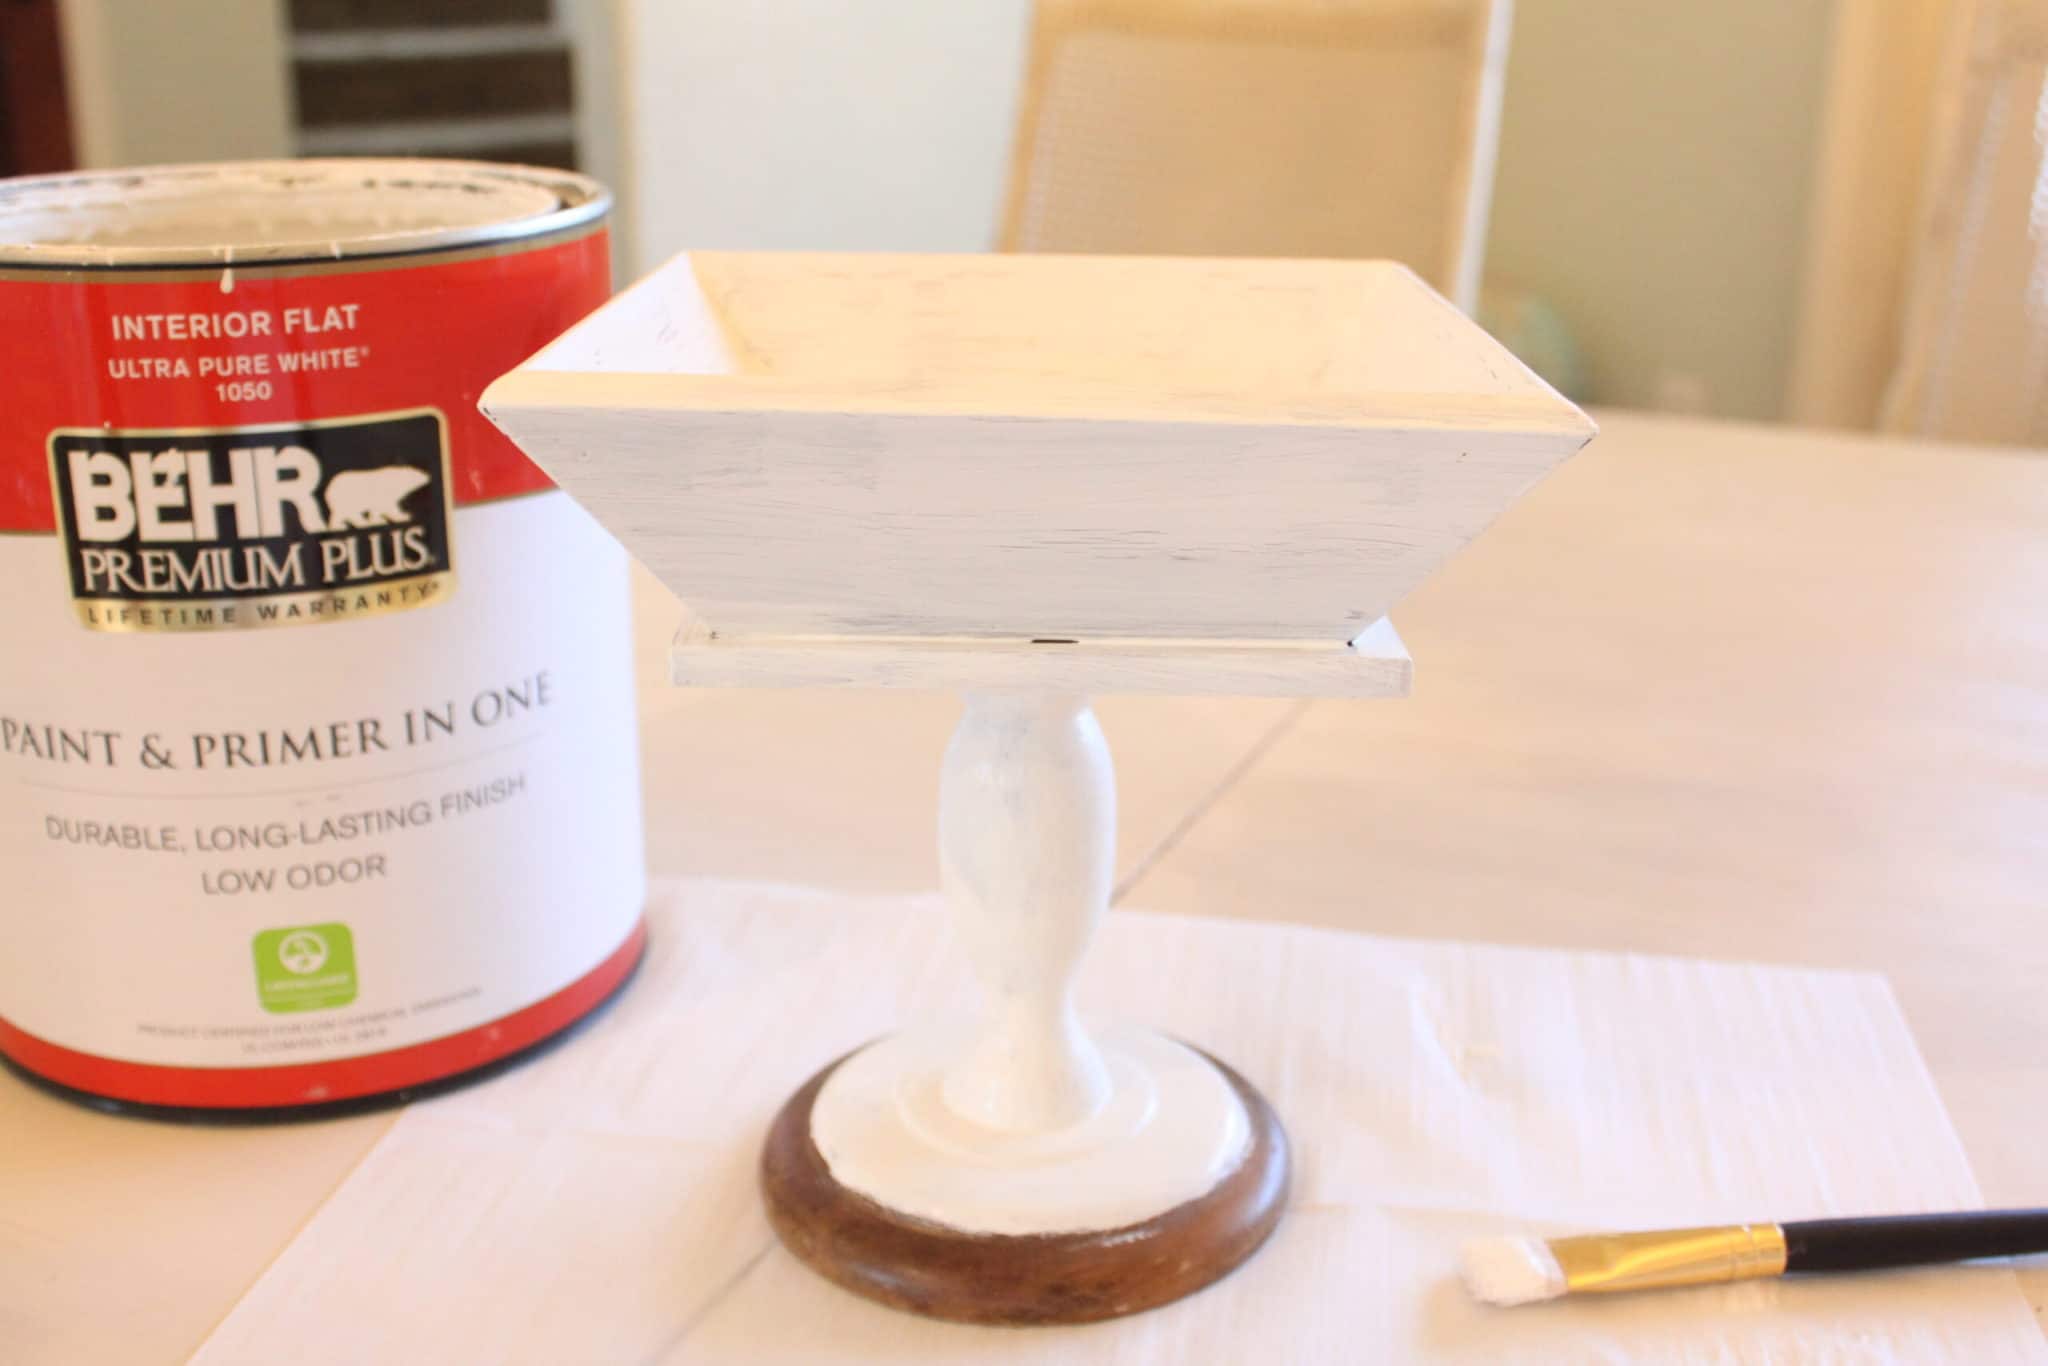
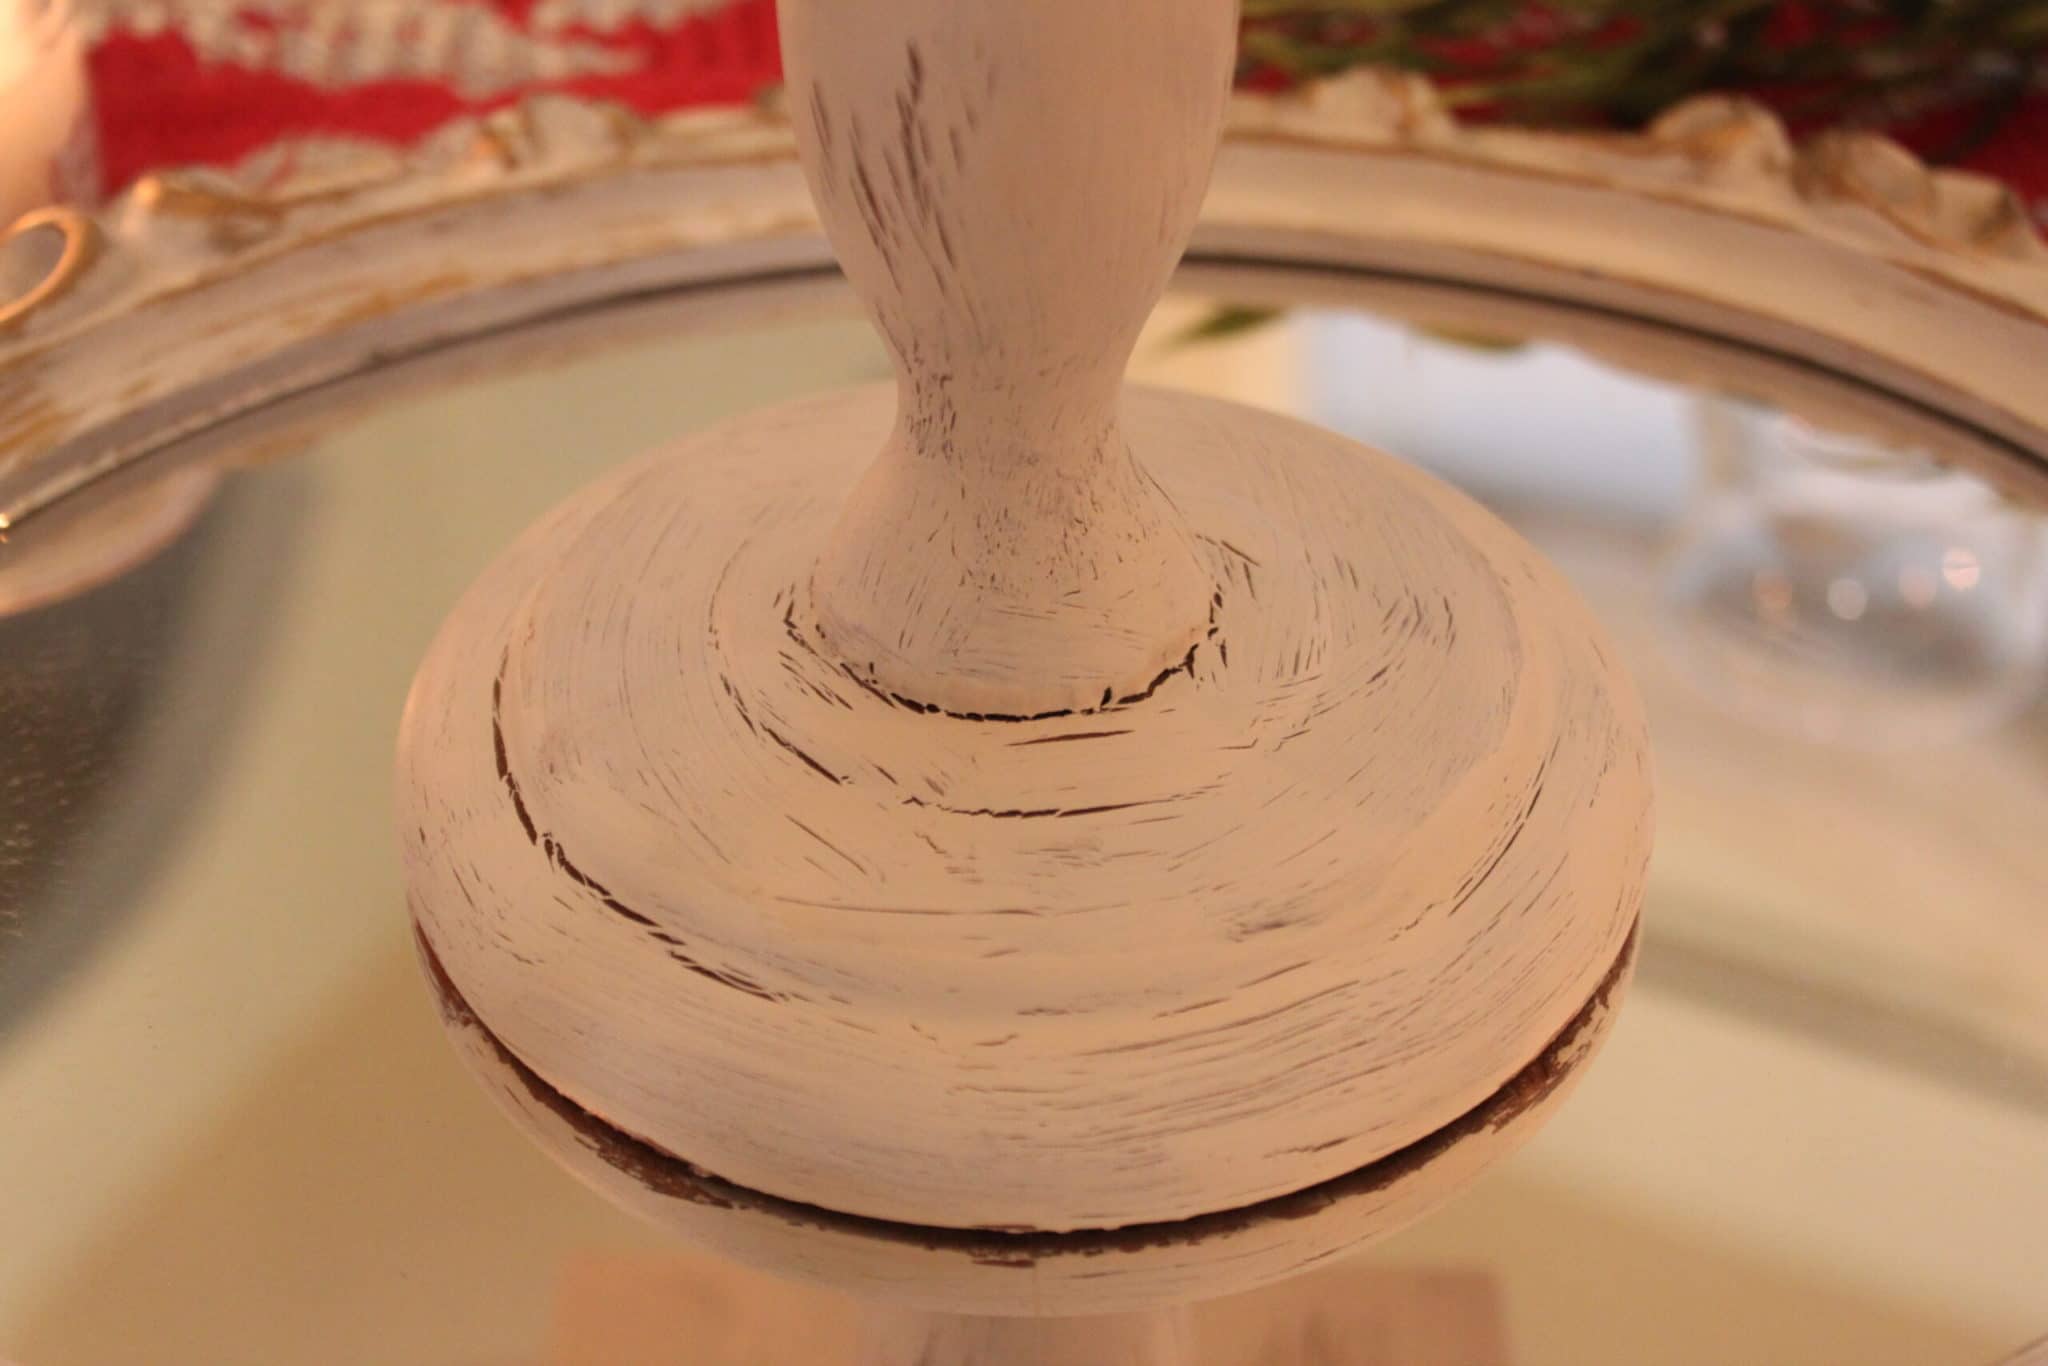
As soon as the skin forms, paint your top coat over it. I try to get it as smooth as I can but it always looks better once it starts to crackle.
Then you get to just sit back and wait and as the glue dries, the paint automatically cracks.

This is when it’s only partly dry but you can clearly see the cracks forming.
Now for styling it! Remember how I said I needed something for my potpourri?
Yup!
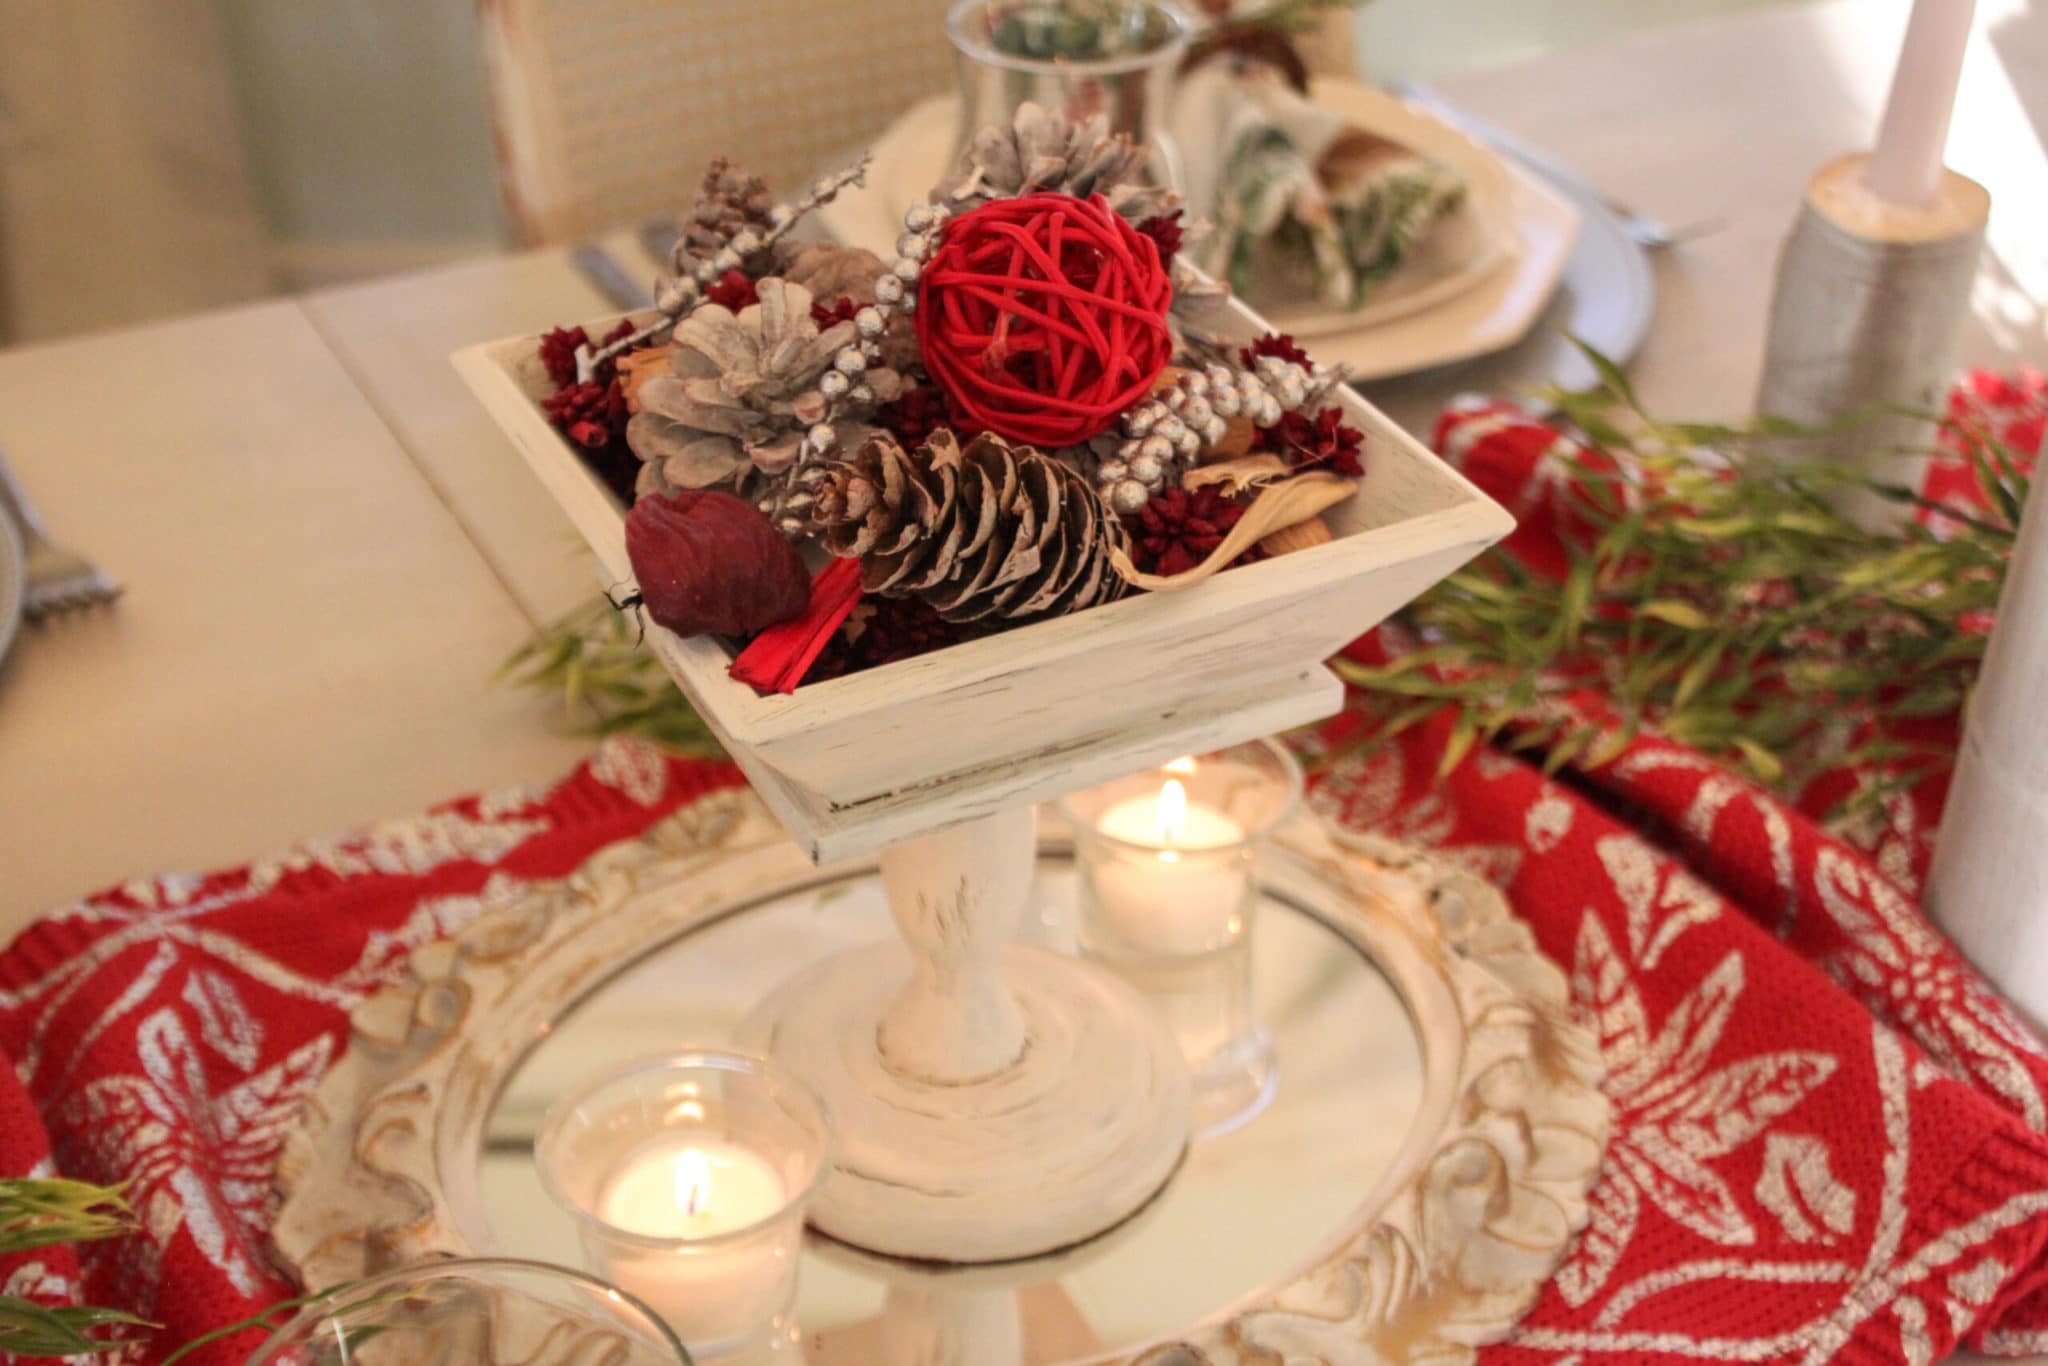
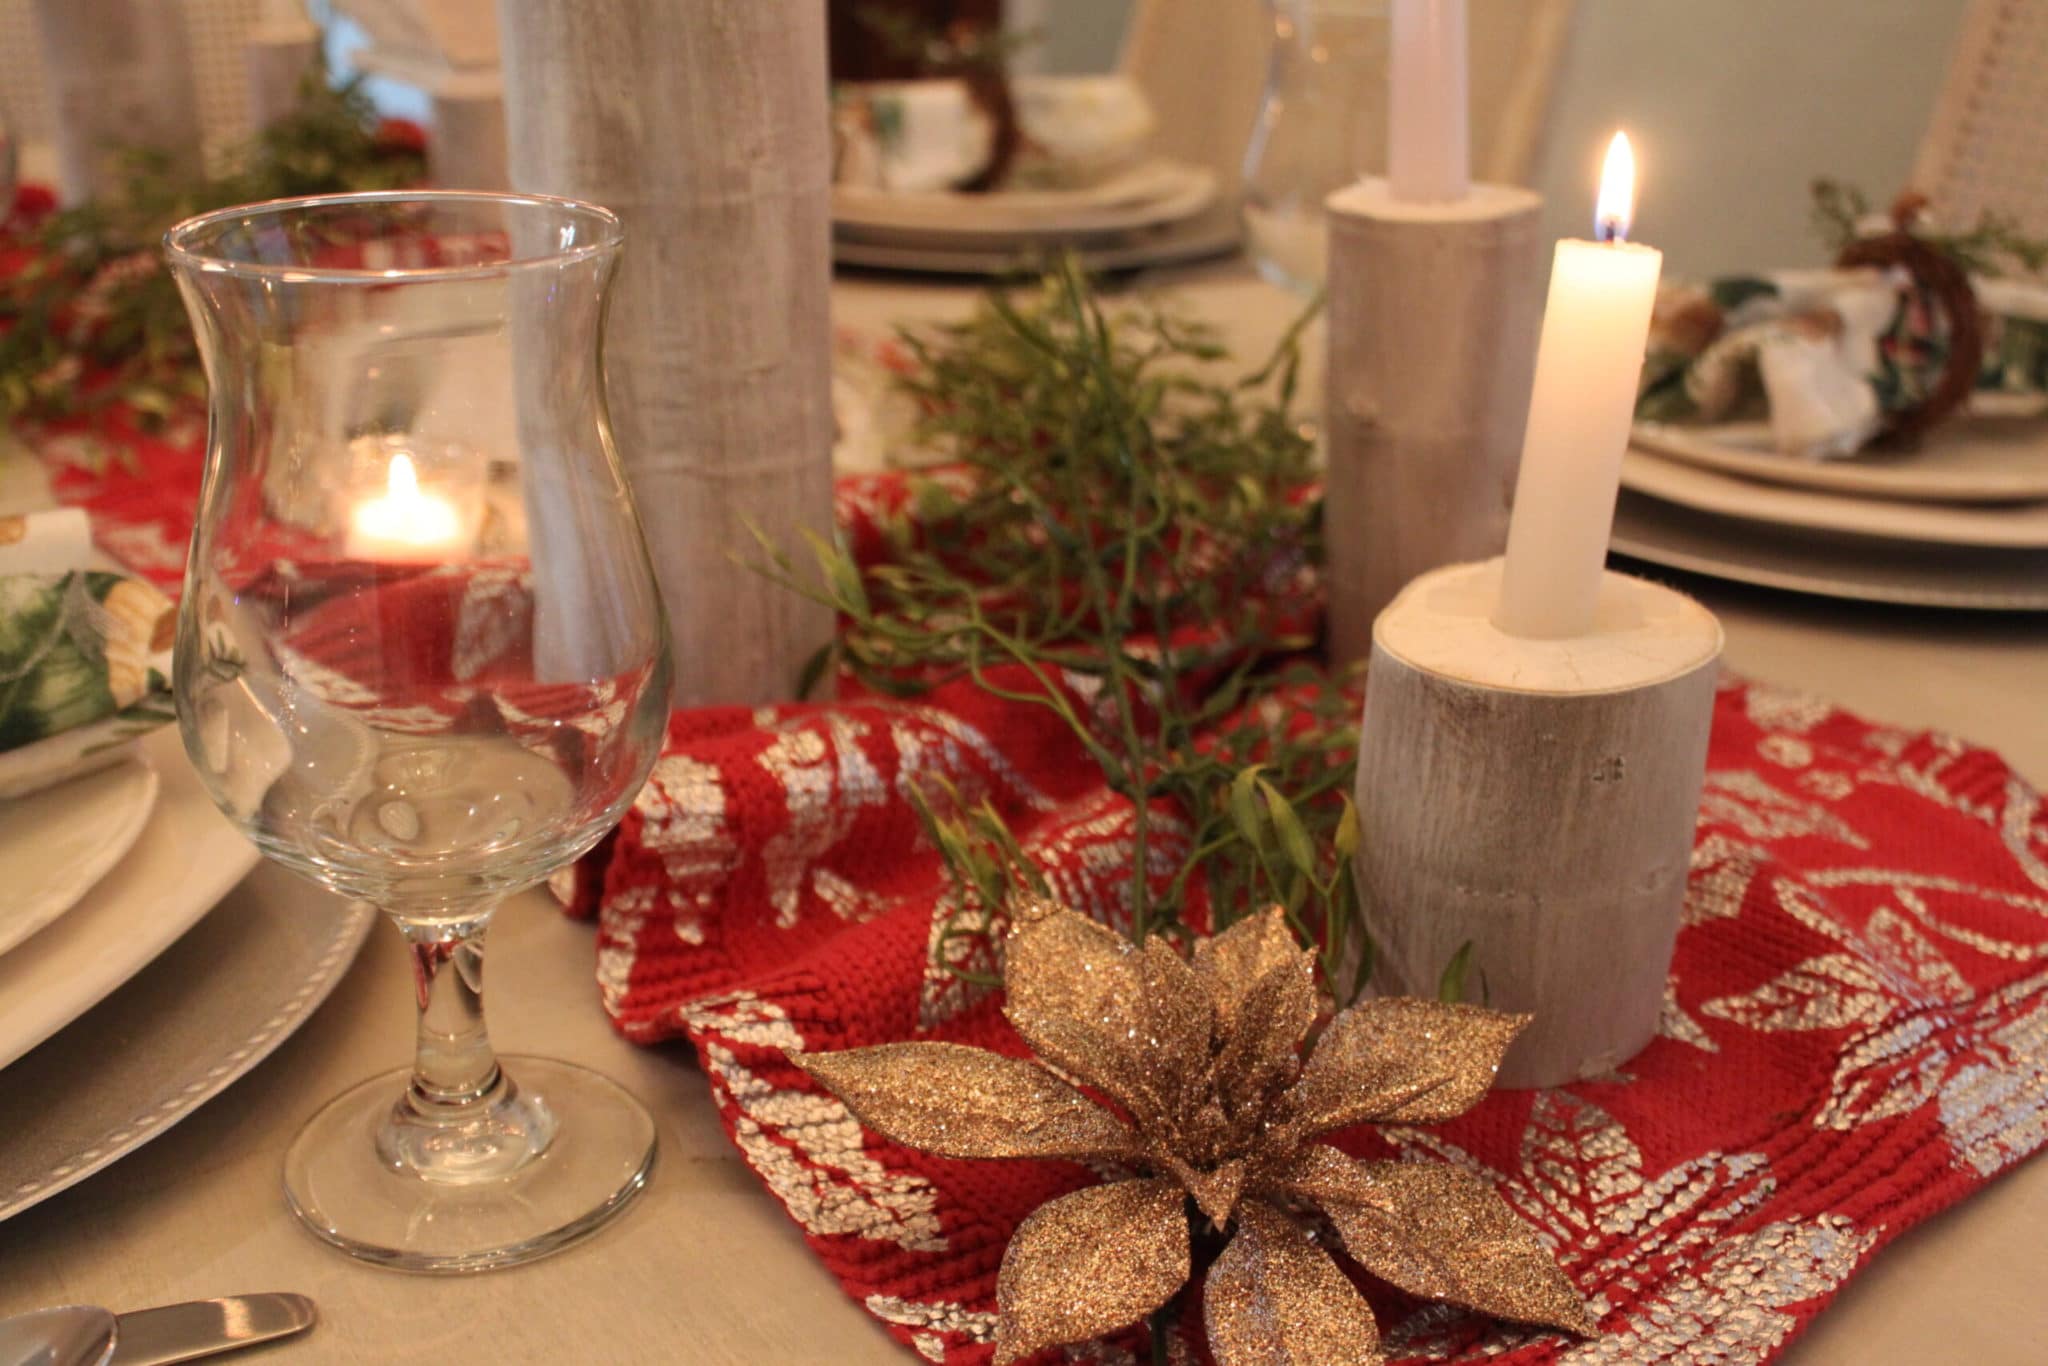
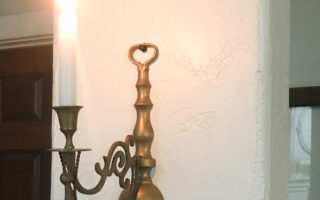
Of course one thing led to another and before I knew it I had set an entire tablescape and made some candlesticks out of more of my maple branches!
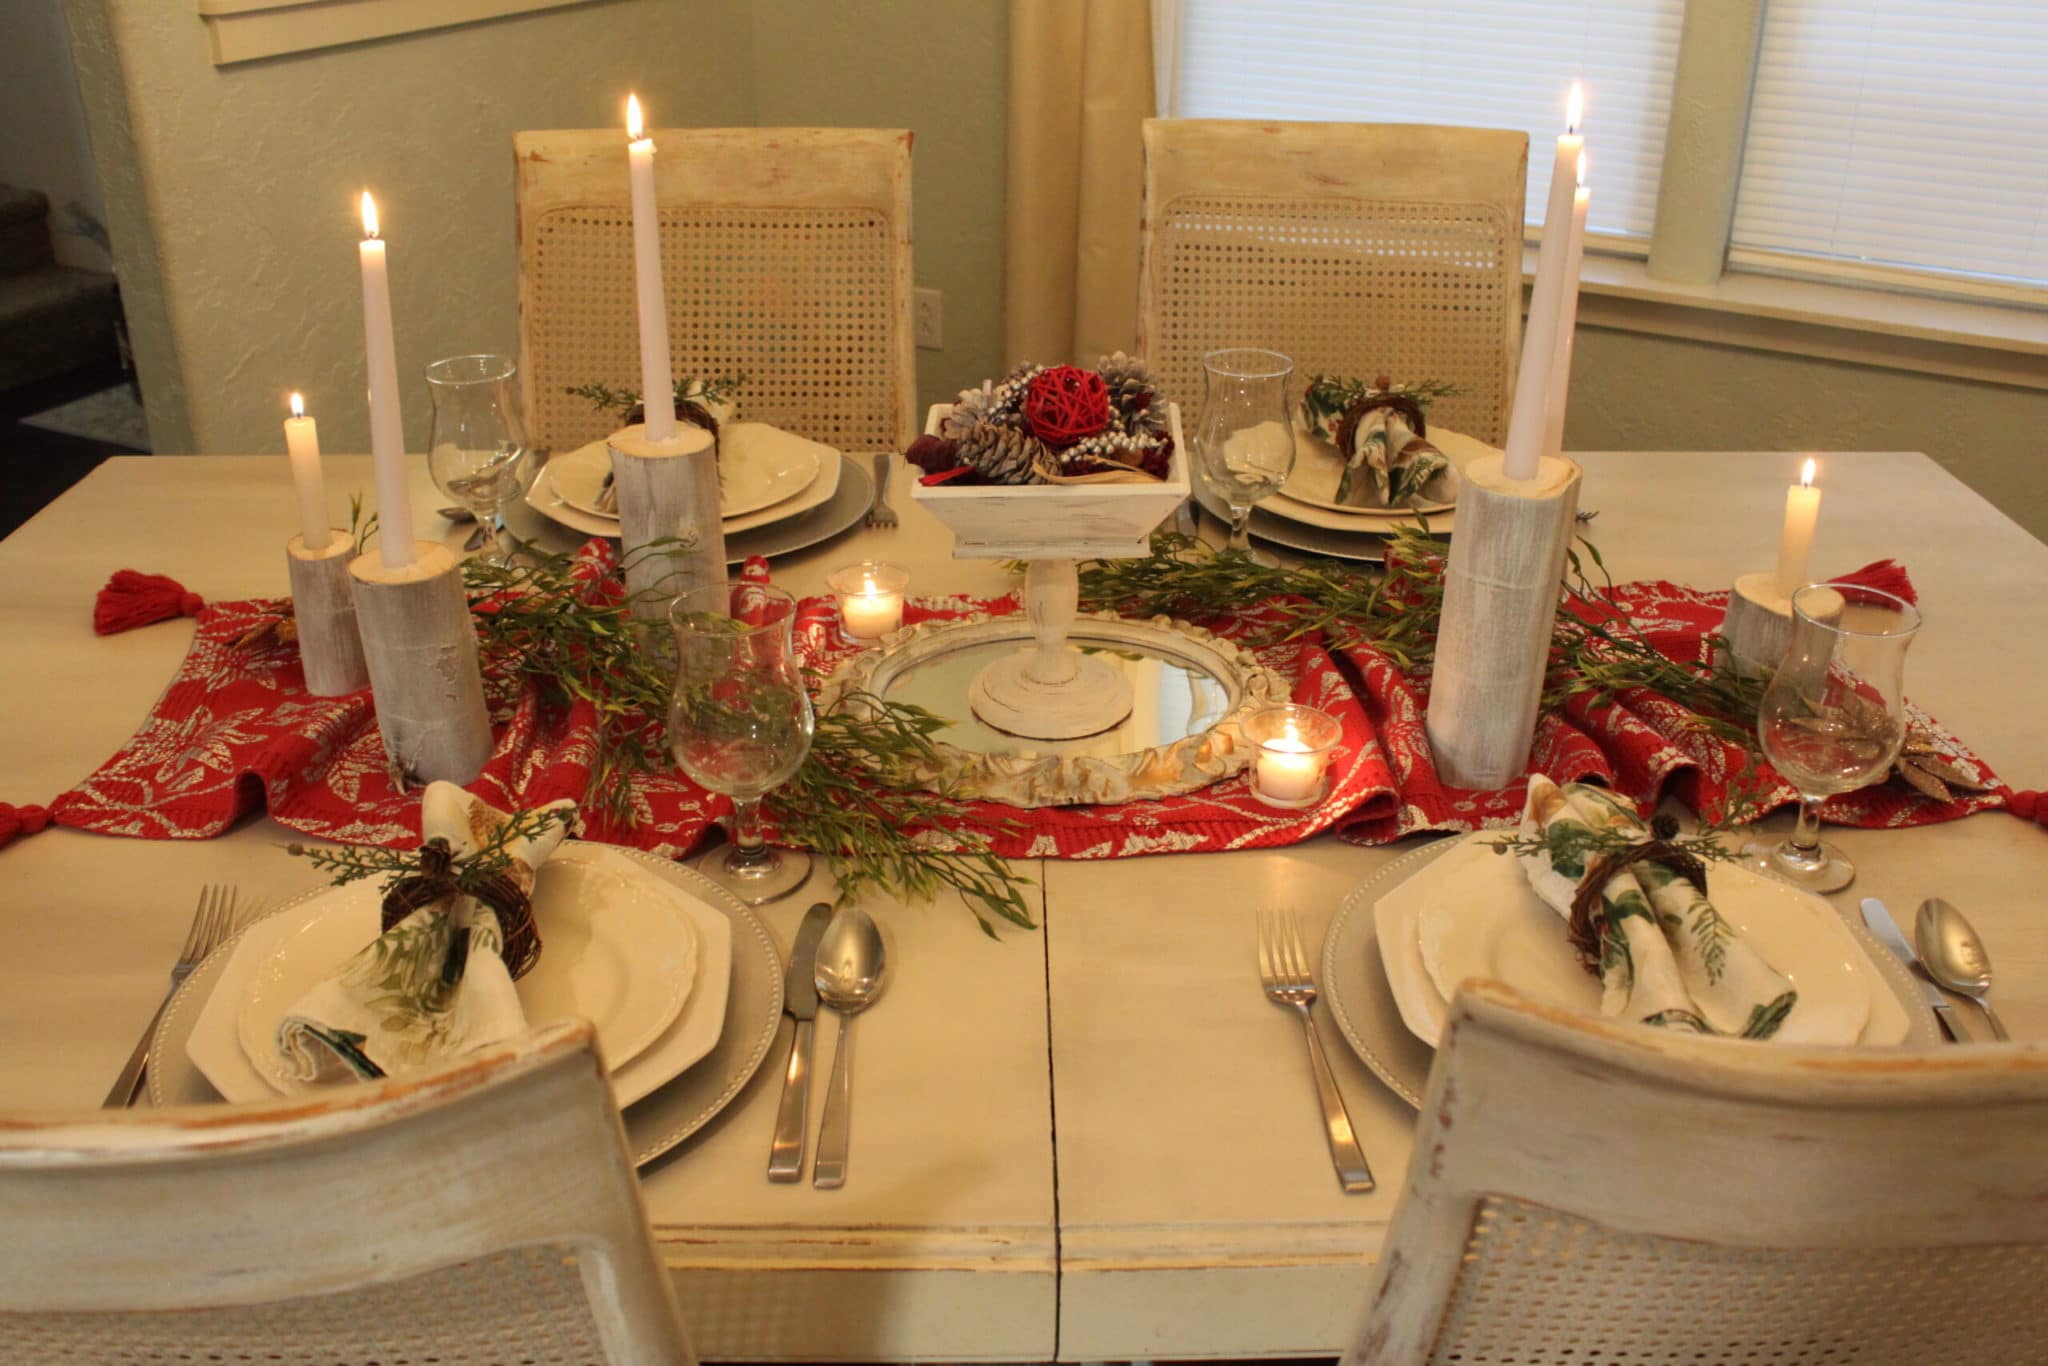
Y’all let me know if you want to come over for dinner, mkay?

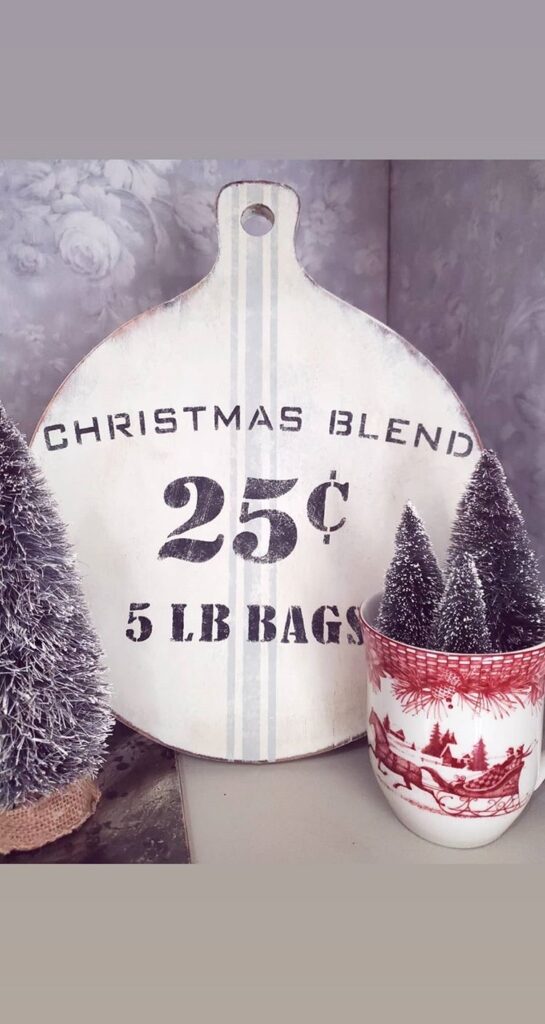
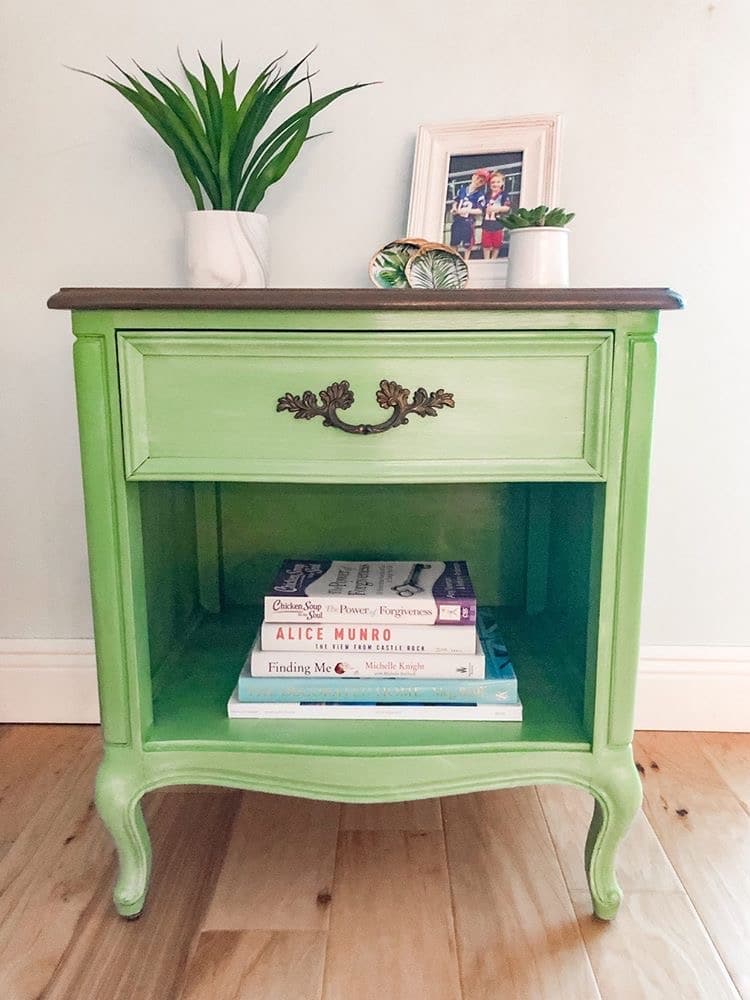
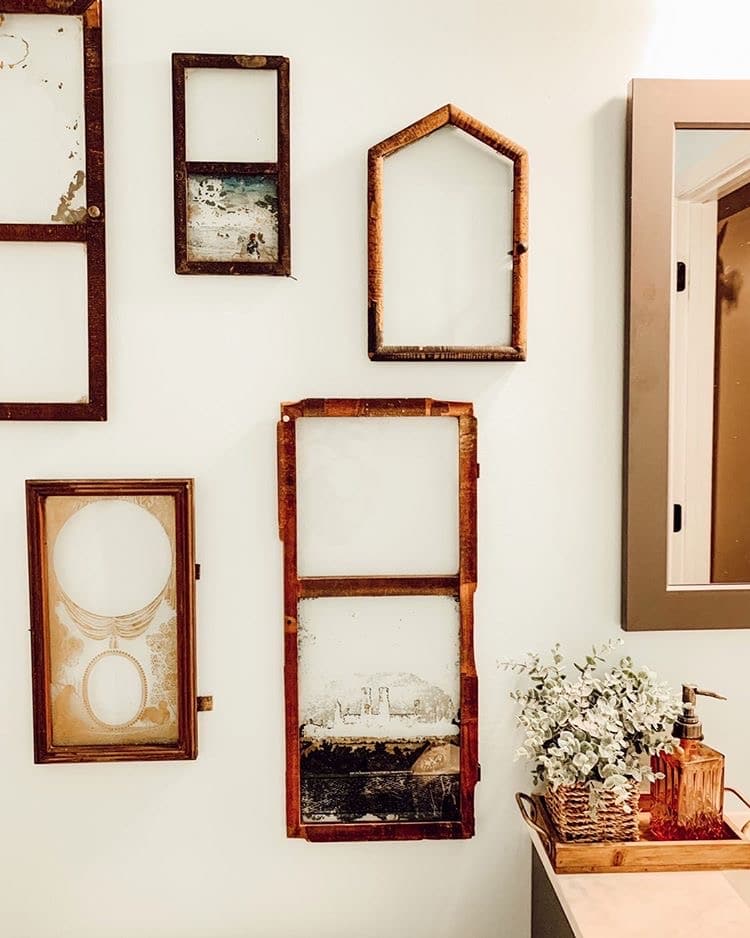
Other Participants
Now for the other bloggers who are participating this month…..just click on any of the pics below to go straight to their posts.
Pin for later…

I need to try that crackling technique. It looks so good and I love how it turned out. The entire table looks so gorgeous!
Thanks so much Jodi. You totally should try it. It’s so crazy easy! The most consistent cracking of any methods I’ve tried too.
It turned out so well!! I’ve never used the crackle trick before, but I totally need to now!
It’s seriously the easiest and the most consistent outcome of anything I’ve tried.
How beautiful Tara! And so easy!
Thanks Tracey and yes, it’s incredibly simple and so much less messy than most of your usual crackling methods
I have never tried the Elmer’s glue technique. I have seen it done just never done it myself. On my want to do list.
Your little pedestal tray looks so pretty playing front and center on your table. The red pops off the white. Great touch.
Thanks so much, Terrie. I love the Elmers technique. It’s so easy
I saw one of these at the thrift store a while back and didn’t get it. Now I’m kicking myself! I love how it turned out!
Well fingers crossed you can find another one sometime soon. So glad you liked the idea. Thanks for stopping by.
This is all so pretty!!! I love your thrifted find!! It looks so very perfect on your gorgeous table!!!
Thanks so much, sweetie. They work well with the branch candle holders you inspired me to make!