Ever have a plan and it goes all wrong and you have to come up with plan B? Yup! Happens to me all the time.
I originally bought these paper mache stars to put on the top of some of my feather trees….you see in the package they were sort of stuck together back to back and at a quick glance I thought they were 3D stars…..that’s my story anyways.
When I opened the package at home to paint them and put them on the top of a tree – nope! So then I had to come up with a way to use them.
Challenge accepted.
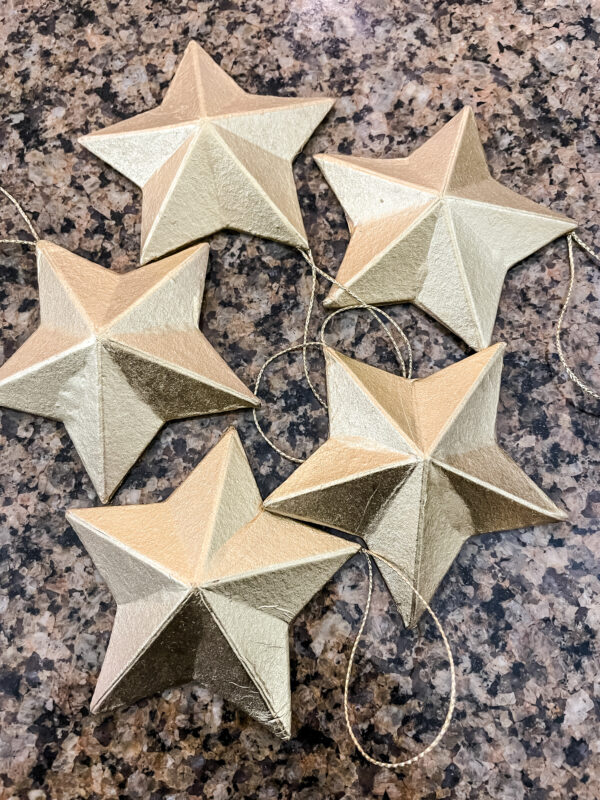
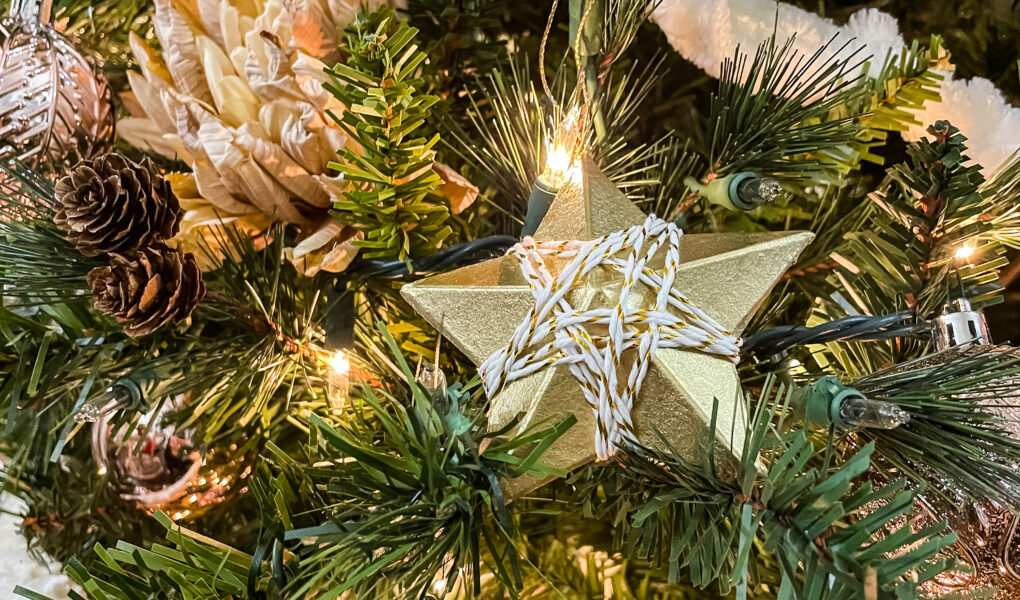
Obviously they couldn’t stay looking like brown cardboard so I gave them a quick spray with gold spray paint on both sides. I decided to keep the strings on them but if you planned to only use them tucked into a wreath, or in a bowl with some ornaments or something like that, I’d cut the strings off.

Speaking of string….this was tough to find. I knew I wanted something a bit special like this but couldn’t find any. I finally found this at Hobby Lobby in with all the scrapbooking and card making supplies. Who knew?
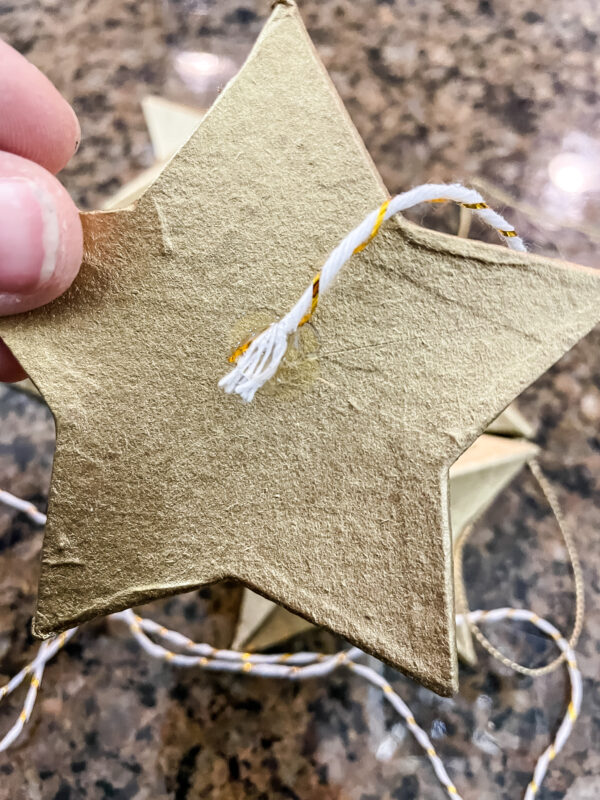
Just a dab of hot glue to hold the string on the back and start wrapping! There is no right or wrong way to do this. Just decide what look you like.
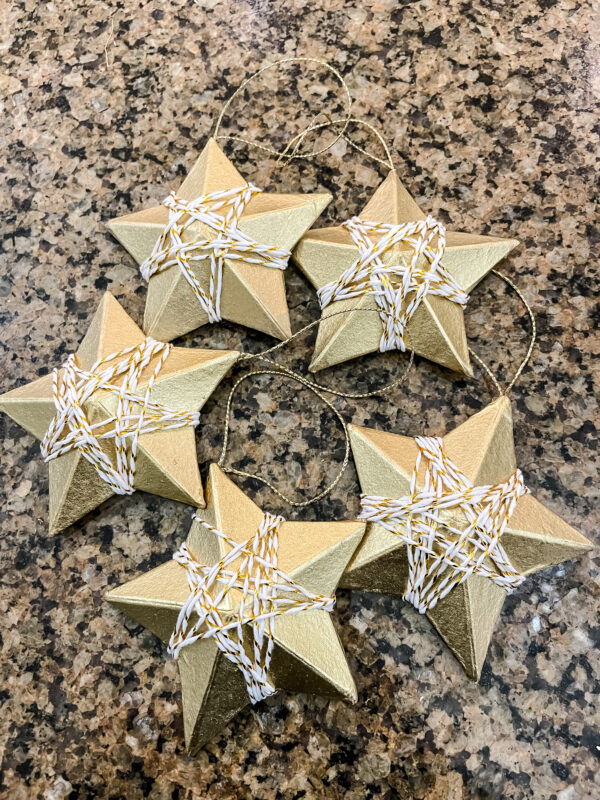
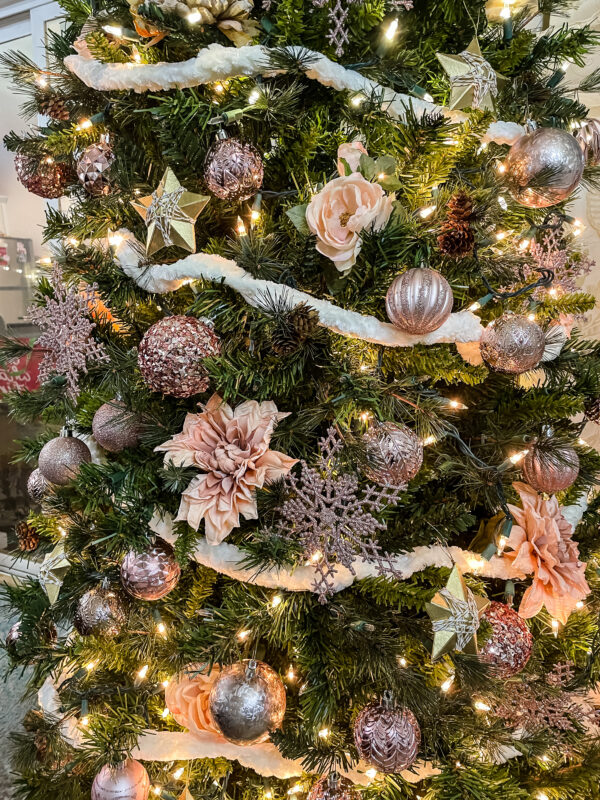
See what I mean? They’re all random and different. No two the same….
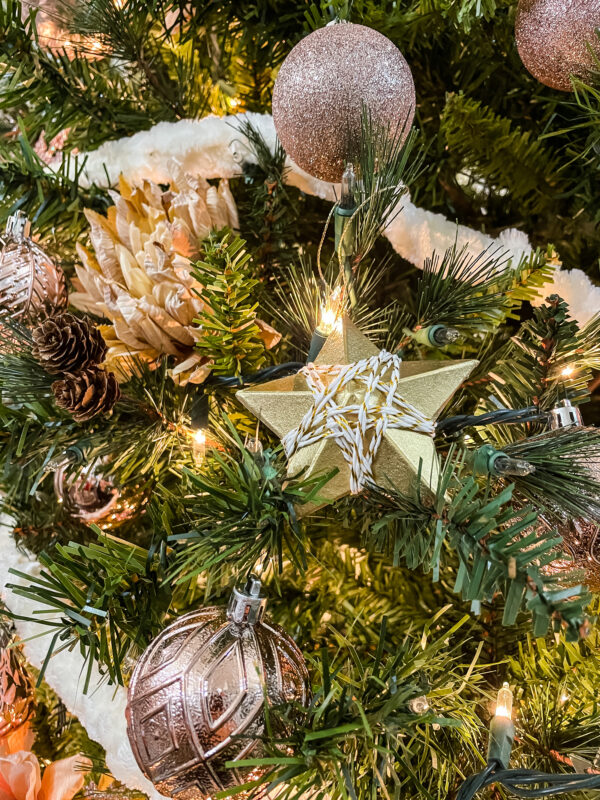
But they sure look cute tucked in among my blush pink ornaments and flowers!
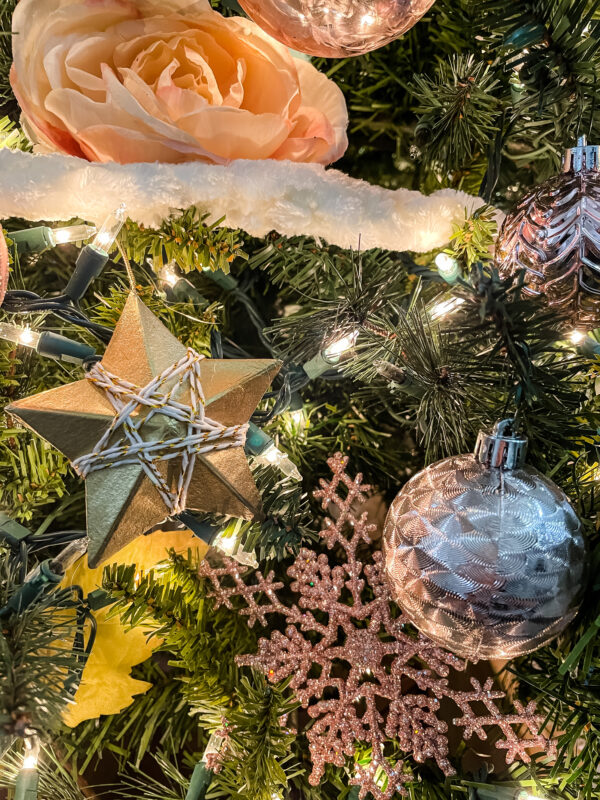
And I think they’d look super cute in a bowl like my rusty stars too!

Until next time,

Emily’s DIY
To see the DIY Emily is sharing today, just click on the photo below.