
My living room has come a long way from where it started. It really has. Do y’all remember the post where I shared what it was like when I first moved in? You can check that out HERE if you missed it.
I’ve re-plastered the walls, painted everything, put in all new wood flooring, filled in the gaping hole over my fireplace and transformed that whole wall into the feature it deserves to be. But no matter what you do with the bones of a space, it means nothing if the fluff and fancy bits you add in that make a house into a home, aren’t up to snuff! You know what I mean?

Y’all know I’m always looking for a challenge and I like to DIY things but that doesn’t stop at furniture. Pretty much every piece of furniture I own is second-hand and has been given a new lease on life after I got it. I love looking for deals and new projects and saving money is always a huge plus.
But!
There’s an issue with that.

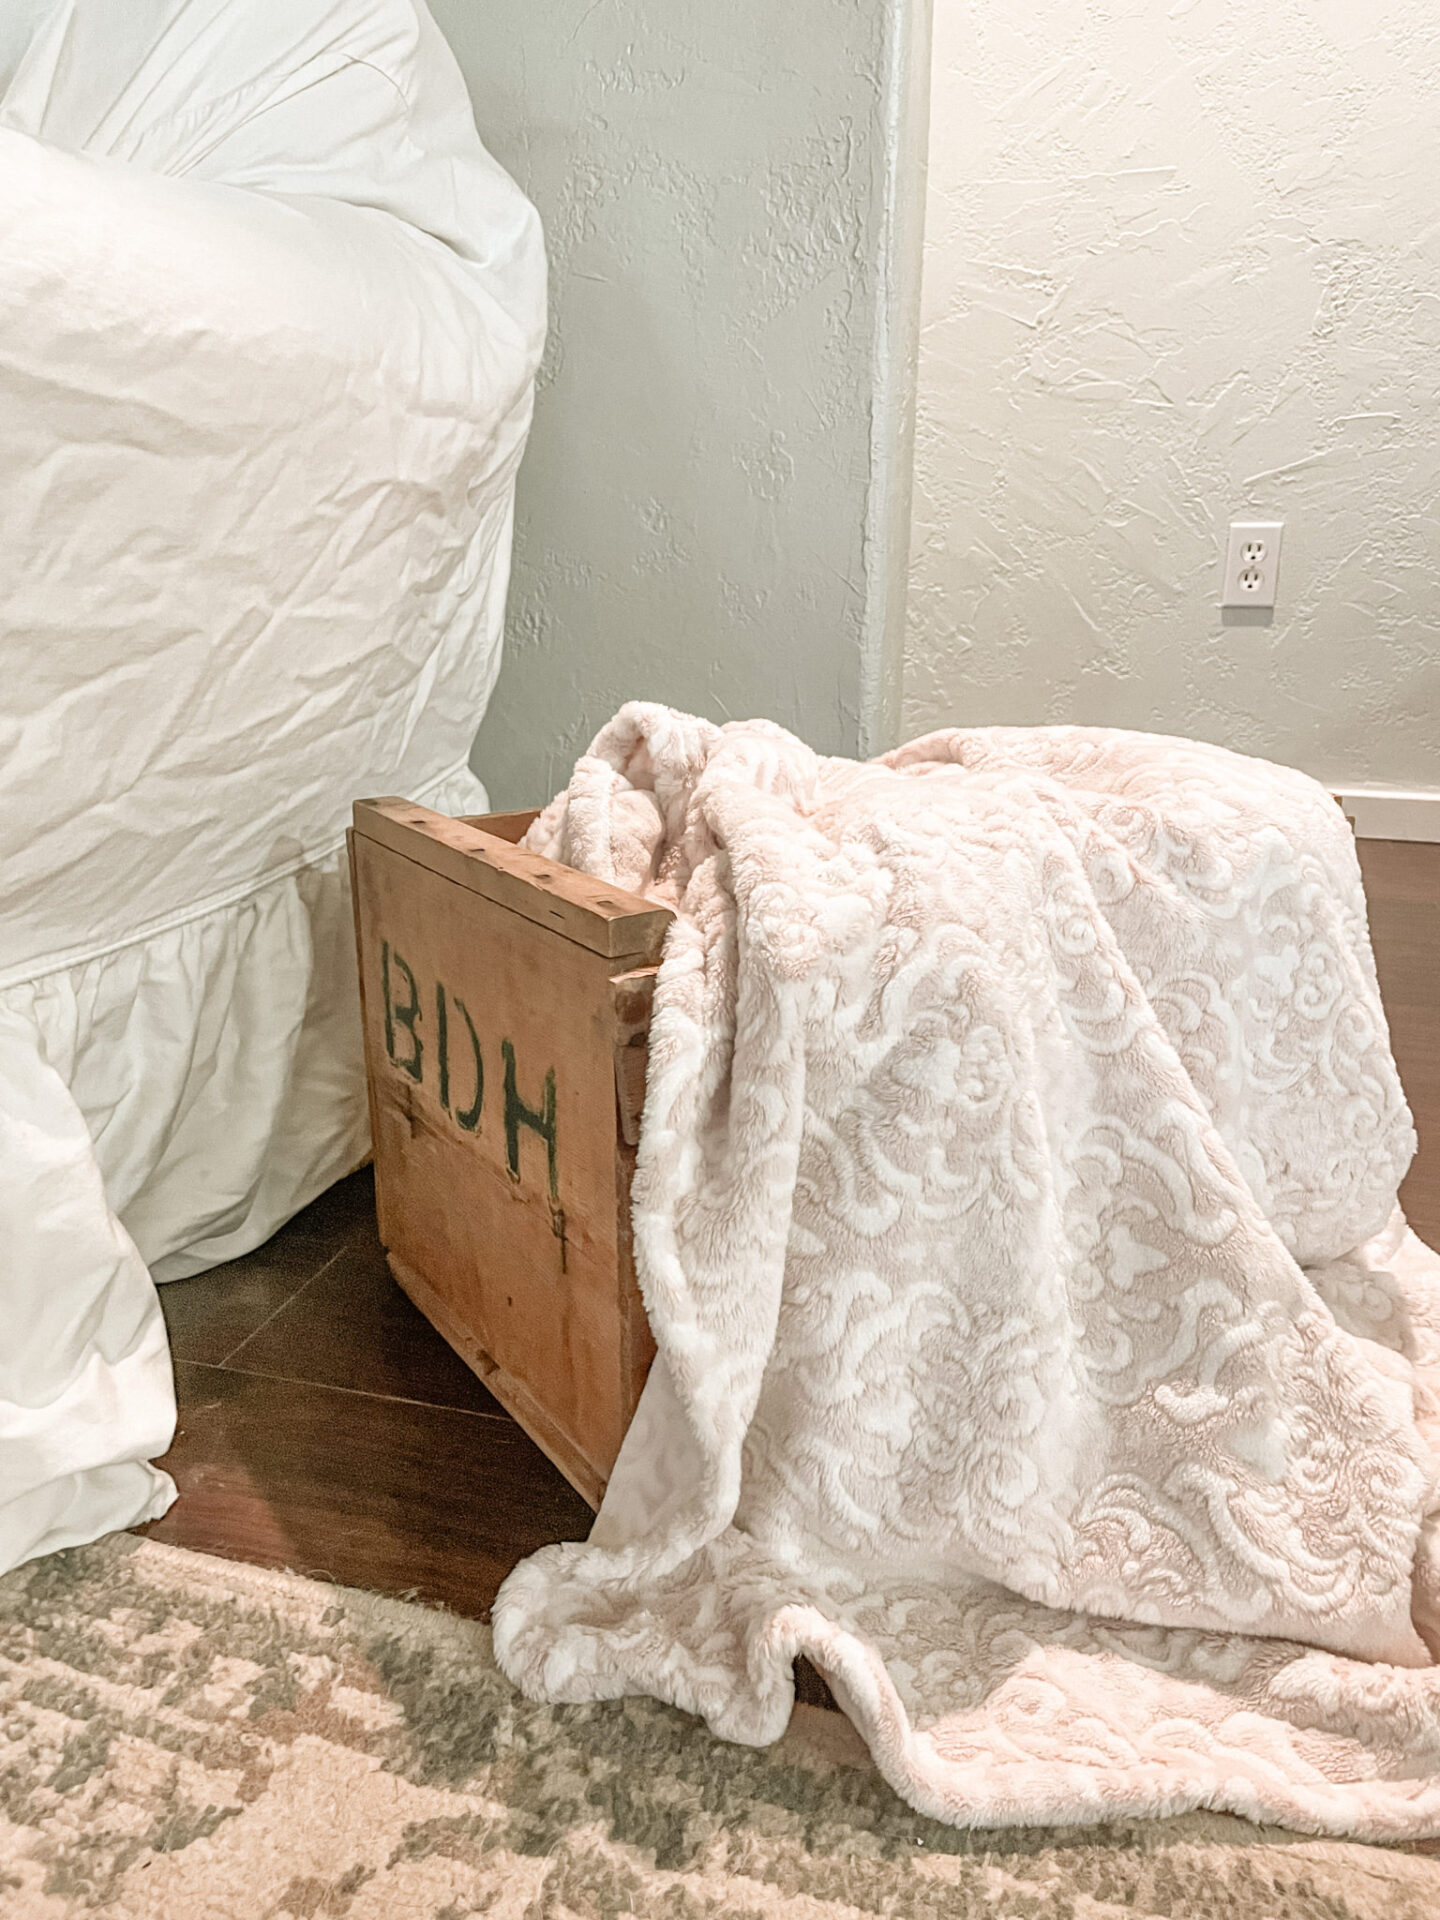
See my issue?
I mean, you can’t really miss it.
Most of the time when I get one of my “project pieces” I deal with it and give it a facelift in fairly short order.
Then there are the other times.

Like the time I was looking for a “new” couch and after months of looking I finally spied one that was an excellent price and had some really interesting lines and details. So what if it needed to be reupholstered? I’ve done that before. Nothing new.
This time it just wasn’t happening though. First there is the fabric. For a couch this size you need a lot of it. Finding some fabric that you LIKE, that is a reasonable PRICE for such a large amount and that will hold up to an upholstery job is actually much harder than it sounds.
So that took me months of looking and I still wasn’t in love with anything but I did have a few possibilities. But I kept putting it off and every time I would survey my living room I would turn around and look the other way because I didn’t like what I was seeing.

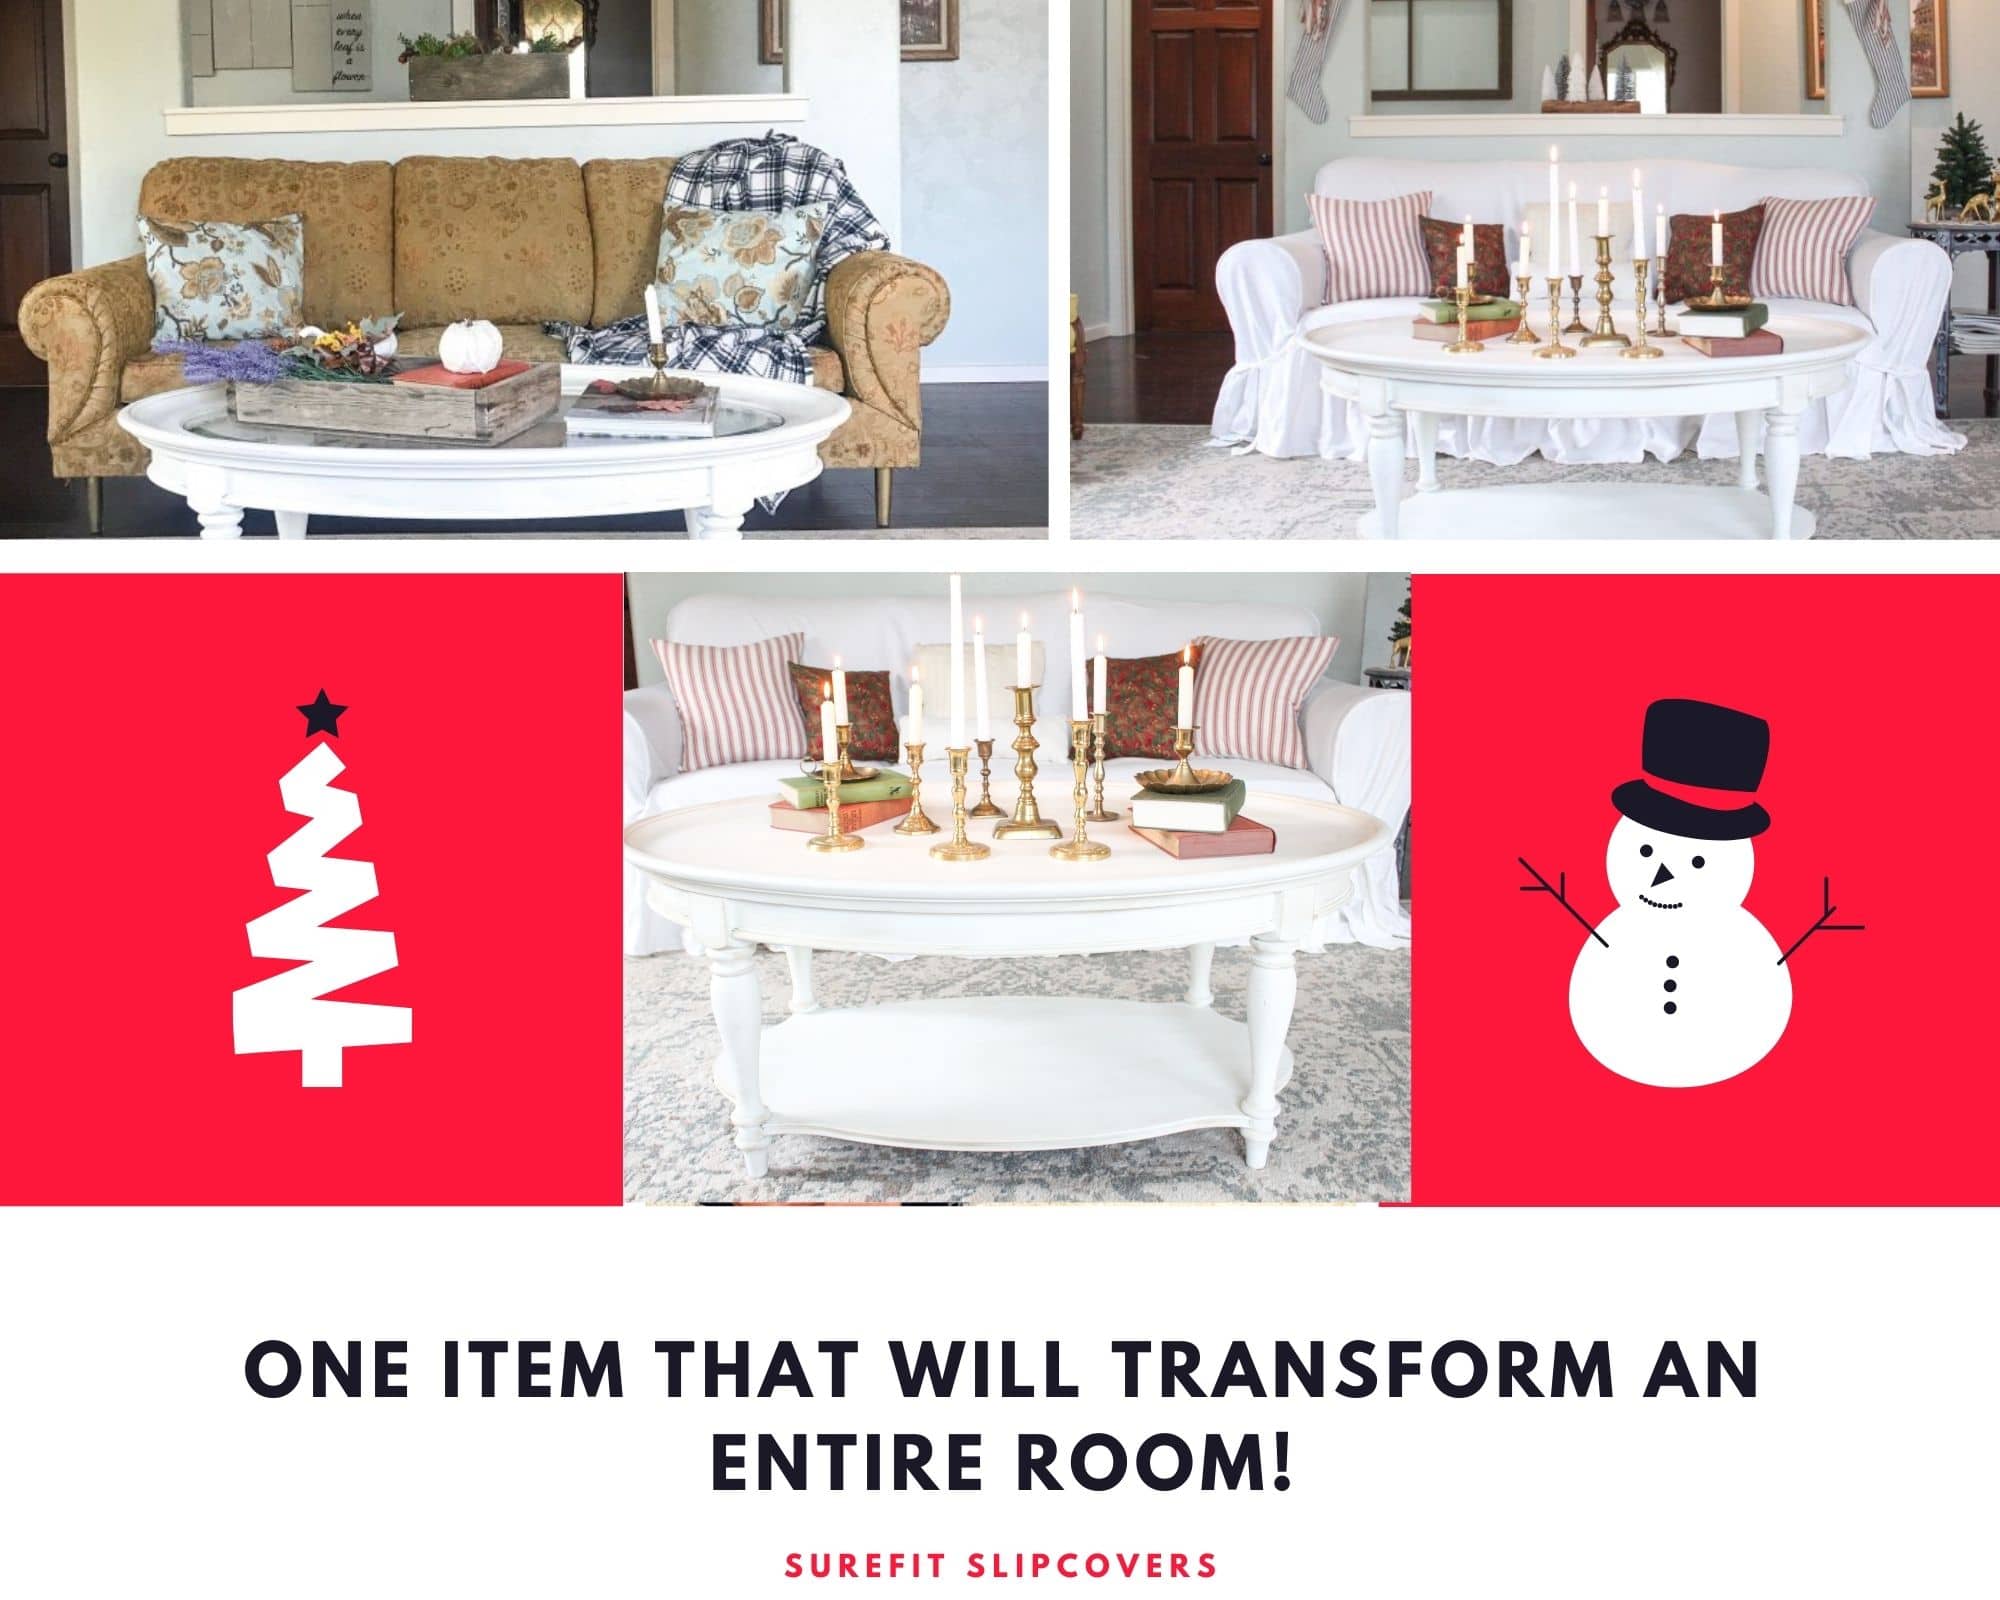
ESPECIALLY once I found my little vintage set of chairs! They were so lovely and so cheerful and really warmed up the space but the color of them made my poor couch look even sadder and more threadbare and dirtier.
Taking on a huge project like this is no laughing matter and the more I thought about all those hours and all those upholstery staples I would have to remove and just everything involved in this project, the more I would think of how it would feel to finish it and have my kids or my dogs do something to it the next day! That sort of took the wind right out of my sails!
While I was procrastinating, I came up with a solution. Slipcovers!
Only I don’t like making slipcovers. So I started doing some research and zeroed in on the company I wanted to get a slipcover from. SureFit!
Why? Let me tell you…..
(The following is a product review of SureFit slipcovers. I received the product free of charge in exchange for my photos and honest opinion. This blog post is NOT sponsored, it is my honest opinion of a product I love.)
The material they use on their slipcovers is very thick and of excellent quality. It doesn’t wrinkle badly – in fact when I took my slipcover out of it’s small package and unfolded it all, I was surprised at how good it looked even before I steamed it. I was expecting a wrinkled mess!

My slipcover comes with a Scotchguard coating which saves me a lot of time and money (not having to coat it myself) and gives me a lot of peace of mind with my kids and my dogs running all over. I have several personal friends who have had SureFit slipcovers for quite some time and they all say that dirt and stains come out very well whenever they wash their slipcovers. I haven’t had mine long enough to find that out yet.

How they manage to make a slipcover to fit all sorts of different styles and slightly different sizes of sofas and yet manage to make it appear tailored when you put it on – I’ll never know. That’s one of the reasons I didn’t want to make my own slipcover. All that fitting! The ties at the front and back corners help dramatically to make the cover fit random sizes and shapes and add a cute detail to the piece.
Each seam has piping trim sewn right into the seam. This might sound like no big deal but as someone who sews extensively and knows the time it takes to produce something like this, those details impress me tremendously. It’s subtle but it makes a finished, custom, quality look.

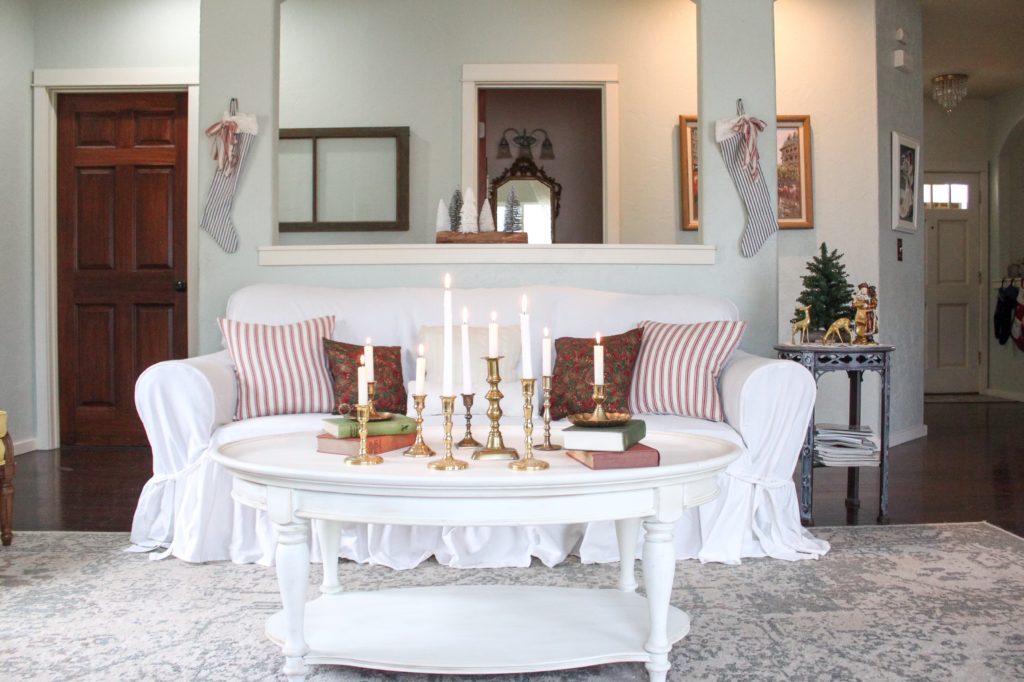
The ruffles on the cover I chose was exactly what I saw in my minds eye when I pictured this sofa with a slipcover. There is something about the ruffles that just adds such a romantic flair to the classic lines of this cover.
I considered ironing the cover before I put it in place but then realized what a mammoth task that would be so I put in on first and then used my garment steamer to steam out the wrinkles. It worked perfectly and steamed so easily!
SureFit has little labels sewn right into the seams to tell you where to place the cover. This was so fantastic! You’d think it would be easy to tell what way a cover would go on a sofa because it would look like a sofa, right? WRONG! It looks like a big tent and everything starts to look the same. Once I found the labels it was so easy to throw it over the sofa and tuck it all in. The elastic in the seams that tucks behind the seat cushions makes such a difference in the fit and how well it stays put.
All in all I couldn’t be happier with this slipcover and I swear it has made more of a difference to the overall look and feel of my entire living room, than any of the other individual changes I made to the space. I can’t wait to style it for all the different seasons and phases of the year.
I’m not kidding! This one item will give you a whole new lease on life. Or at least the life of your living room!
Okay just one more before and after….

Thanks for stopping by!
See you next time, sweet friend.