
What a difference a week or two can make in the weather! It’s getting so much cooler overnight and I’m just loving the crisp air that is coming through my windows overnight and in the early morning. Last night when I should have been in bed, I went out and sat in my back patio and just enjoyed the fairly quiet night with nothing but the stars and my patio string lights shining above me. It made me think that I should get back to having coffee out there in the mornings again like I did when I first created the space but gave up on it with how hot the summer was!
Yesterday some Instagram friends and I shared some fall DIY’s with everyone and I wanted to take a quick moment to share what I did with y’all.
It’s nothing earth-shattering but sometimes simple is better, don’t you think?
It’s no surprise that I prefer neutral and somewhat unusual colors for my fall decor over the past several years. I love the bright and bold golds and oranges and reds outside and used to put those in my home too and I think it looks so cheerful and cozy but I have gone more and more neutral each year and love the heirloom pumpkins especially the pinks and blues.
I think I should try to grow some next year.
While it’s easy to find decor and pumpkins in these colors, they’re new and so more expensive than I can afford much of. You know me and my love of a good deal and thrifting, right?
I walk into a Thrift Store and am greeted with hundreds of bright orange pumpkins and bright gold sunflowers. So much for a good deal. I’d walk away with absolutely nothing if I had to use everything exactly as it was when I found it!
Luckily someone invented paint a really long time ago!
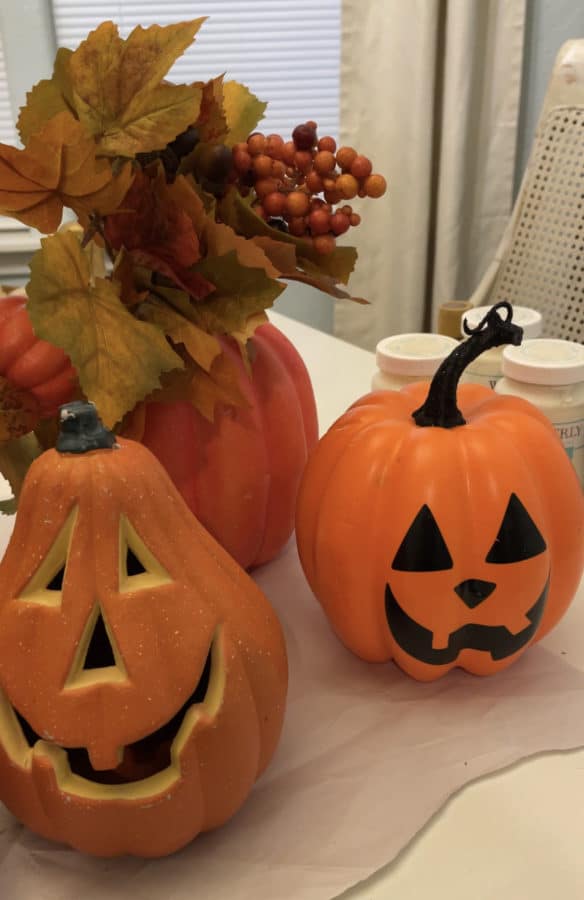
These are some of the cuties I came home with yesterday…..a very successful trip! The most I paid for any of them was $3.99.
Do they work in my home like this?
Nope!
Will they?
You bet!
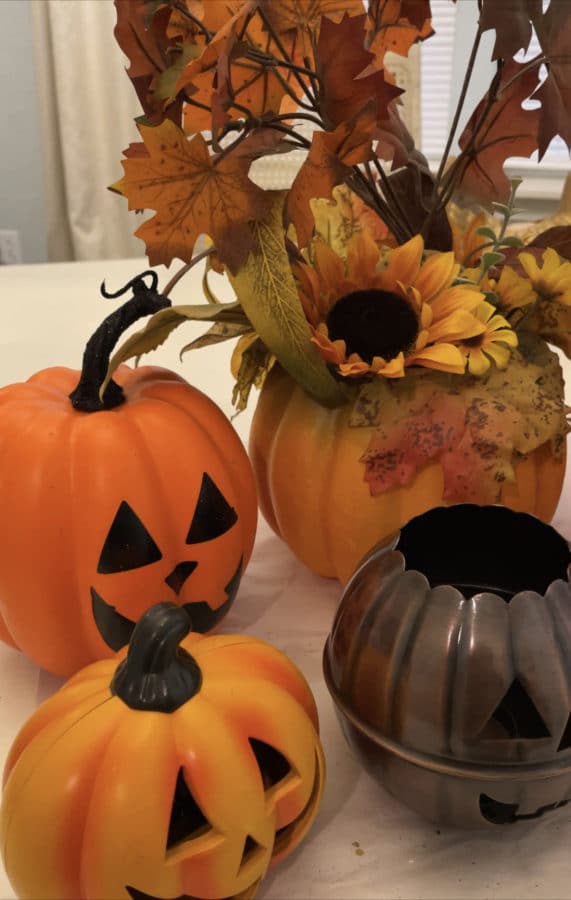
Aren’t the little faces too cute?
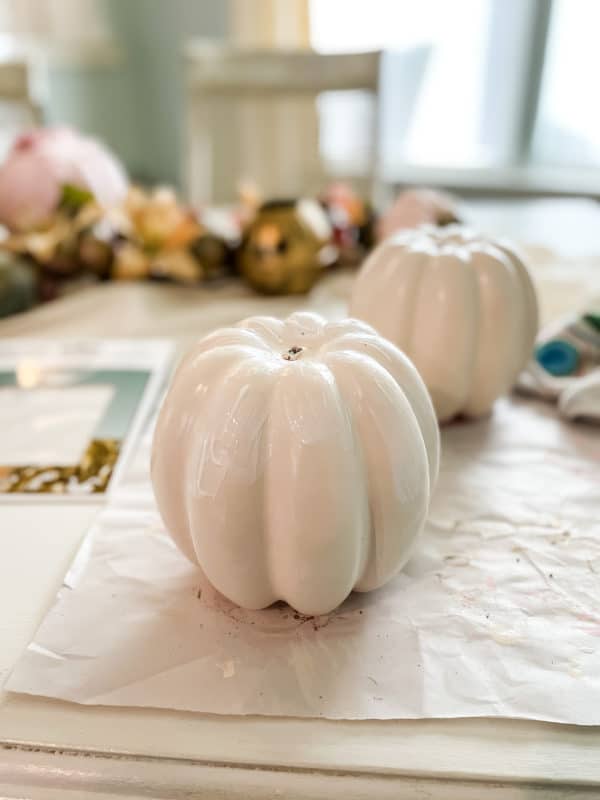
I removed the stems, flowers, anything but the base pumpkin first and made sure they were clean and dry.
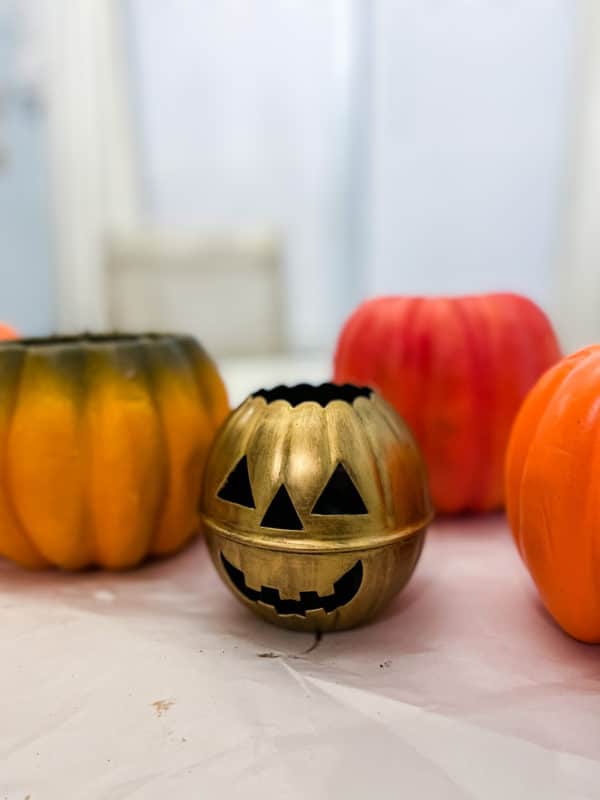
I used some Rub ‘n’ Buff in Gold Leaf on the metal jack-o-lantern. He was cute before but just a little dark and drab for my decor but I think he’s so bright and cheerful in the gold. I wasn’t able to remove the non-working light inside this one but even without being lit up I think he’s super cute.
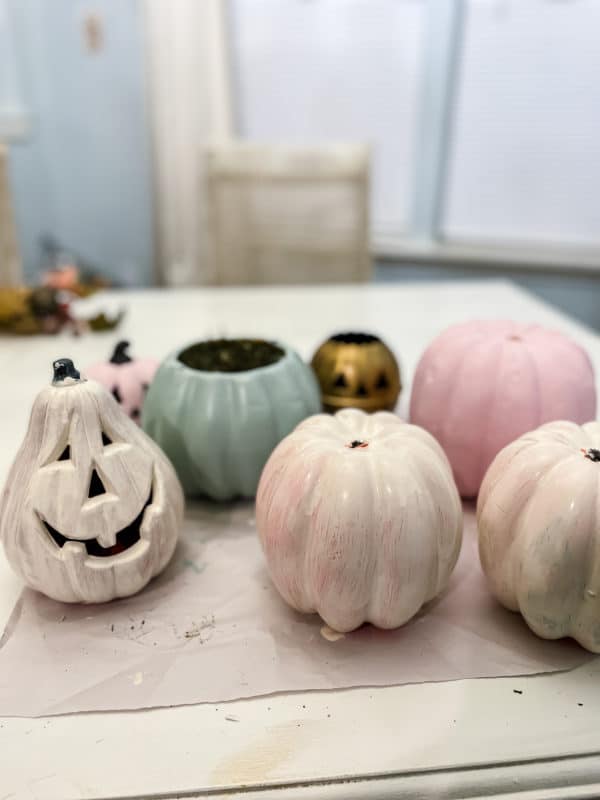
I painted all the other ones in a variety of soft colors. I did a couple of them in a pink chalk paint that I had left over from a project in my daughter’s room, I used some soft aqua paint that I had gotten as a sample for a possible front door color (I didn’t go with this particular color but have used it several times for inside craft projects) and I used some leftover cream paint from my son’s bedroom.. The cream ones needed a couple coats.
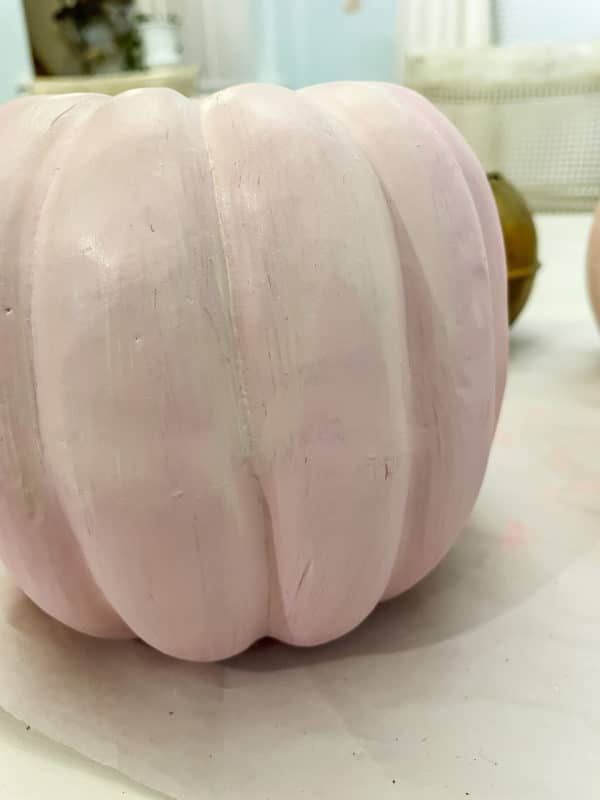
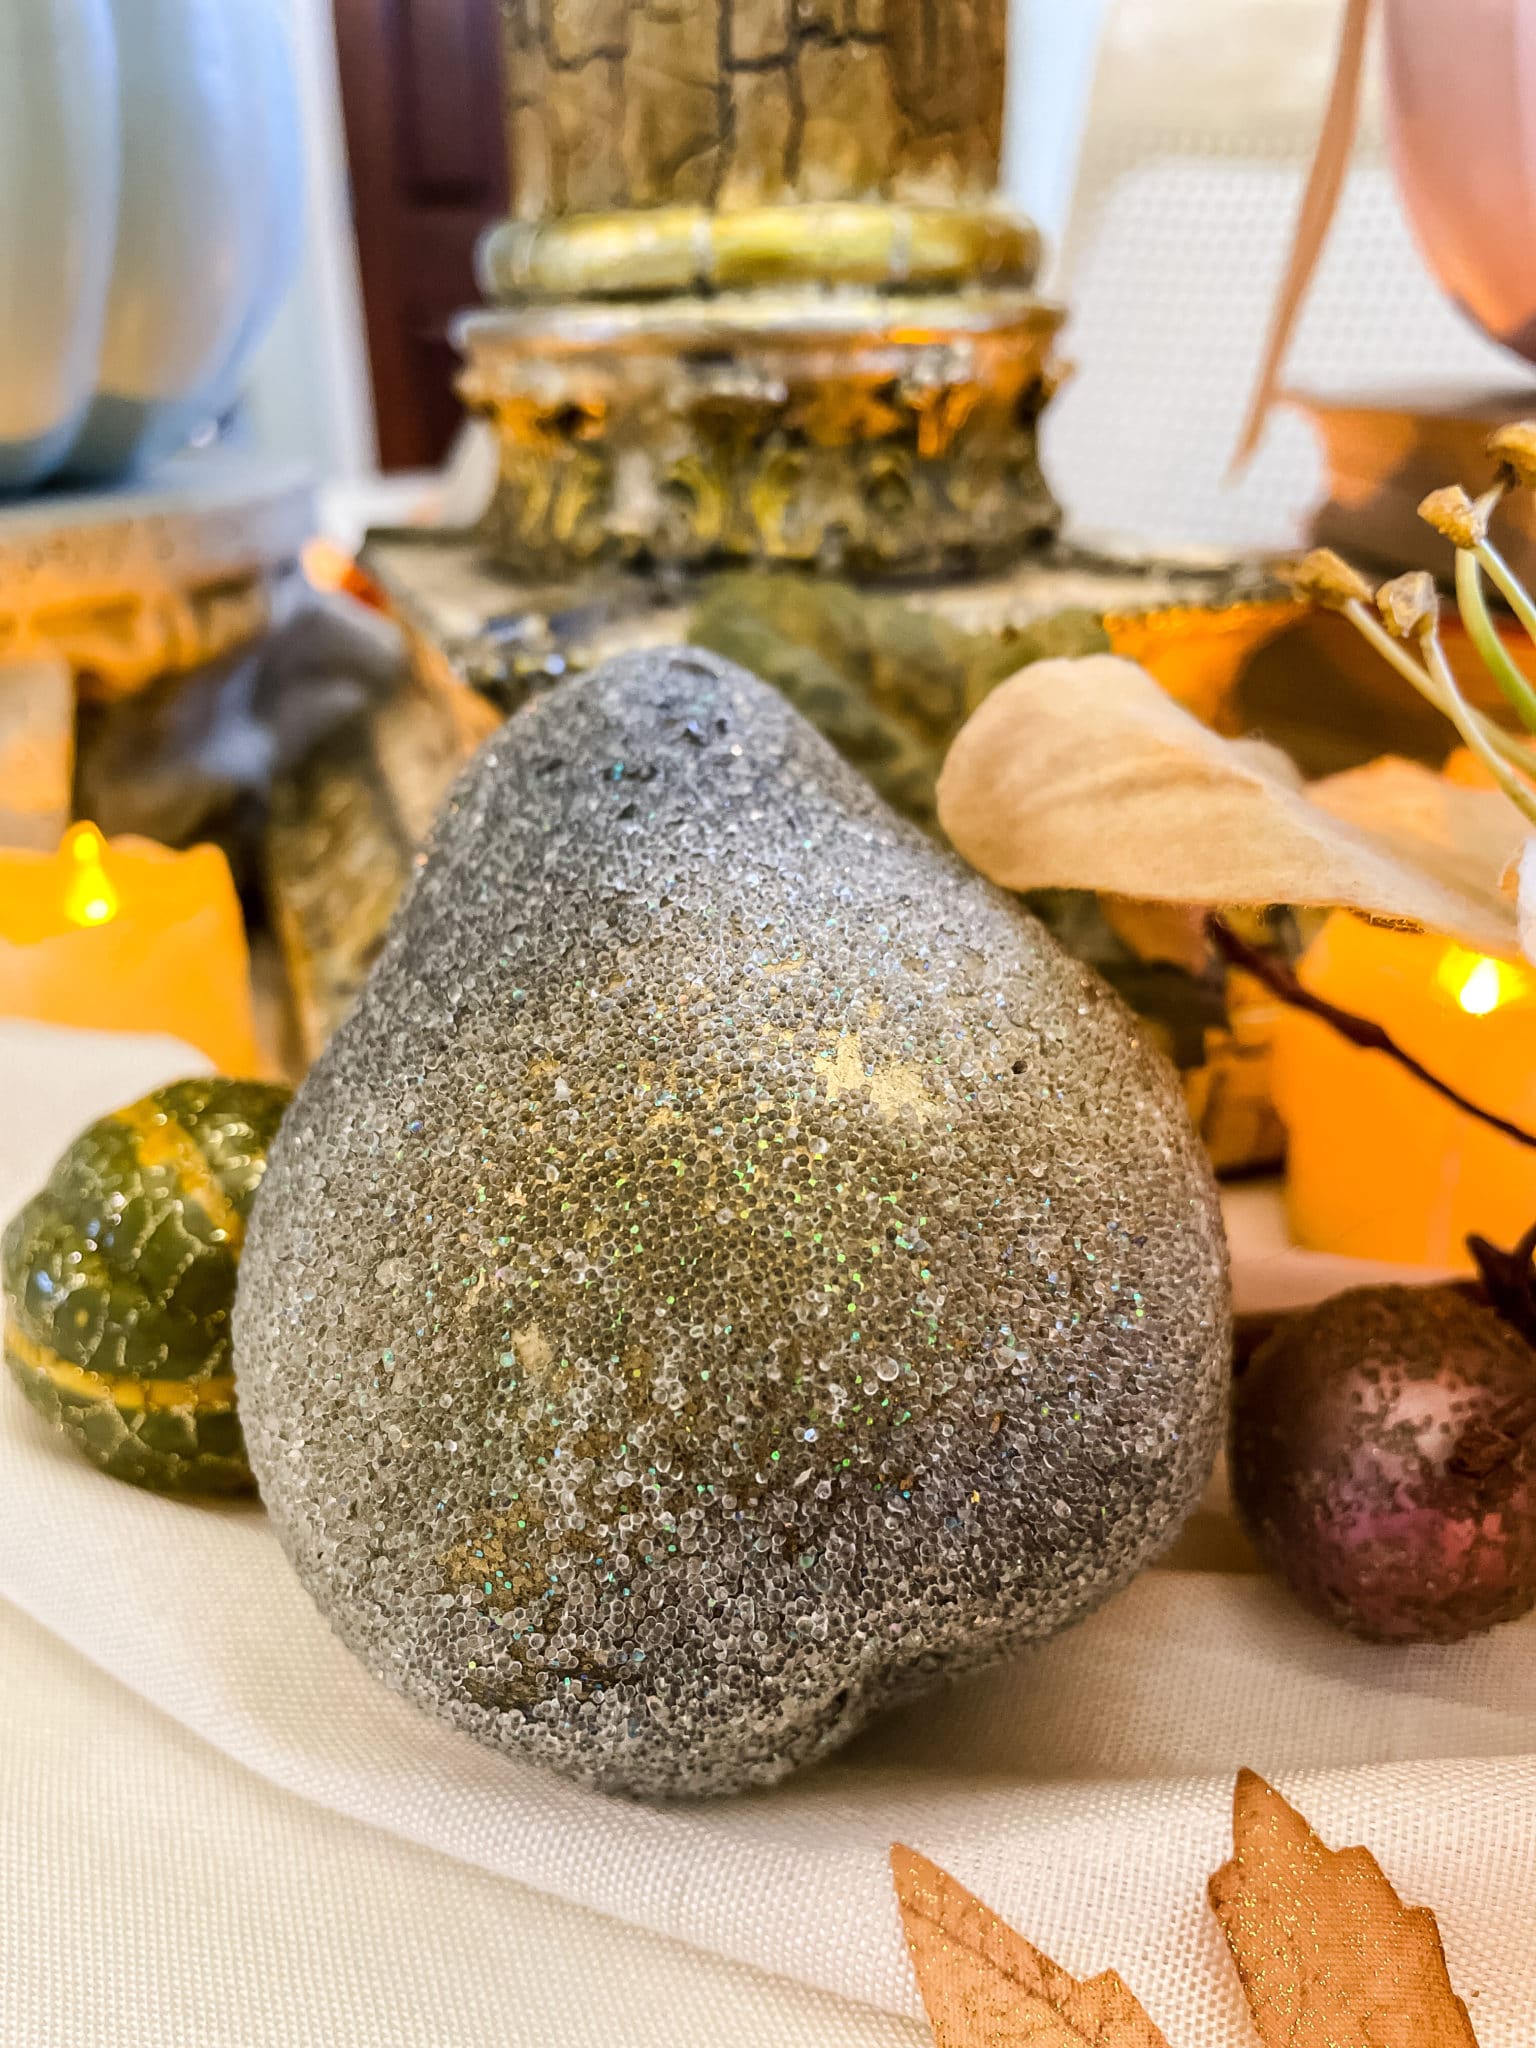
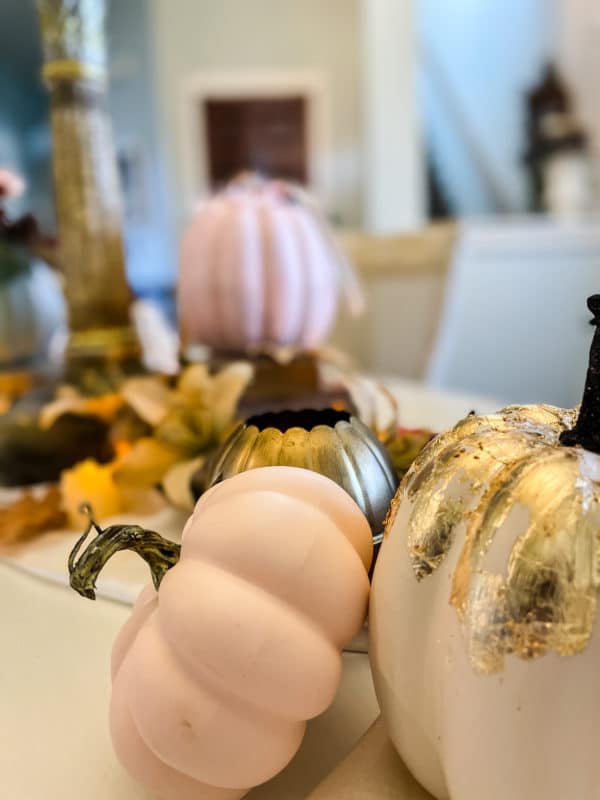
Just a little trick I’ve discovered….I like to use white wax over the paint when I do colored pumpkins. It doesn’t have to be over chalk paint – any kind of paint and it works just fine. I like how it softens the color and ages it a bit and makes it look much more realistic like the real blue and pink pumpkins you can get. I leave more of the white wax in the grooves of the pumpkin. You can just faintly see where I have the white wax on this pumpkin versus where I don’t.
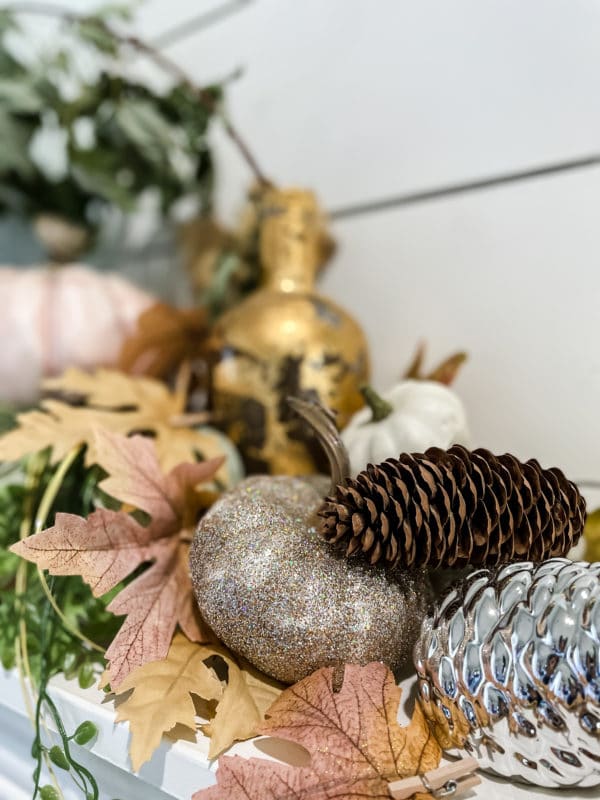
On some of the cream colored ones I painted on some Mod Podge in a random pattern just down about a third of the way from the stem. I brought it lower in places than others almost like it had dripped. Then I applied some gold leaf over the Mod Podge, gently pressed it into the glue and waited for it to dry.
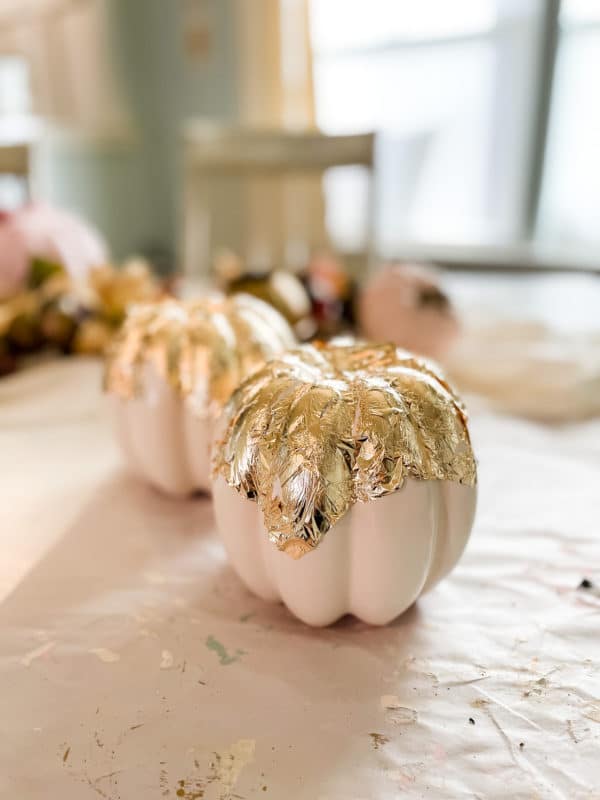
Once it was completely dry I took a very soft paintbrush and gently dusted over the gold leaf to remove the excess. If you want you can put some spray varnish over the top when you’re done or just leave them as they are. The spray varnish can help to keep the gold leaf in place better.

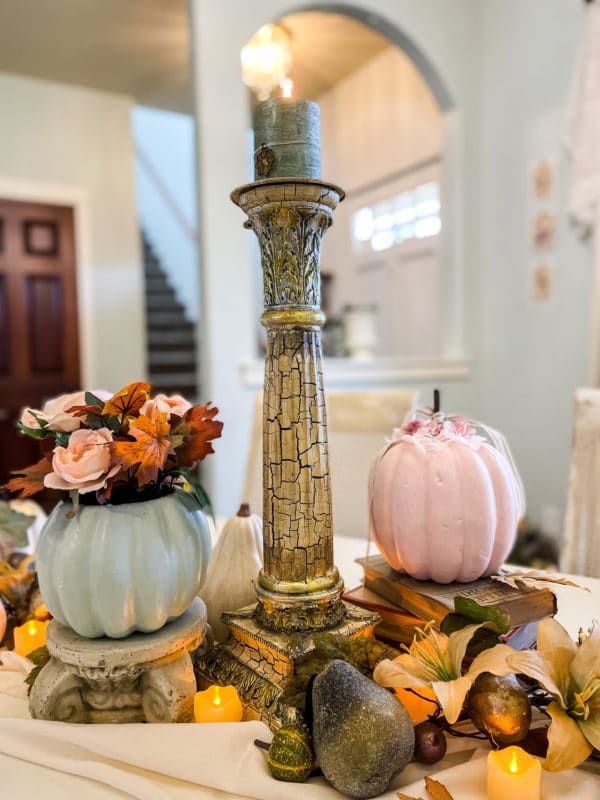
The blue pumpkin just got some white wax over the blue paint and some new flowers and leaves that were more my color scheme than what was in it when I got it.
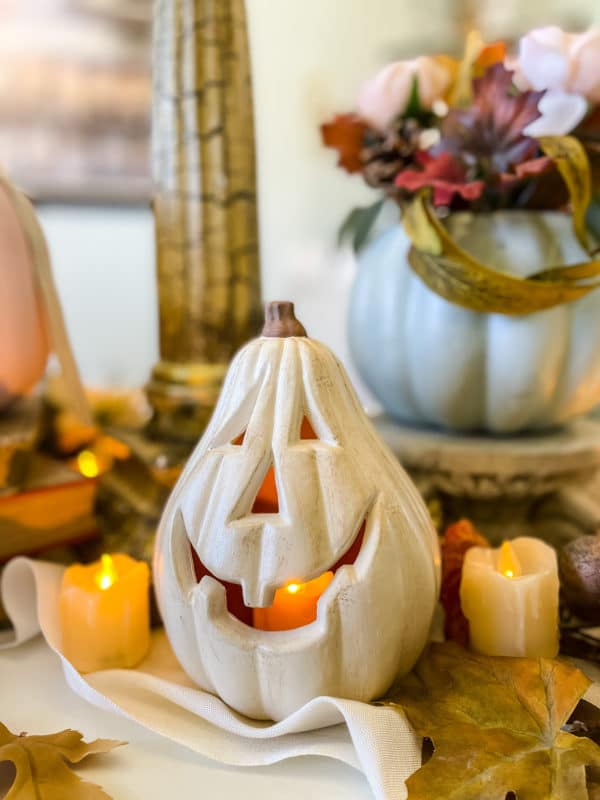
The tiny jack-o-lantern got pale pink paint and white wax and I’m still going to try to get the bottom off to it so I can put a flameless candle inside. The battery compartment was so badly corroded that I won’t be able to get it working again as it was intended to.
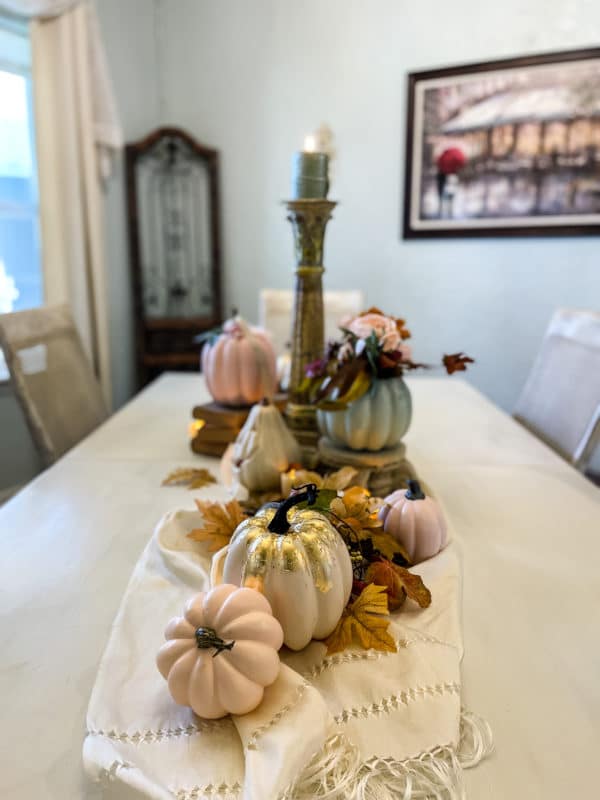
I just love white and gold together, don’t you? I think the gold leaf ones turned out so cute. I put their glittery black stems back on them that they had originally.
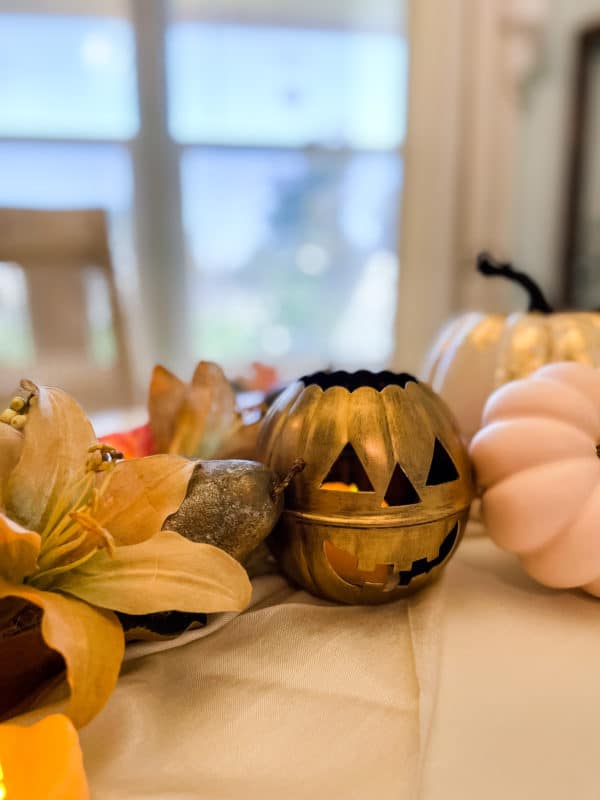
I’m in love with this bright and shiny gold jack-o-lantern with his toothy grin. I put a flameless candle inside and he’s just adorable now!

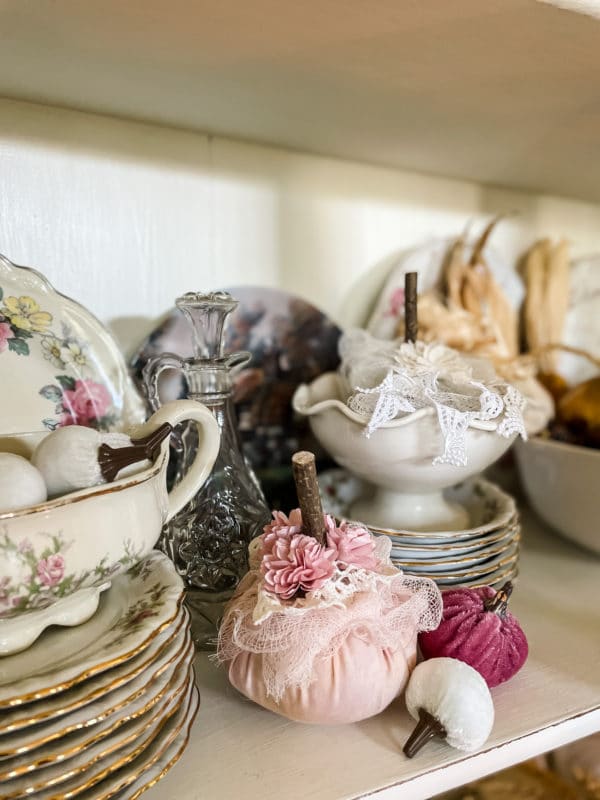
This big pumpkin got a coat of soft pink chalk paint, some white wax and then I added a twig for a stem and some random flowers and ribbons. Originally someone had removed whatever stem it had and stuck a couple random leaves into the pumpkin at the top.
This cutie was painted creamy white and aged just a little with some dark wax. I was able to completely remove the whole bottom battery compartment on him (it was damaged and so badly corroded that I couldn’t even get the old batteries out of it) and this enabled me to put a flameless candle on the table and set him over top of it. It worked perfectly and he’s one of my favorites now!

Before 
After
Such simple changes that anyone can do if you can hold a paintbrush but it makes all the difference. Now they work perfectly in my home with the pumpkins I already had and my current decor.
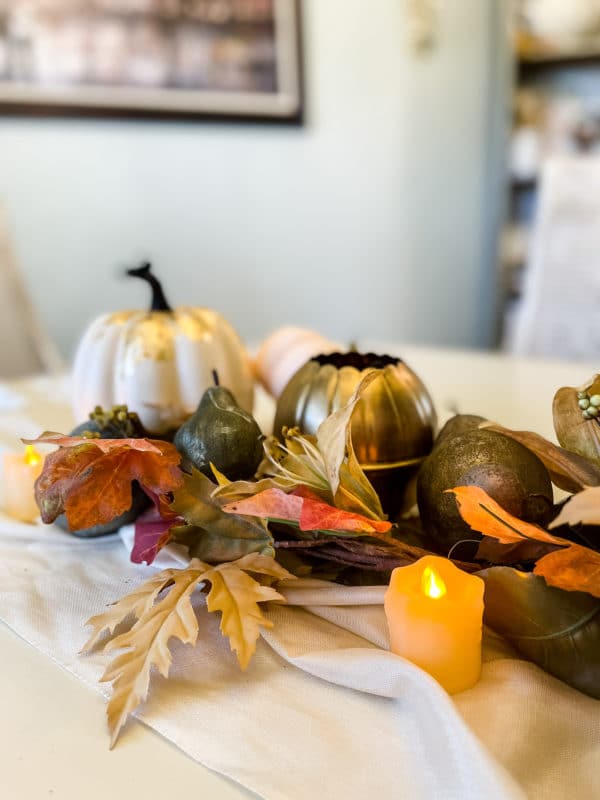
I love these little flameless candles but I don’t use them very often due to the sort of orange color of the flame. Most of the time I don’t like that with my decor but in this setting it seems to work better than a whiter flame would.
If you’d like some more easy and beautiful fall or halloween DIY ideas, I’d love for you to go to my Instagram feed, click on the photo of this tablescape and you’ll find links to my friends DIY posts that they shared yesterday on Instagram.
Until next time, sweet friend,

[…] Cozy Autumn Days Were Made For Crafts […]
[…] You can see these transformations and several others on my recent blog post Cozy Autumn Days Were Made For Crafts. […]