
I’ve been making some new ornaments for my tree again. If you missed it, I showed some of the ornaments we already have on our memory tree HERE. Some of them are purchased and some are homemade. Each year my youngest daughter and I make at least a couple special ornaments together.
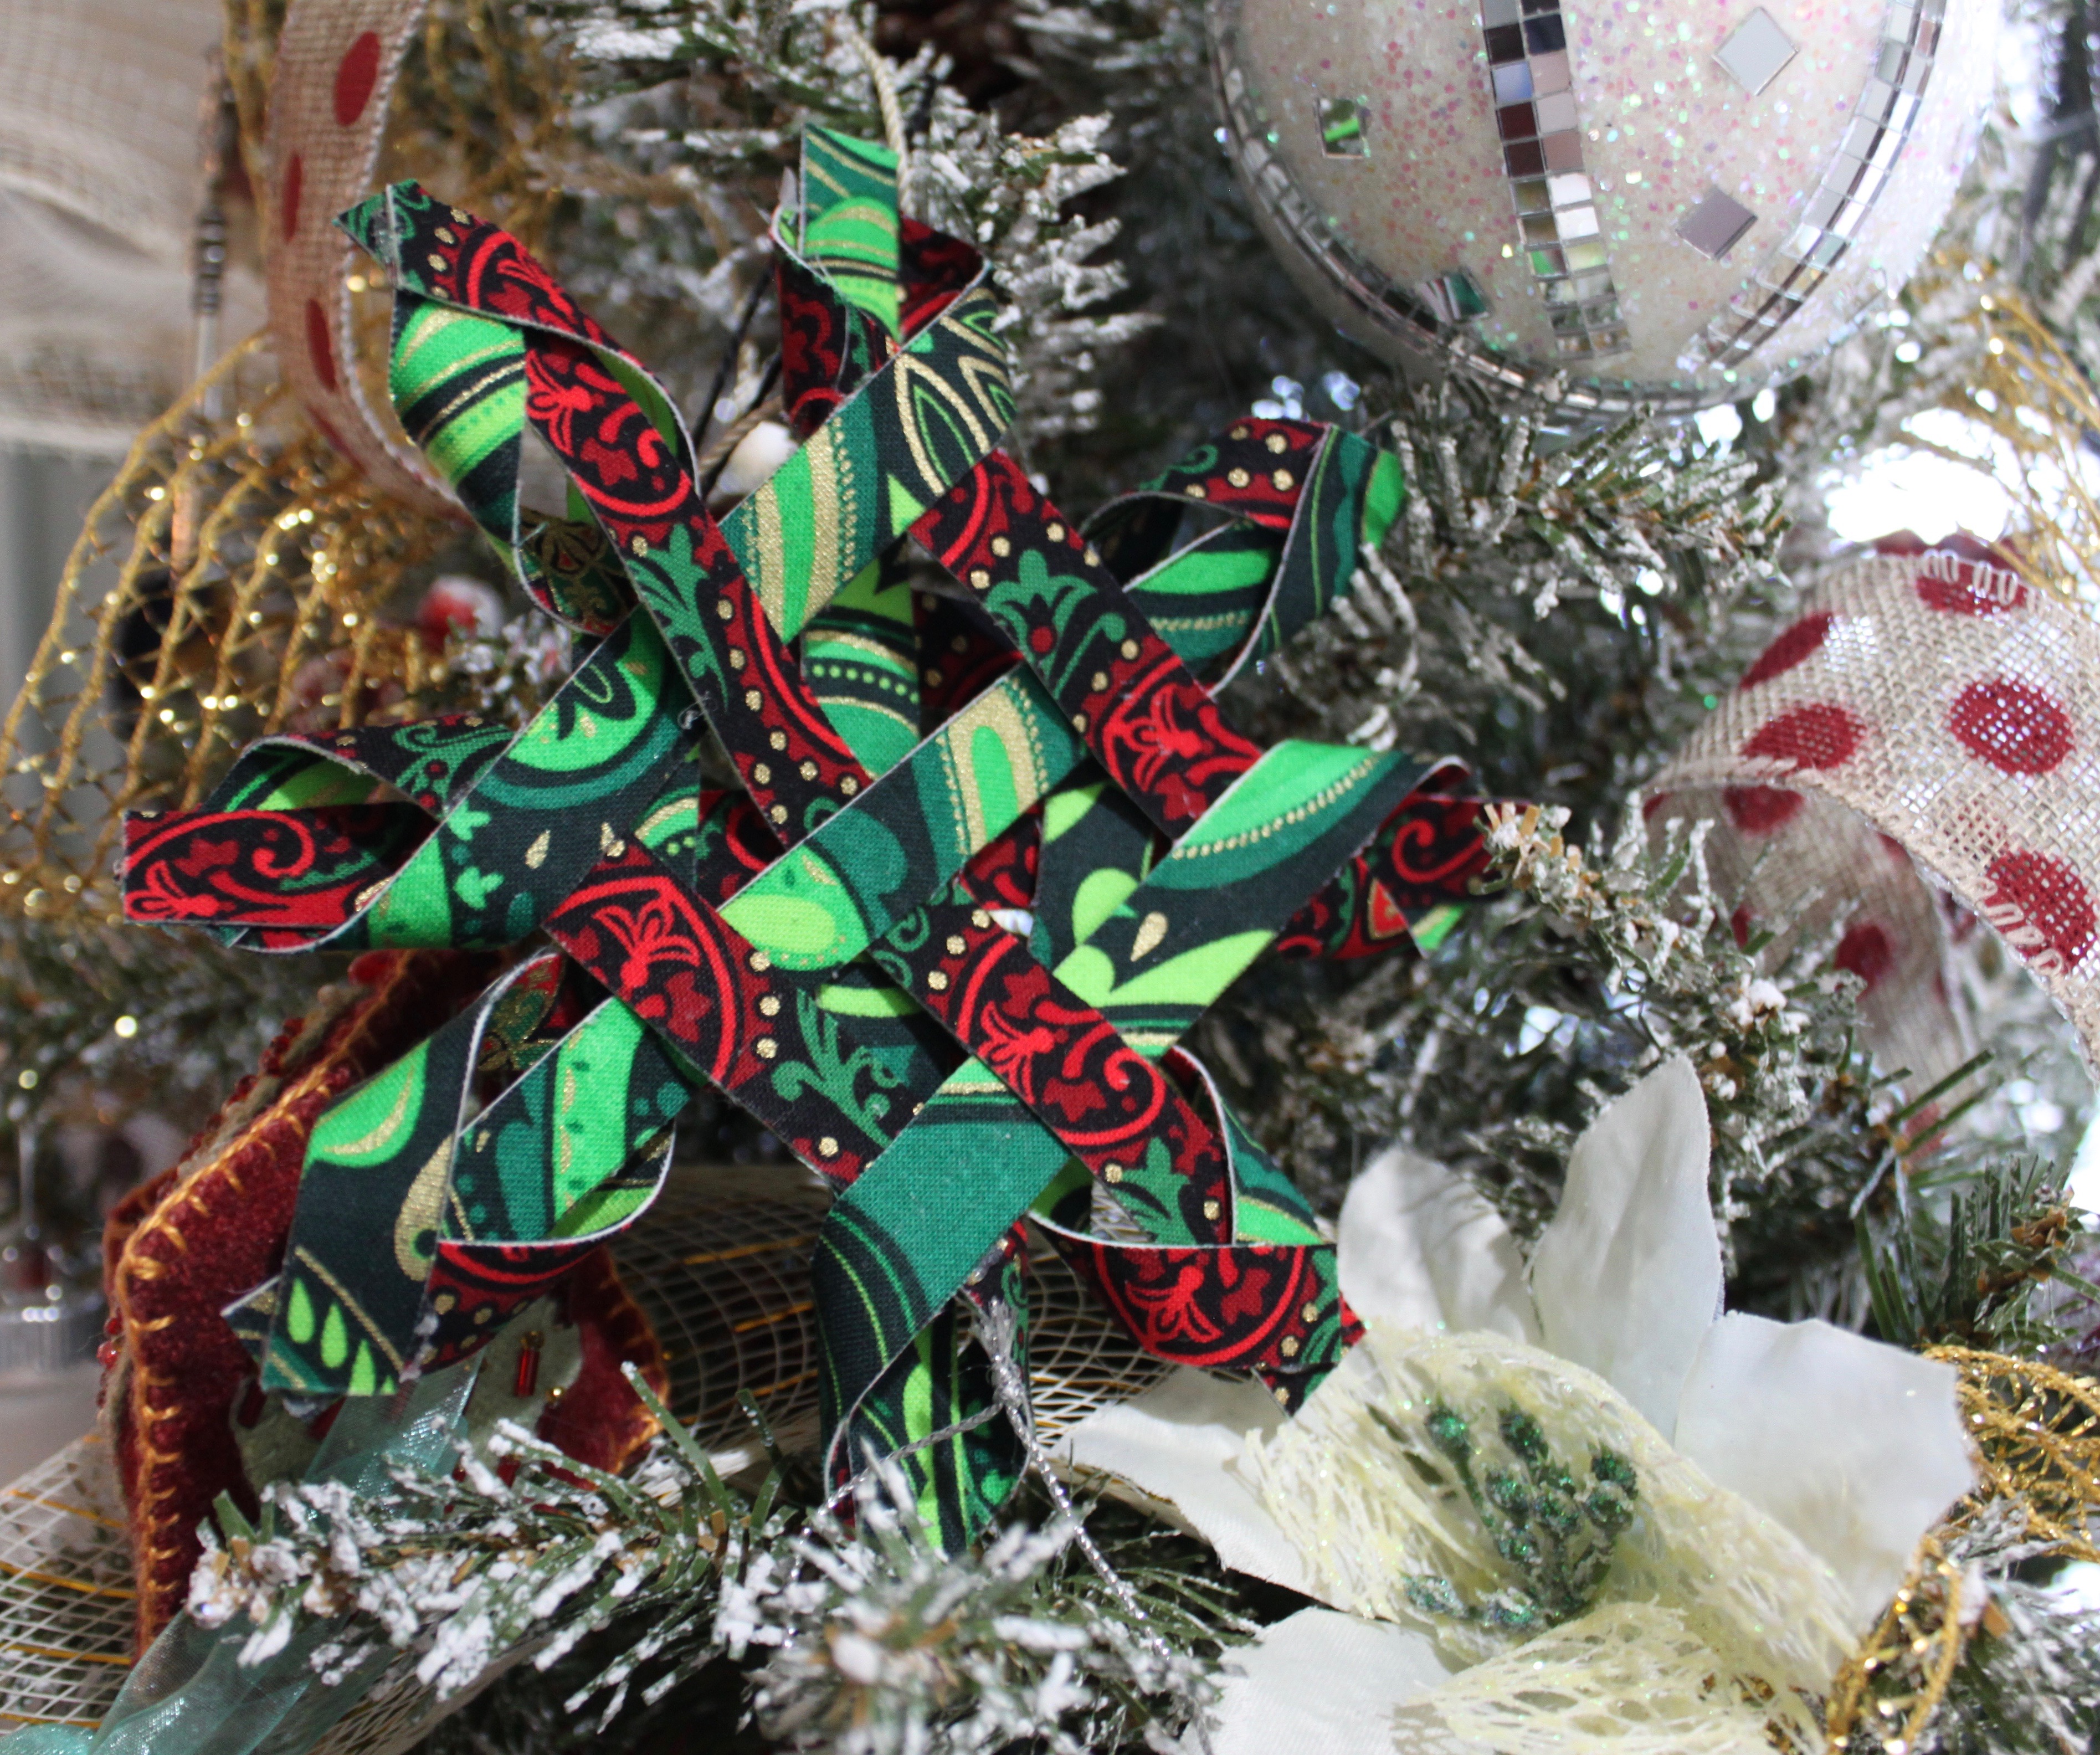
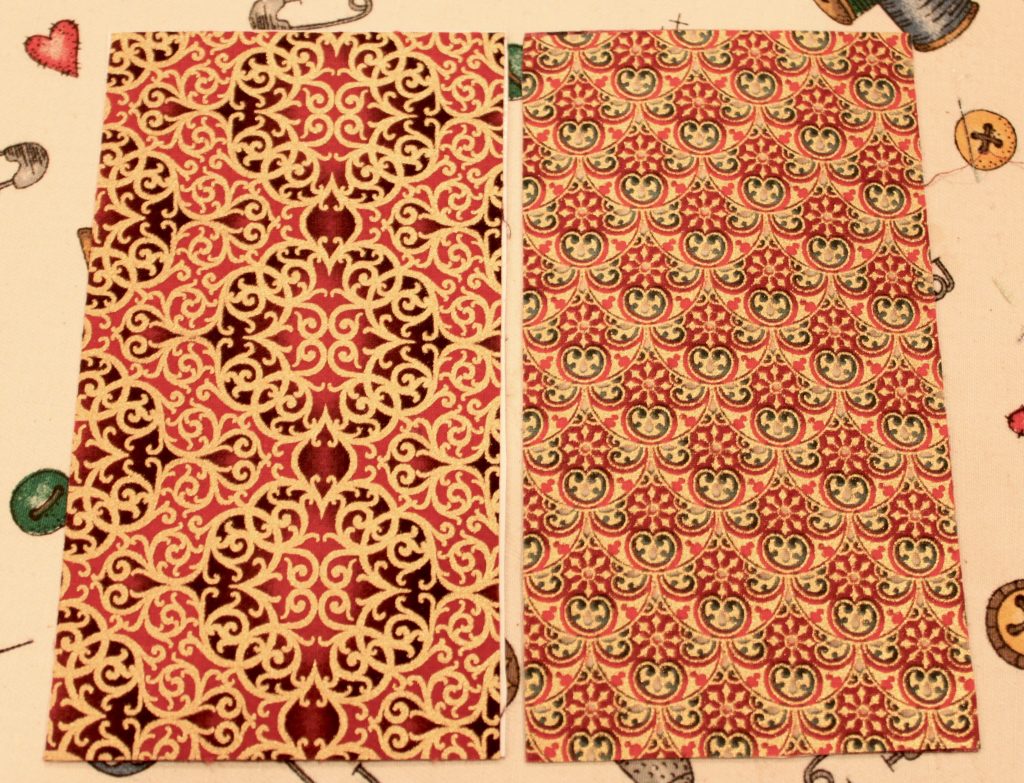
This year we decided to try something a bit different that we had seen a picture of. Now ordinarily I would give you all the details of how I made these. Measurements. Steps. Products used.
In fact I did that originally in this post and years later I start getting contacted by this individual who is clearly off their meds claiming I “stole” their tutorial “word for word”. I really don’t know how that is even possible since I made these snowflakes out of my head after seeing some that LOOKED like this.
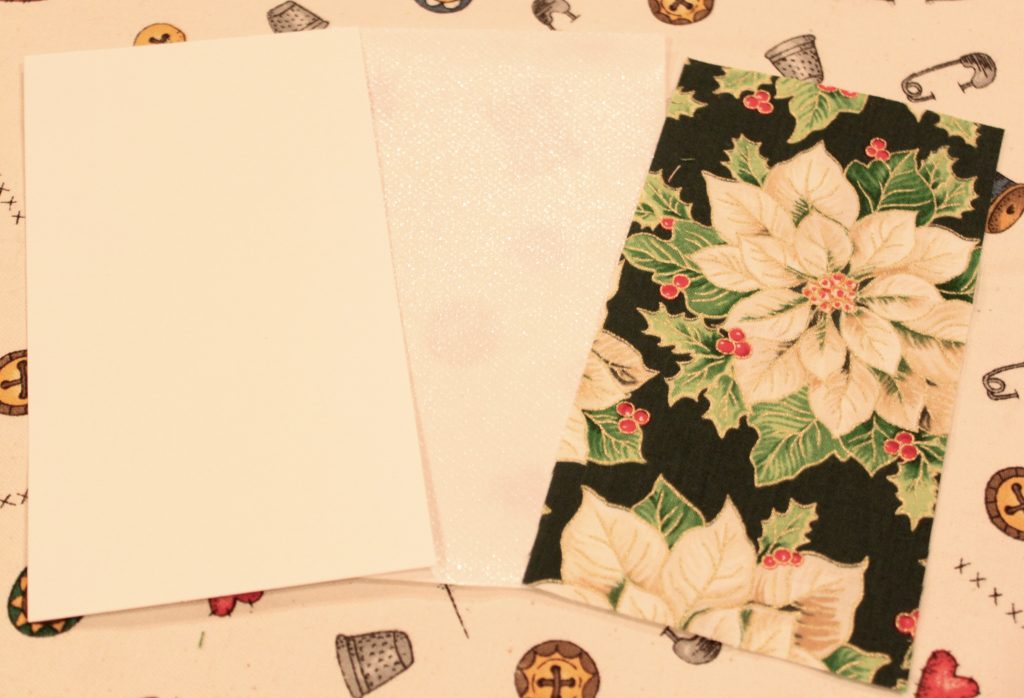
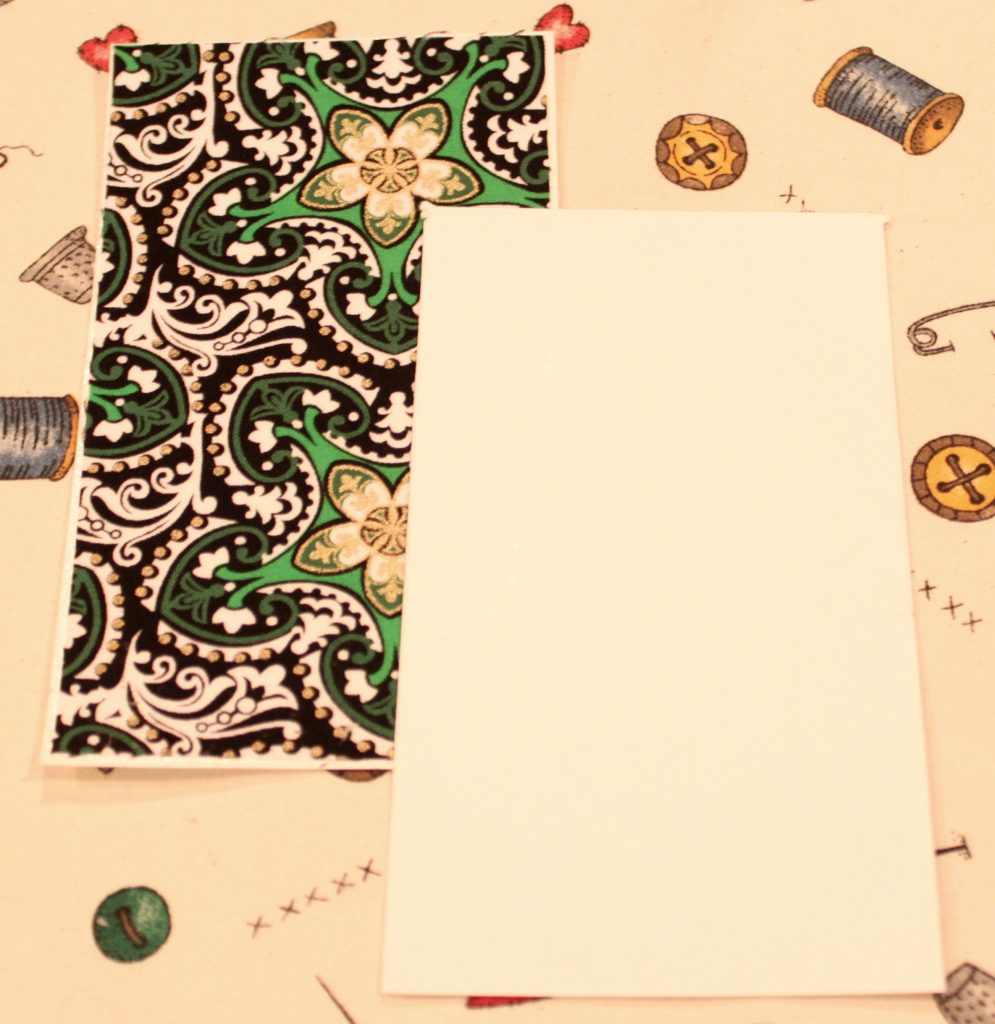
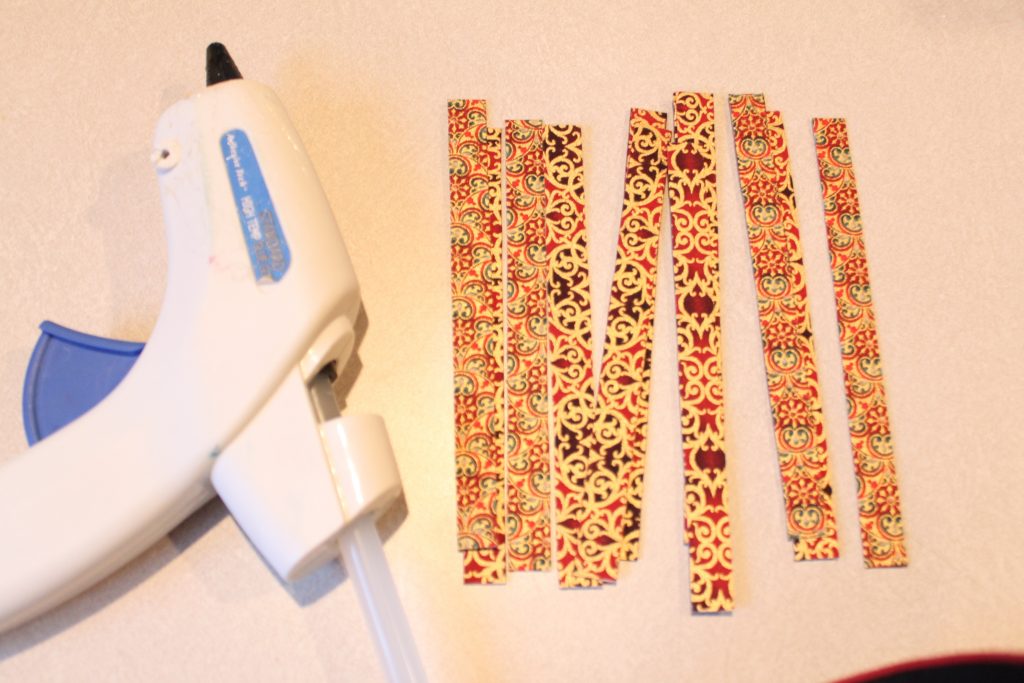
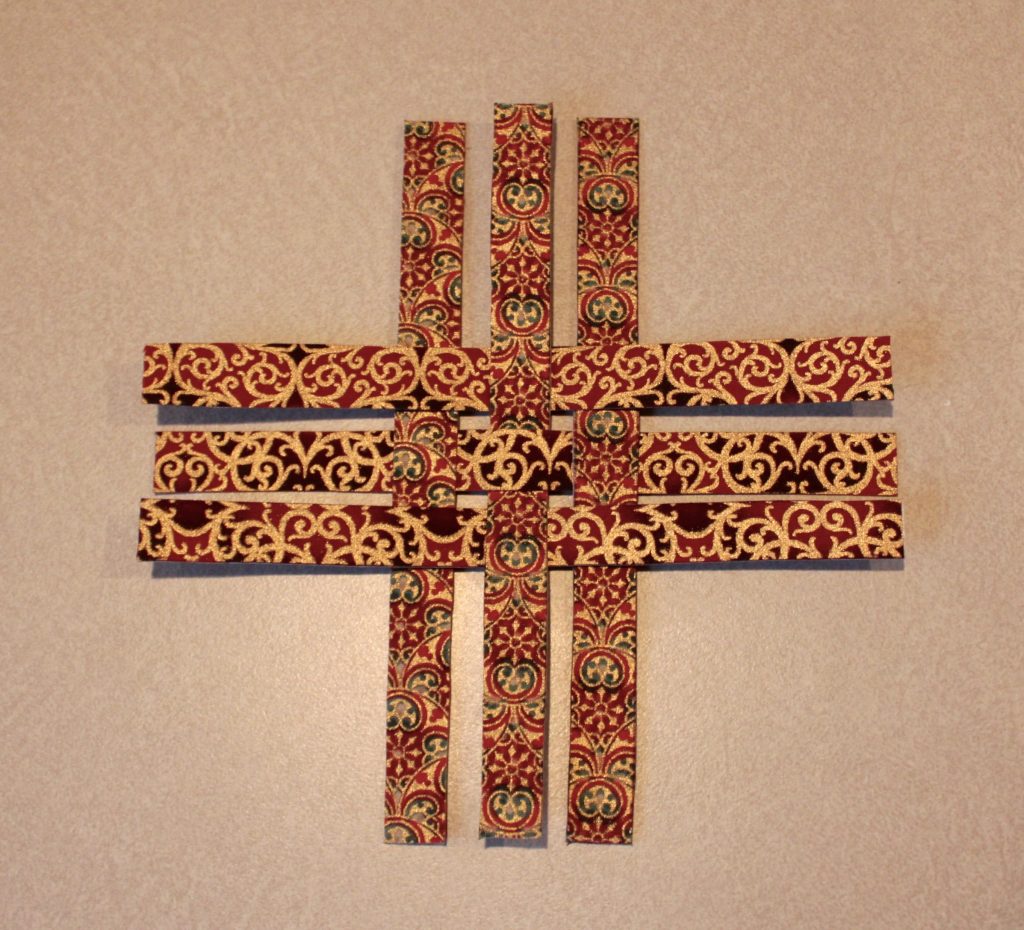
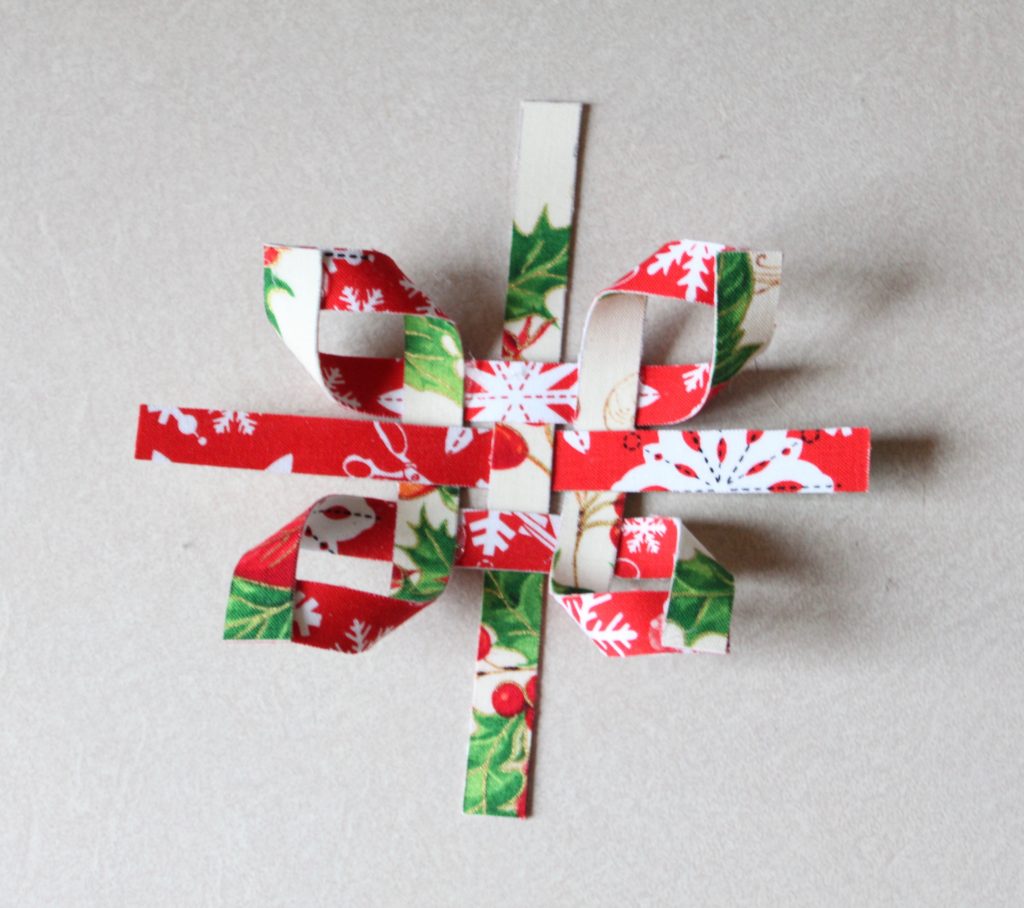
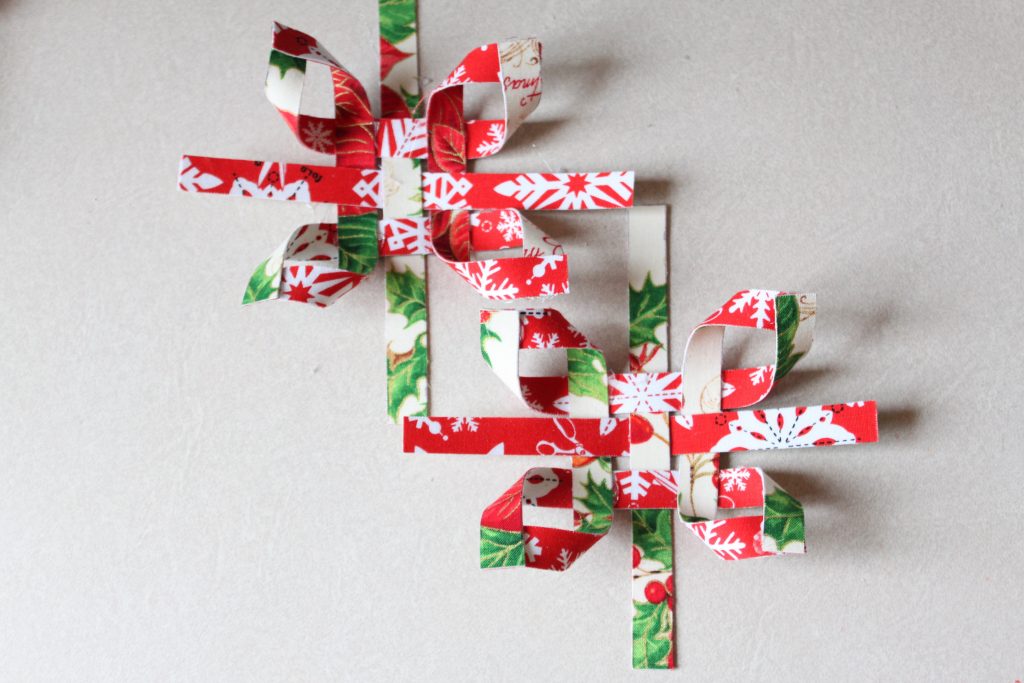
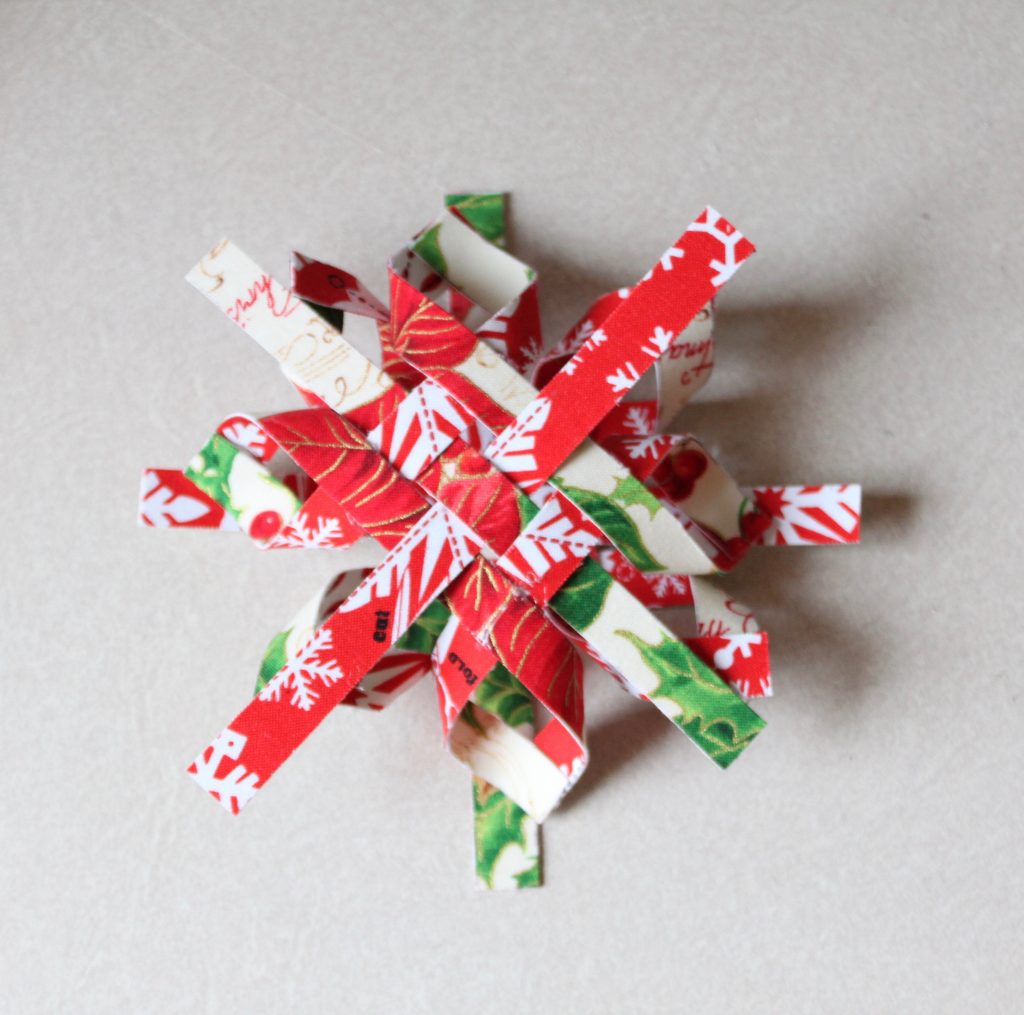
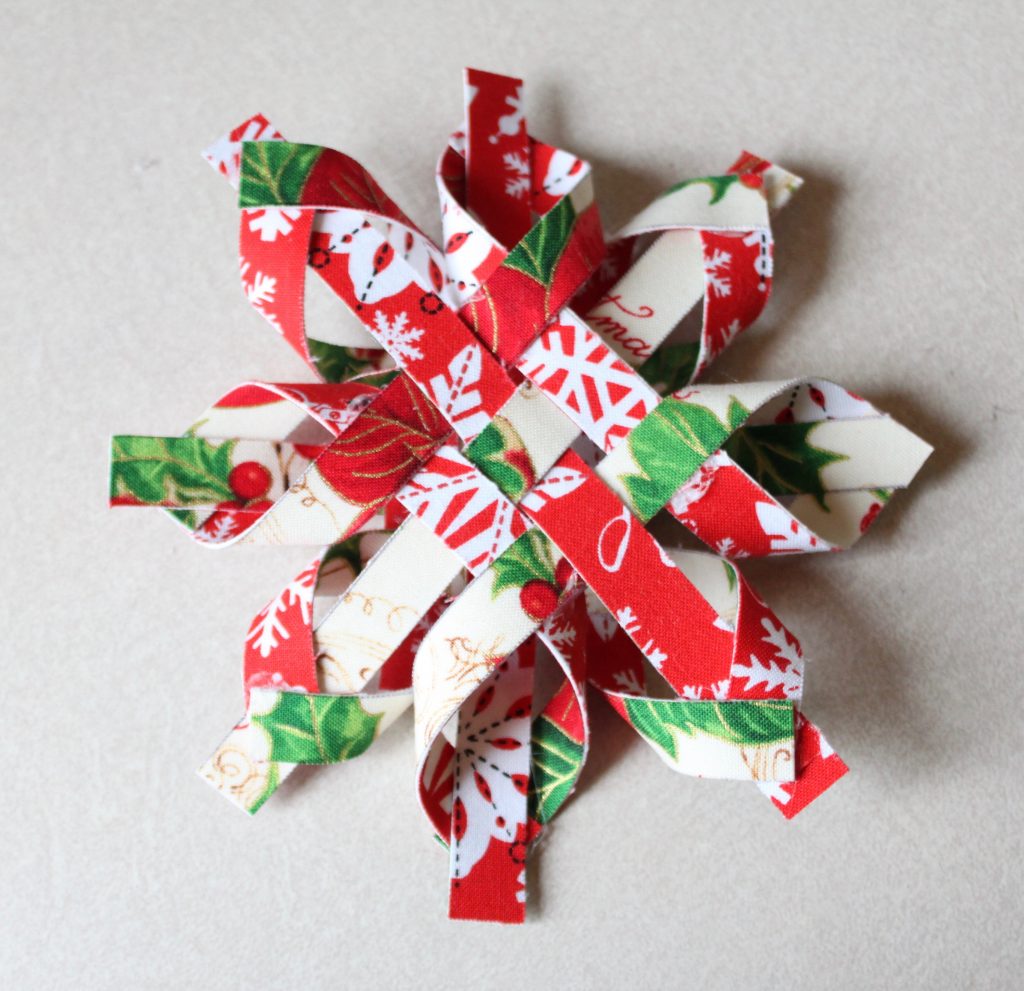
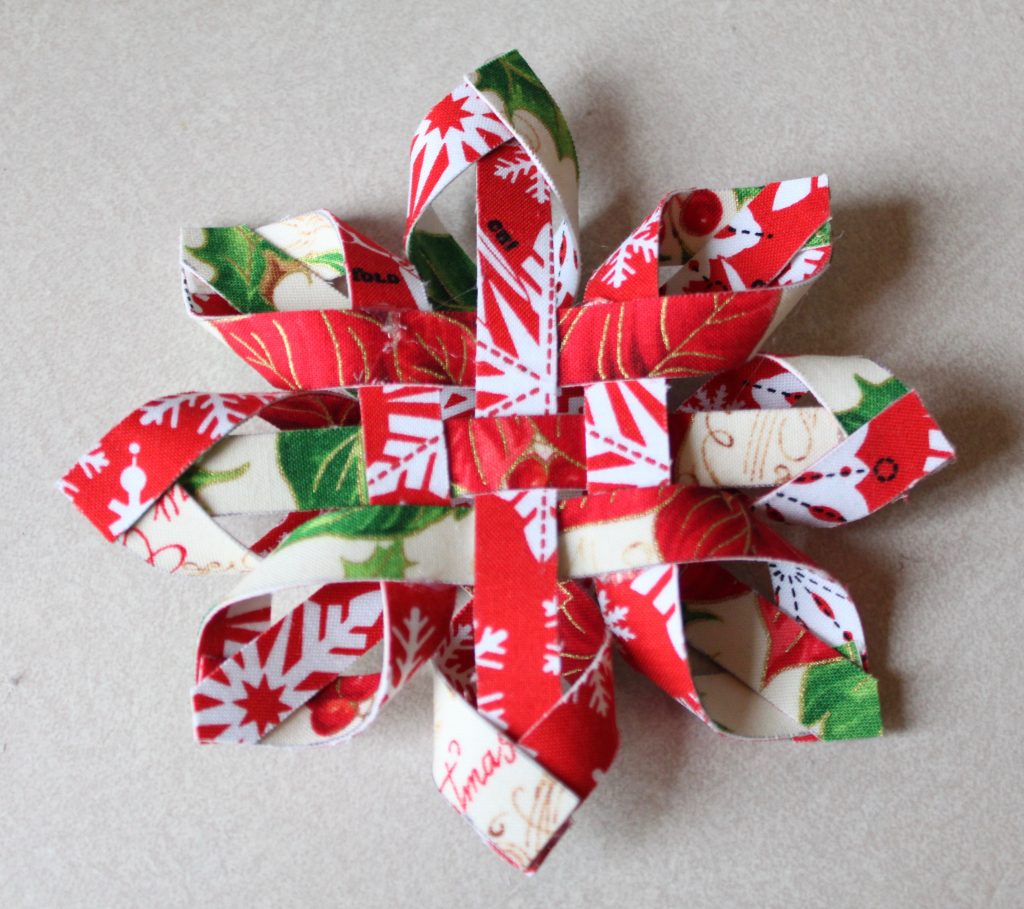
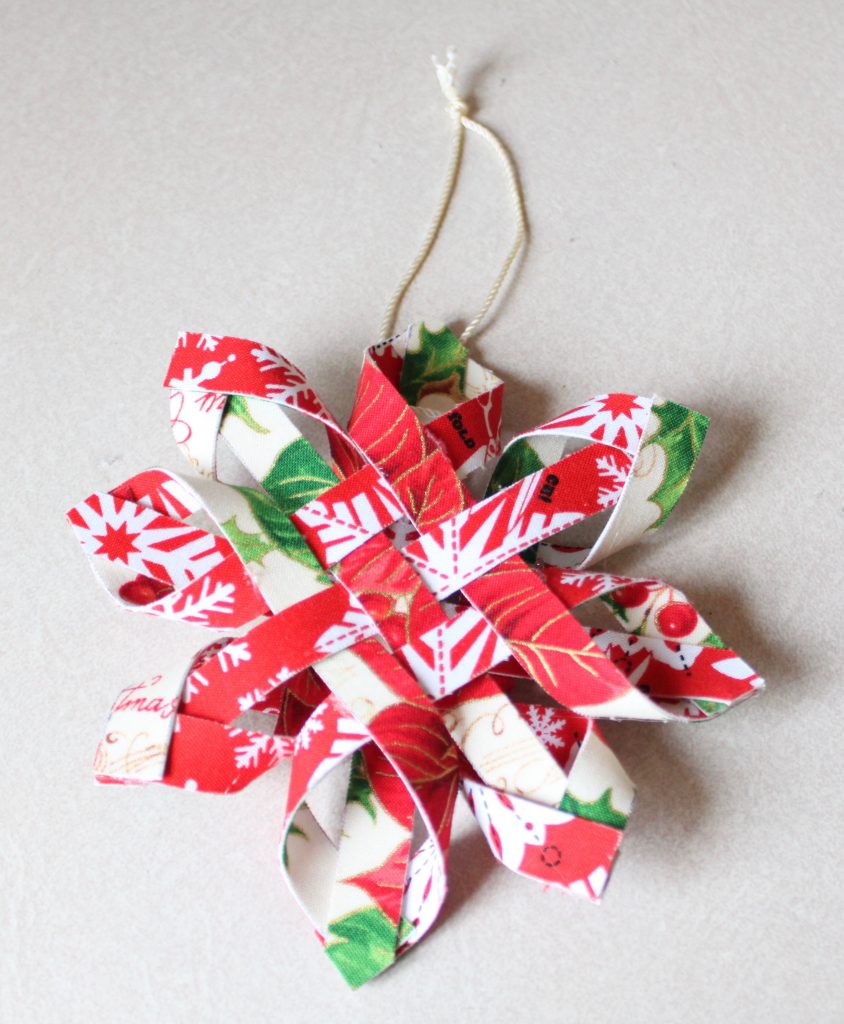
I never saw a tutorial for them ever. Perhaps one exists out there somewhere in the great big World Wide Web but I never encountered it. Still, since this individual is threatening to sue me over a little piece of fabric turned into the shape of a snowflake – I will just show you the pictures of how I made them and perhaps you can make up the rest, as I did.


Enjoy!
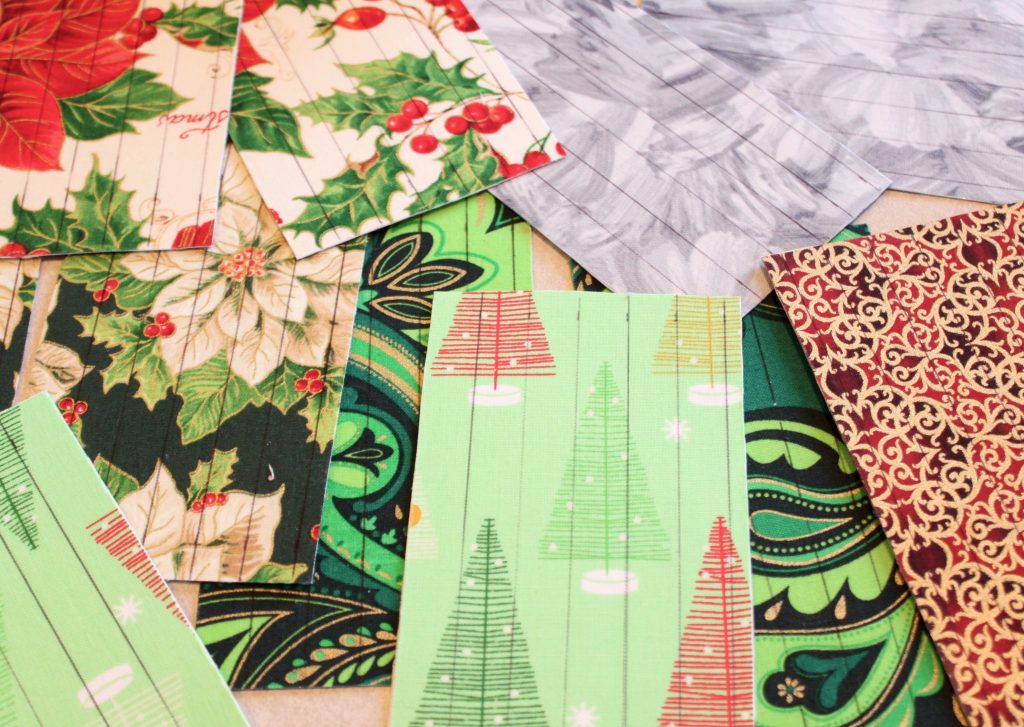
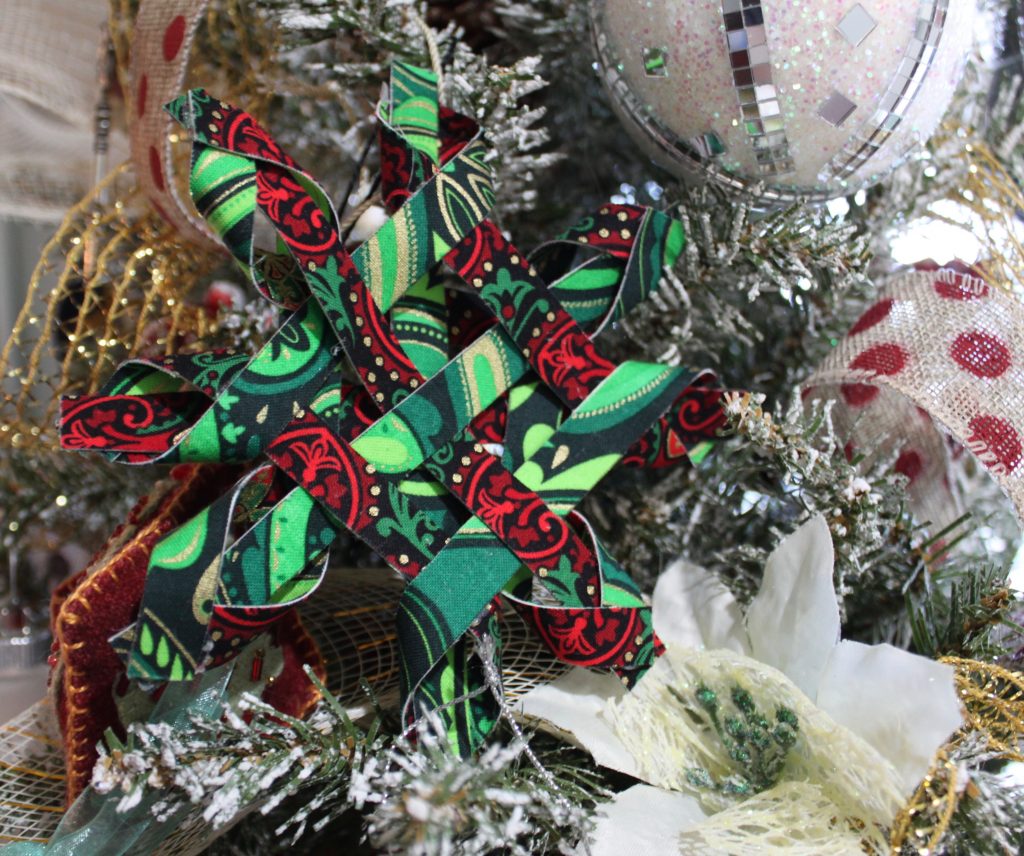
Now that I just had these snowflake ornaments brought to my attention again, I’m thinking about making some more this year. I’m envisioning some color coordinated for some of my other trees.
I’m picturing fluffy ones.
I’m picturing lace.
I’m picturing ribbon…..the options are limitless.
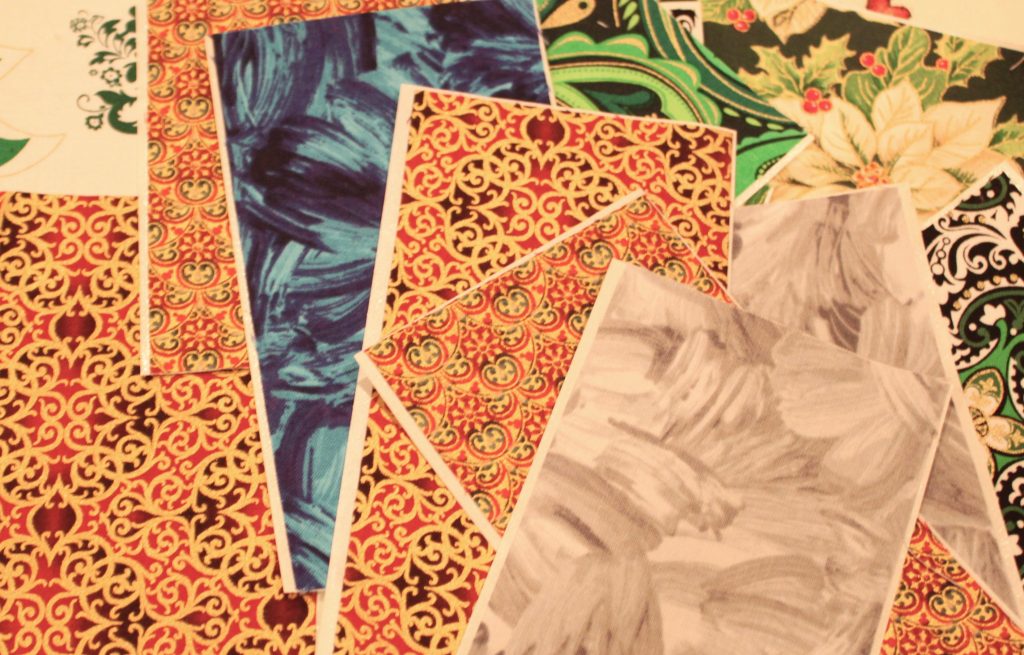
Amazing tutorial and so easy to follow! These are so gorgeous! I love that you can personalize them with any fabric! Thank you for sharing!!
My pleasure, Cate. I’m so glad you enjoyed it. Yes, they are very customizable for sure. I think they would also look good hanging on kitchen cabinet doors or on windows etc.
Those look so great Tara, great job!
Thanks, sweet friend!
These are amazing. I am going to try it but look out I am already confused which one goes where. I will follow along as I glue with my fingers crossed it works for me.
The hardest part is holding it while you make those first twists and glue them. That’s where paper clips come in to give you the equivalent of extra fingers. After my first one it got much easier. I’d love to see yours if you make some.