
This site contains affiliate links to products. I may receive compensation for purchases made through these links.
Our main level has wood flooring but the upstairs still has old carpet. I have been wanting to replace it since I moved in but so far we’ve only been able to replace the main floor carpet. The upstairs carpets were already old, a little tattered and had some random light stains here and there. Then we got the dogs! Did I mention that none of the dogs were potty trained? Well they weren’t. Have you ever tried to potty train a chihuahua before? Its a LOT harder than most other breeds. I won’t get in to why but trust me – it is!
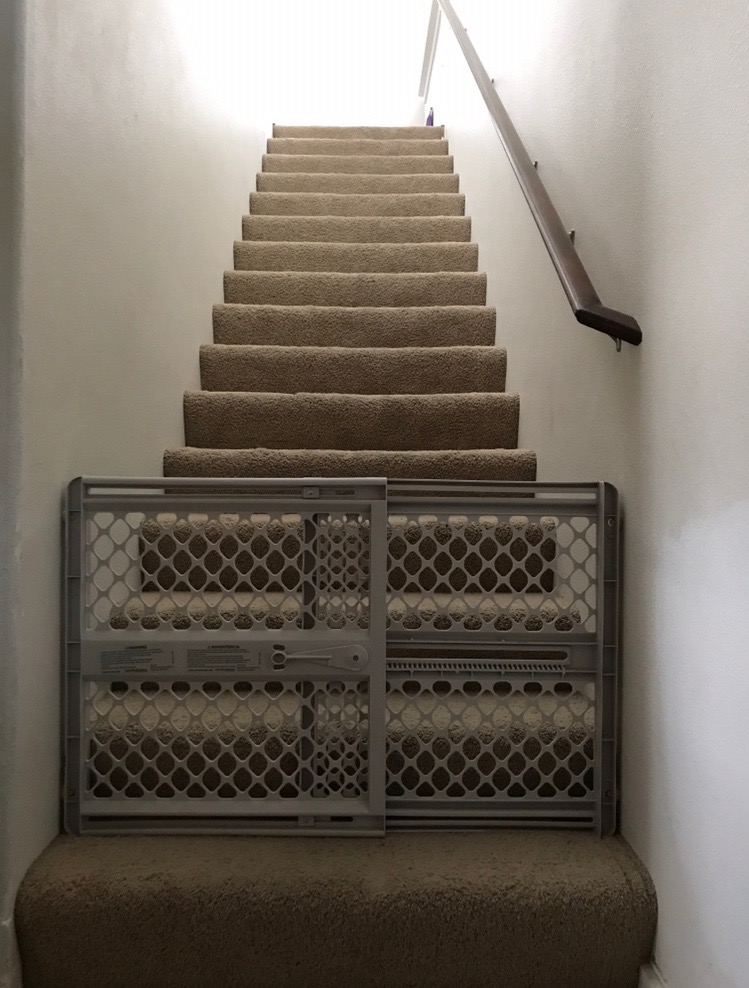
I ended up getting one of those ugly, plastic baby gates to put in the stairway so that they little guys couldn’t get upstairs to the carpet and that was working just fine, albeit unattractively. Then we adopted my amazing Hope! She is part Pit Bull and part Rottweiler (and who knows what else she could have in there too) and she is BIG. She would put her front feet on the little plastic gate and it would come tumbling down. Then the little toys would race upstairs and use the bathroom wherever the mood struck. I’m not kidding! I thought they were potty trained by this time but I was mistaken. It was just a trick they pulled on me! Hopie follows me everywhere around the house and if I left she would go looking for me so as I was still just outside the door I could hear the gate come crashing down while she went racing up the stairs to see if I had somehow managed to sneak past without her noticing. Clearly we needed a better solution and it may as well be pretty too!
I knew a wooden gate, permanently attached to the wall was in order. I could make it whatever height I needed to keep Hopie contained and it would be solid enough to withstand her strength and look great! After sketching out a rough drawing of what I had in my head, off I went to Home Depot for materials.
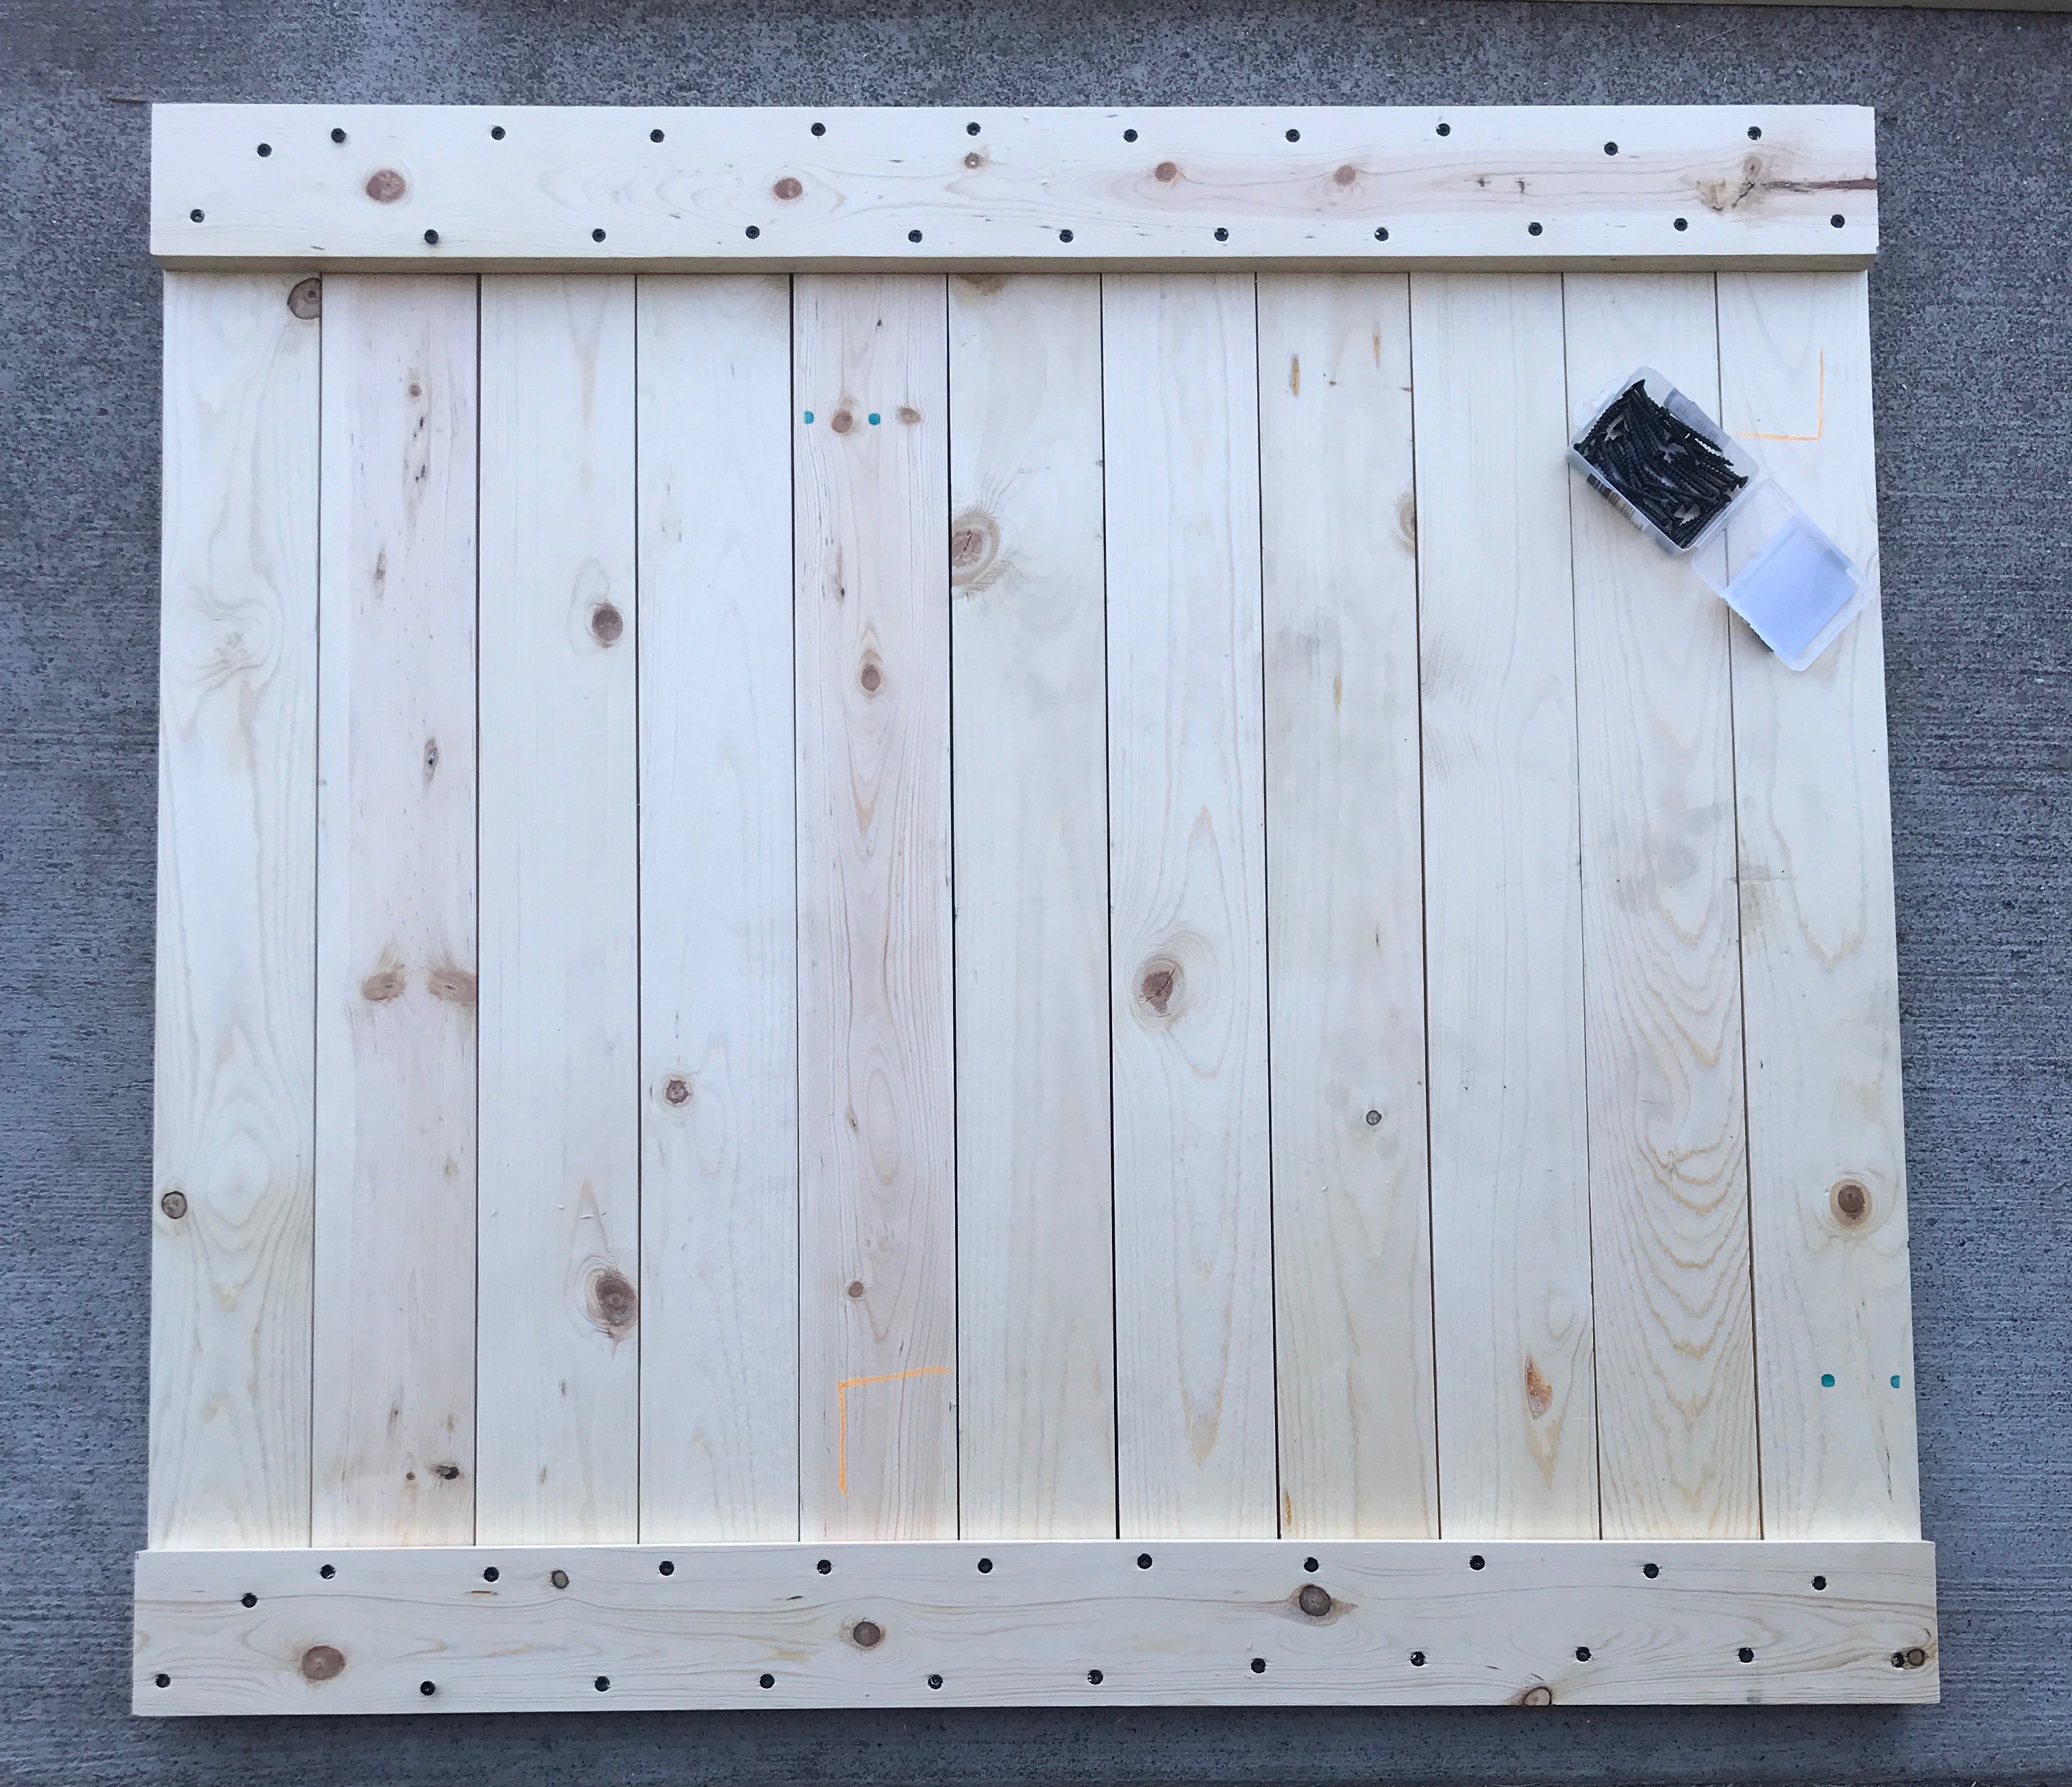
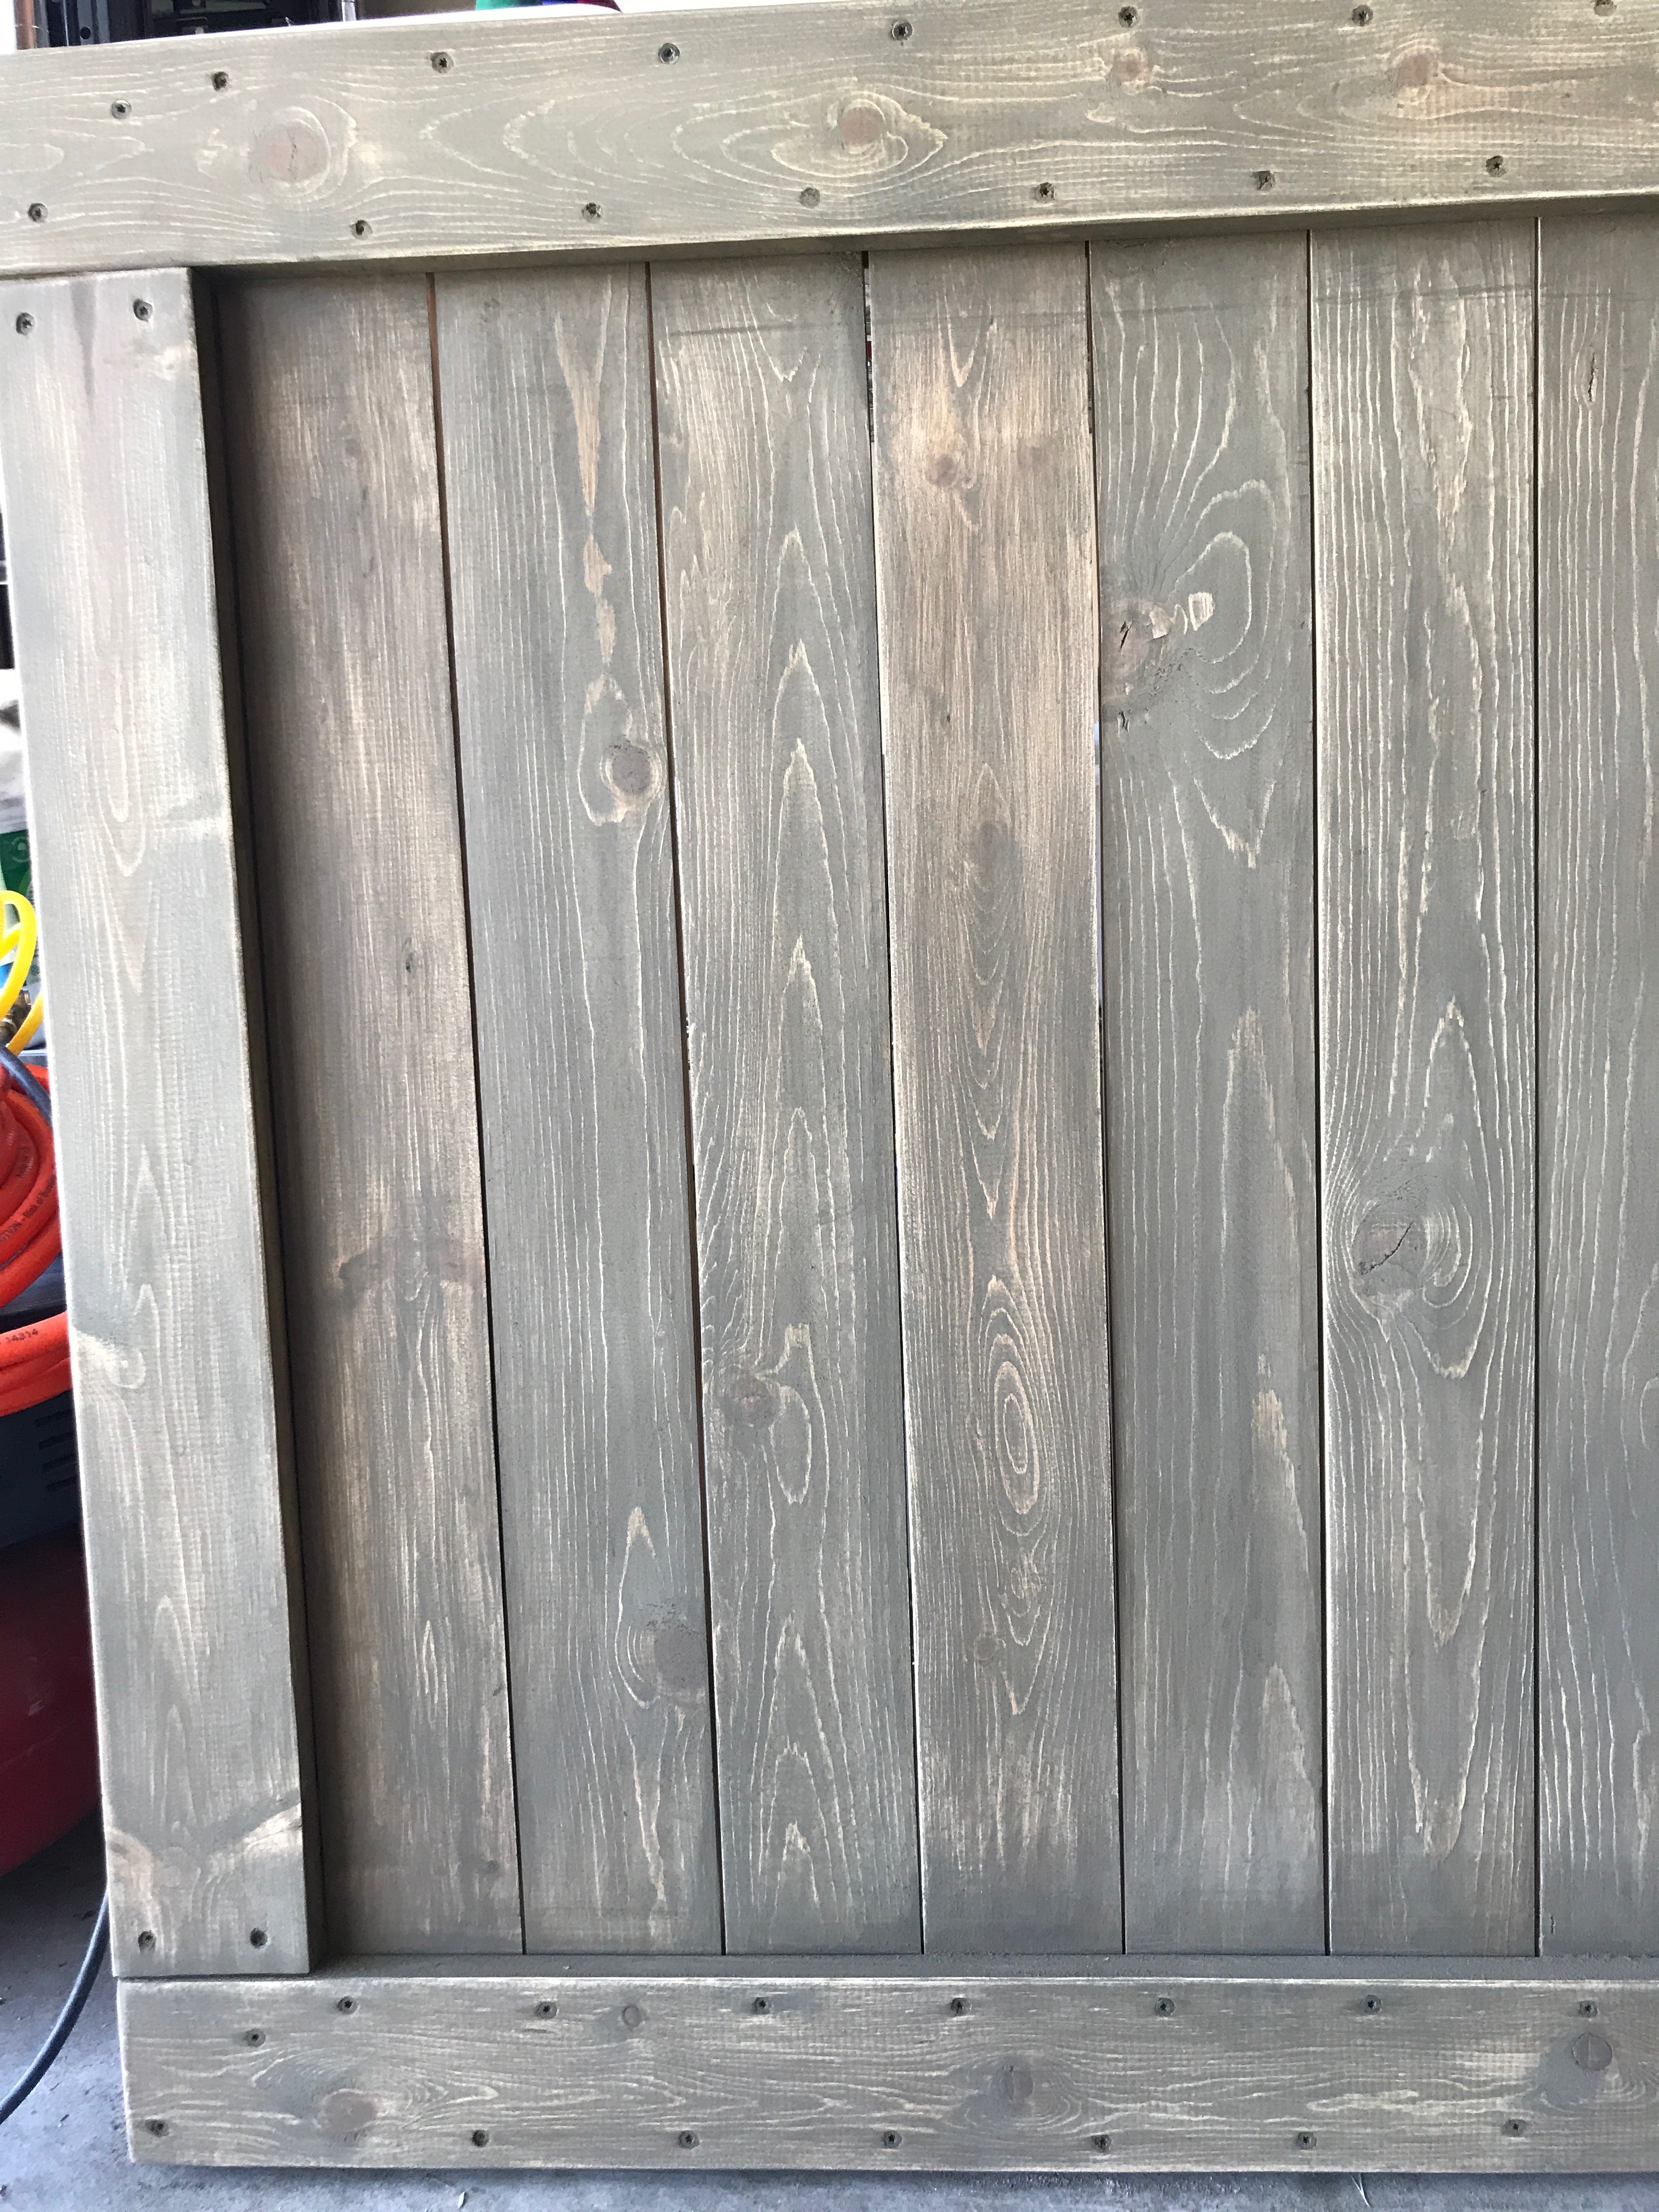
I got 1×4 pine boards, as straight as possible, and cut them into the required lengths to fit my stairwell. I chose to install the gate at the top of the stairs because there was no space to open it at the bottom since my front door is right there. I have a large landing at the top where the hallway turns so it was the perfect place to put it. I screwed 2 of the boards horizontally at the top and bottom of my verticals. I purposely left very small cracks between the boards so that the gate would have a little bit airier of a feeling when it was all done. I didn’t want it completely solid.
Next I flipped the gate over and screwed in another pair of horizontal boards to the top and bottom of the verticals so that the verticals were sandwiched between them. Make sure your horizontal pieces are flush with the edges of the verticals as this will be visible.
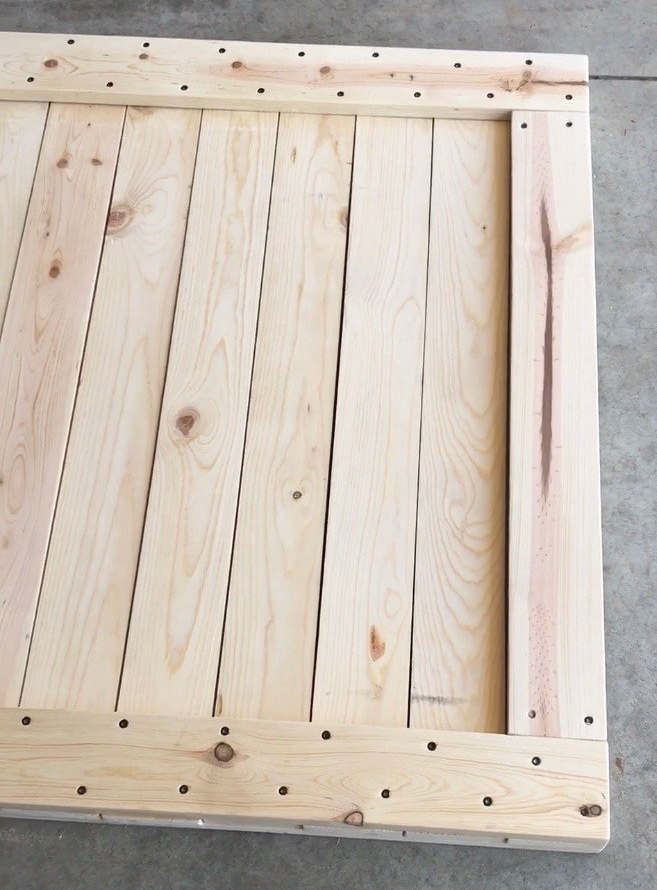
Next I attached another vertical board at either side to make a frame around the outside of the gate, just for looks. I also did this to both the front and back of the gate.
Next I sanded the entire gate really well, removing any wood stamps and softening the edges of all the boards so that it would be splinter-proof.
After cleaning off all the sanding dust, I applied Rustoleum Ultimate Wood Stain in Aged Wheat with a brush, fairly thinly.
I let it dry for a good 4 hours and then sanded it all over using a 150 grit sandpaper. I paid special attention the the edges and anywhere the stain was more solid because I wanted the final look to be aged and fairly light. Then I cleaned off the sanding dust really well again.
Now normally I would do all my layers of poly while the gate was laying around my garage because that makes it super easy but I was in a great hurry to get this gate installed because I NEED to get my carpets professionally cleaned before some company arrives in a couple days! Its a case of “do as I say, not as I do” here. I will have more labor intensive work later to poly it but it is what it is.
I secured another 1×4 to the wall, sinking 2″ screws into the wall stud so it would hold this heavy gate. Then I attached 3 large hinges to this piece and then to my gate so that it swings back against the wall in my upstairs landing.
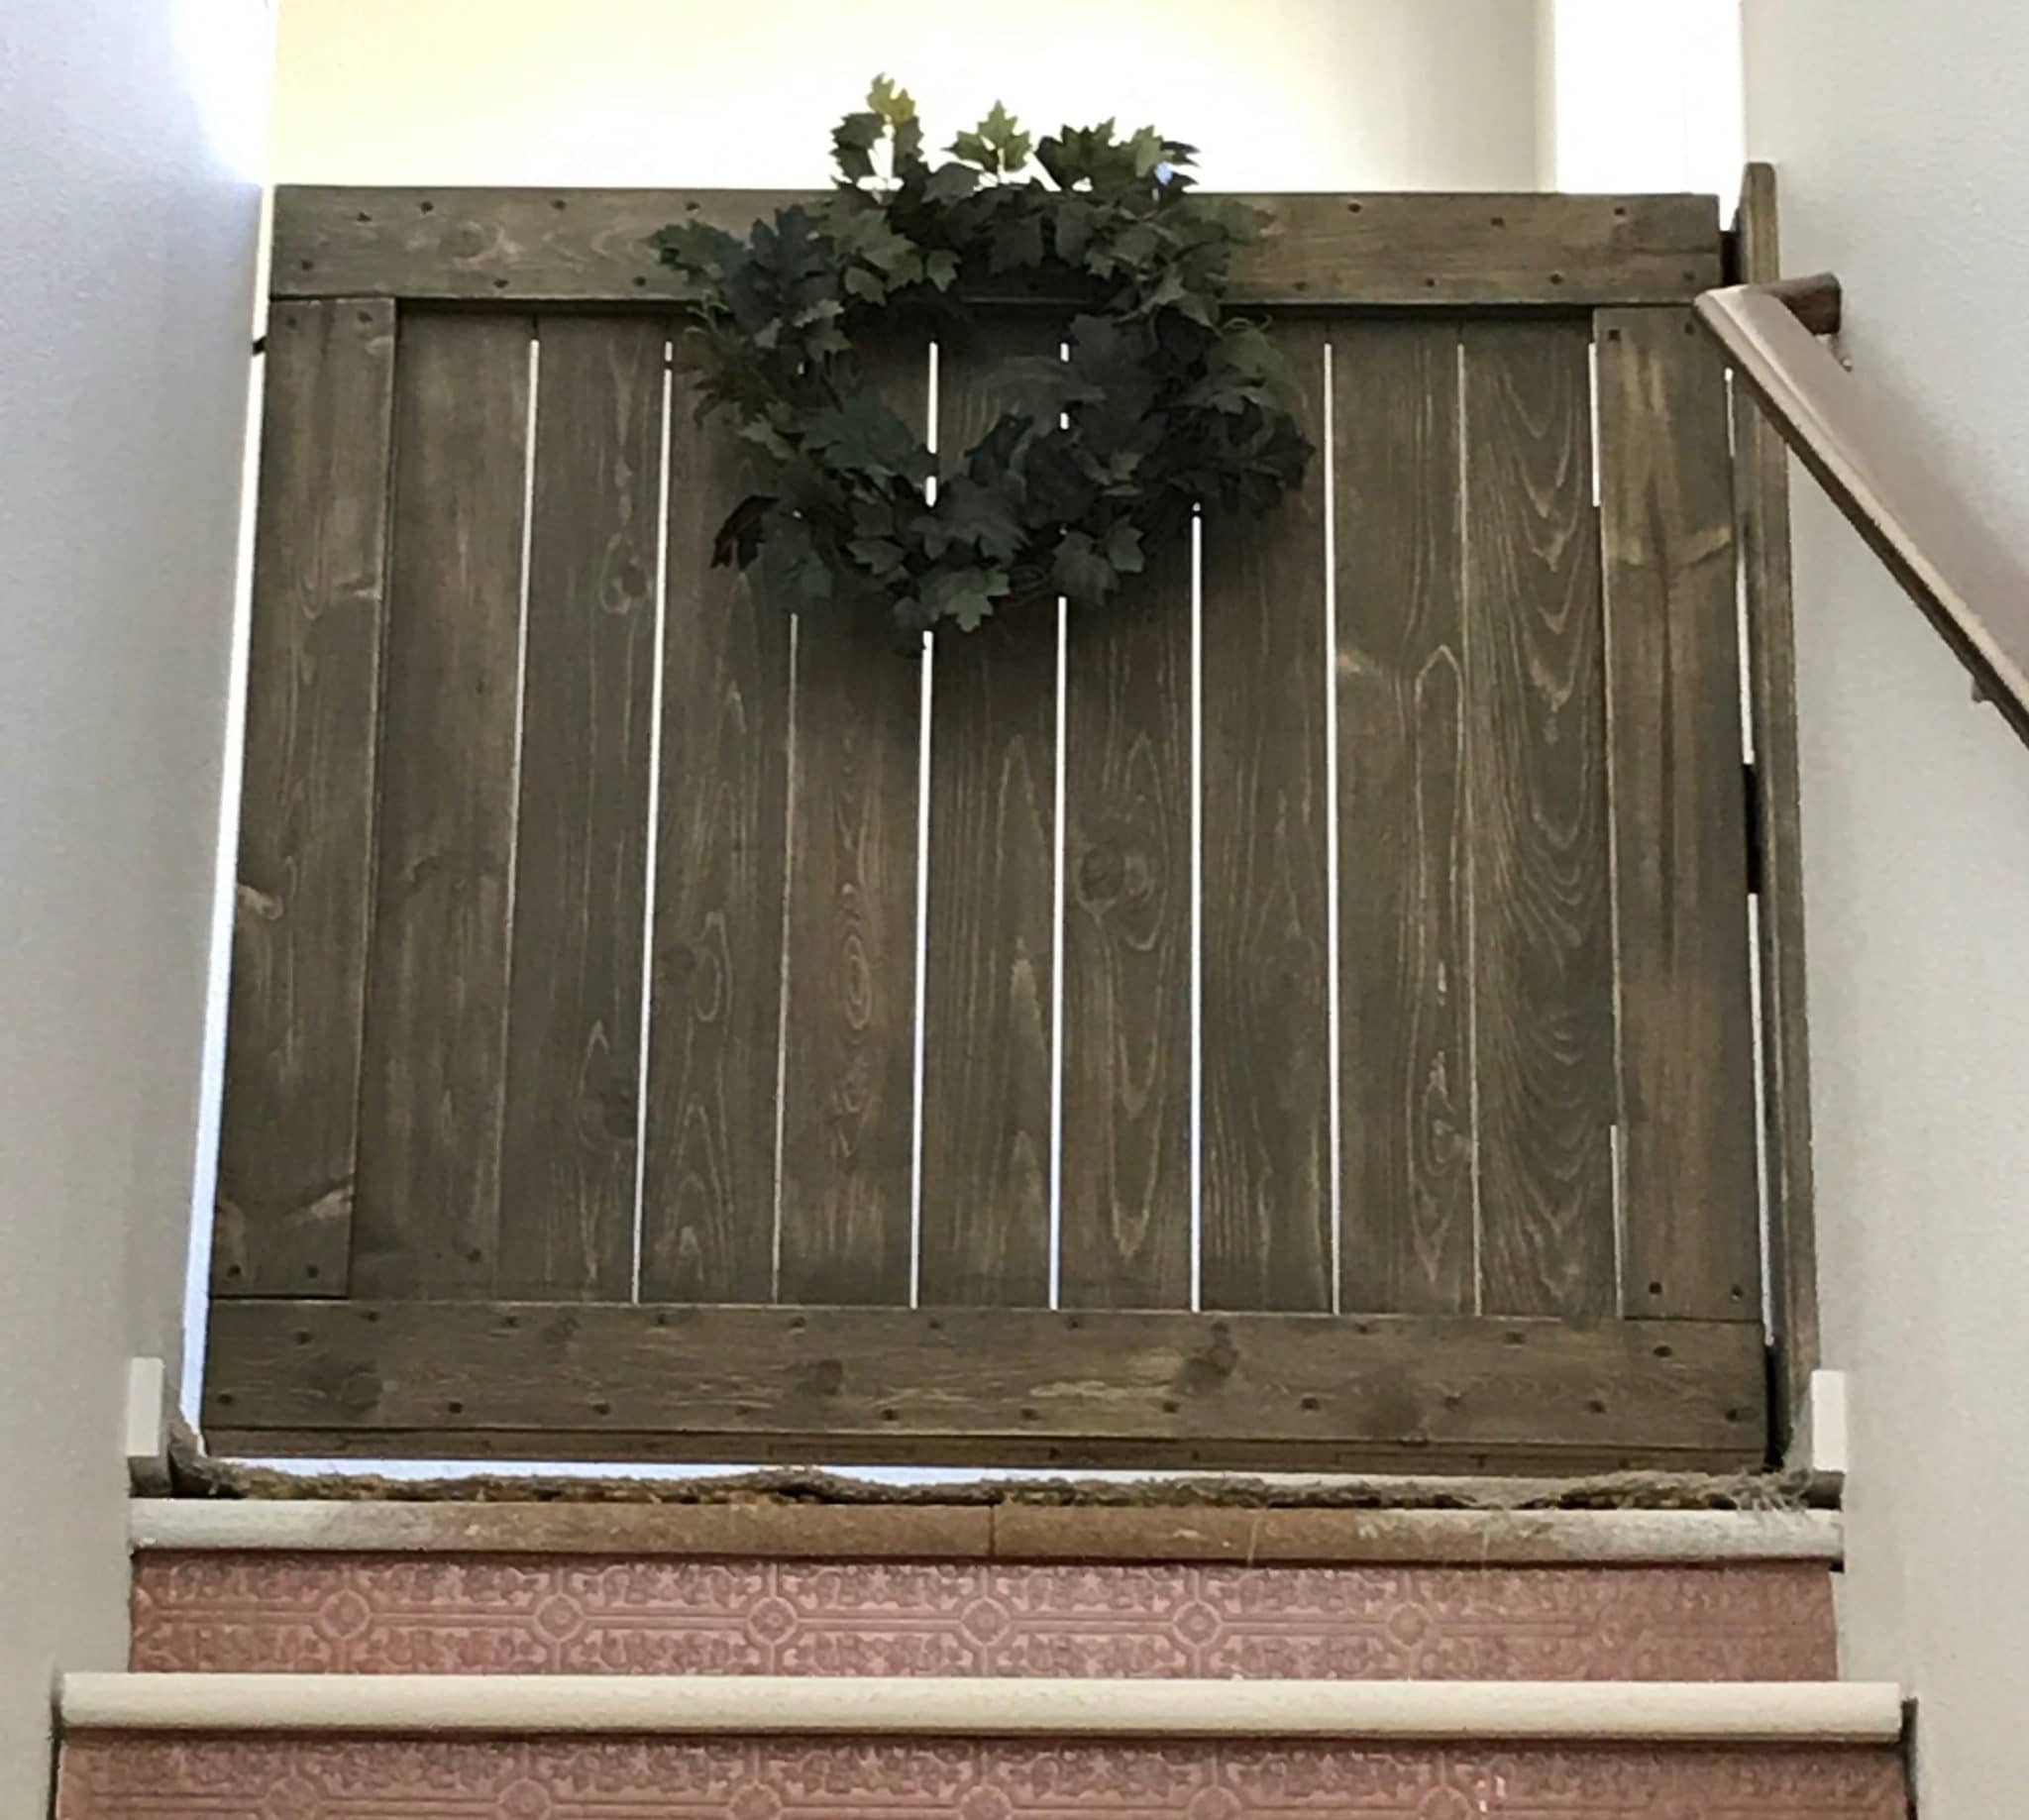
I attached another 1×4, again into the studs, on the opposite side to fasten my latch to. Then I stood back to admire my handiwork and realized something wasn’t right…..hmmm…..it was boring. Too plain. I contemplated adding a farm style x trim to the door but I don’t exactly have farmhouse decor so that wasn’t quite the ticket. DECOR! That’s what was missing. I know it’s not got it’s poly on it yet but I gotta style it!
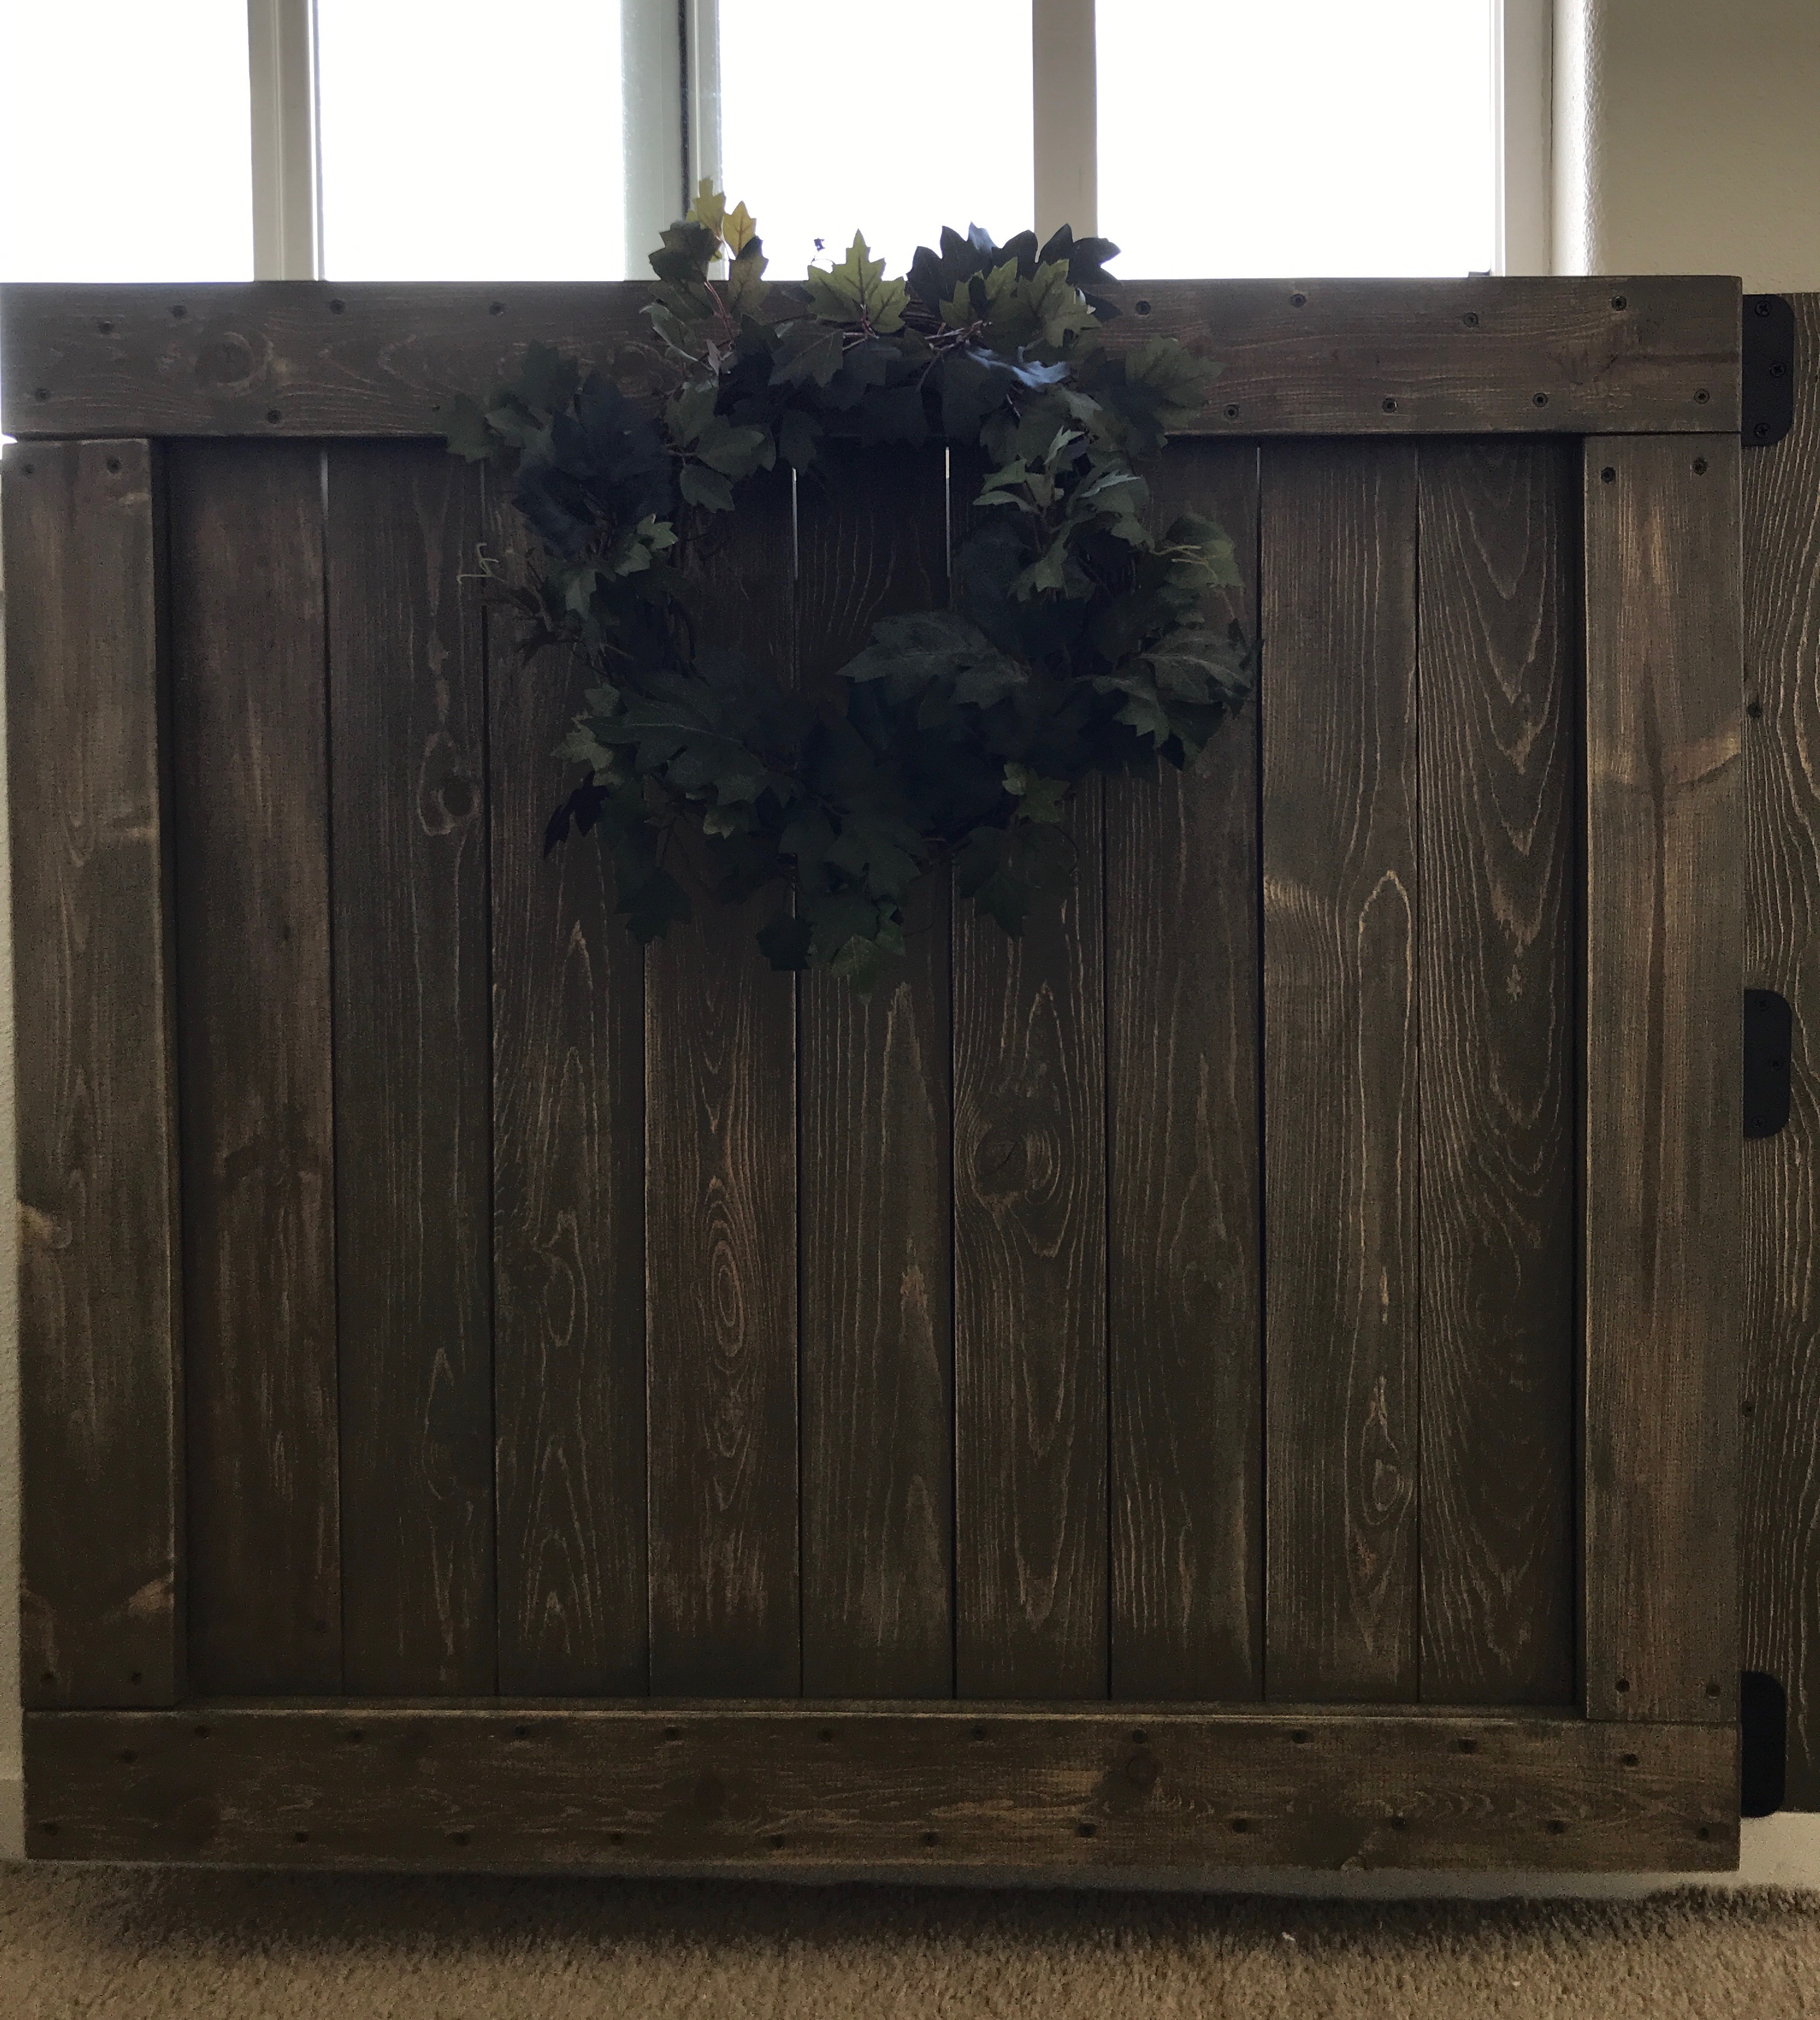
Voila! It appears darker here due to how shadowed it is in this location. Here it is opened back against the wall on the landing. I threw together this little wreath by hot gluing some faux greenery to a grapevine wreath and then attaching it with a 2″ screw partially into the gate wood. I wanted it to be very secure because it will be bumped into my humans and canines on a regular basis and I didn’t really feel like using the wreath for stair bowling!
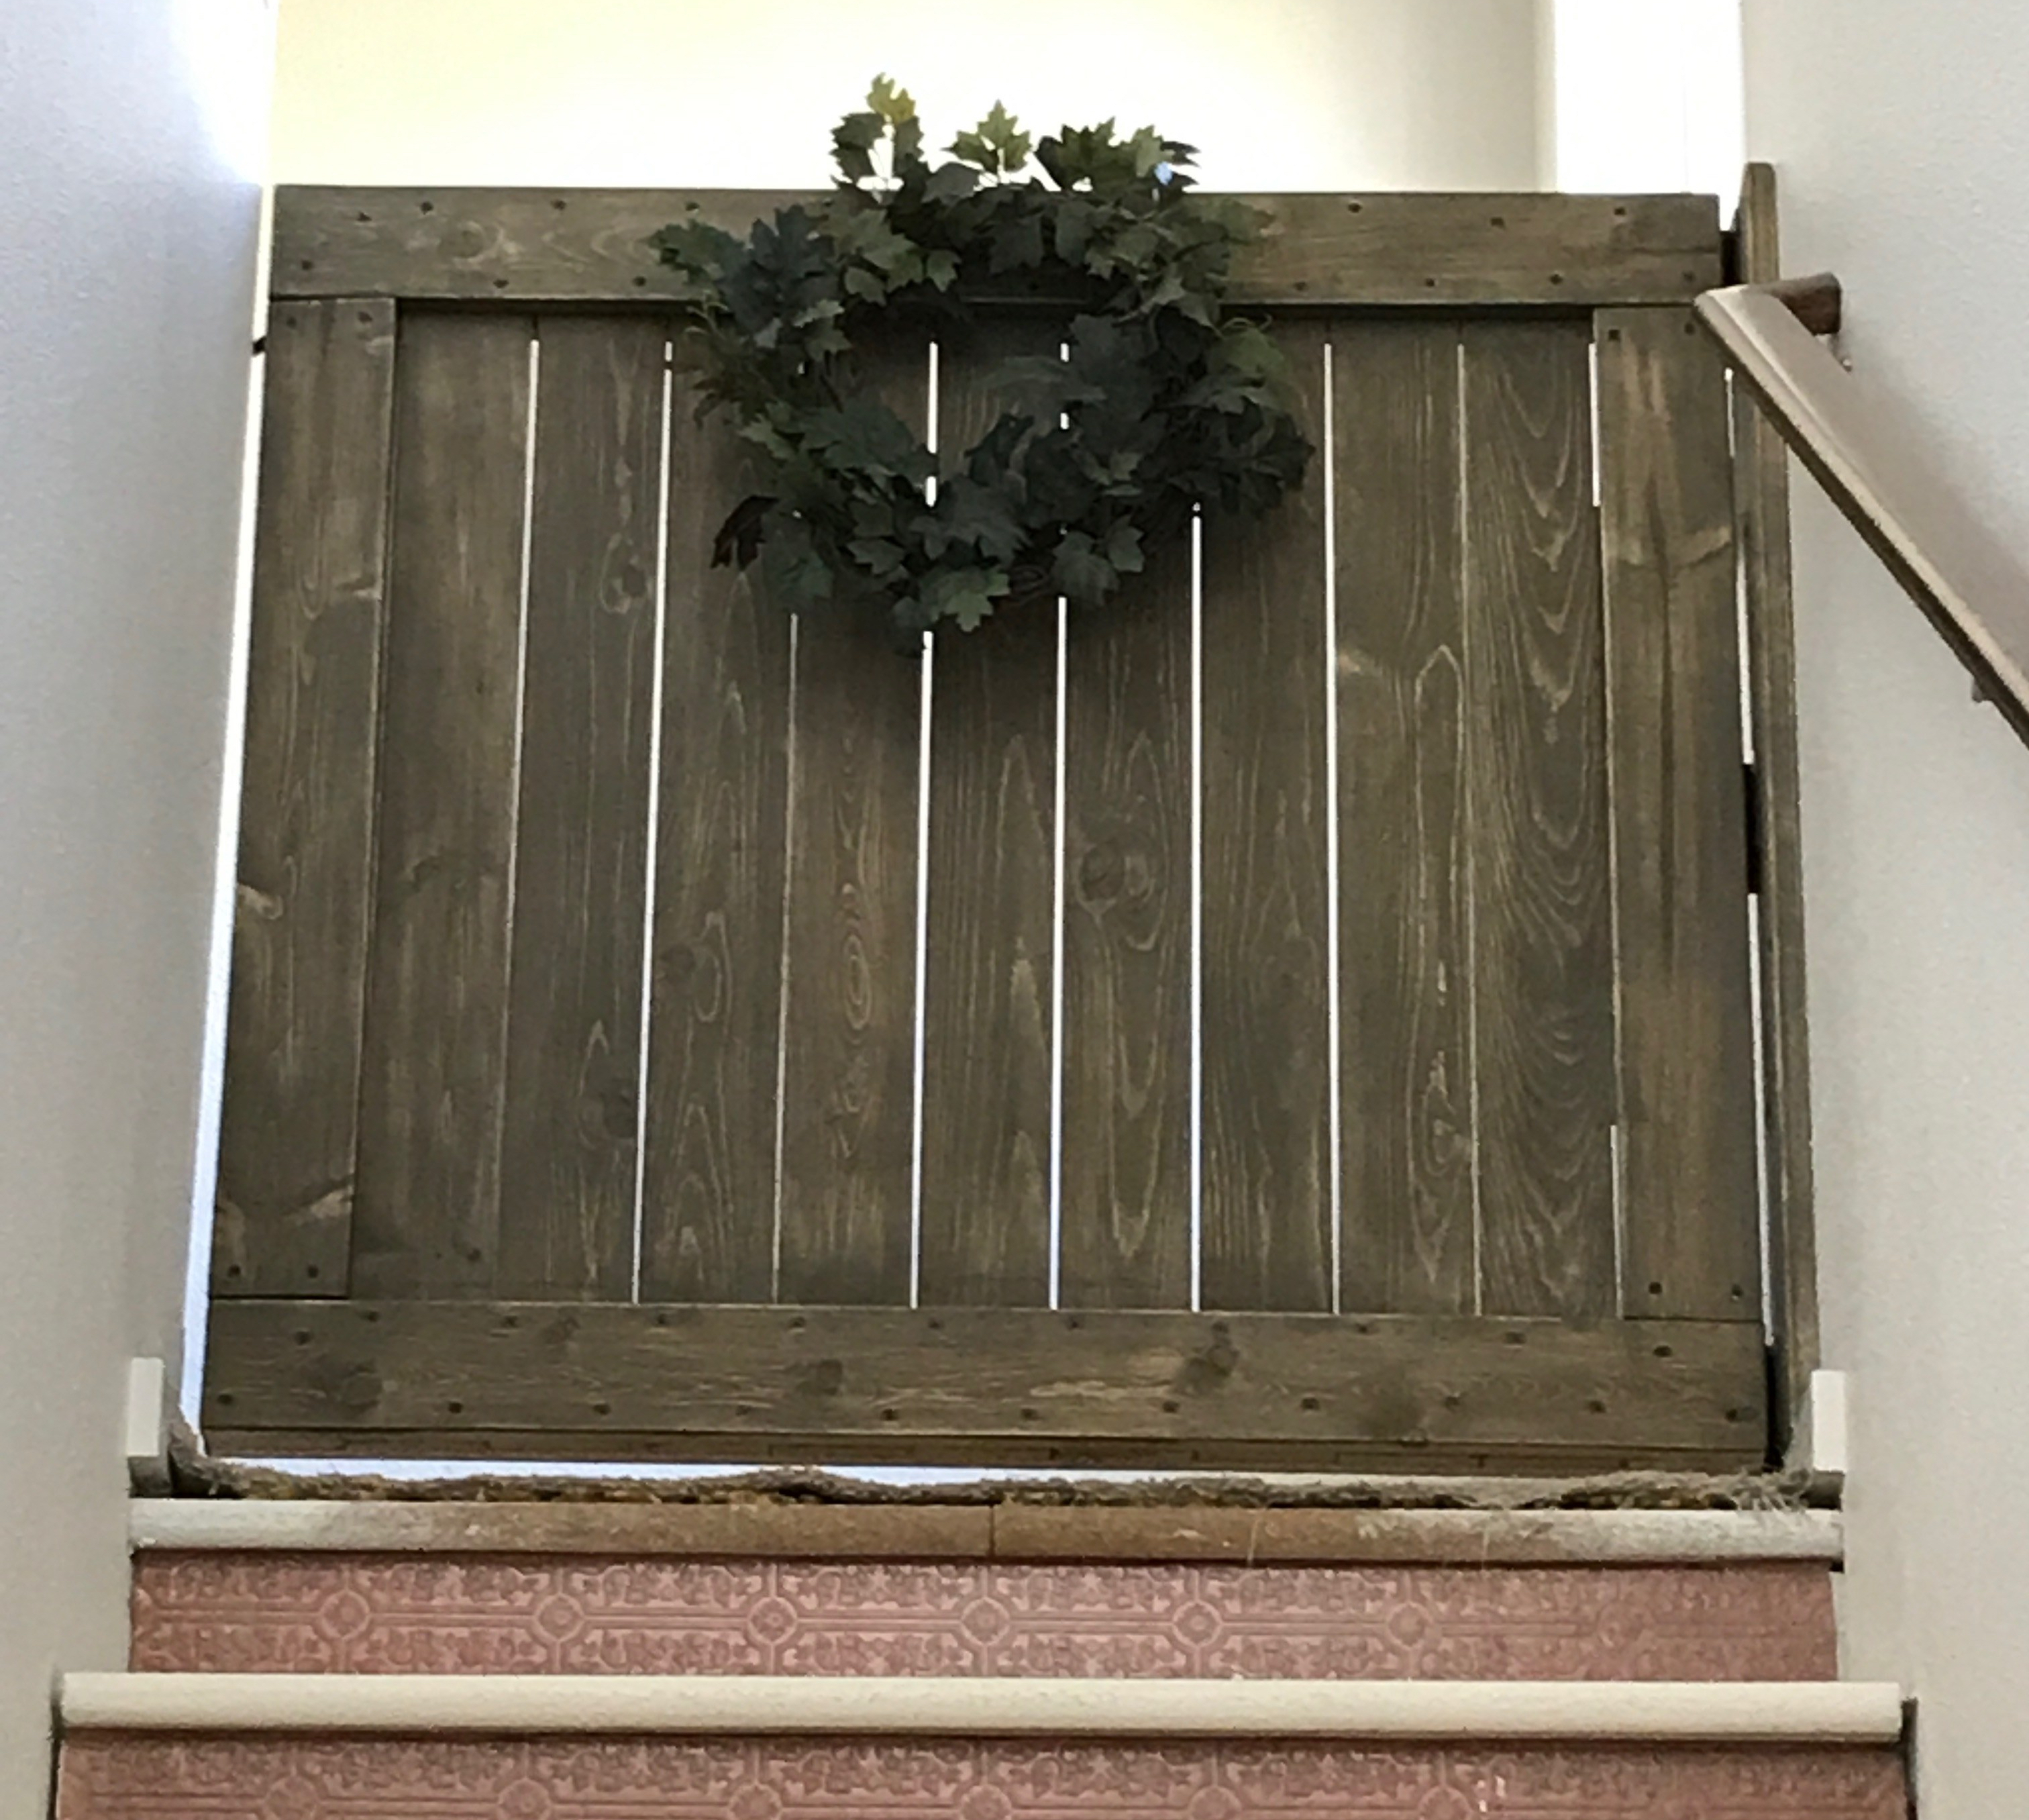
Here it is from standing in the stairs. As you can see there is still a lot more work to be done on these stairs but one thing at a time! The walls will be painted and the stairs will be trimmed out…..eventually! And I will add a couple coats of poly. I promise!
Here are the materials I used based on the measurements of my stairwell:
13 – 1×4 boards cut to 36″ (I used 11 for the verticals and 2 for attaching the gate to the walls)
4 – 1×4 boards cut to 39″ (these are for the horizontals)
4 – 1×4 boards cut to 29″ (these are for the vertical frame pieces)
2″ screws for attaching wall boards to studs
1 5/8″ screws for making the actual gate
Wood stain of your choice – I used Rustoleum Ultimate Wood Stain in Aged Wheat.
Poly of your choice – I will use Minwax Fast Drying Polyurethane in a Clear Satin.
Lovin’ it!
Looks so good! Could be used for a child gate too! I definitely need to make one! Thank you for the great tutorial!
~Emily
My pleasure! Yes it would be perfect for a baby/child gate. The dimensions given would work well for that too!
[…] Wooden Dog Gate stilettosandshiplap.com […]