
This site contains affiliate links to products. I may receive compensation for purchases made through these links.
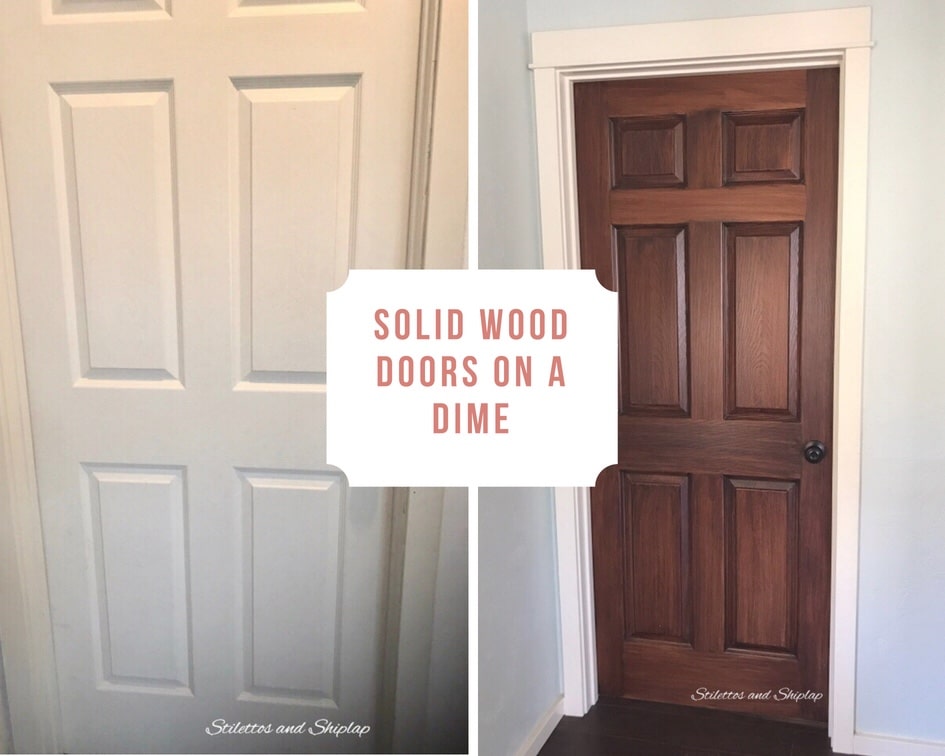
Have you ever looked at your boring, builder grade, white doors all thru your house, and wished it wouldn’t break the bank to replace them with beautiful solid wood doors? What if I told you that you could do that for next to nothing? Are you following? It’s all about tricking the eye and that doesn’t have to cost much! Let me show you what I mean…

Recognize this? You should. It’s probably the same doors you have throughout your whole house too! Okay there is nothing exactly wrong with it. It opens and closes. It’s even got raised panels so I should be happy, but no. They’re boring. And cold. And have absolutely no personality.
So….ideas? Paint? Buy new doors? Nope! Time for my favorite General Finishes Gel Stain! I’m serious! You can even use this stuff on something that isn’t solid wood and you do NOT have to sand or strip it first. Just make sure it’s clean and dry…I used the color Java because I had it left over from my kitchen cabinets – you can find the tutorial here.
Off to my “workshop” (aka garage) I go with my door under my arm. I set it up off the floor on paint cans so I could easily do the edges at the same time as the top. I chose to completely remove the hinges off the door and the frame because I didn’t want to have to tape them all and I took the opportunity to paint my door jambs and trim at the same time.
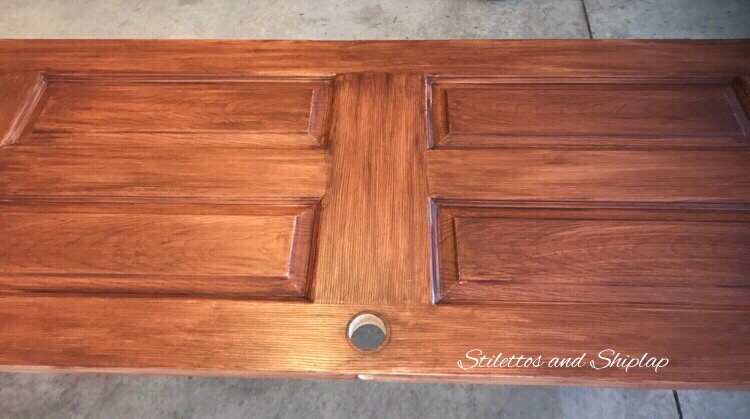
As always I put a latex glove on my hand and then used an athletic sock over that to apply the stain. Particularly when you want the look of wood grain, having the variation from your fingers inside the sock is very helpful. Be careful to go in the direction the wood grain would go and in the case of the paneled doors, make sure you stop and start where each individual “piece” of the door stops and starts. This will make it look more realistic.
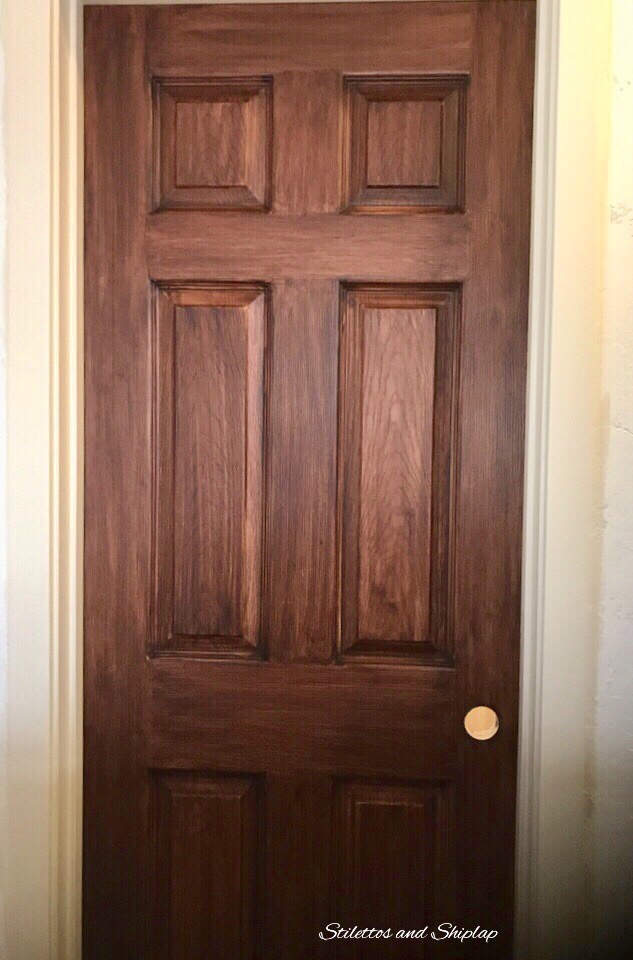
This is after 2 coats over the entire door and the odd additional touch up here and there to smooth out the color variation and get the look I wanted. This is also before poly so it has more of a dull finish. If you like that look, feel free to use a matte finish poly and I’d recommend 2-3 coats. Allow it to dry completely before hanging the door back on its hinges and installing the doorknob. I waited several days before I put the doorknobs back on – except for on the bathroom door! ?
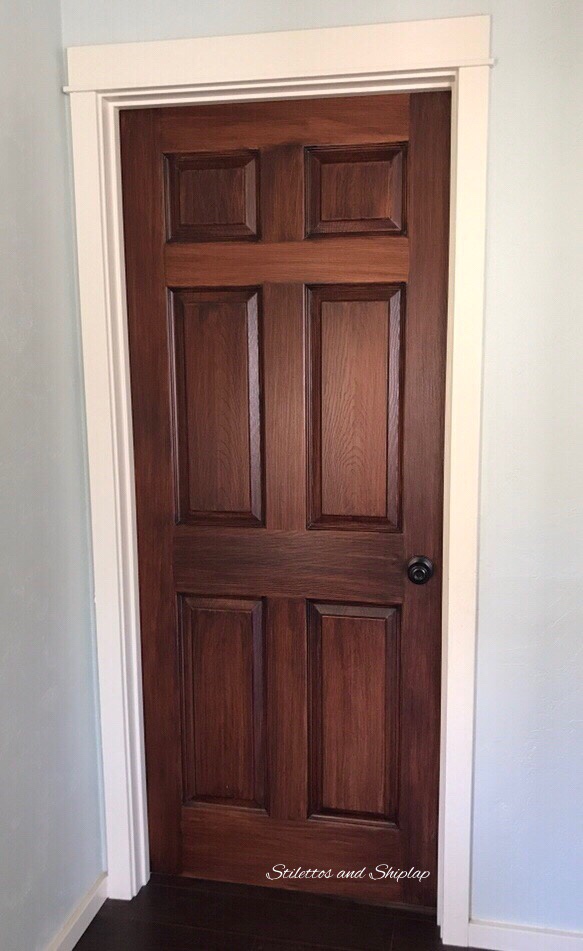
Voila! Here is the finished product after several coats of a satin poly (I chose satin instead of matte for better washability due to having 5 kids!) I installed a lovely new, oil rubbed bronze doorknob. I did all the doors in my entire main floor like this and I LOVE them. Everyone who has seen them thinks they are solid wood doors and it adds such a rich warmth to the space.
As for cost, I already had the gel stain from a leftover project and the same thing with the poly. The only money I spent on these doors was $15 each for new knobs! Pretty good, I’d say ??.
Enjoy!

This is amazing! Such a great transformation! I am going to try this!
General Finished gel stain is AMAZING! You’re gonna love it!
[…] APPLICATION TIP: After many test runs, I have found that the best way to apply the gel stain is with an athletic sock like these. Buy yourself some new ones and use up the old ones for your staining projects! I recommend putting a latex glove or even two on your hand and then pull the sock on over the glove. Then use your hand to apply the stain. I know it sounds weird but that’s how I apply all my gel stain and it works so well! It also helps to give the variation that looks painted surfaces look more like wood grain. You can see what I mean on my Solid Wood Doors On A Dime… tutorial. […]