
I can’t believe so much time has passed since Emily and I originally came up with our second set of 5 unfinished projects that we wanted to tackle. It seems like maybe a couple weeks ago, if that!
In case you missed any of my previous blog posts on the subject, last year my wonderful friend Emily and I decided that we needed to rectify a little problem we both had. You see, we tend to start new projects while we still have old ones unfinished. You could call it “Project ADHD”!
We flit from task to task like a hummingbird to some sweet summer flowers!
It’s a problem!
And so we each came up with a list of 5 of our most annoying unfinished projects and then we held each other accountable and shared with y’all each time we finished one of those projects. It worked so well that we decided to do it again this year!
Voila! Our 2nd list was born.

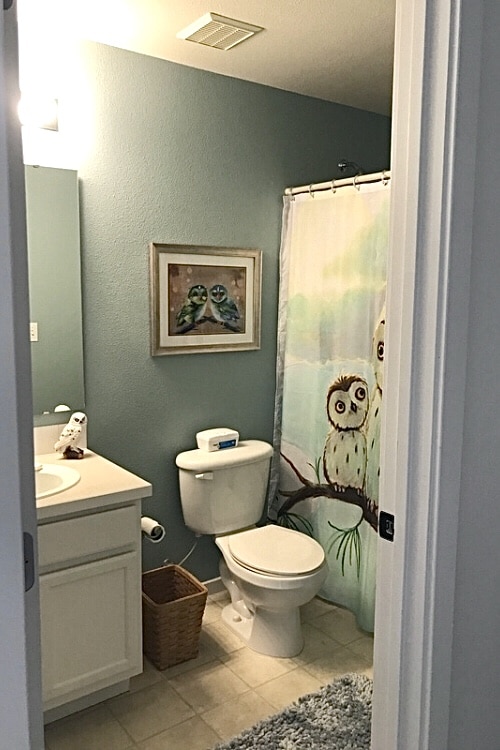
I already shared my vision for my kids bathroom, which was the project I decided to start with.
But now!
Are you ready?
Maybe you should sit down first.
Drumroll please….
Do you love it so far?
Say what? Nothing has changed?
How about now?
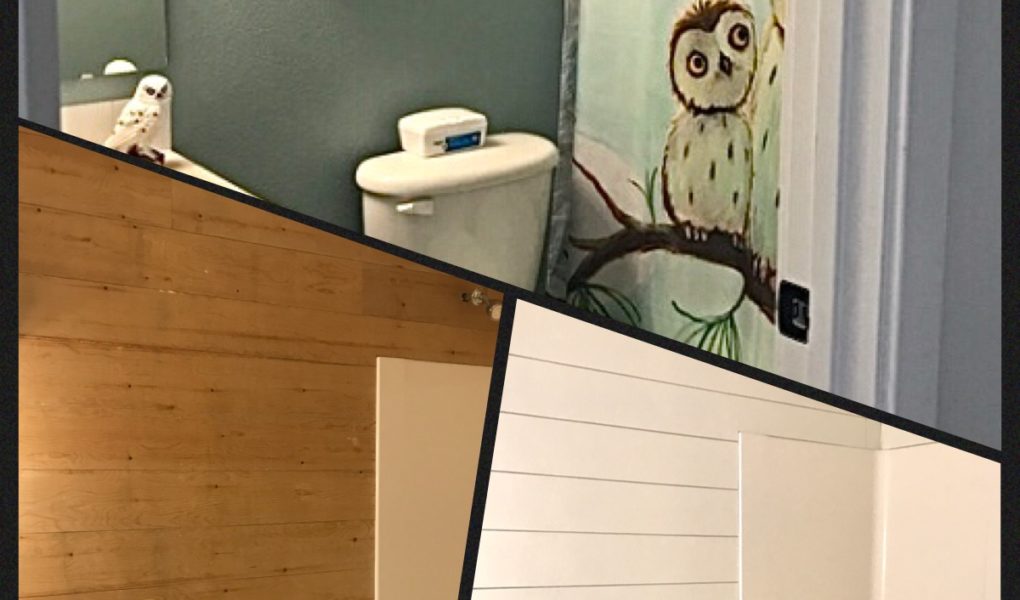
Okay fine! I just wanted to remind you what it looked like to start with because it doesn’t look like this any longer!

First I painted the walls white for a better base color, before I started adding shiplap. I also grabbed a variety of hand tools and distributed them randomly around the space. That was mostly to make it look like I was really hard at work even when I wasn’t.

Aha! Now I’ve added some power tools!
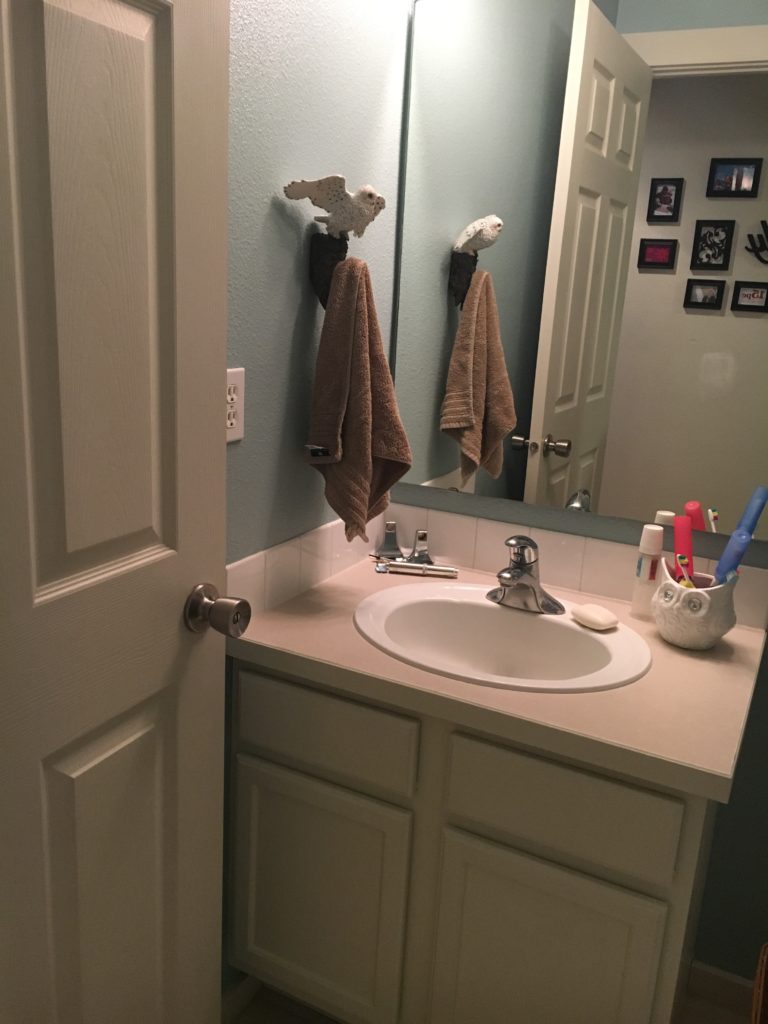
And I dismantled the old light bar over the vanity and left it to dangle artistically.

Just in case you wanted a closer look at the DIY light I crafted.
I thought so!

Before you think that I’ve lost all design sense – isn’t it amazing what a couple coats of paint can do? It never ceases to amaze me. I’ll share details such as paint colors and decor sources in the final reveal post.

What you can’t really see just by looking at these photos, is that before I painted I sanded down every square inch of the wood to make sure there were no rough spots and no splinters. It wasn’t exactly fun but its that old necessary evil called “surface prep”.
You can see I’m still pretty in love with my “new” lighting !
Okay I’m done.
Alright not exactly but at least the most annoying part is over and now I can get to the really fun stuff!
I’ve got some awesome things up my sleeve that I just can’t wait to share with y’all.
Soon!
Emily’s Project #1
Now a little birdie told me that Emily had an update on her project as well and I’m dying to see it! Let’s go take a look! Click the photo below.

Tara, the Shiplap looks amazing! It makes the bathroom look so much different! I love it! I can’t wait to see everything that you have planned for the space!!
Thanks so much, Emily. I can’t wait to get to the fun, more decorative touches that will make the whole thing come together 😁
It looks like a whole complete different bathroom. Can’t wait to see how it all looks after all your touches.
Isn’t it amazing what paint, and in some cases some wood, can do? I’m excited to start working on the floor now.
[…] Project #1: Kids Bathroom – The Walls […]
[…] Project #1: Kids Bathroom – The Walls […]
[…] kids bathroom is now sporting all new shiplap walls, freshly painted vanity, a framed mirror, painted and stenciled floor , a new light fixture and […]