
This bathroom project has been taking longer than originally intended – thanks to hayfever and coronavirus!
Why, you ask?
Don’t I have all the time in the world to work on it now?
You’d think…..
BUT…..first hayfever.
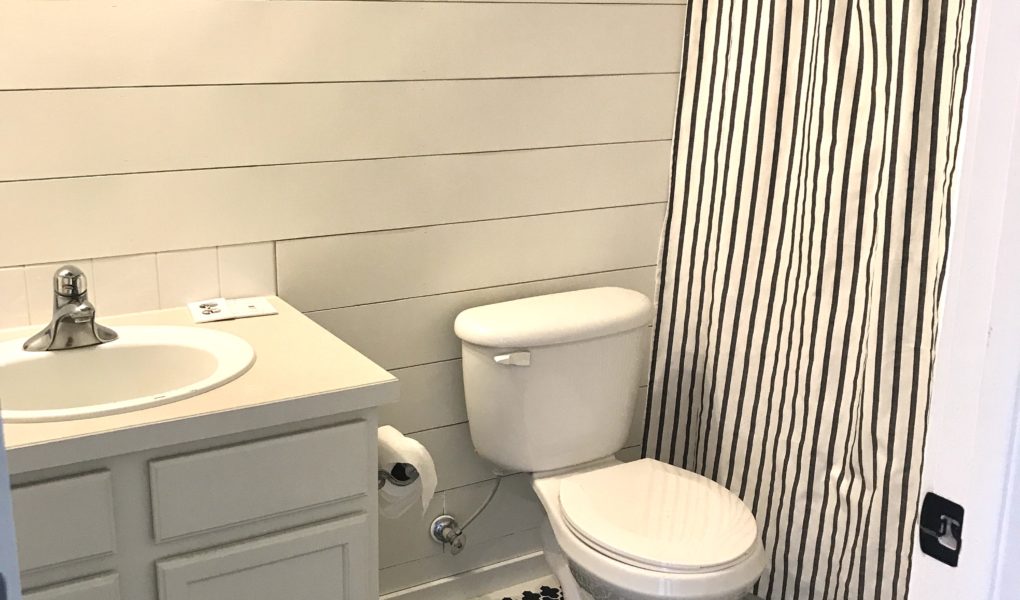
Know what I mean? My eyes and nose have been dripping like that faucet that needs to be replaced for well over a week and a half now and the increased headaches on a person who already deals with daily headaches and regular migraines hasn’t been a whole barrel of laughs.
Let’s just say messing with this really difficult stencil pattern on the floor hasn’t been top priority.
Anyways let me show you my progress as of this post!

Isn’t it beautiful? I know you’re jealous! 🙂
So once I had finished the shiplap walls, I cleaned the floor really well and started painting! I used the same color as I have on the walls (I will share all the details in the final reveal post) but I turned some into homemade chalk paint.

I only did 2 coats on this floor, when I typically do a good 3 for my other stenciled floors. Why? Because this is just going to be the “grout” so very little of this is going to show at all. It’s not AS important for it to be really solid and smooth. I did, however, do a third coat all around the very perimeter.

To quote Thomas the Train – “then there was trouble”! I’ve stenciled things since I was a child and I’ve even stenciled several floors before. But not with a pattern like this one that needs to be crisp and solid and not with black and white contrast!
Believe me – it makes a huge difference!
Previously I have always done the stenciled bit using a small foam roller and just a tiny bit of paint. I always stuck down my stencil with painters tape too because using spray adhesive has never been my favorite thing to do.
But then I started this floor. No matter what I tried the black kept bleeding under the stencil by the time I would have it solid enough and it wouldn’t be crisp.
I’m not going to tell you how many different things I tried until I FINALLY got it to look like the above pic. Let’s just say I had a lot of messed up bits to paint over.

Now I bet you want to know what I finally did that worked, right?
Okay…..so I DID end up using spray adhesive. I hate how it gets everywhere when you spray it which is why I usually avoid it. I didn’t want to walk all the way downstairs and outside or into the garage every time I repositioned the stencil and needed to spray it again. My friend,Emily, suggested using a large garbage bag to spray inside of sort of like a paint tent and that did help a LOT.
After positioning the stencil where I wanted it and carefully pressing down every last tiny bit to make sure it stuck really well, I ended up using the rounded END of a small foam roller sleeve (the 4″ size) to sort of dab the paint on. I used barely any paint and just kept layering with dabbing motions until it was solid. I didn’t push it into the edges and the rounded end helped with that. A straight edge was more likely to push the paint too close to the edges of the stencil and occasionally bleed underneath.
I know it sounds weird but you can see for yourself the end result I got with that method.

I used this project to listen to a lot of music and even LISTEN to some movies and tv shows because let me tell you – it took a long time to complete this one!
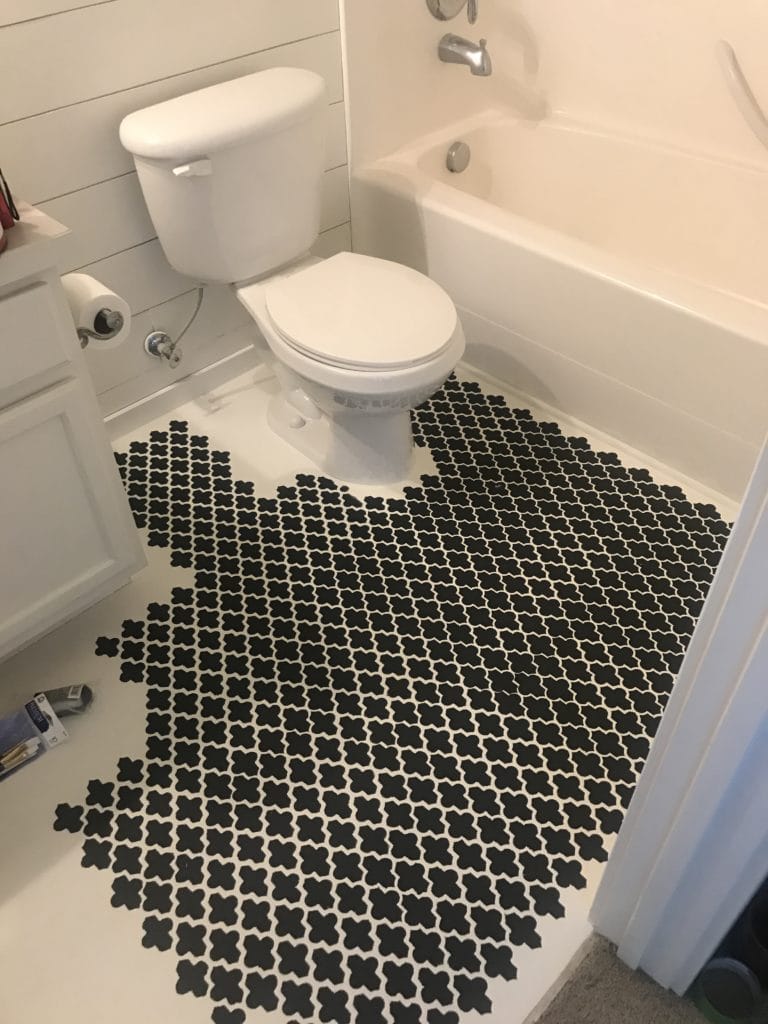
I filled in the main floor first and then did the little filler bits.

Be prepared to get up close and personal with your toilet!

My plan for this floor is to add a shoe mold trim to the baseboards so that’s why I purposely left the nice crisp edge set back from the baseboards.

When the stenciling was done I took an artists brush and cleaned up any bits I didn’t like. I made the edges of the partial patterns (like right around the edge of the toilet) crisp, and covered any smudges that shouldn’t be where they were! 🙂

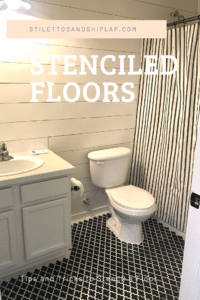
And there you have it! Done!
I sealed this with a different floor sealer than I have previously EVER used and I absolutely love it! I will share the product in my final reveal post as well. There was almost no odor, the salesperson told me she has used it before and there is NO yellowing (this was a big deal to me because I’m having to re-do my entire kitchen floor thanks to a sealer that yellowed which claimed it wouldn’t!). I’m hoping I find this one doesn’t yellow like she promised. It’s nice and clear and I chose a satin sheen.
So far I’ve done 3 coats but I think I might do a few more. I’m a little nervous since this is the kid’s bathroom and I have a child who seems to manage to destroy pretty much everything. I really want to make sure it holds up to her.
Well, that’s it. My next post on this bathroom will most likely be the final reveal of the decor unless I can come up with anything else to do in here in the meantime!
Without being able to get out and hunt for treasures (that’s the coronavirus part) to decorate this room with, I’m not sure when I will be able to reveal the finished result to you but I am looking for some things online that I can order, to try and keep this project moving along.
Wish me luck!
Until next time….

Looks amazing!!!!
This turned out amazing Tara!
Thank you! I’m so glad you like it. I can’t wait to get this space finished but it could be a while now with being unable to hunt for vintage decor right now.
That turned out amazing Tara!
Teresa..
Thank you so much, Teresa. I’m glad you like it. I think I have a couple new gray hairs from this project but it’s been worth it now that it’s done.
[…] Project #1: Kid's Bathroom – The Floor […]
[…] Painting and stenciling the floors was quite a job but made an amazing difference and majorly helped to set the color scheme for the black and white vintage inspired bathroom. […]