If you haven’t been following my most recent blog posts, you’ll have missed all the changes and projects I’ve been doing in my back yard. Trust me – you’re gonna want to see what all has been transpiring!
I’m so in love with my new seating area on my patio. In fact, I’m sitting out here now, enjoying the shade from my giant maple tree and listening to the birds singing all around me. My neighbors on the other side of my fence have a cedar privacy hedge and the birds just love to sit in the cedars and sing their little hearts out.
I wanted to share a simple little craft that I just made for out here on my patio and what better place to write about it than on the patio, looking at the crafts I made!
Grab yourself a fresh cup of coffee and head on out to your porch or patio while I show you.
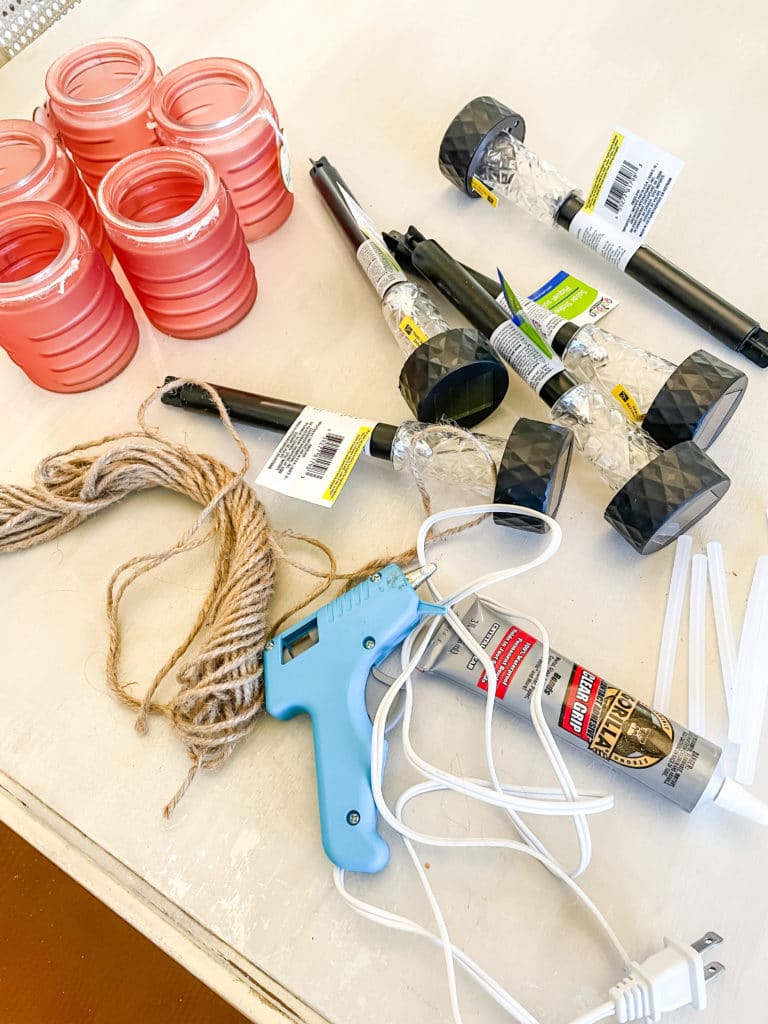
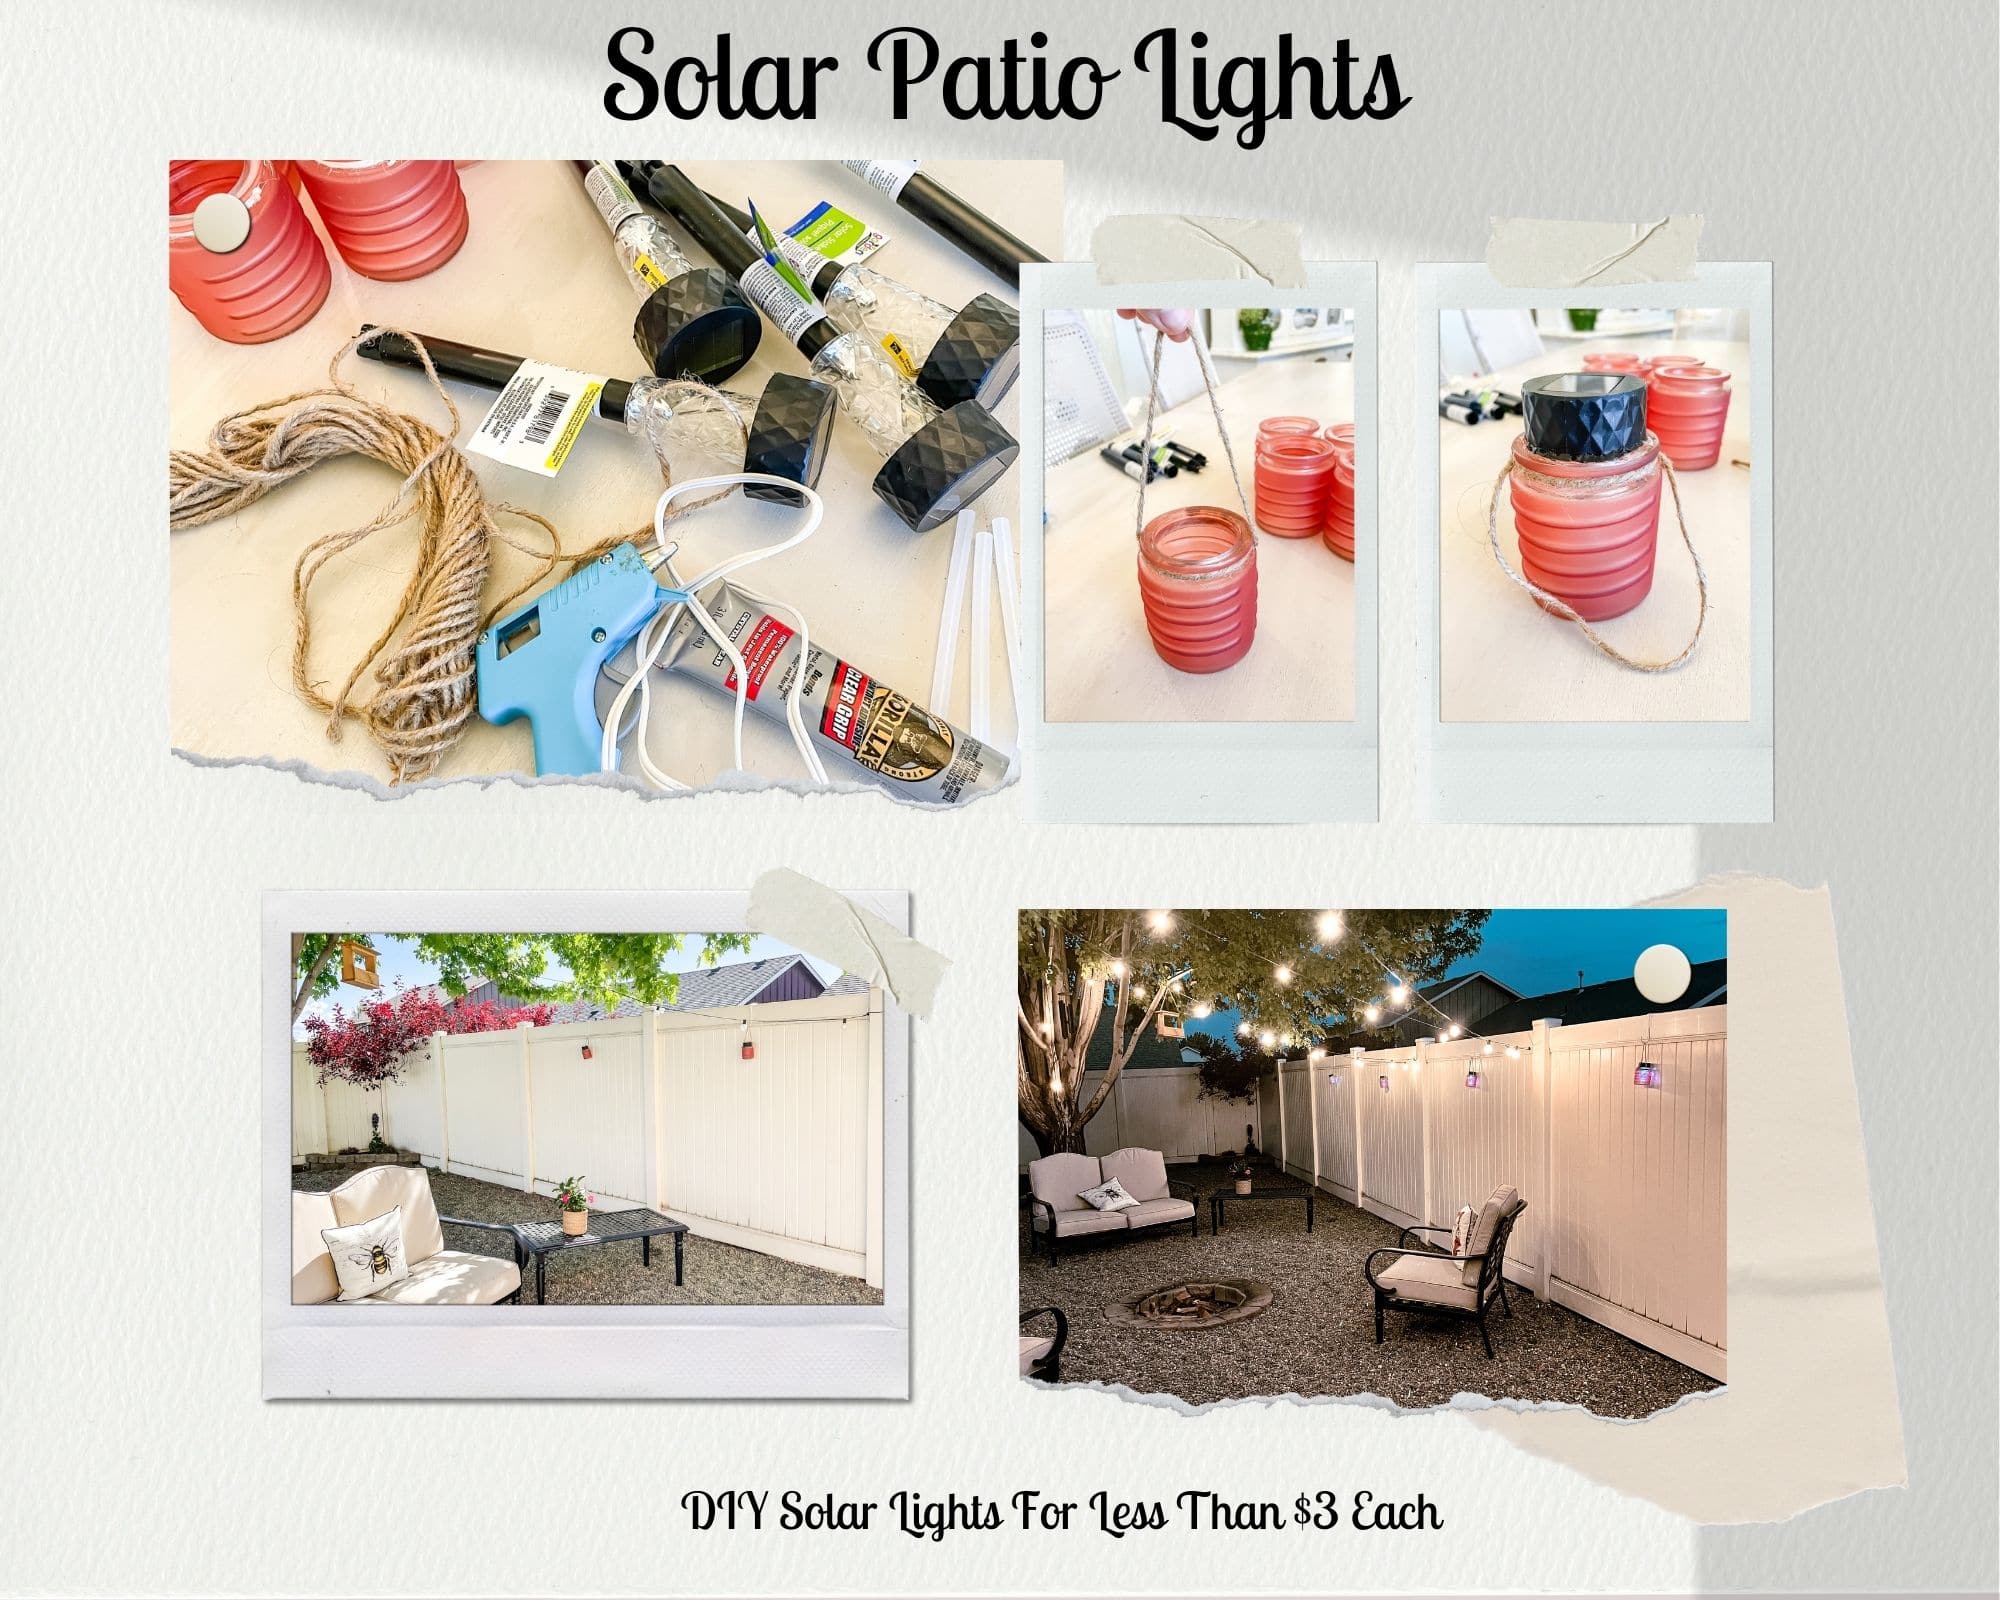
This is the pile of materials I started with. Some I already had and some I had to run out and get, like the solar stake lights. I got them for $1 each at Dollar Tree.
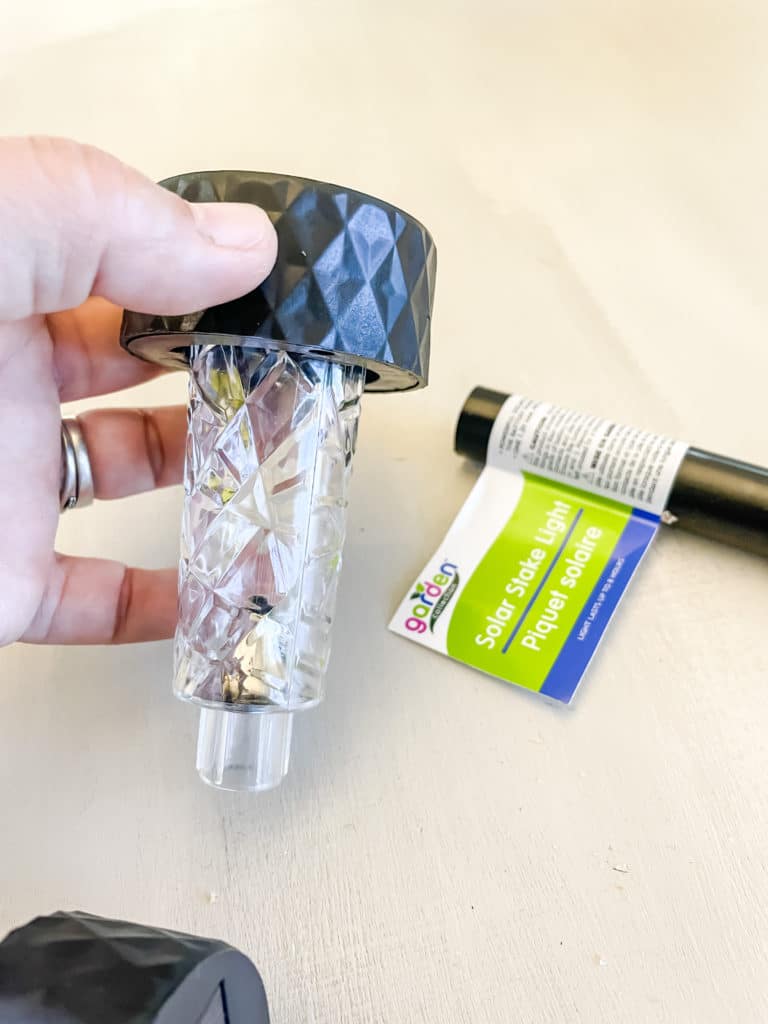
First I removed the stake from the solar lights by gently pulling them apart. I kept the remainder of the solar light together but if you want you CAN remove the sort of patterned shade part and just use the very top part which is black.

The candle holders I got for this project had a piece of twine around the top with a little wooden heart trinket tied onto them but this wouldn’t work with what I had in mind and was a little too “precious” for the look I was after as well. I cut off the twine and hearts and saved the hearts for some future project.
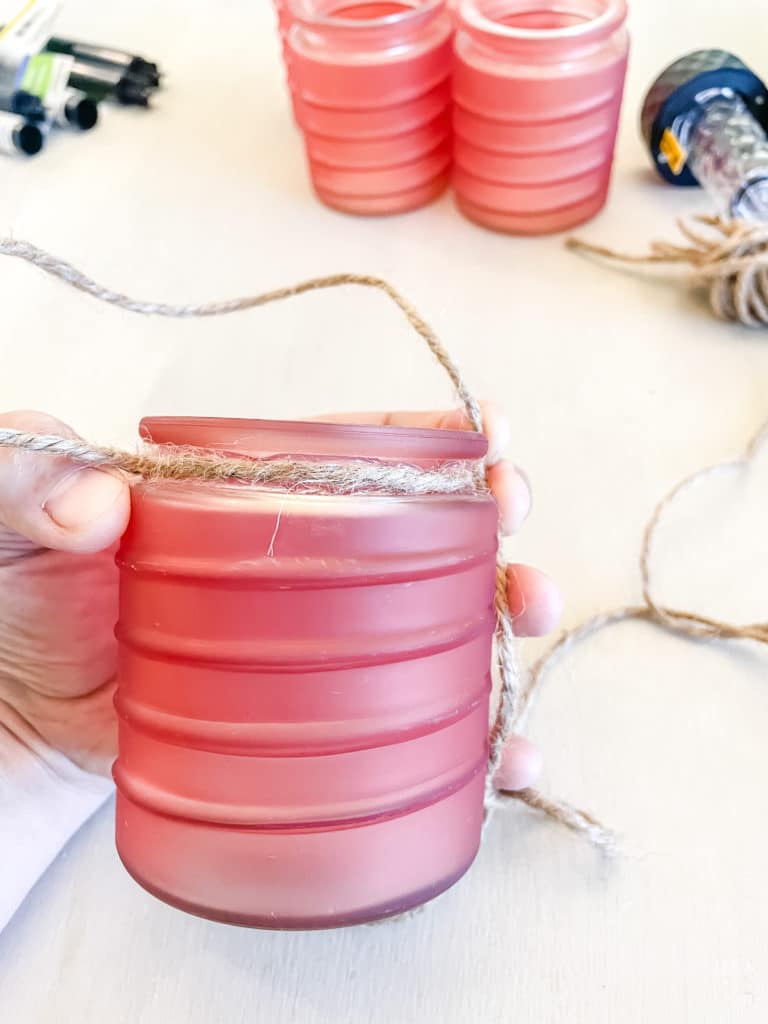
I took some twine and ran a bead of glue around the neck of the candle holder. After I got the twine all the way around to the starting point again, I turned it to form a handle up and over the top of the holder.
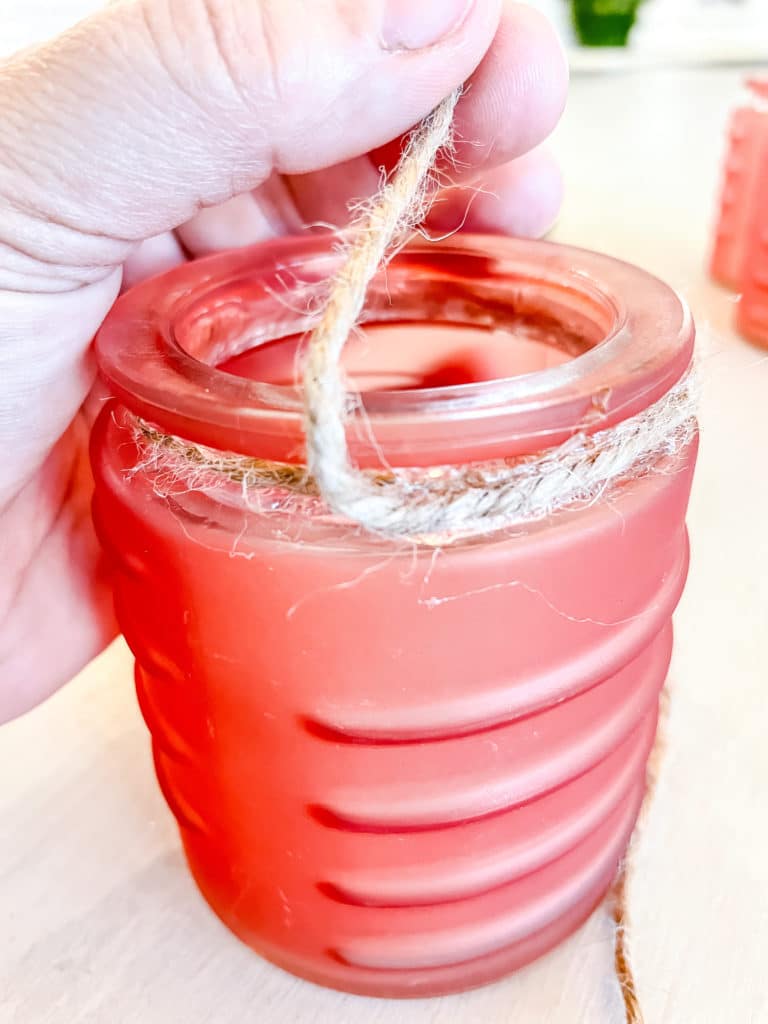
At the opposite side I simply started another round of twine and went OVER the part that formed the handle to make it as secure as possible.
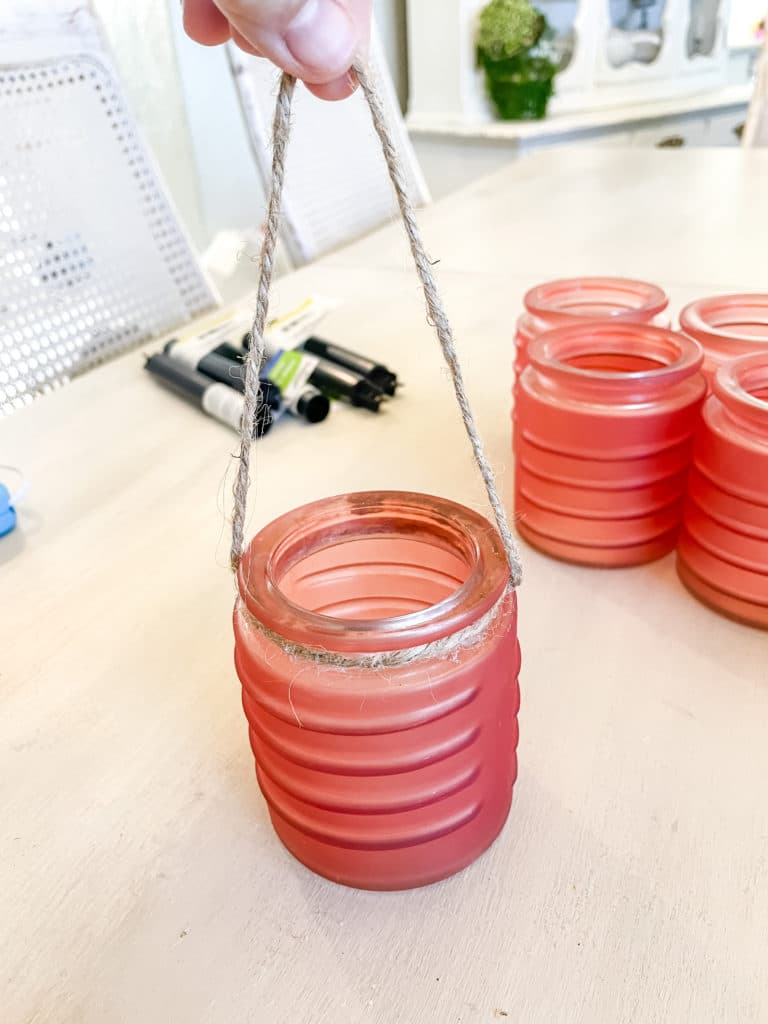
In total I had 3 full rounds of twine on the neck of the candle holder. I made sure to put a dab of glue on the end to keep it secure and prevent fraying.
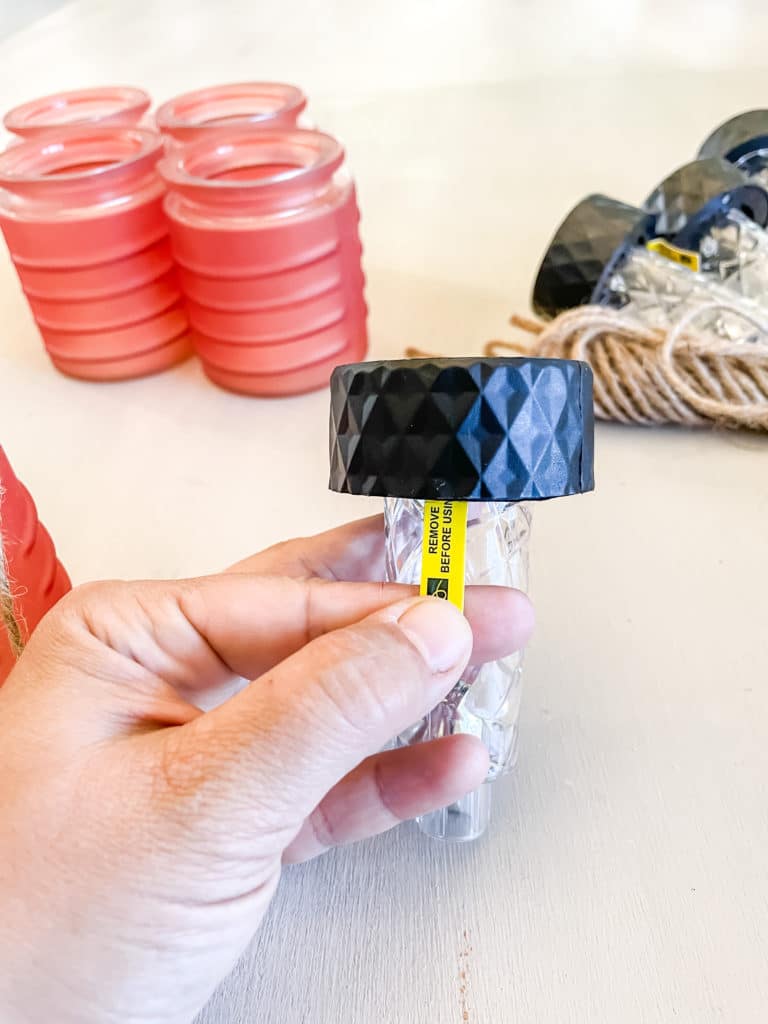
Next I removed the tab from the solar light to allow the battery to charge and the light to come on. These ones barely lit up initially which simply means they haven’t been exposed to light for a while which is no surprise since I just bought them.
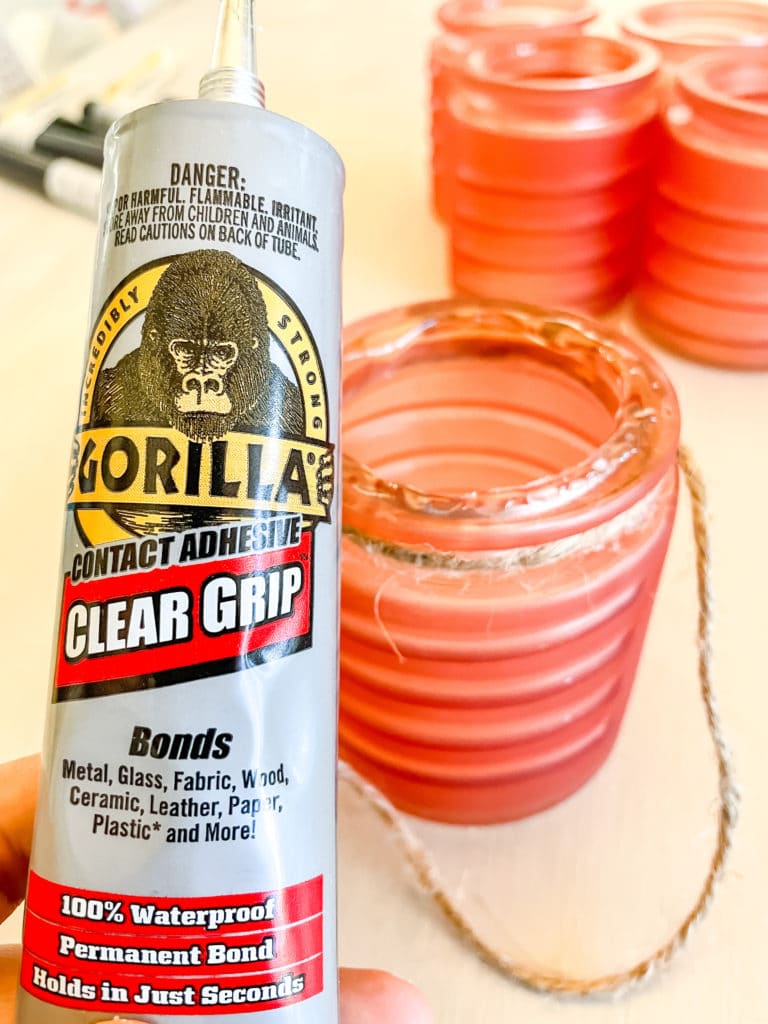
Next I ran a bead of Gorilla Contact Adhesive (dries clear) around the rim of the candle holders and centered the solar light in the hole.
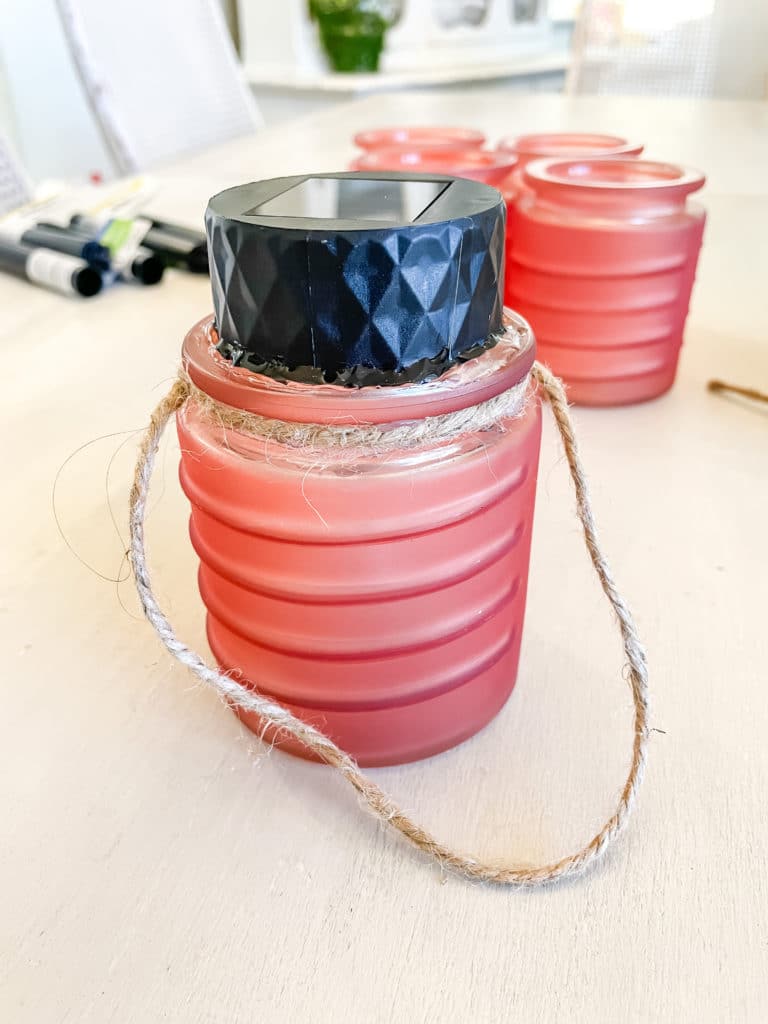
I ran another bead of Gorilla Contact Adhesive around the edge of the solar light to make sure there was no gap between the light and the container. Since these will be outside I don’t want any water to get through into the container. You could also use clear silicone if you prefer.
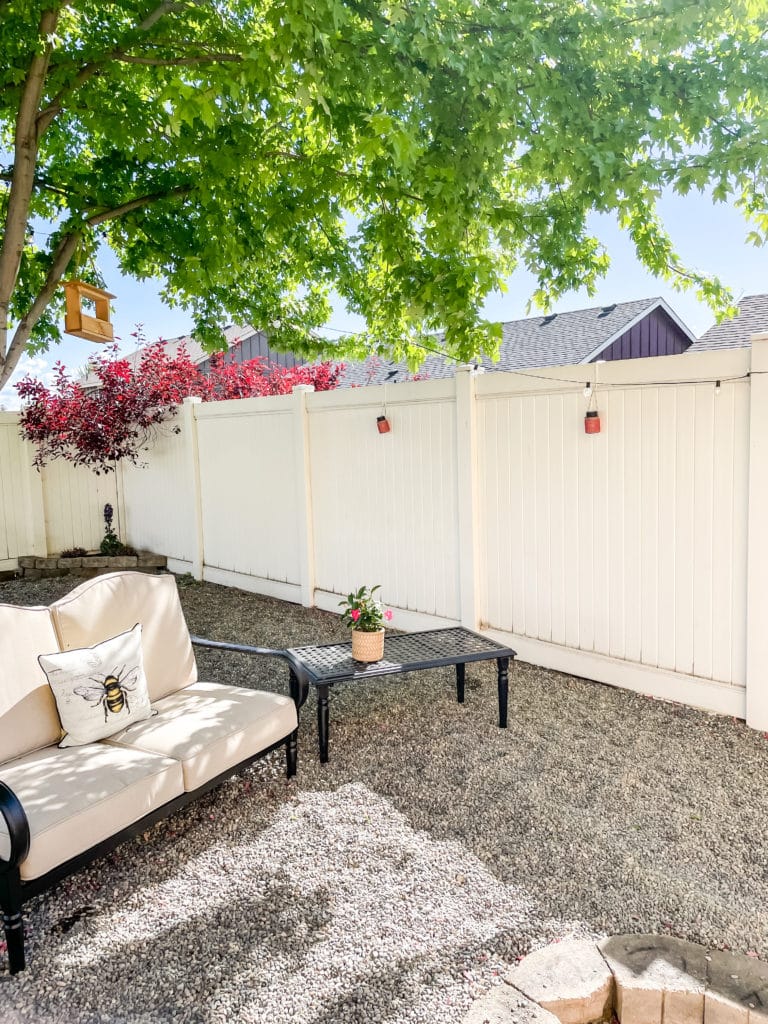
Out into my new patio area I went and hung them along my vinyl fence using fence hooks. They don’t get direct sunlight here all day but they do for a period of time each day and of course get plenty of light all day.
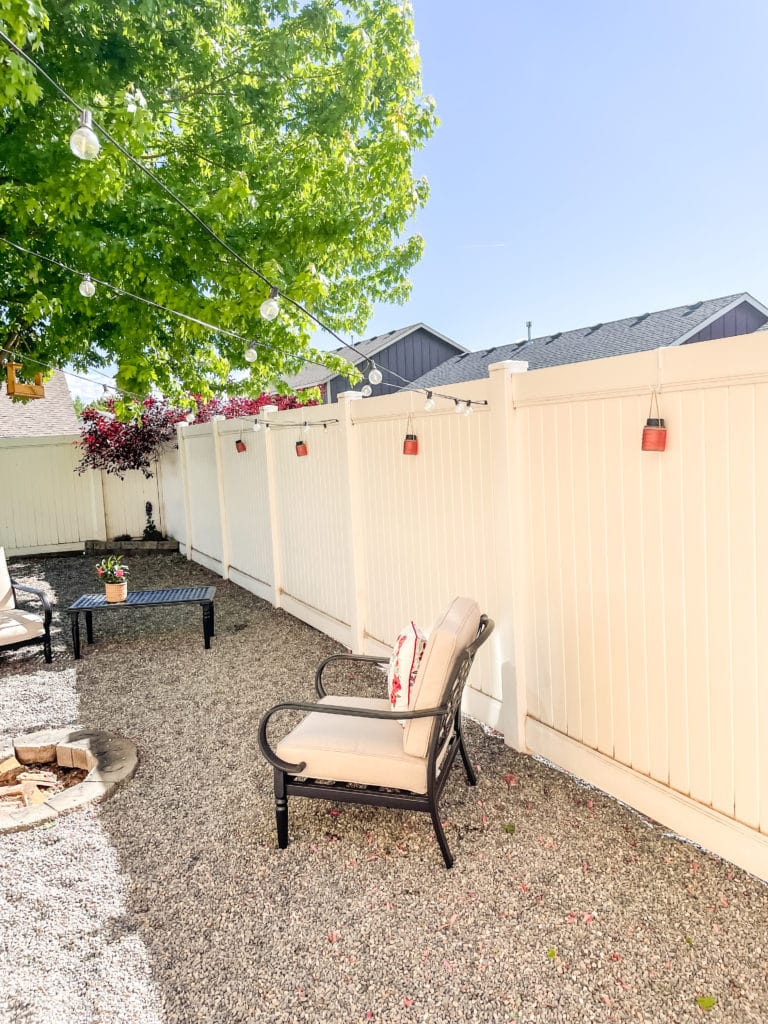
Because I chose colored glass containers, they look cute during the day just hanging there and add a splash of soft summer color. In the evening they will of course light up and add to the ambiance created by the string lights I hung out here in this area as well.
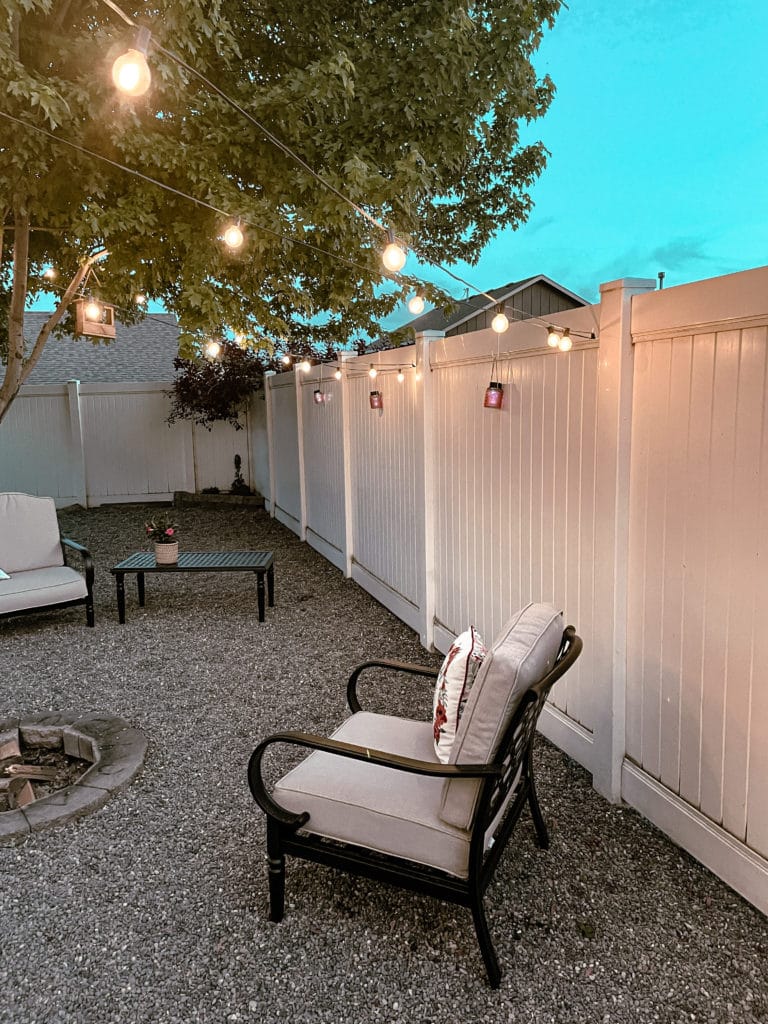
You can see them beginning to light up as it slowly turns to evening and keep in mind they were only charging off the light for a couple hours.
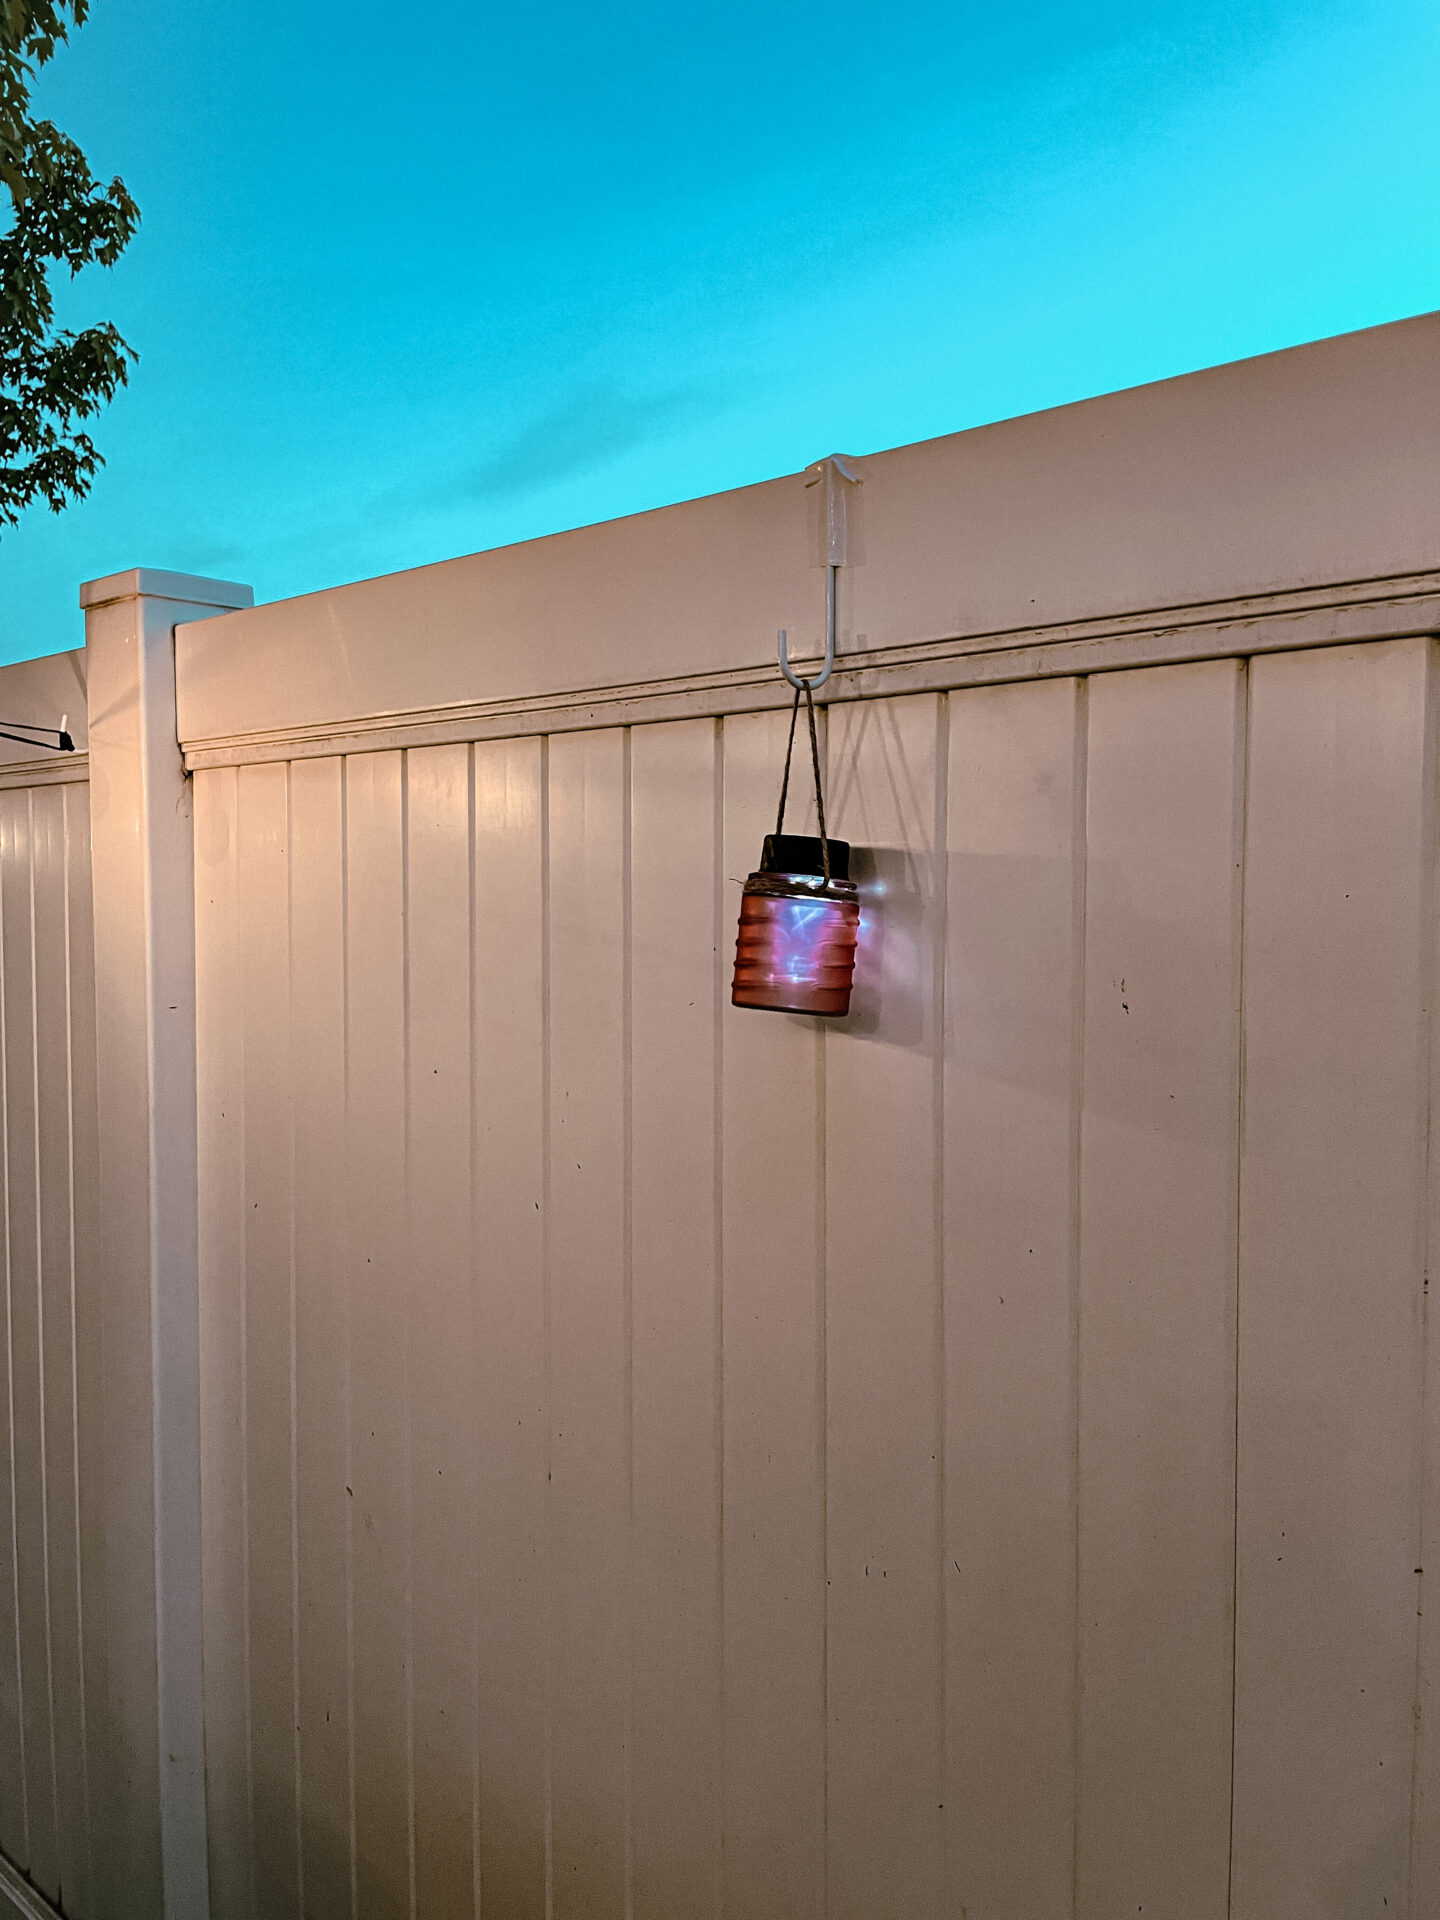
They’re so cute.
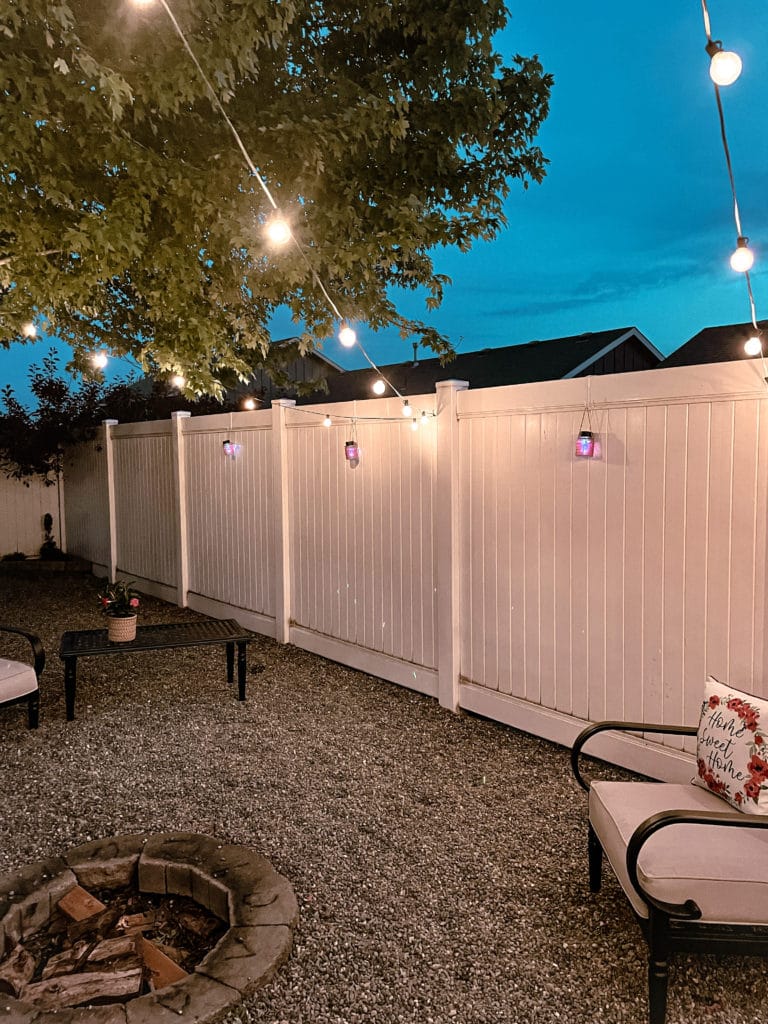
In spite of how this picture looks, it was actually almost totally dark outside when I took these photos.
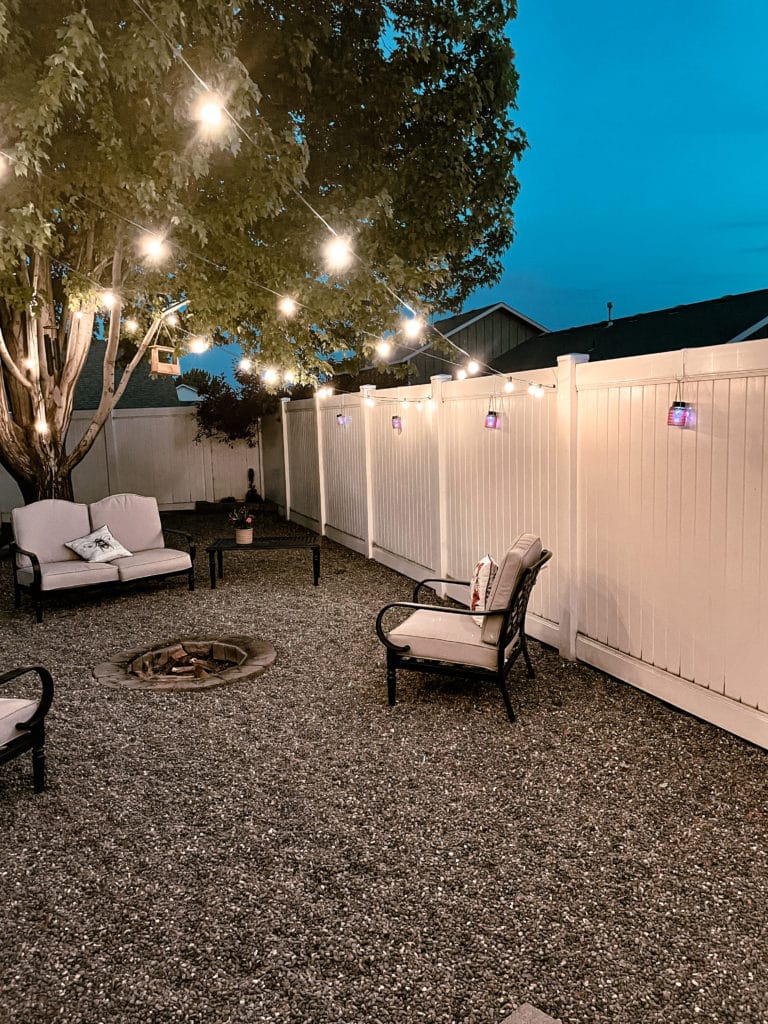
I love the extra splash of subtle color they add and the added coziness that you automatically get with something that glows…..
Emily’s Inspiration
To get another summery craft idea that might be the perfect thing for your indoor or outdoor space, simply click on the photo below.
Until next time!


Tara, this is such a great summer craft! I love it!!! Your yard looks so dreamy and charming!! I can’t wait to get outside and start working on my yard!! Thanks for the great inspo!!!
My Pleasure! I can’t wait to see what you do with your yard this year. All your projects are always amazing!
These homemade solar lights are a great idea! I have never tried to do this myself, yet after reading this tutorial I think it is totally do-able, and such an inexpensive way to add lighting to the outside.
Thanks so so much for sharing just how you did this!!!
My pleasure! Trust me – if you can wrap twine, squeeze glue and center a solar light in a candle holder, you can make these. I bet you could do it in your sleep! I’d love to see a pic if you make some.
[…] Here is a great post to make your own patio lights. I would like to try this myself! […]