
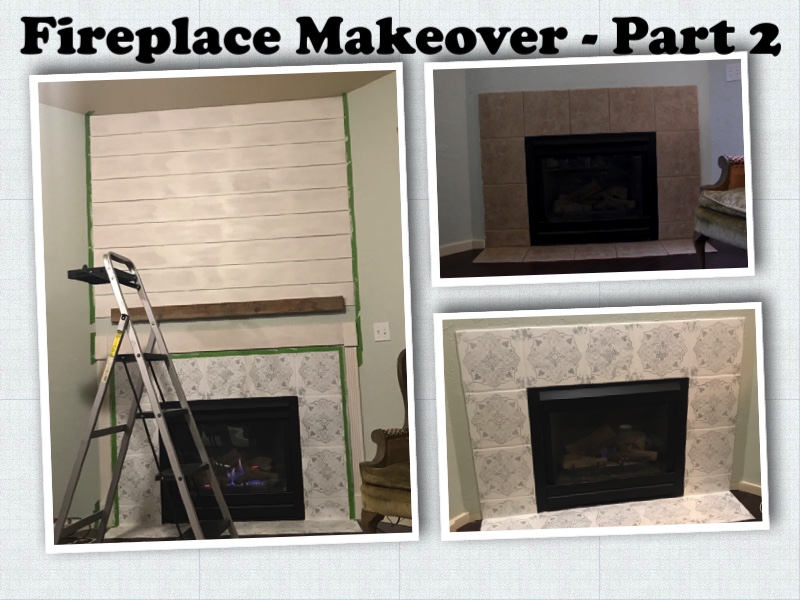
Need I remind you where we started just a couple weeks ago?
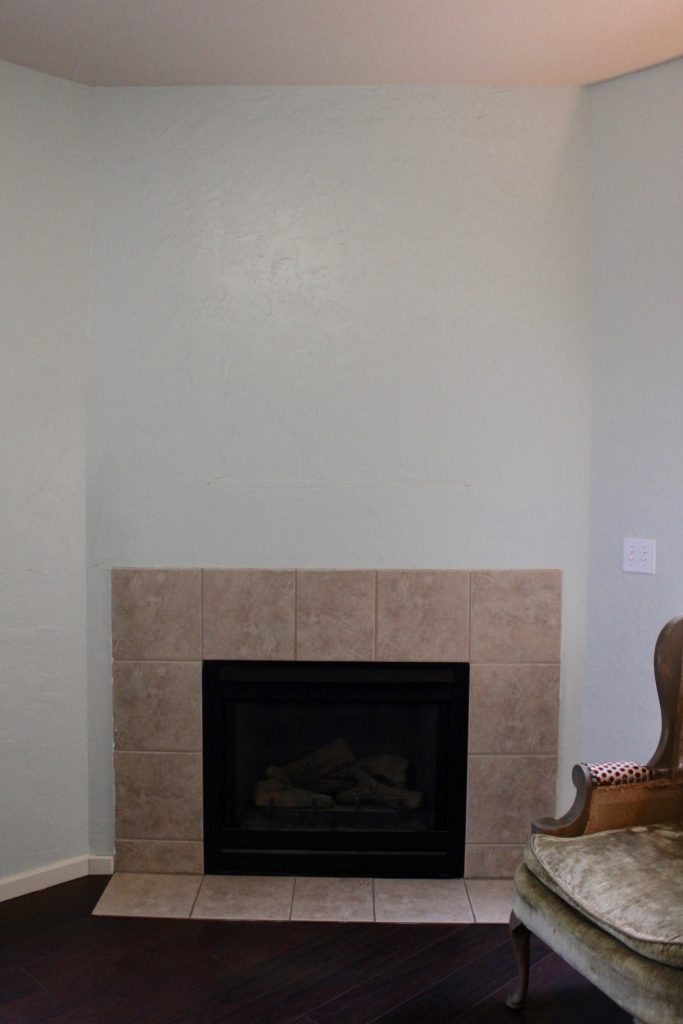
I’m going to anyways because I just like looking at a good before and after! Besides, I feel more impressed with myself when I see what I’ve stared at and hated for the past 4+ years.
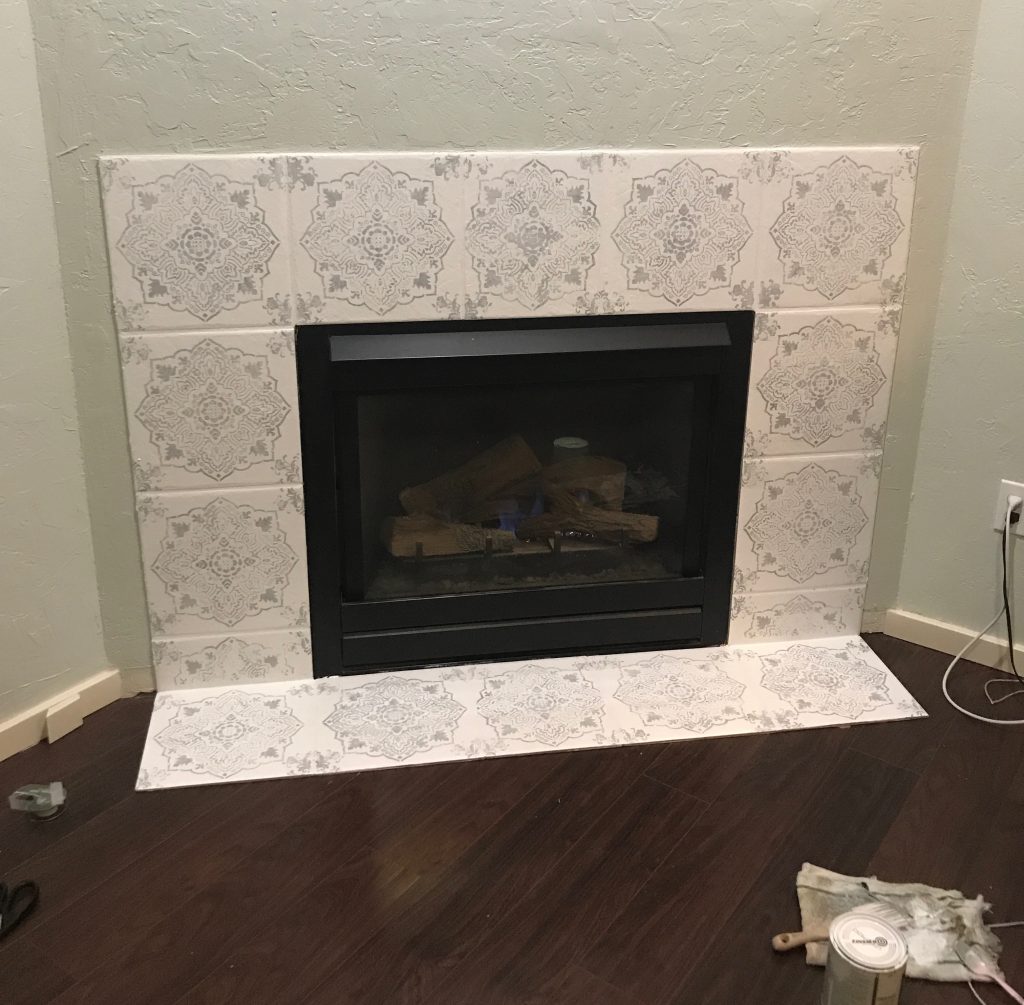
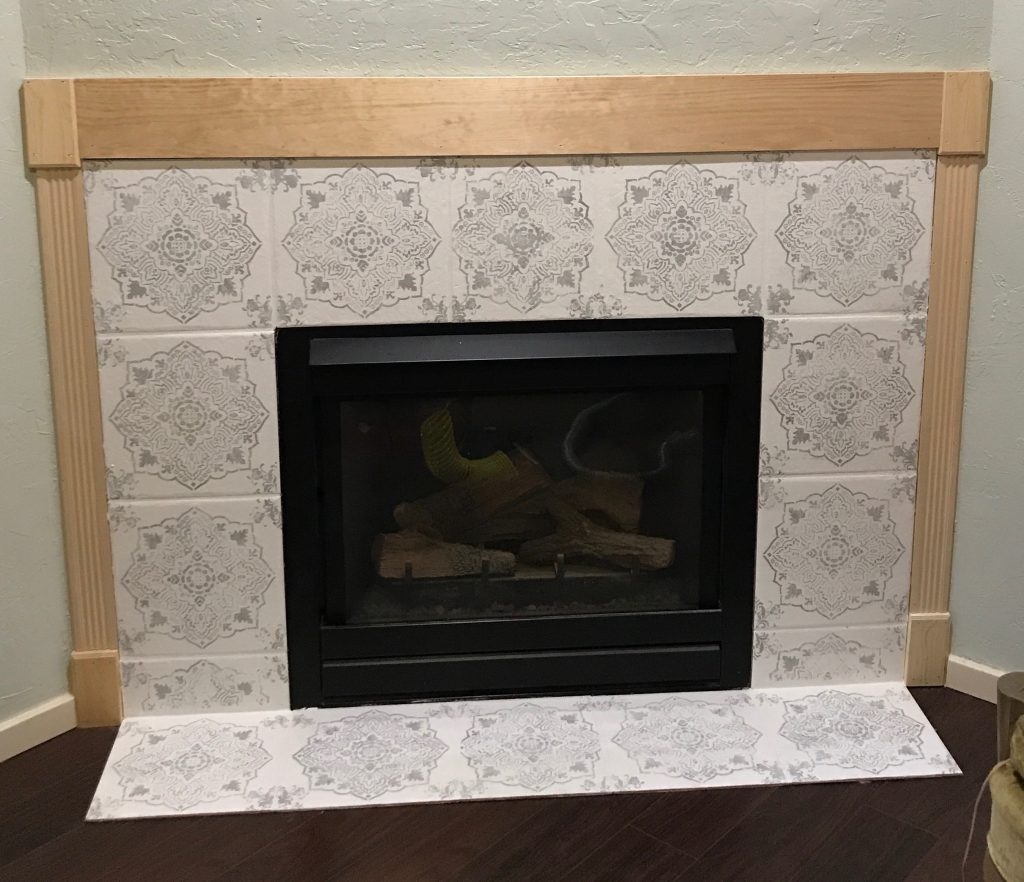
I started by painting and stenciling the existing tiles.
Now is where it starts REALLY getting fun! Why?
Because power tools!
What do you ask for when your husband wants to know what to get for Christmas or your birthday?
Jewelry?
Clothes?
Shoes? (okay sometimes)
A really old house to restore? (only every few weeks)
I got some early Christmas presents this year because I was being so good! POWER TOOLS!
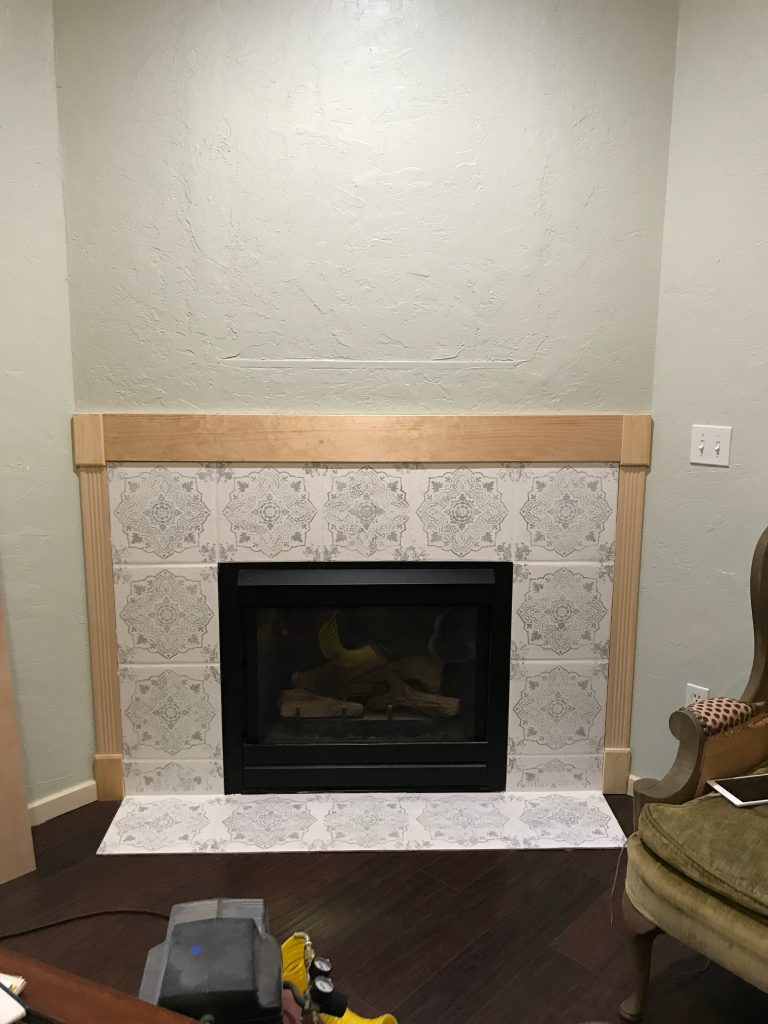
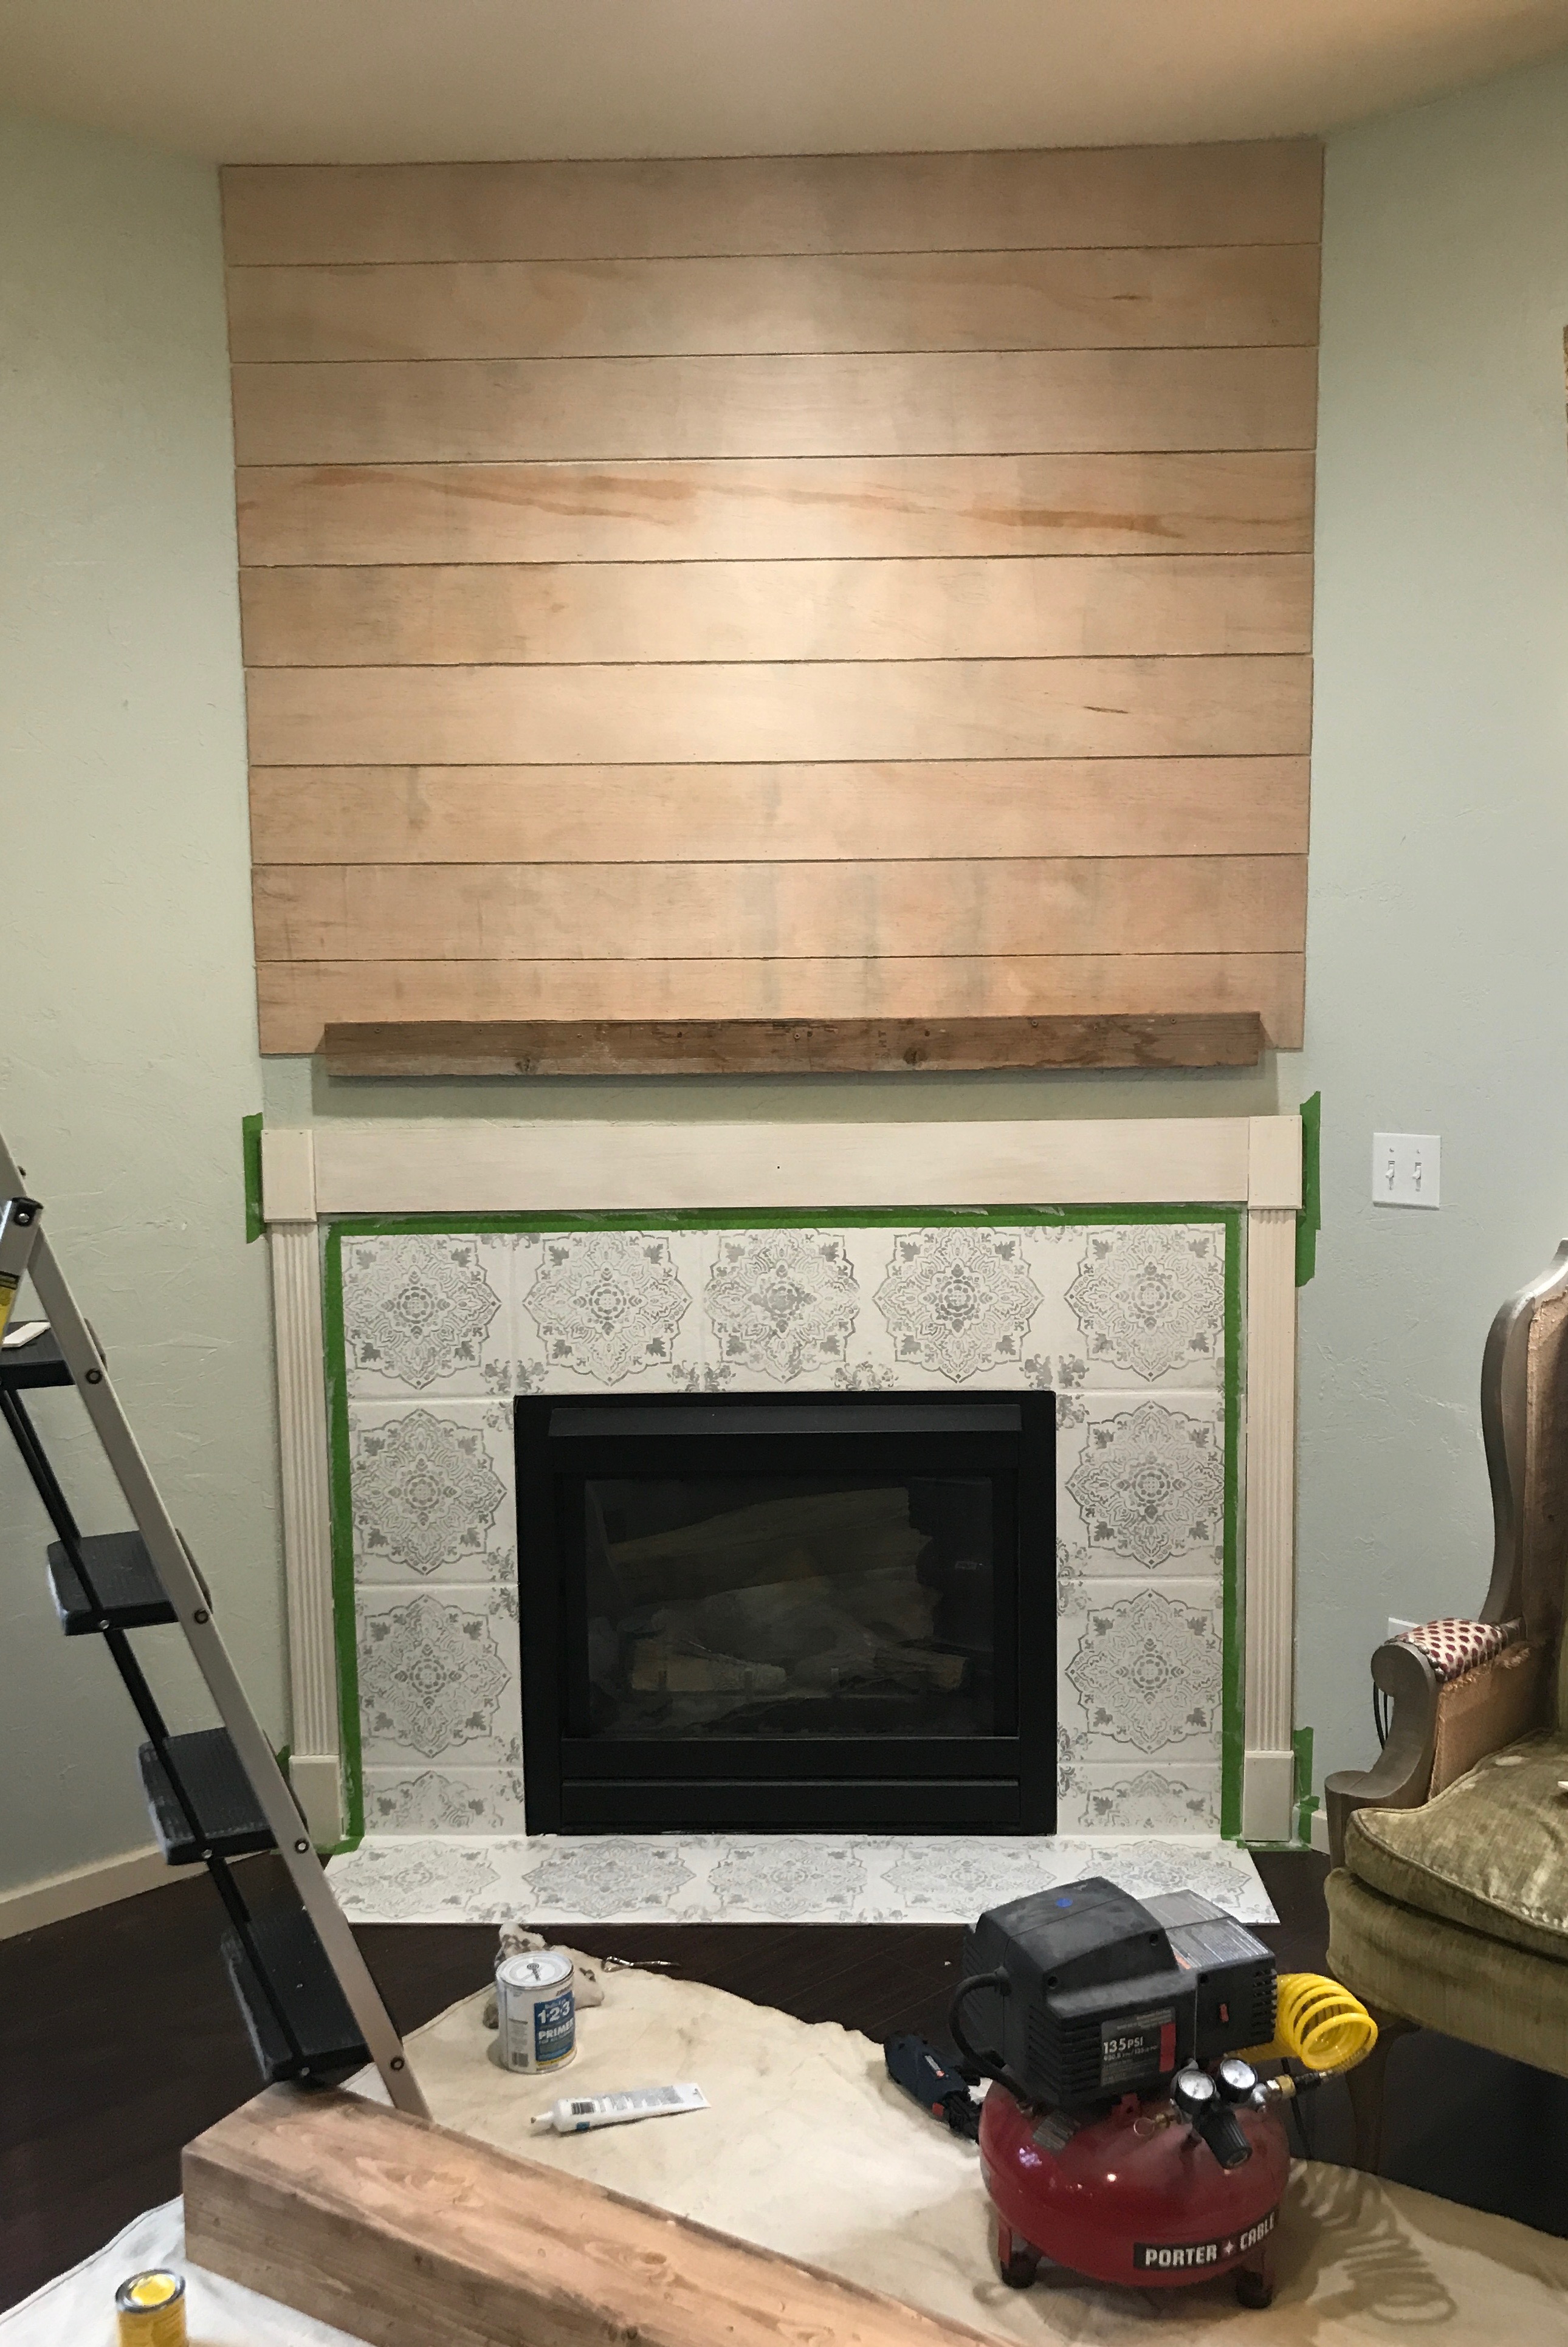
I framed out the fireplace on either side with the widest trim that would fit between the existing tile and the edges of the angled wall. In an ideal world the trim would be wider on either side of the tile to be in better proportion with the overall dimensions of the wall and fireplace but the world in this house isn’t ideal.
My house isn’t level either or at least my walls aren’t. I didn’t bother fixing that with these pieces of trim because it would have shown. I simply cut my baseboard to fit around the trim I had chosen using my Dremel and nailed it into place. I placed the top board as tight against the tile as I could and caulked the crack between the wood and the tile with white, paintable caulking.
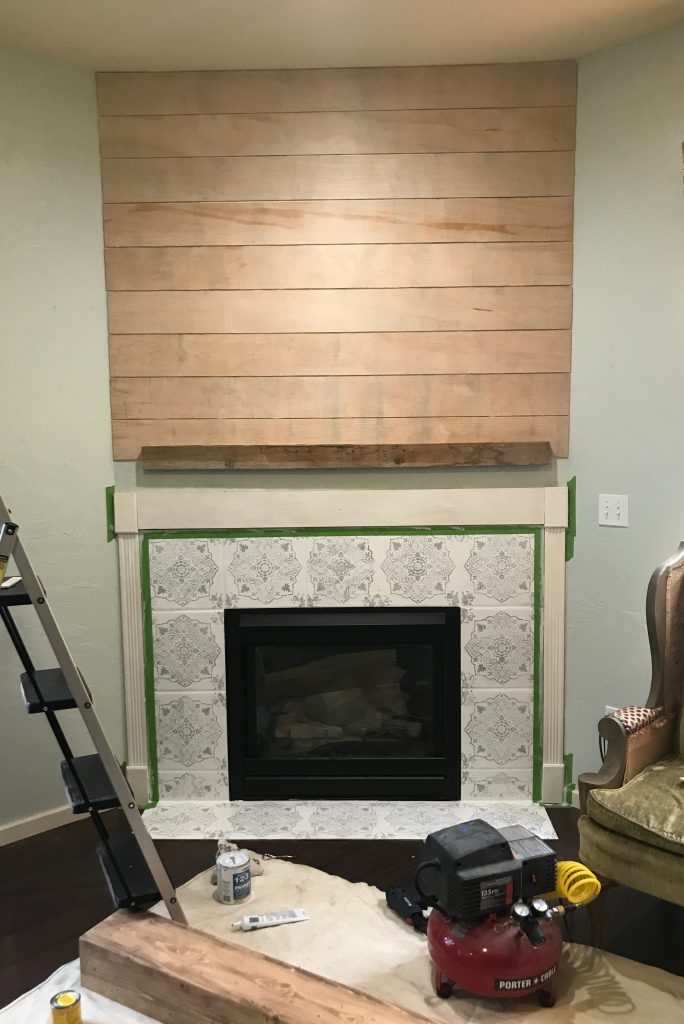
Next I secured a 2×4 to the solid wood I had placed behind the opening that used to be in this wall for a television. Underneath the drywall I had put solid plywood so that it would be easy to hang heavy items. I very carefully leveled this board since this is what my mantle will be attached to.
Starting at the top of the wall I installed shiplap all the way down to the 2×4. It’s very important to level the top piece so that all subsequent pieces are also level. It’s much easier to trick the eye into believing its straight way up at the ceiling, than if one side was much wider than the other down by the mantle.
On my lowest board I fit it around the 2×4 so that there would be no gap once the mantle was put in place.
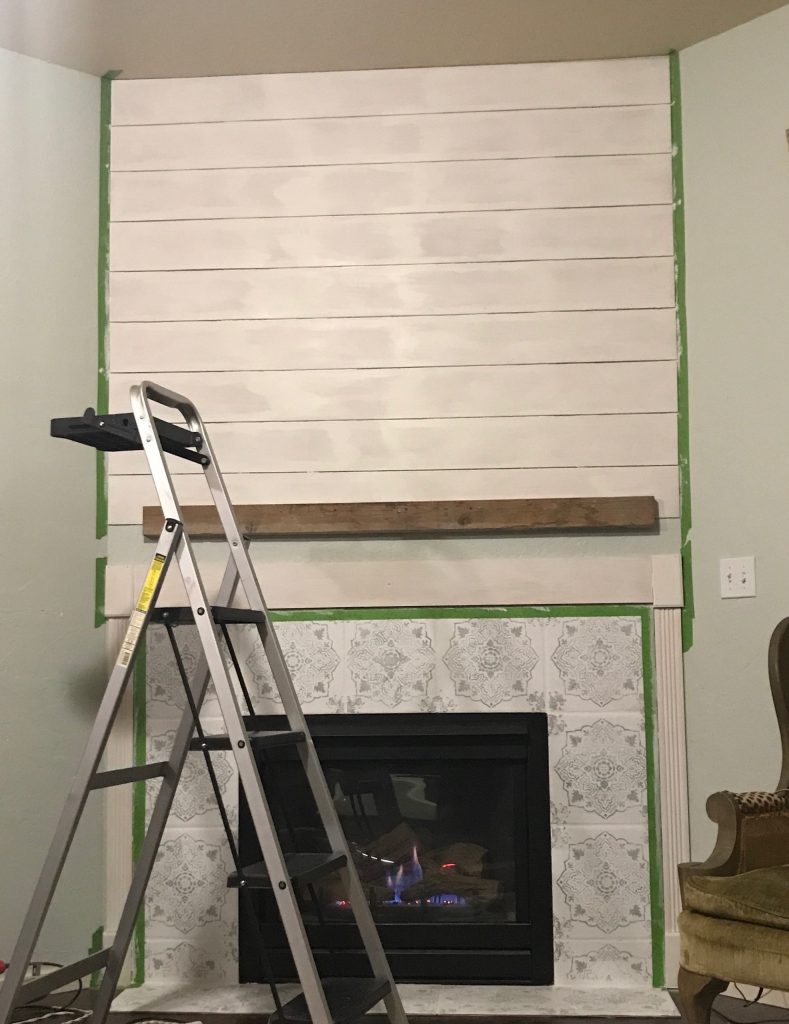
Finally I taped off the tile and the walls on either side of the shiplap and primed and then painted. I used Sherwin Williams Alabaster for all the trim and shiplap.
Can you believe the difference already? I’m excited to show you the final step of this makeover….soon!
Don’t go far….


Looks amazing, my friend!! I always ask for power tools, or gift cards to Home Depot or Lowe’s. There’s always a project that can be done! Loving how your fireplace turned out!
~Emily
Glad I’m not the only one! That would be weird. Now it’s a cool thing! lol Yup so many more projects swirling through my head now that I have my Miter Saw and Nailgun!
YOU’RE AMAZING! SHIPLAP! YAAY! I have to say, I think power tools for Christmas is an excellent gift! ?Good job hun!
Right? What more could a girl want? It was high time some shiplap appeared in THIS house with a name like mine!
You did an amazing job Tara! I Love all the choices you made with this project! Especially the Shiplap! Yay! Beautiful! I can’t wait to see how you decorate it!
Thank you, Maria! I think part 3 will probably be published next Monday, unless I can’t wait that long to share it with y’all! lol
I am obsessed with the tile stencil makeover. I have plain white tile on the hearth I was going to replace, but I am going to try to stencil instead. How did you achieve the ship-lap look? What wood, how did you cut it, etc.?
Thank you, Kippi #kippiathome
Thank you so much! It’s amazing what a difference it made to paint and stencil the tile and cost so little. So for the faux Shiplap I got a sheet of underlayment which is a standard 1/4” (so actually just shy of a 1/4” in reality) and cut it into 6” strips. I used a piece of the underlayment to measure my gap between the pieces as I installed it. I highly recommend sanding the strips along the edges before you install them so they are nice and smooth and ready to prime and paint. It’s so incredibly easy! I just use my brad nailer to install them and don’t bother with any adhesive in case I want to remove them at some point.