

So y’all remember the tall bar chairs that I refinished and showed you a tutorial on, right? I got so many lovely comments on how great they looked and I’m sure when I tell you that I got rid of them shortly after I refinished them, you’ll think I’m nuts! You may be right but I did have my reasons. When I got them I knew they were too tall for my current counter height yet I got them anyways. Why, you ask? Well I had great plans to build a raised ledge onto my current counter so those chairs would have been the perfect height and I’d have created a barrier into my kitchen so you couldn’t see the mess if I’d just cooked a big meal or something. It was a great plan but unfortunately I realized there were other things I’d rather do before that and so it didn’t make a lot of sense to have bar chairs that we couldn’t properly use. So I sold them.
I looked for quite a while to find what I really wanted and when I eventually did, I discovered I would have to pay about $120 for 2 and I needed at least 3 so….ka-ching! I started doing what I always seem to end up doing – I looked for something used that I could perhaps refinish. After some time I found 4 that someone was selling in the exact style I wanted and I was able to get all 4 for $45! I know, right? Three of them were a deep red and the fourth was a dark brown but who cares when you plan to change everything anyways, right?
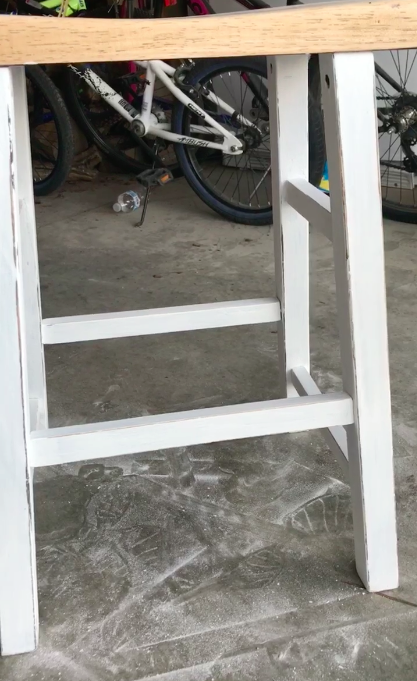
Here you can see a little of what they looked like when I got them. Yes, I put them in place and the kids started using them right from the start and they work very well in this space. It’s just they don’t look nice. Can’t have that – am I right? I won’t tell you how long they stayed here before I got around to working on them last week though.
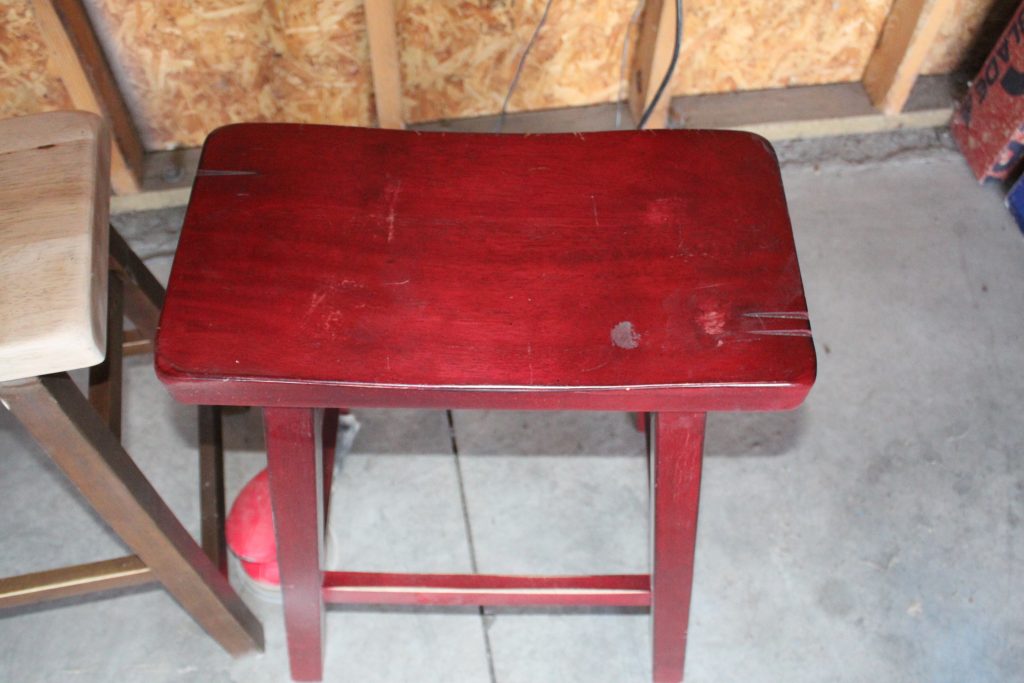
So here is what I was starting with. In a perfect world I wanted a soft white for the base, distressed and possibly lightly antiqued, and a dark stained top. However, with how my cabinets and floors ended up being the same very dark color as one another, I didn’t want dark stained tops to basically disappear right into the cabinets. I knew I would have to do something a bit lighter than my original plan. Anyways time to sand! My least favorite thing to do.
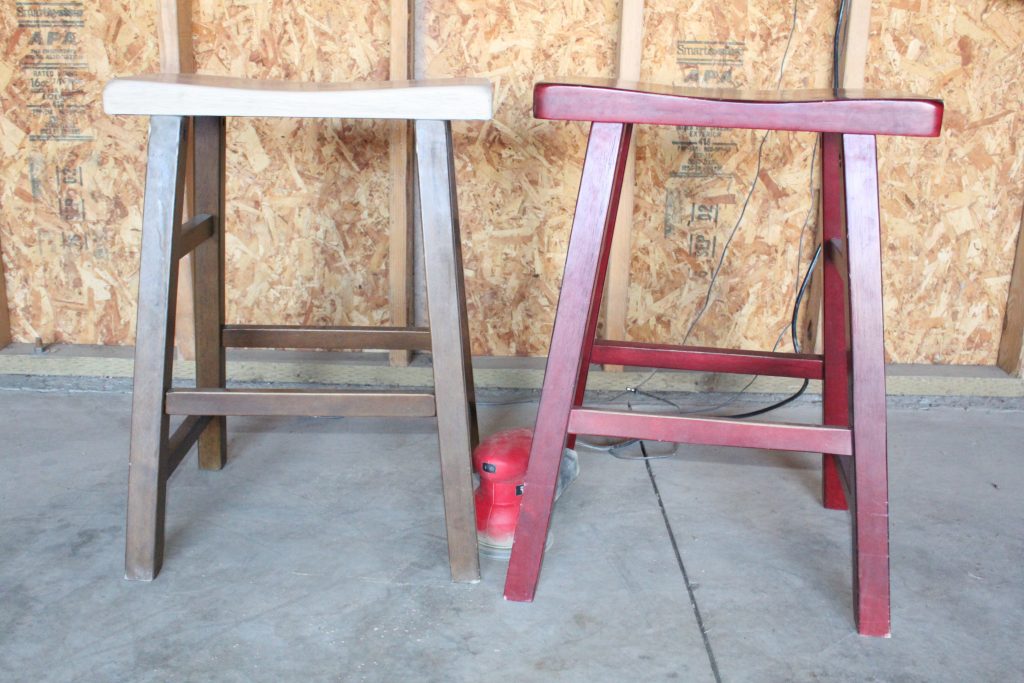
One top sanded, 3 to go. Here you can see the red versus the dark brown one that I had to work with.

This is more like it! Since I was planning to chalk paint the legs I only needed to sand the tops down to the raw wood so they would take stain.
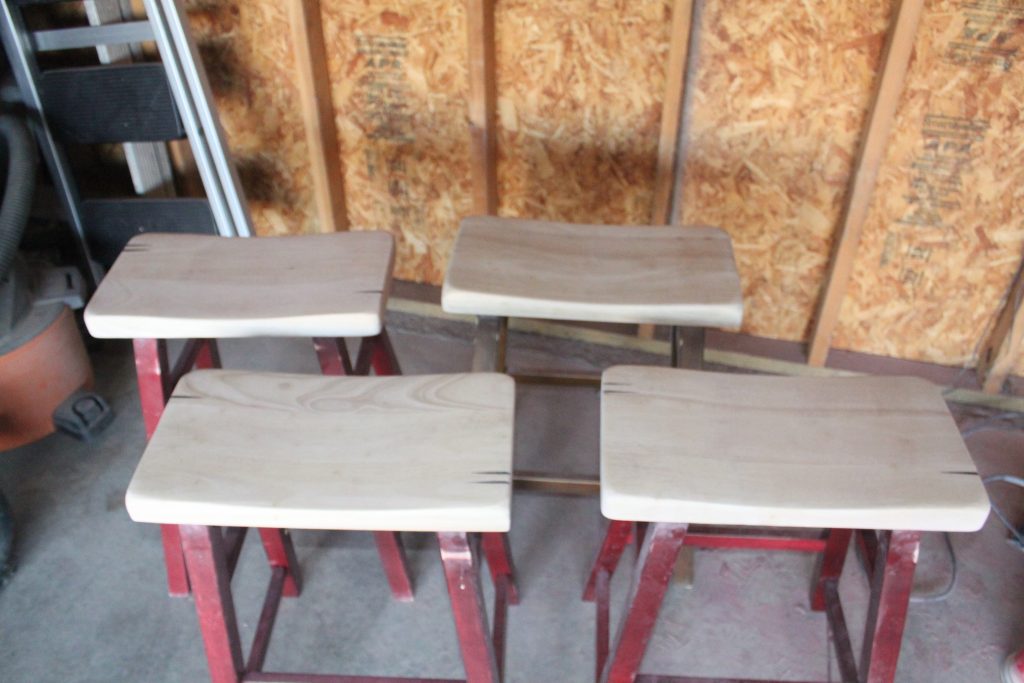
Once I had them all sanded down I was really liking the tone of them but wasn’t quite sure if they were too blonde and would end up looking anemic once the legs were white…..in some cases you just know how something will look and in others – you have to actually put it in place and see. This was the latter. I decided to wait on the staining and paint the legs first and then look at them in place and if it looked wrong then I’d stain them in a light color brown….Time to get out the good old chalk paint!

Okay so I’m sorry about the really bad picture – I forgot to take one at this step (I get so caught up in my projects that I frequently forget to stop and take as many photos as I should). I had taken a video clip for my Instagram stories and so I just grabbed a still from that! It’s called real life, y’all 🙂 Anyways here is one of the stools chalk painted two coats and still with the natural wood color on the tops. I used the Kilz brand chalk paint in white for this project and it was my first time trying it. I can’t say it is my top favorite brand but it was certainly very acceptable for a cheaper chalk paint option that is easy to get almost any place that sells paint.
And again with the still from a video clip. Last time, I promise! I distressed lightly on the edges of the legs and rungs using a 220 grit sandpaper. I also made sure everything was very smooth at this step.
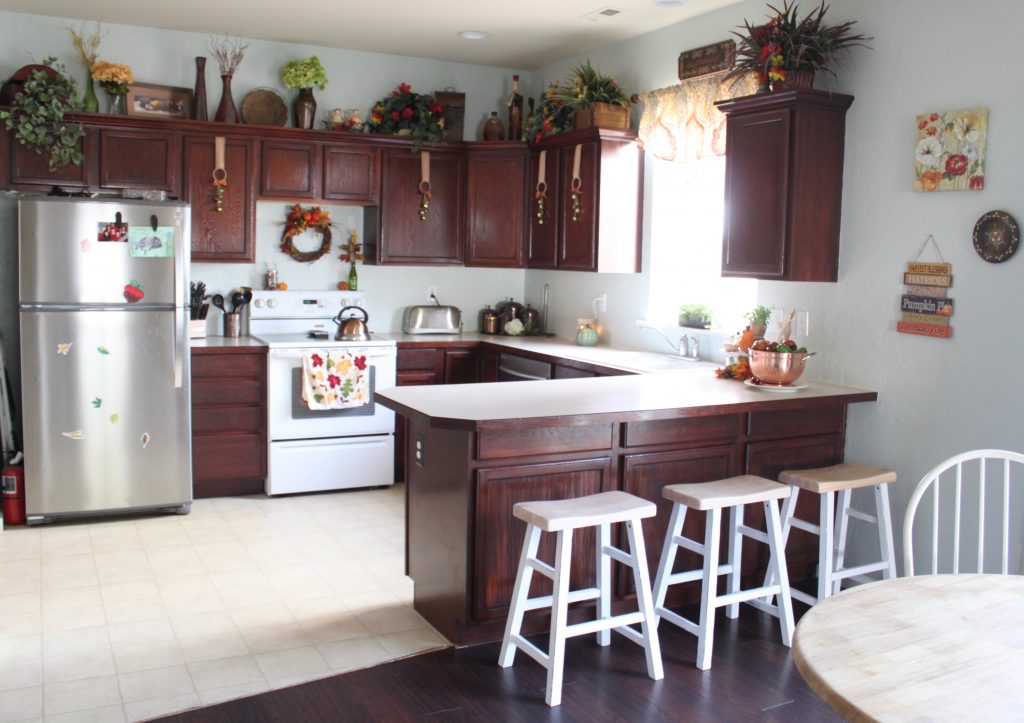
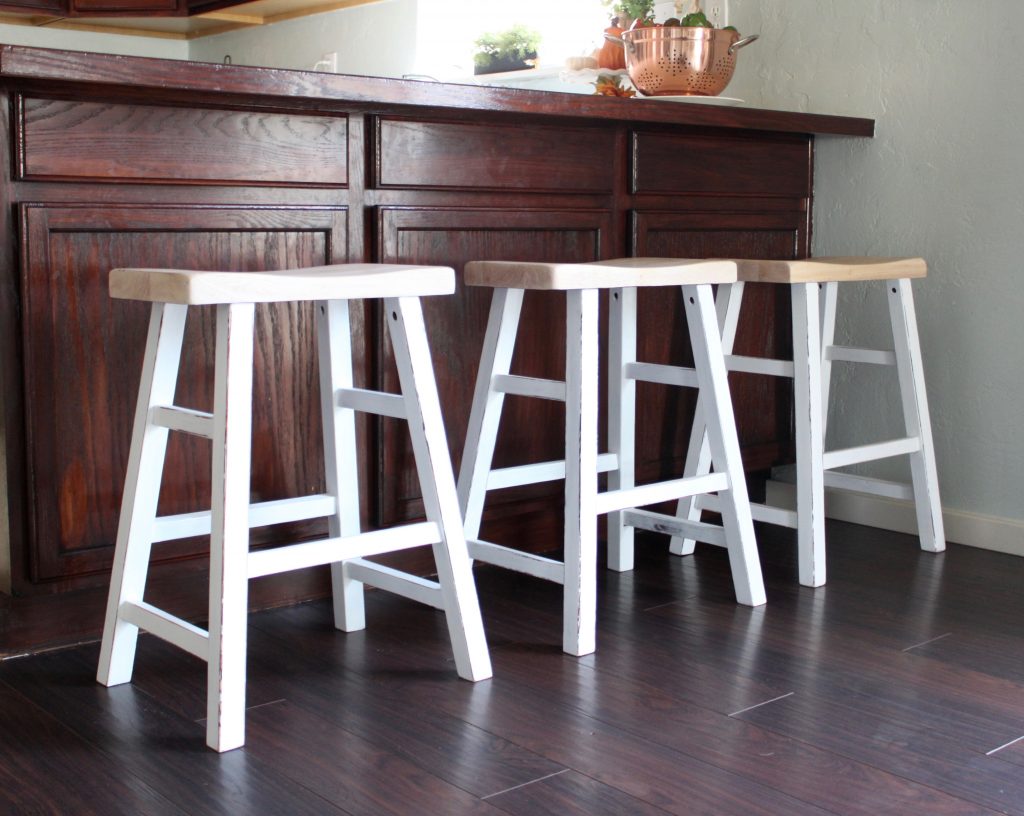
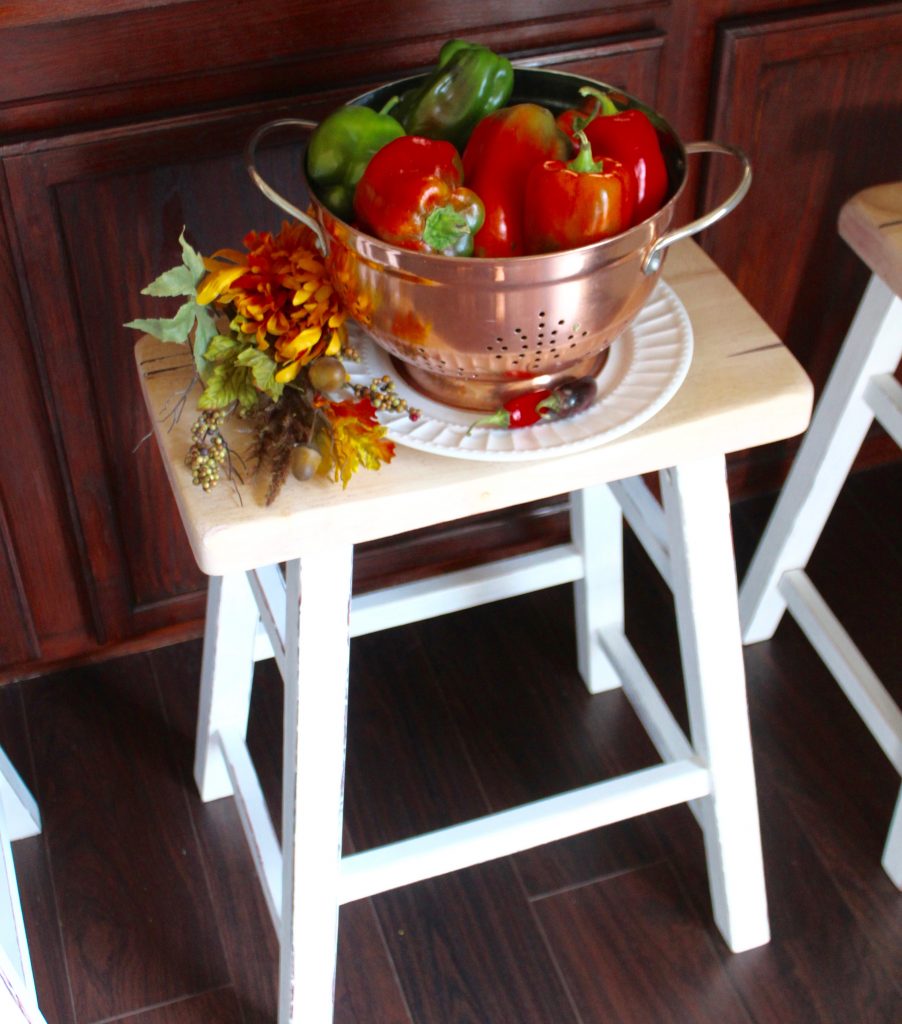
And voila! Here they are now! I’m really liking them. I think the light color of the wood tops is perfect to break up all the very dark wood of the floors and cabinets. I finished them with several coats of clear wax and am planning to put another couple coats of wax on the rungs and seats over the course of the next week or so just to make sure they are ready to withstand my crew!
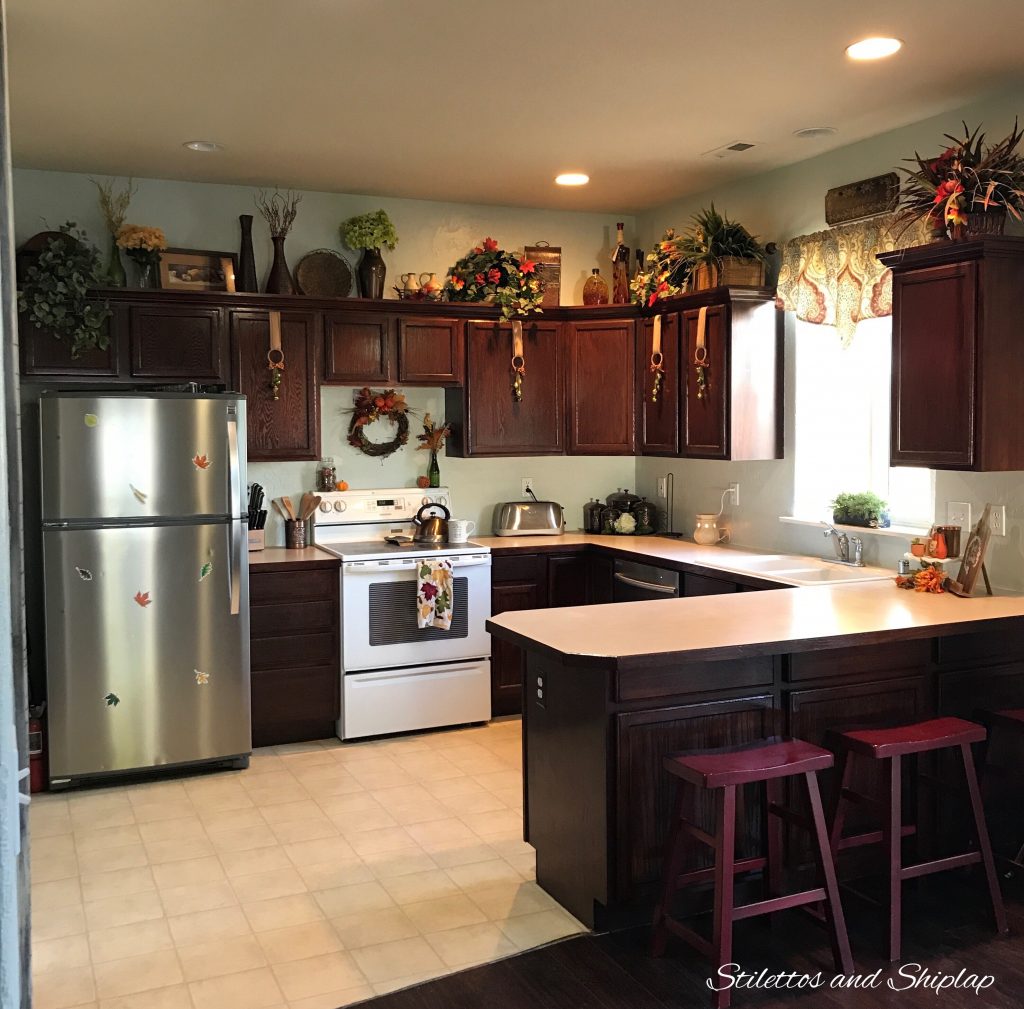
I have plans for this side of the peninsula as well but that is for another day and a different post. Suffice it to say it will make a big difference to this view once again!
So remember those bar stools I found that I liked that would have cost me $240 for 4 of them? Well I have virtually the same thing now and it only cost me $65 for the stools and the paint! Pretty good deal if you ask me….
I’d love to have you follow me on Instagram and Pinterest! Feel free to like this post and leave me a comment or any questions you may have….
Enjoy!


Oh so cute Tara!!!
Thanks Sandy! I’m liking them a lot!
BEAUTIFU:L!! It might add a bit more openess to liighten the decorations on top of the cabinet. Good job!
That it would for sure if a person was feeling the need for more openness. With the high ceilings in my home and all the windows that let in a lot of light, I personally get all the openness and light that I need and the tops of the cabinets gives me a place to display more treasures so it works for me.
Thanks for stopping by…
Tara, these turned out so beautiful! And your kitchen my dear, it is just so pretty too! Thank you for sharing it. So inspirational.
Oh my pleasure! So glad you like them. My kitchen is a work in progress for sure but it’s coming along!
Wow! What a dramatic difference. They turned our beautiful and like new! In a good way!!
Thanks! One of my kids asked me why I always sand some paint off after I finish painting it. I said “because with you and your brothers and sister around it’s the only style that looks planned when y’all destroy it!” ???
Such an amazing transformation! Your pictures look amazing!! Such a bright and beautiful kitchen, with the perfect barstools!
~Emily
Thanks Emily! They are just the style I was wanting for this area.