
I can’t believe how close we are to Christmas already! Every store is overflowing with Christmas ornaments and decor and you can scarcely locate a fall or Thanksgiving item if your life depended on it! A few friends and I decided we would all post some fall tablescapes and give you some ideas for what you can do to make the perfect Thanksgiving table in preparation for entertaining!
For myself, I’m going to show you a fall tablescape. This would be perfect for Thanksgiving dinner! I will also show you a very simple Pumpkin DIY that would be a wonderful craft you could do with your kids.
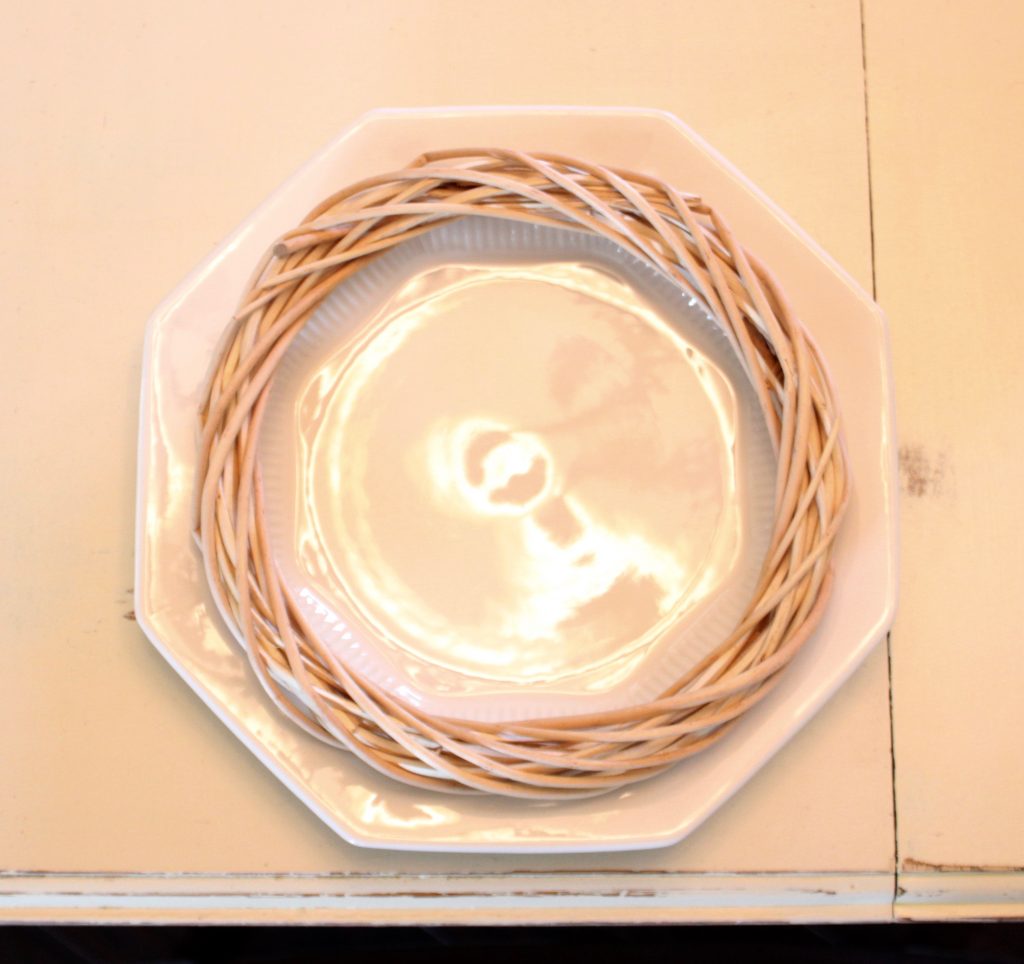
I started my tablescape by making the place settings. First I set out the dinner plates and then added a simple wreath form to it which I had purchased from Dollar Tree. If you wanted you could even spray paint the wreath any color that suited your table decor but I wanted it natural.
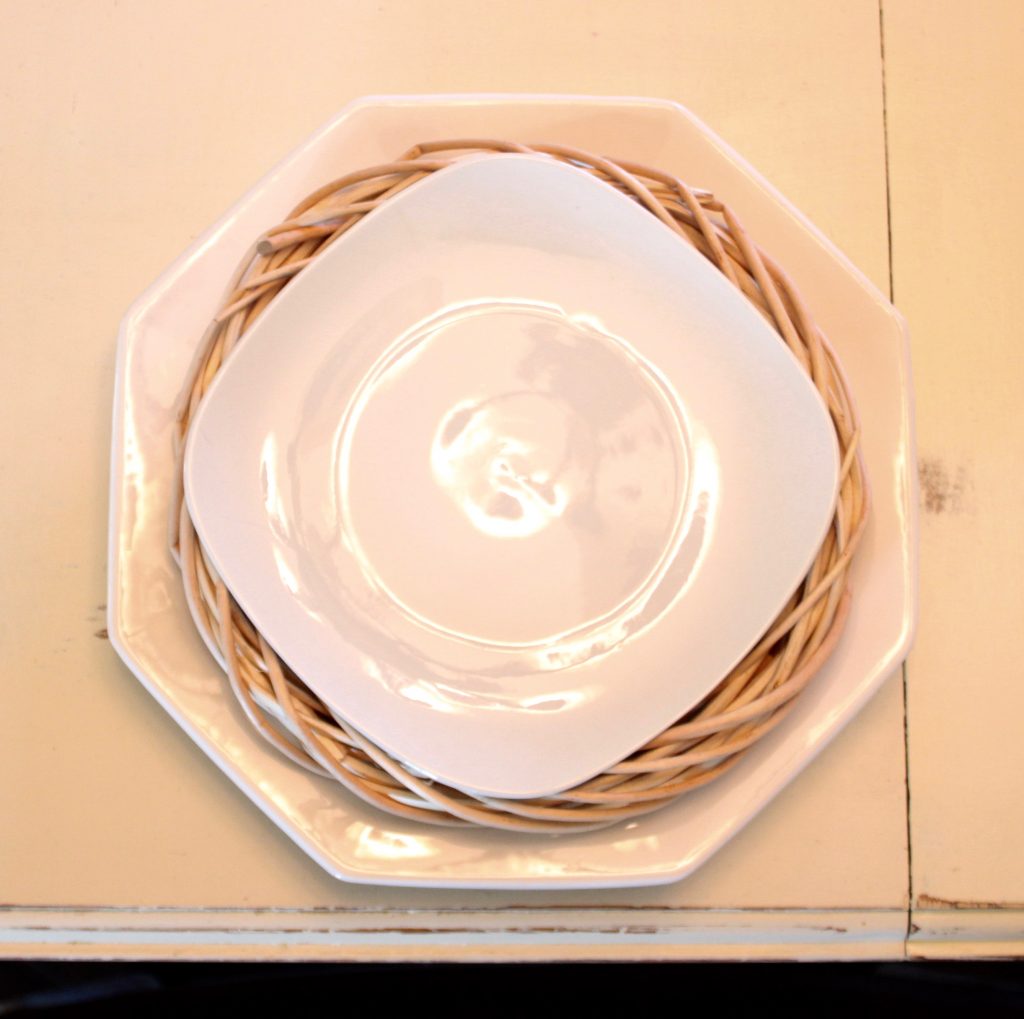
I layered on a luncheon plate and then a bread plate. All in white but all different shapes to add interest. You could also use patterned dishes, but again for interest, alternate color and pattern.
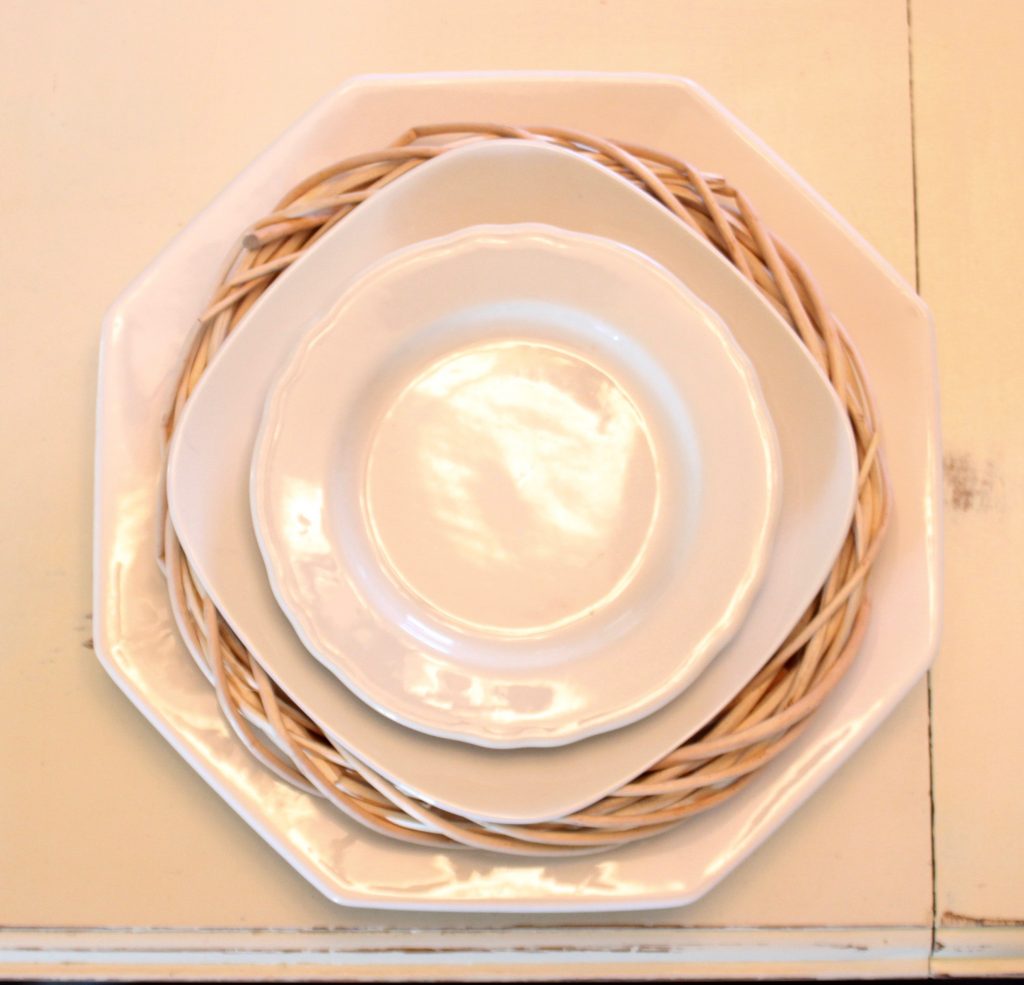
Here is the finished stack of dishes. This would also look lovely with a napkin layered in between the plates.
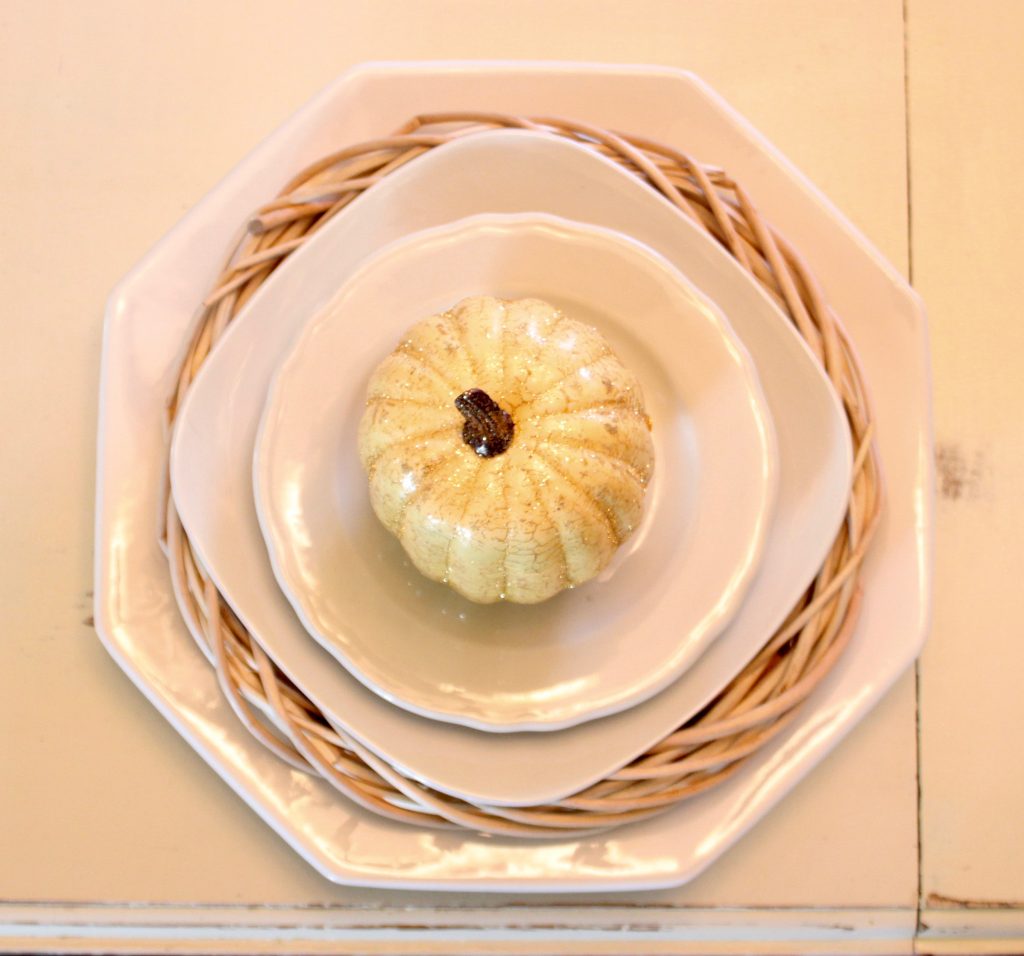
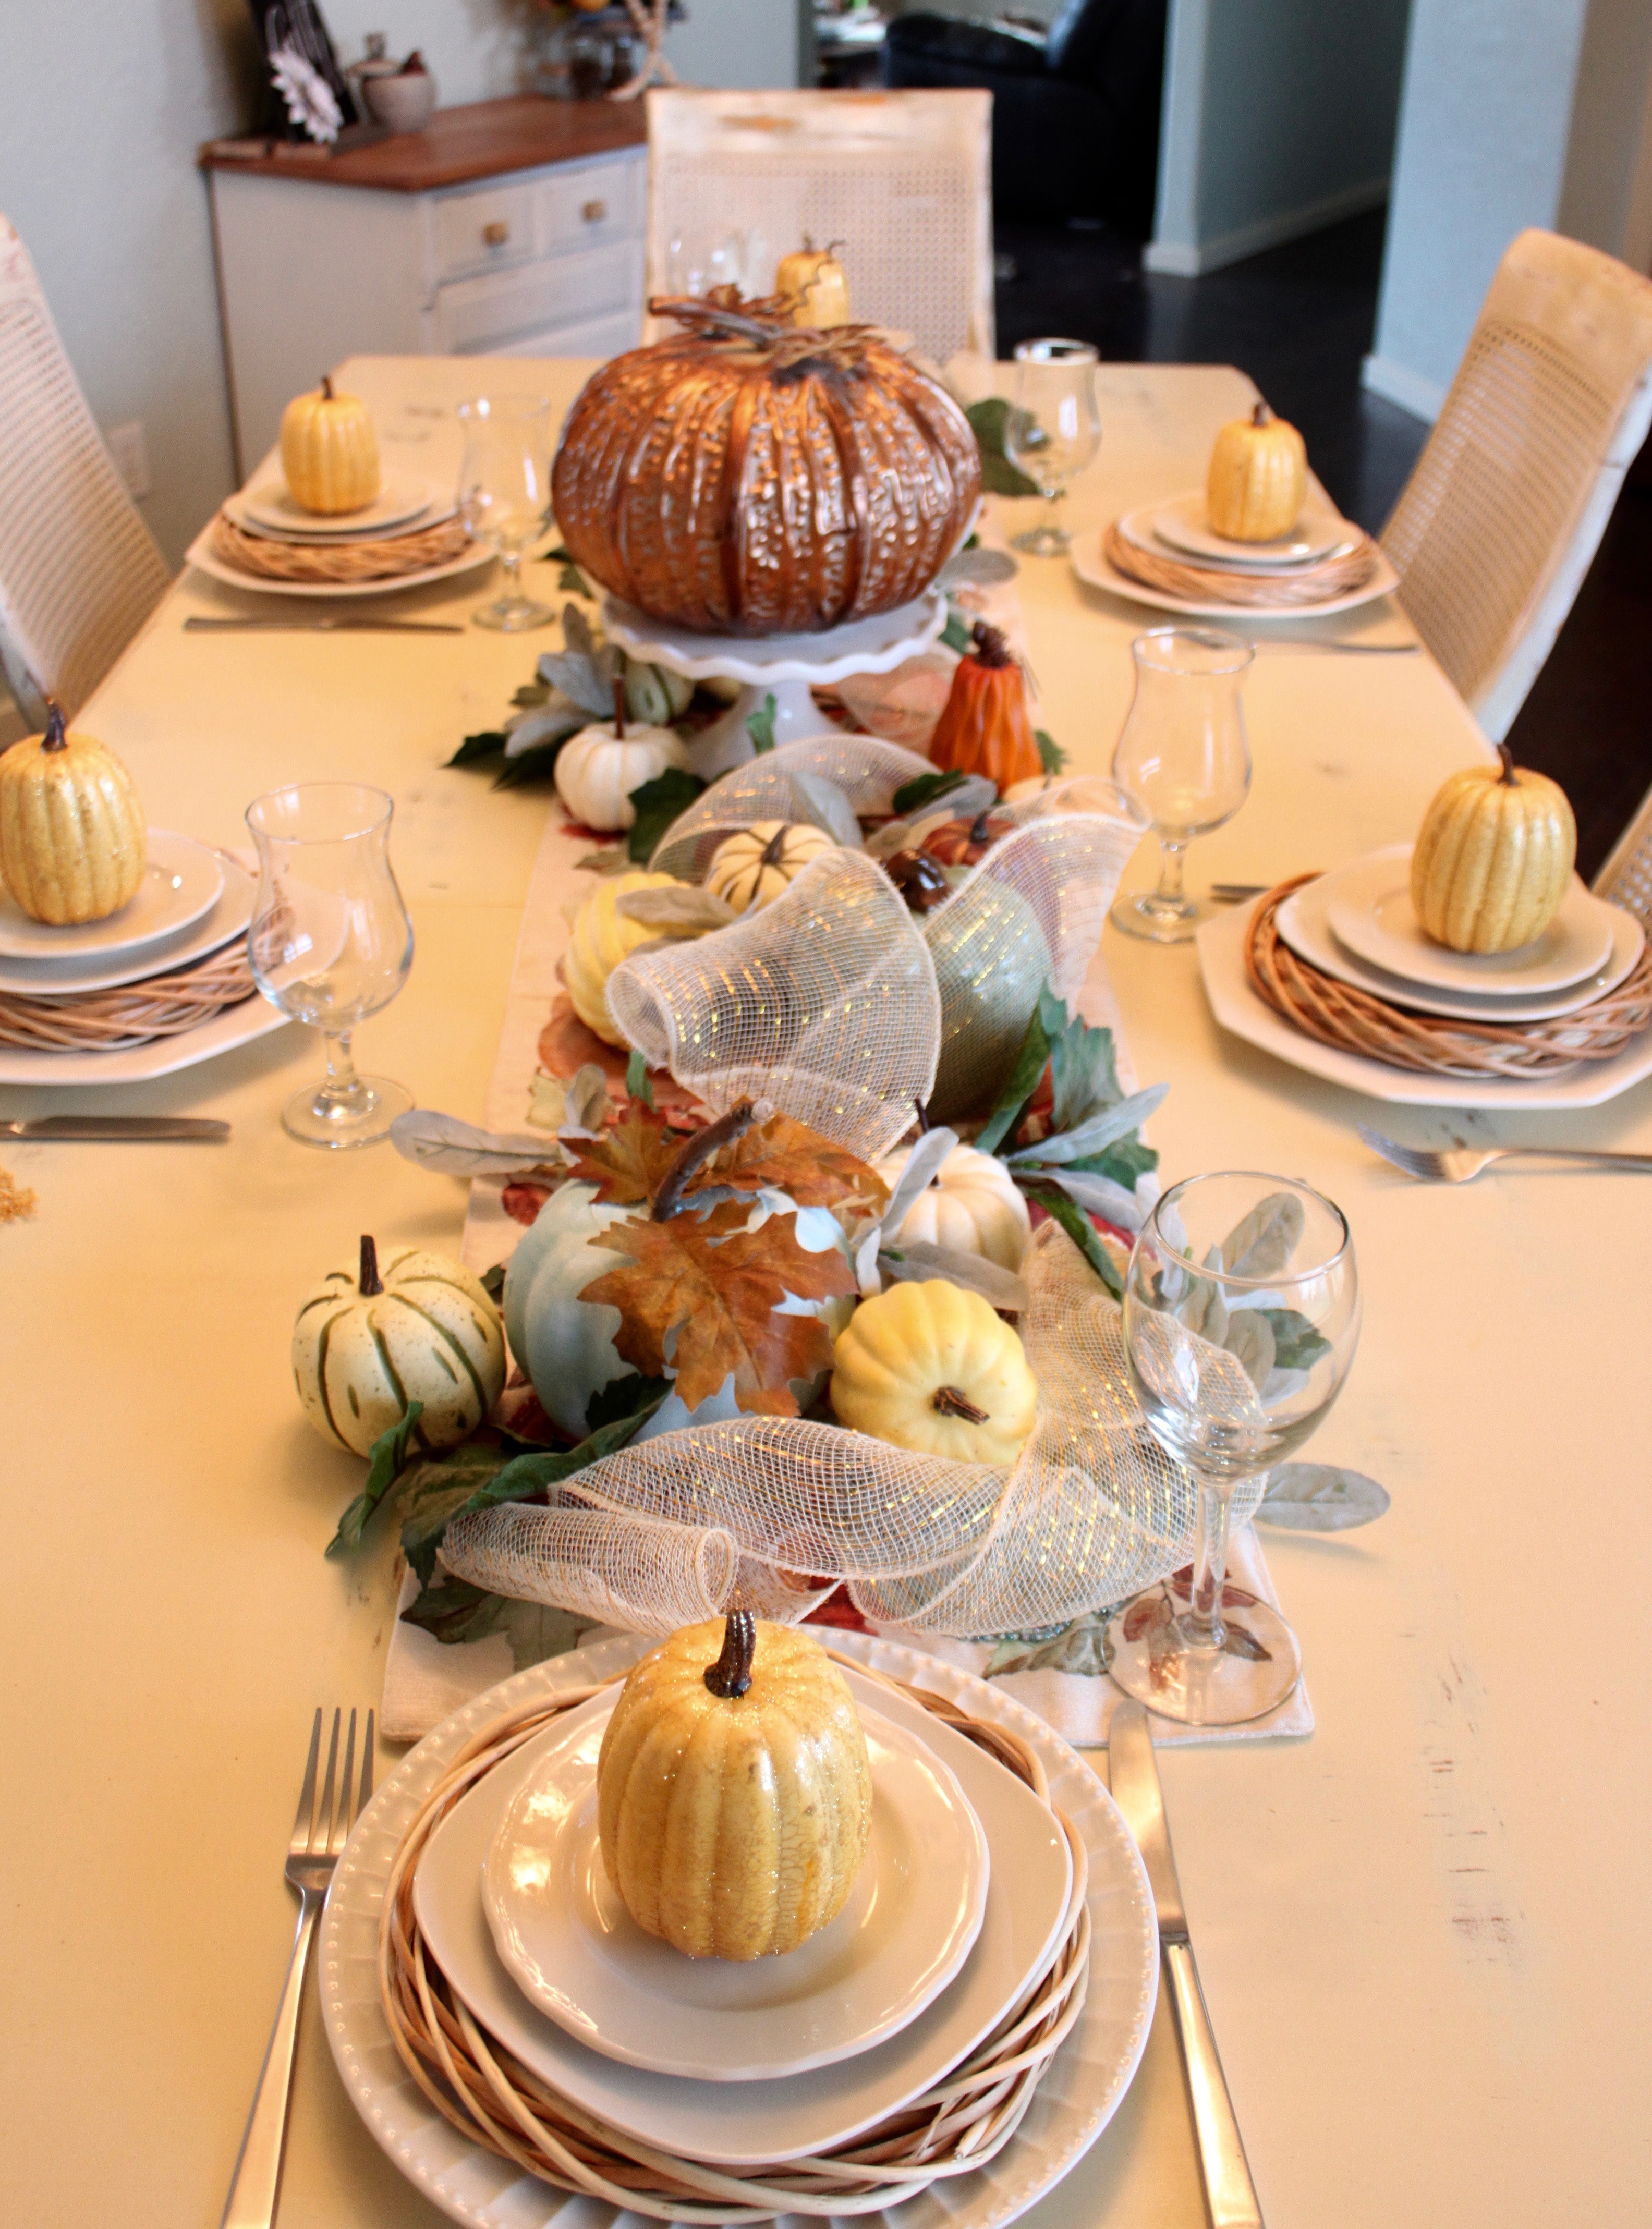
I then simply added a pumpkin on the plate at each place setting and voila! Okay on to the center of the table now.
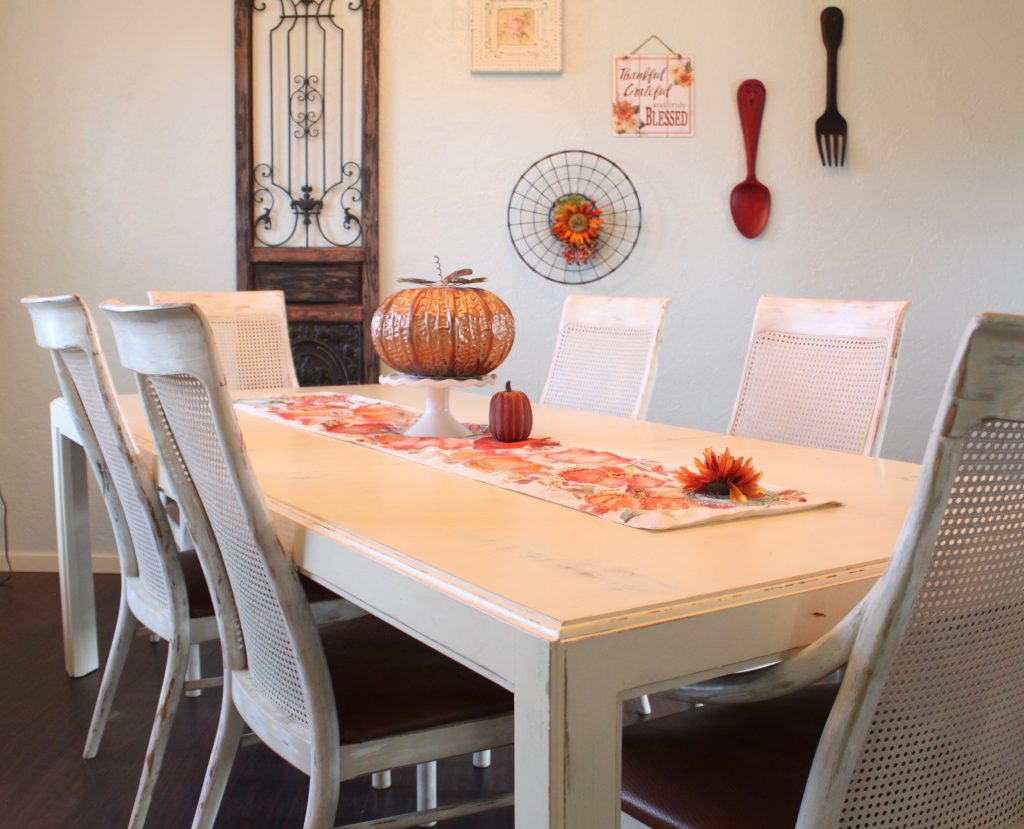
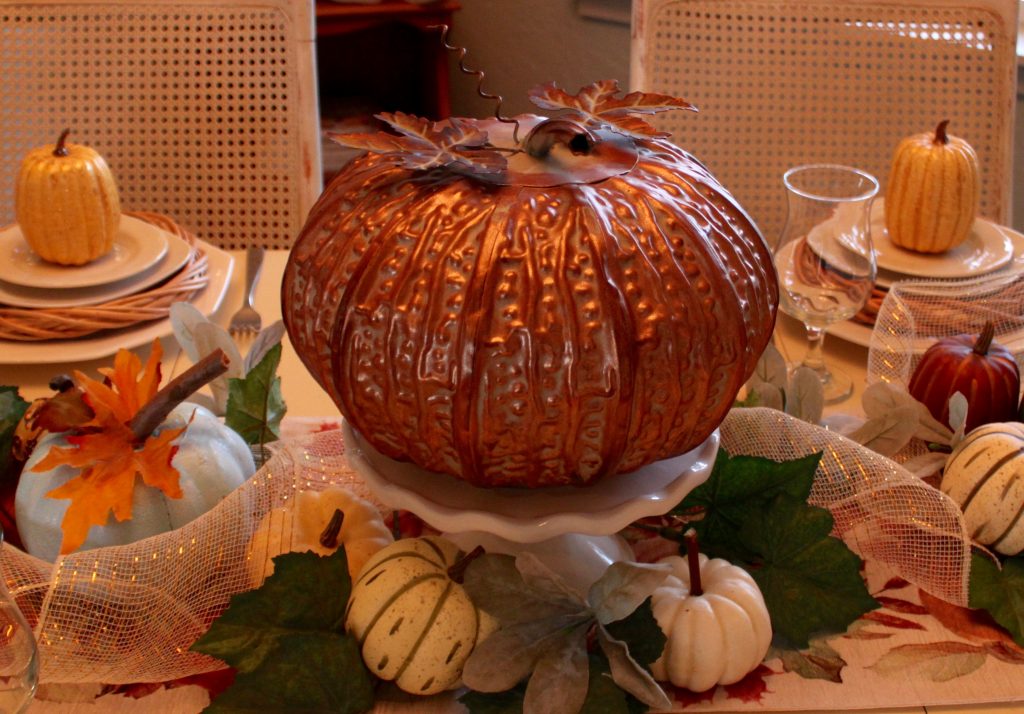
I began with my pumpkin table runner. It has lots of lovely fall colors in the pumpkins scattered over it and the beadwork. Its the perfect base for the centerpiece I had in mind as it adds a pop of interesting colors. I stacked my copper pumpkin on top of a lovely cake stand I got from Target in the very center.
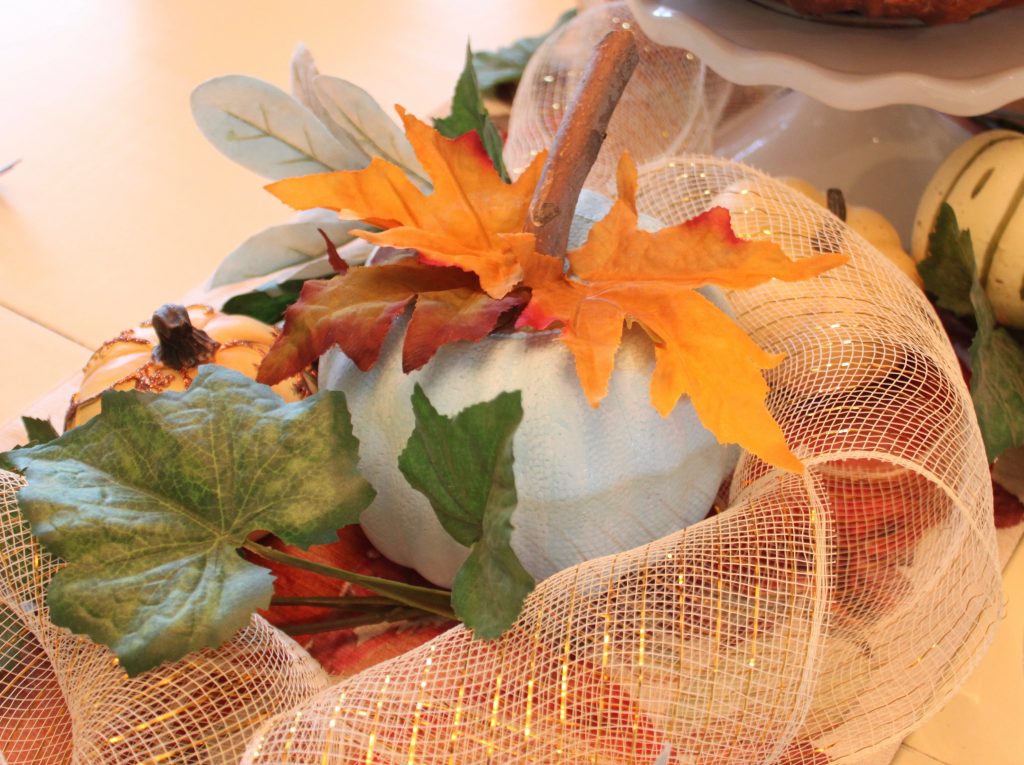
Next I added the mesh ribbon, twisting it gently and holding it in place in random spots with some of my larger pumpkins, like this ceramic one from Walmart. I wanted several larger pumpkins (artificial) but didn’t want to pay the price for the picked over, yet not discounted ones I found so I decided to see what I could make!
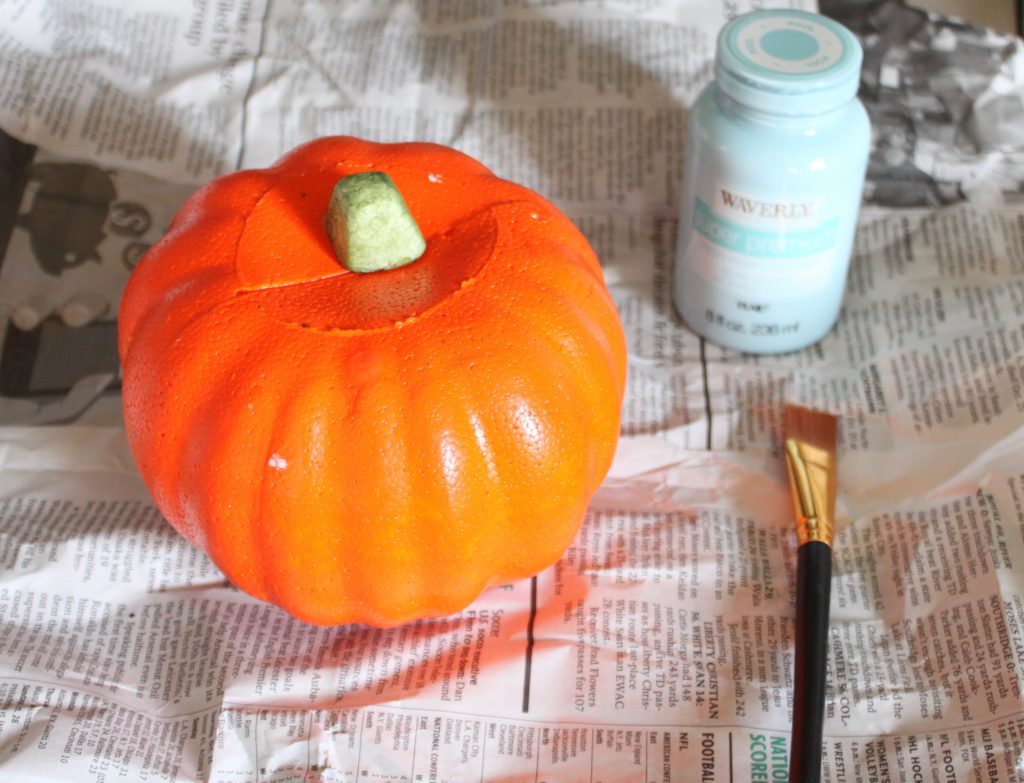
I began with this VERY ugly, bright orange, styrofoam pumpkin from Dollar Tree.
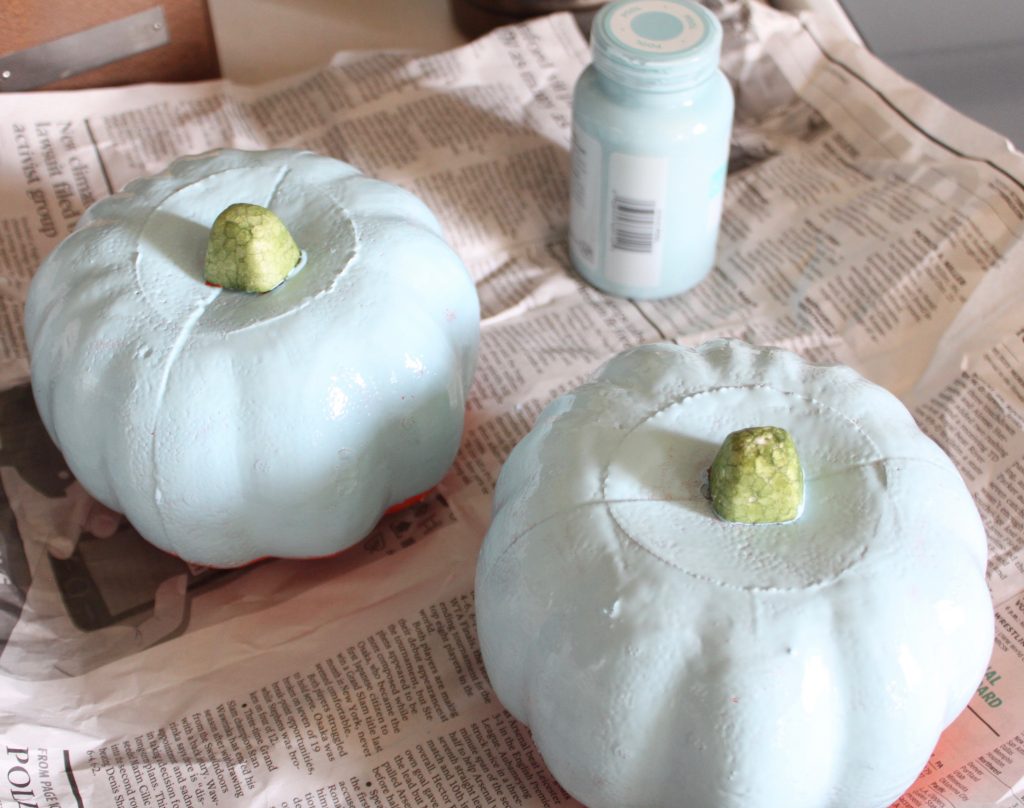
I gave them 2 coats of Waverly craft paint in the color “Pool”. Originally I left the stems on to help hold them while I painted my way around.

Once I had both coats finished and dry I removed the styrofoam stems and painted all remaining orange around where the stem had been.
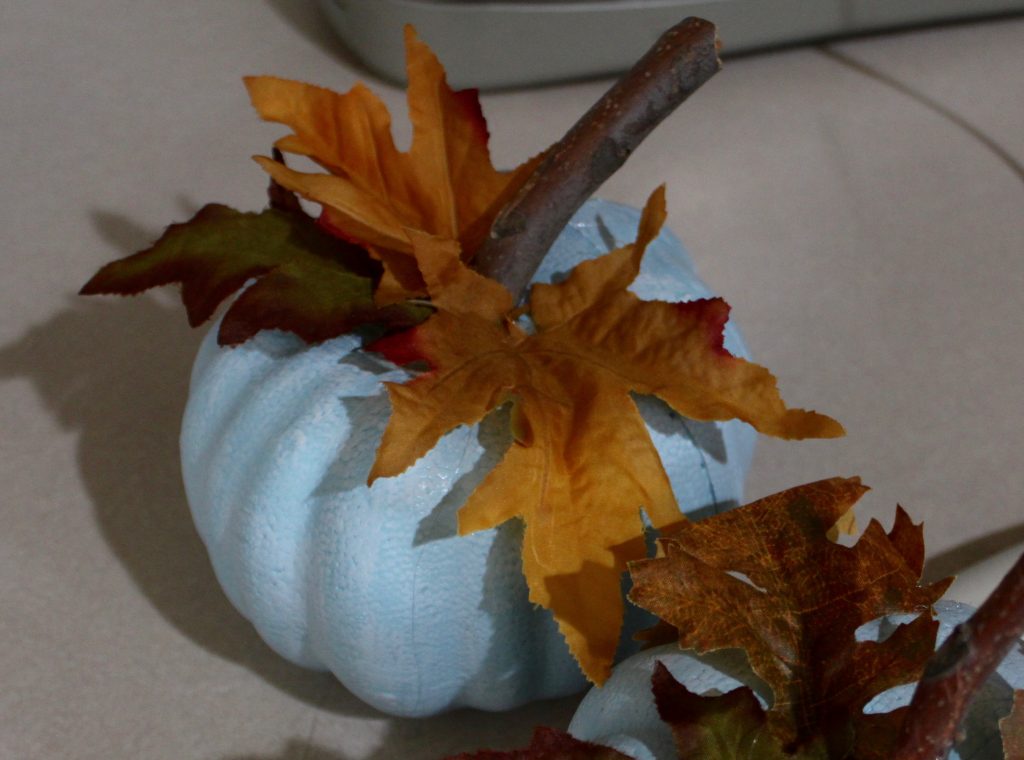
Using some hot glue I attached a piece of tree branch as a stem and some colorful faux fall leaves to each one.
Here is the end result! Very quick and easy and now it fits perfectly in with my fall pumpkin tablescape! This would be a lot of fun to do with the kids and let them paint the pumpkins.
Okay, back to the center of my table!
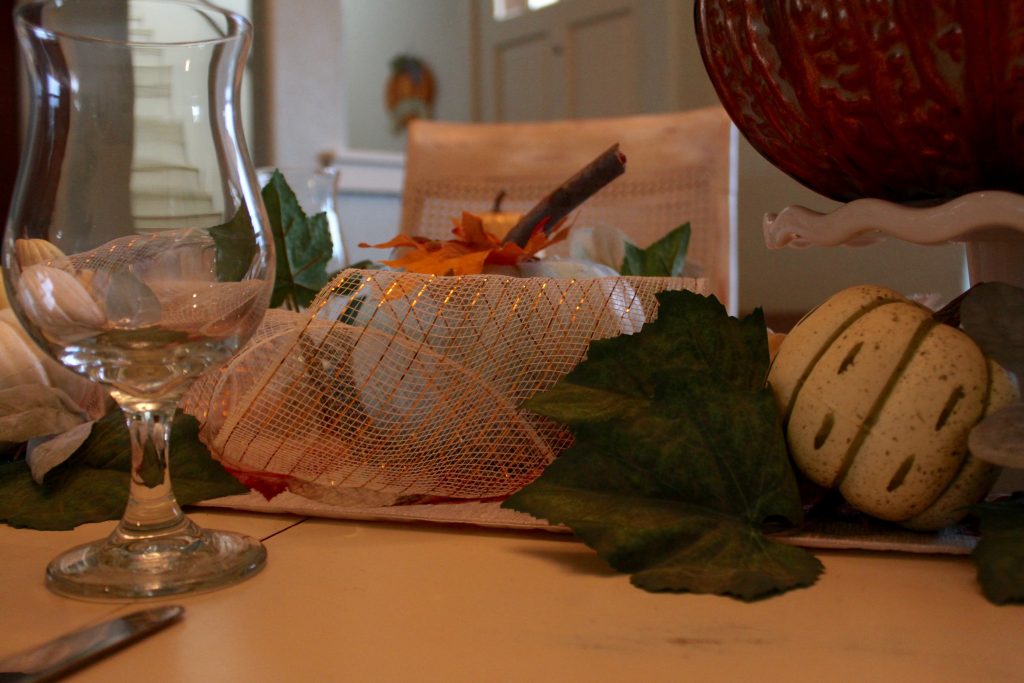
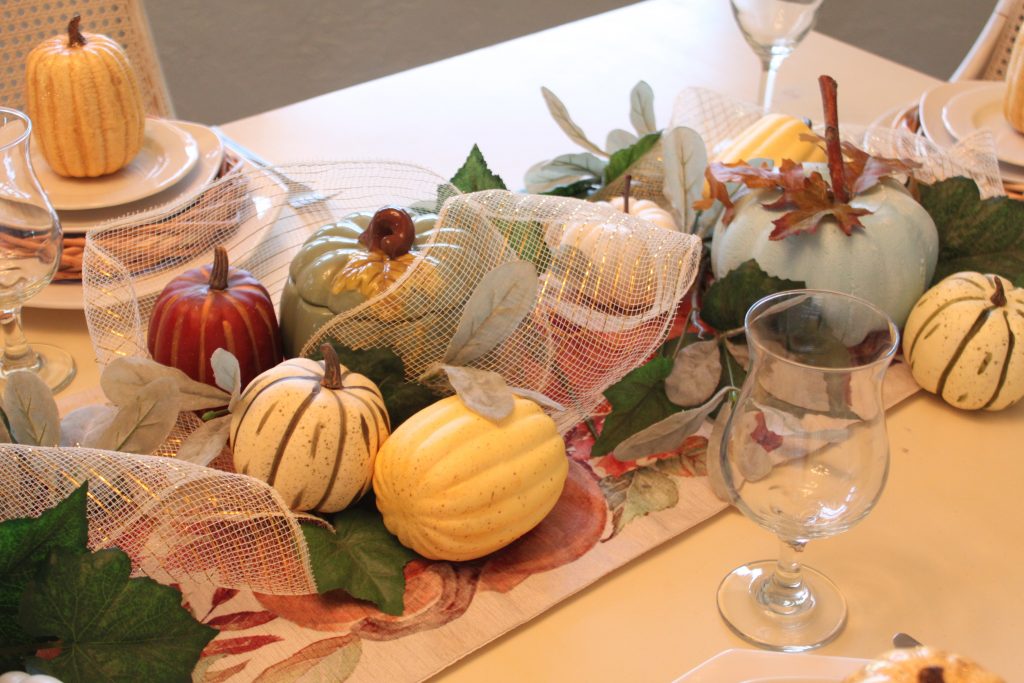
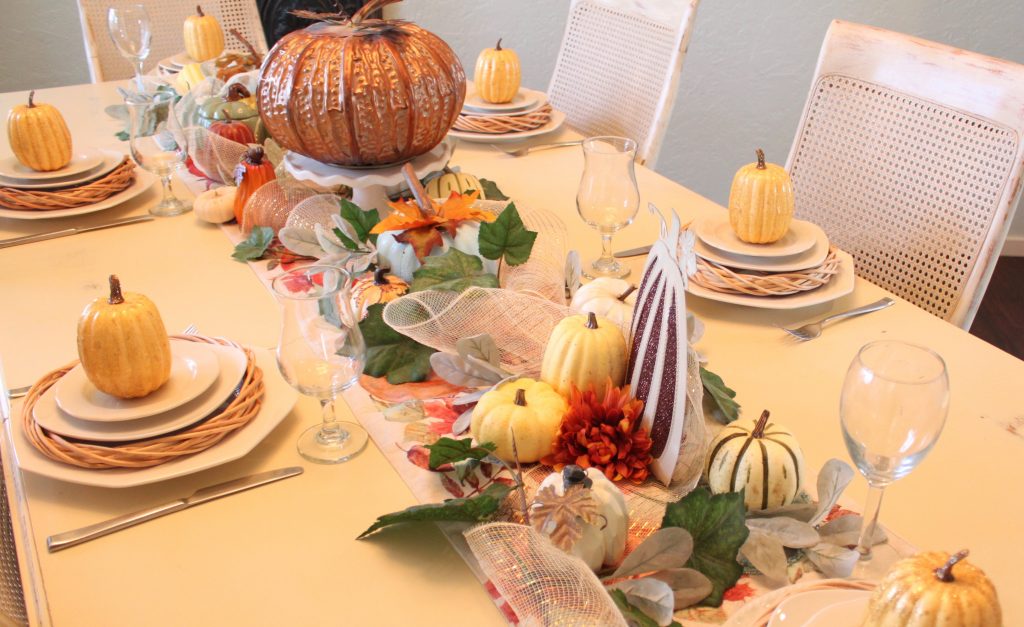
I simply layered in pumpkins and leaves that I had laying around already. I used mostly whites and greens for the pumpkins other than my larger aqua ones. I also stuck some lambs ear in for added softness.
It’s really just adding a piece here and there and standing back until you get the look you like. I did add the odd splash of color such as with this large copper pumpkin which was a gift several years ago.
Here is the finished result.
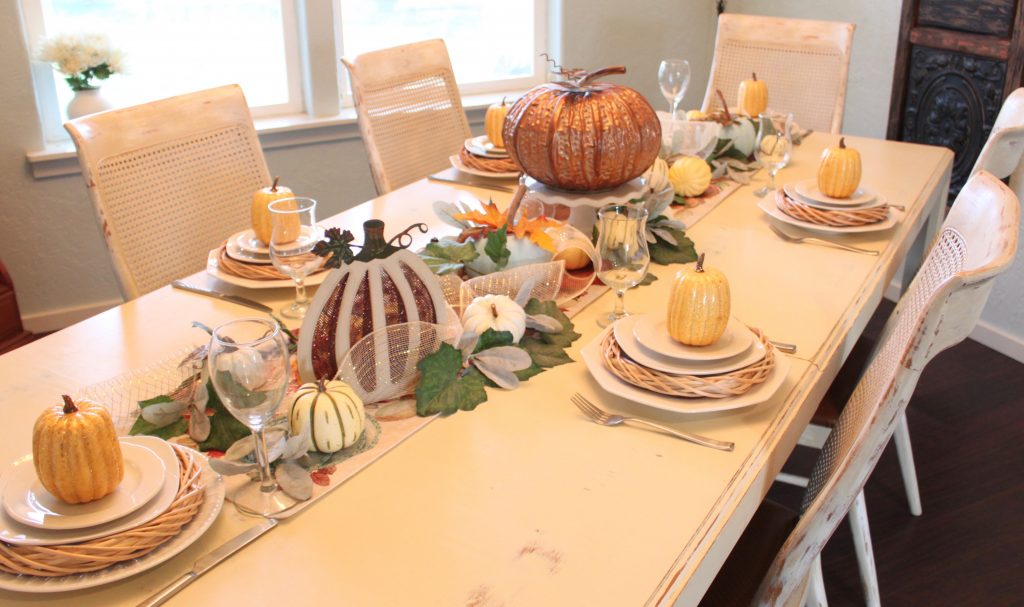
Very simple and using mostly things I already had around the house.
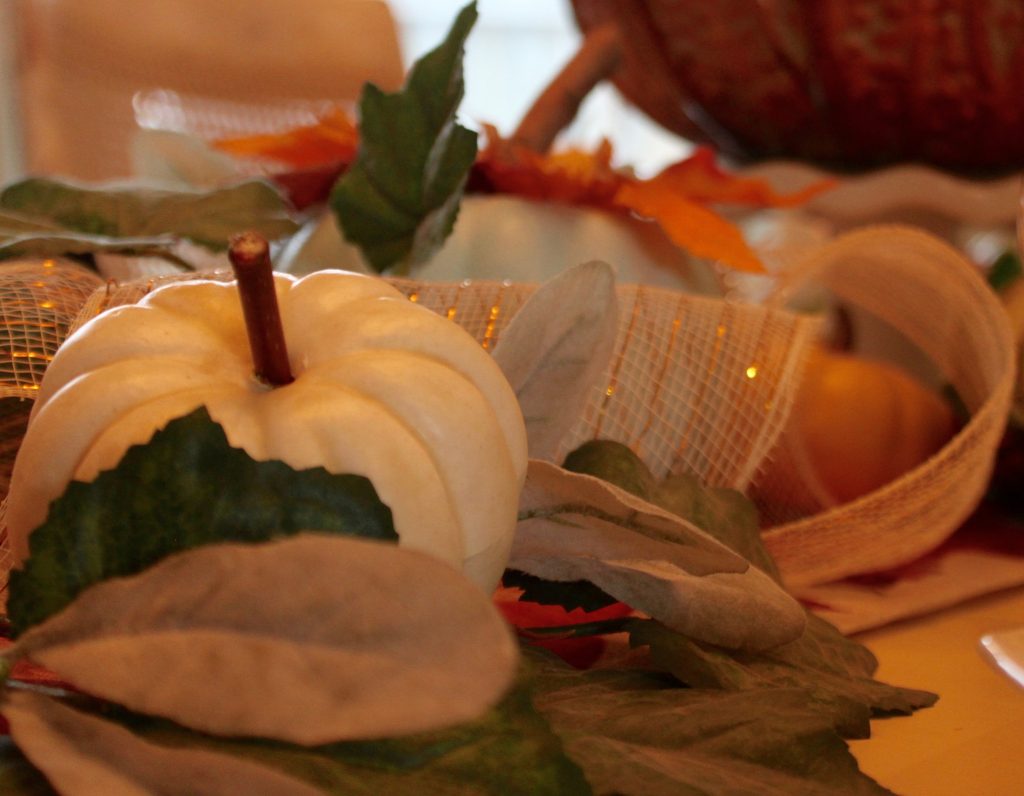
I also added real stems to the small Dollar Tree pumpkins I had gotten some time ago. It’s the little details that make the biggest impact.

If you’ve enjoyed this article I’d love if you’d give it a like and leave me a comment! You can also check out my friends beautiful tablescape ideas by going to their blog posts at the following locations:

The way you do the layering is just amazing! Wonderful job on your Fall table!
thanks so much, Susan! It was so much fun!
This is just breathtakingly beautiful!!! Love the natural wicker wreath added under the salad plate! Great job!
Thanks so much! It was a lot of fun to put together and cost hardly anything!
Tara, this looks so beautiful! I love the idea of placing a wreath under each plate. Very creative! I just might have to borrow that idea from you the next time I plan a table scape! lol! Your DIY pumpkins turned out so cute too! 🙂
Thanks! Borrow away, friend.
This is so beautiful! I particularly love how your layered the plates with the wreath. And finished off with that pumpkin! So classy and elegant.
Thanks so much, Rita! It was fun! And such a great deal with everything being $1 or less each
It turned out so pretty Tara! I love the way you layered the place settings with the wreath, plates, and pumpkins! And then the painted pumpkins down the center of the table with everything else was so elegant! Love it!
Thanks so much, Jerri! I’m glad you liked it!
I love your tablescape, and how you updated those pumpkins. I love the real stems! Great job!
Laura
Thanks Laura! I only have 1 tree in my yard so had some climbing around to do to get a large enough branch but it was all worth it in the end ?
Love your ideas so much! The charger? Brilliant! I picked up that wreath at Dollar Tree and PUT IT BACK!
Seriously?
What was I thinking?
Happy day friend!
karianne
Oh you are so sweet! Thanks! I originally wanted the darker grapevine ones but they didn’t have enough so I went with these. You’ll have to go back and get some now ?