This site contains affiliate links to products. I may receive compensation for purchases made through these links.
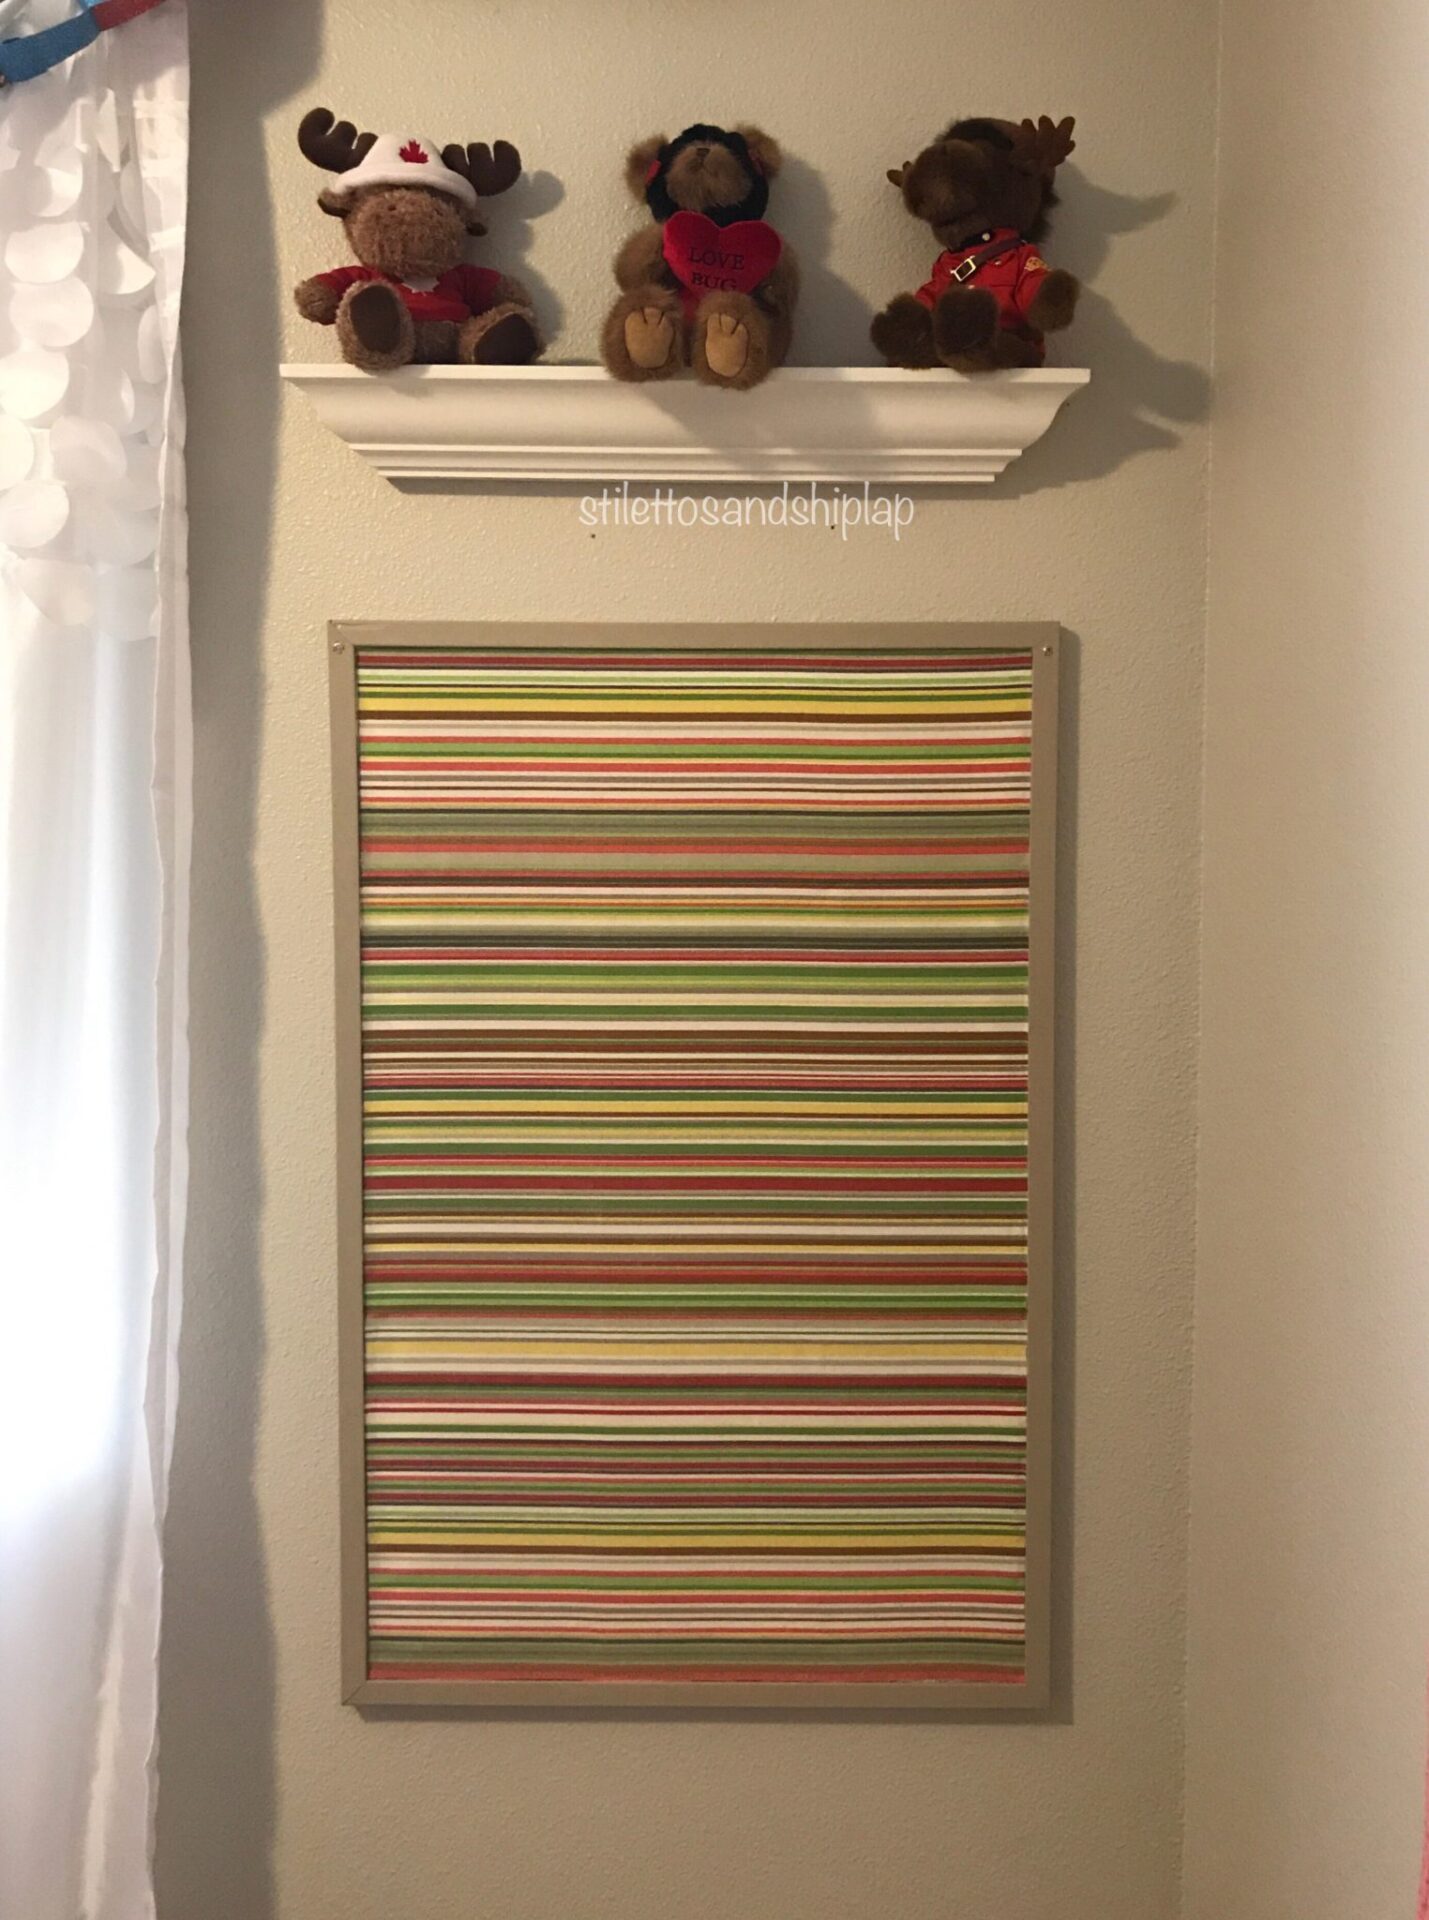
Anybody have a pre-teen or a teen that thinks it is all kinds of cool to stick posters and pictures up all over their walls? Then they get moved around and changed more frequently than a baby’s diaper until your walls begin to resemble swiss cheese! Yup I have one of those…..#1 has been doing this for a few years already and when we recently moved her into a different room, you don’t want to know how much work I had patching the walls in her former room! It’s not that I have an issue with her expressing her individuality – I just would prefer that she not express it all over my walls! I’ve considered getting her a bulletin board for some time to solve this issue but they’re either ugly with thin, plain brown frames, or the “pretty” ones cost a small fortune. Well, that doesn’t have to be an issue for long. Where there’s a will, there’s a way! The finished product was a hit. So much so that it wasn’t long before #3 (our other girl) was asking for one for her room so she also could pin things up in her room. I already had some fabric I had gotten just in case I needed it for something in her room so it was just a matter of finding a cheap bulletin board base.
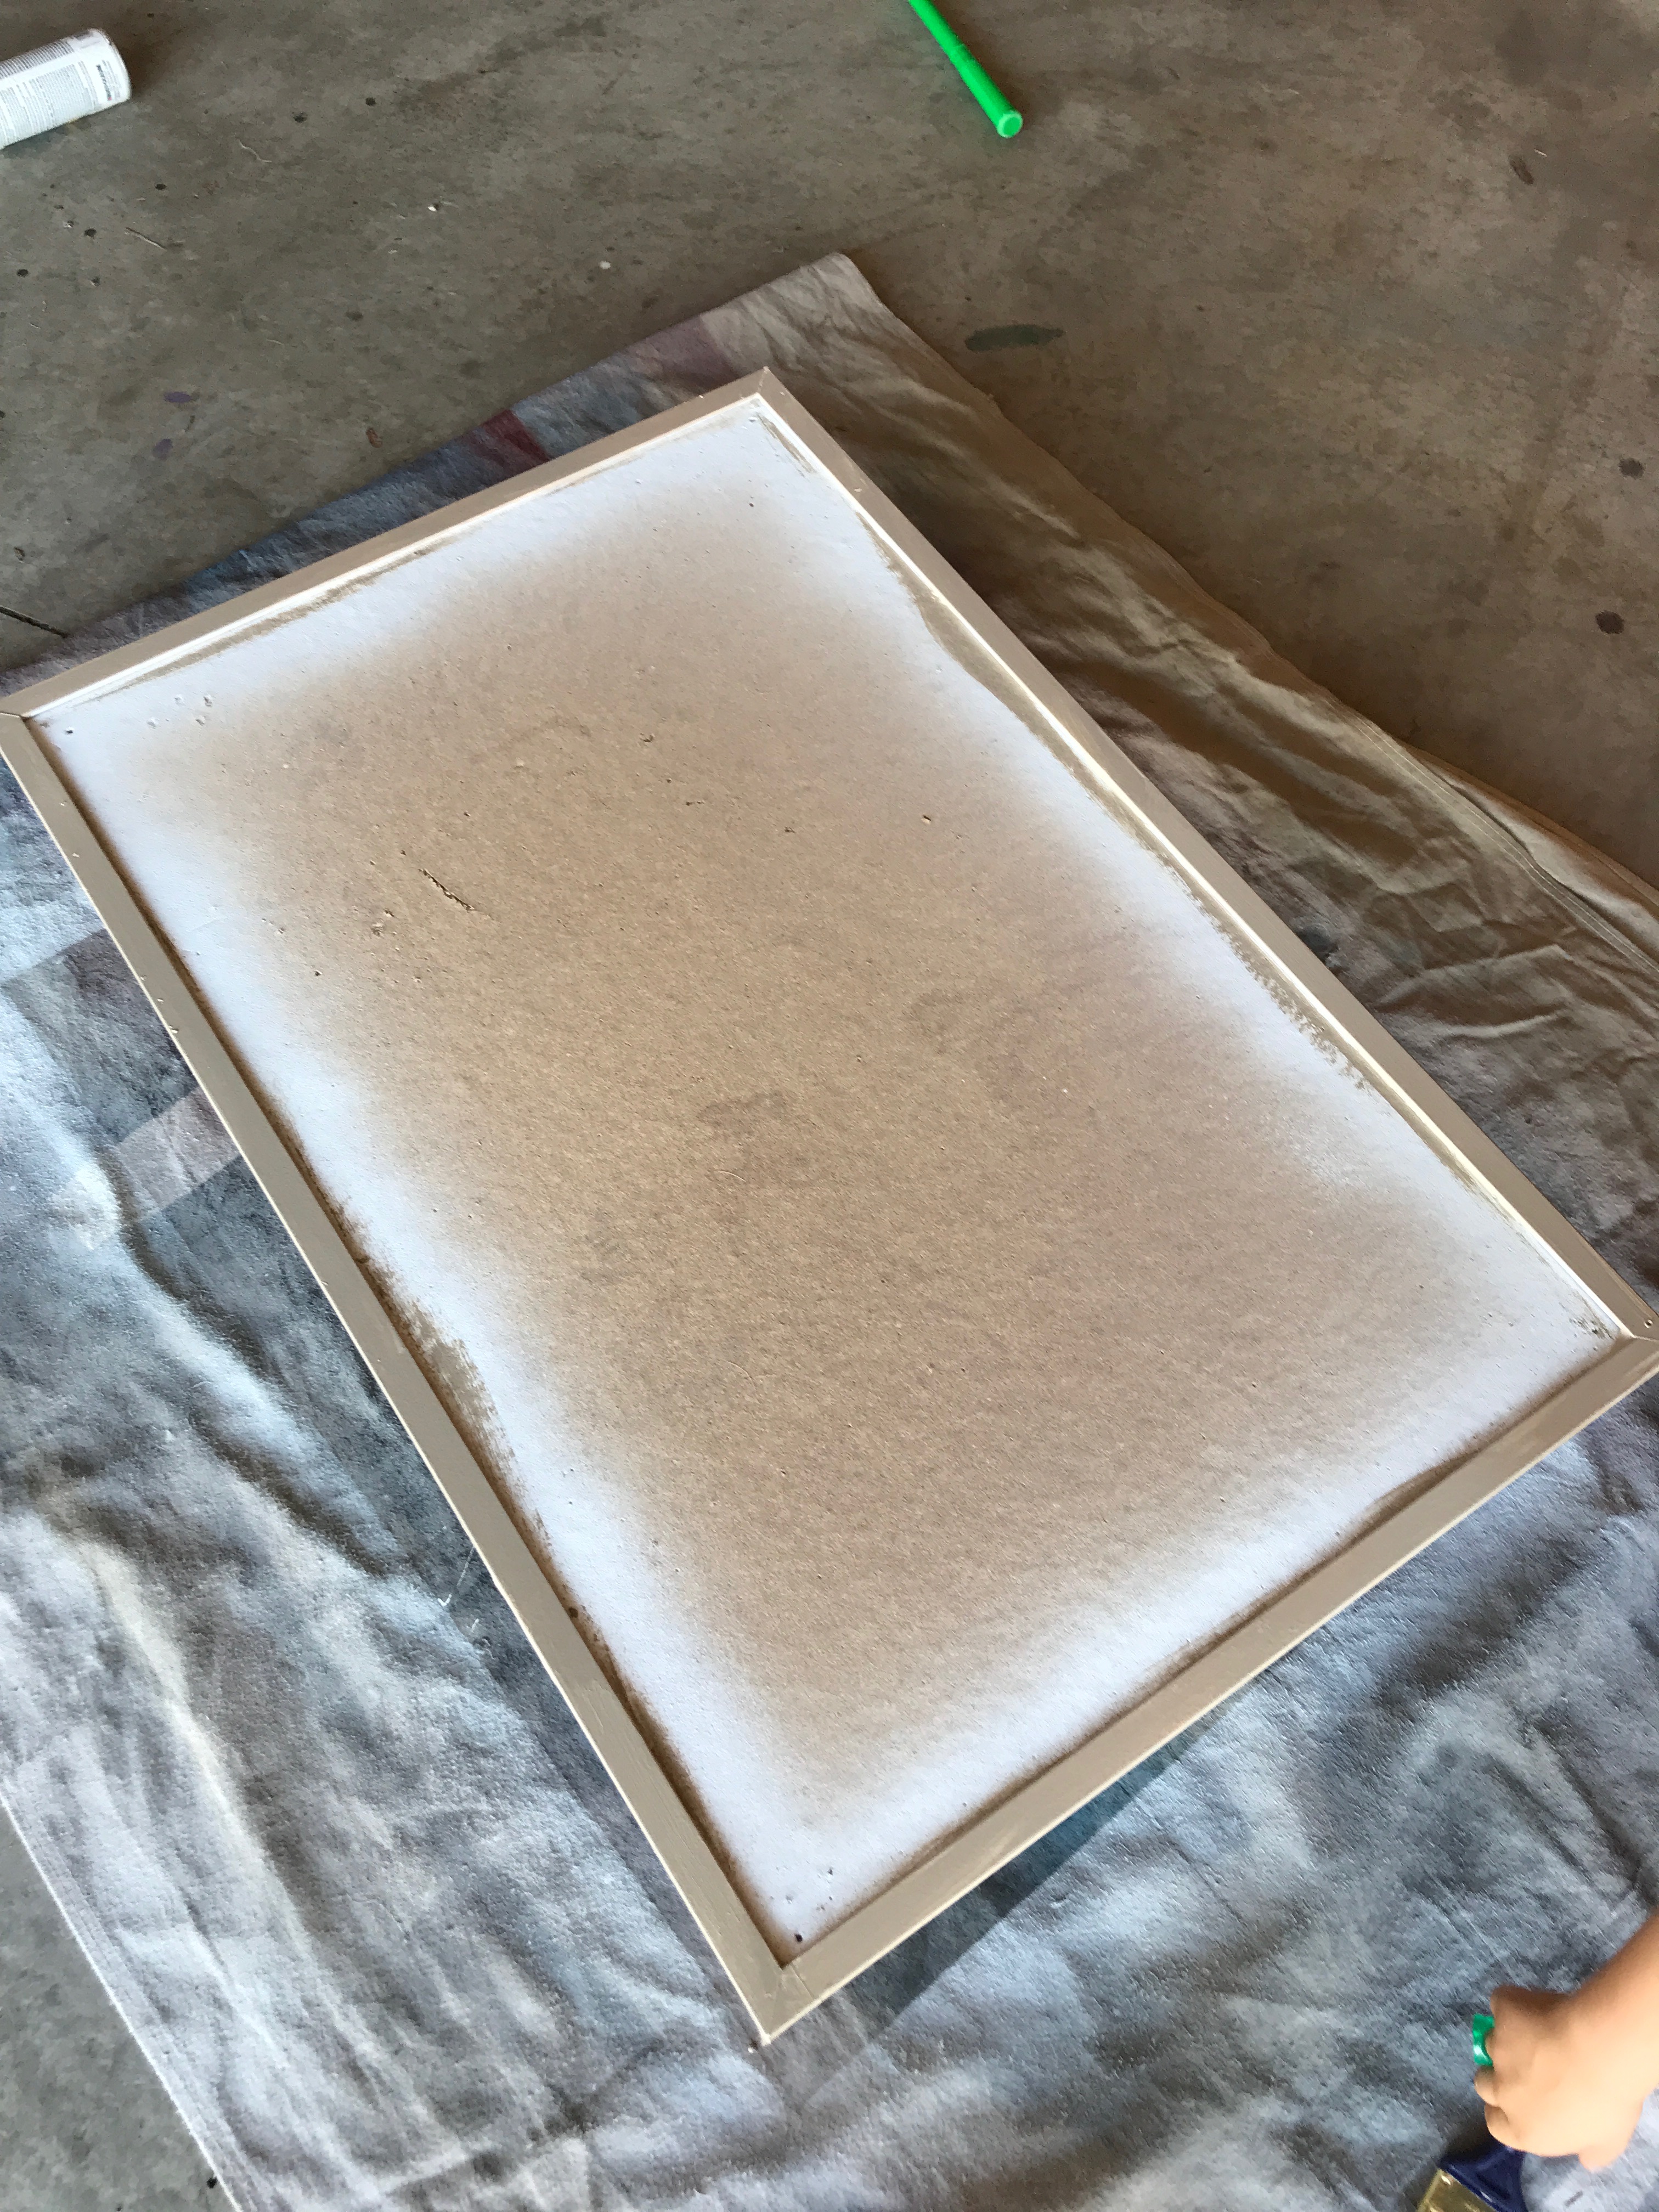
I’ve lucked out both times and managed to find the bulletin board bases at my local Goodwill store, for mere dollars. Sure they had some damage to the cork board itself but since I was planning to cover it anyways that doesn’t matter. In both cases I started by priming and painting the frame. You can add embellishments to the frame if you like either before painting or after. For the one pictured I used a spray primer and then painted the frame with the trim color from that room.
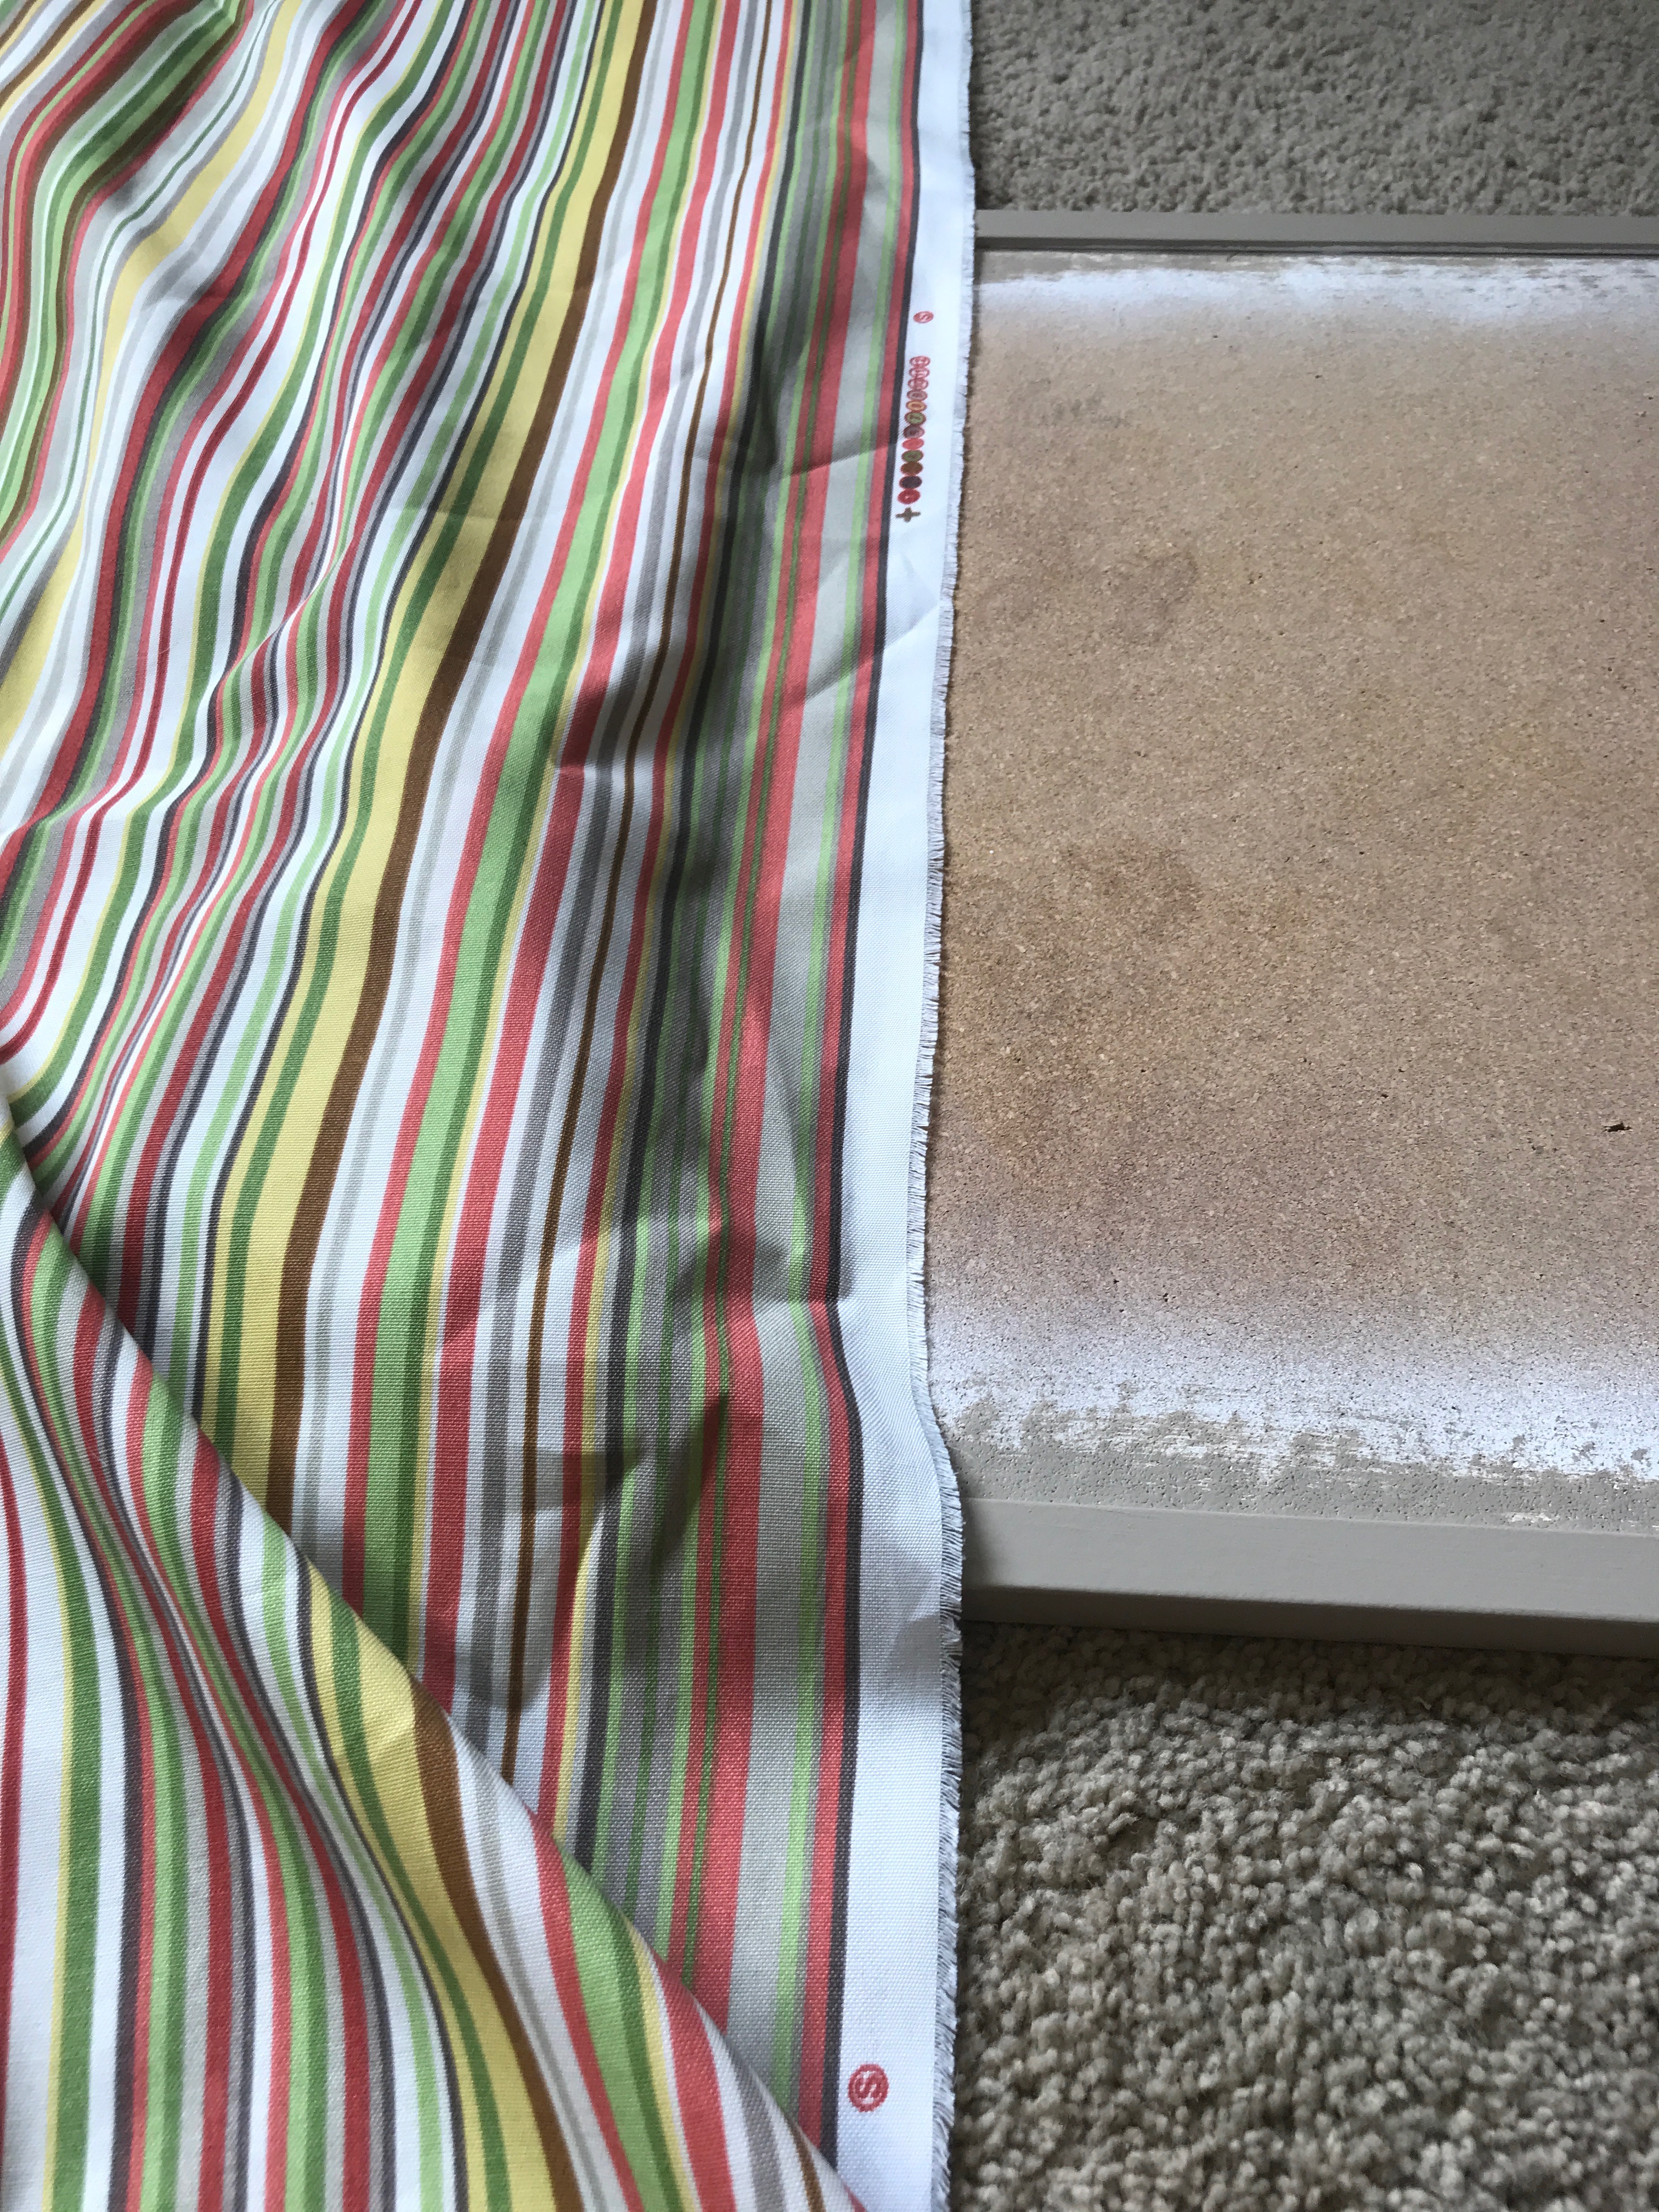
Next I lay out my fabric and I cut it to the exact size of the bulletin board, just inside the frame. You could cut it a little larger and fold under the fabric to create a more finished edge but it would be much harder to keep the fabric tight and smooth with this method. With this striped fabric it was easy to cut it nice and straight!
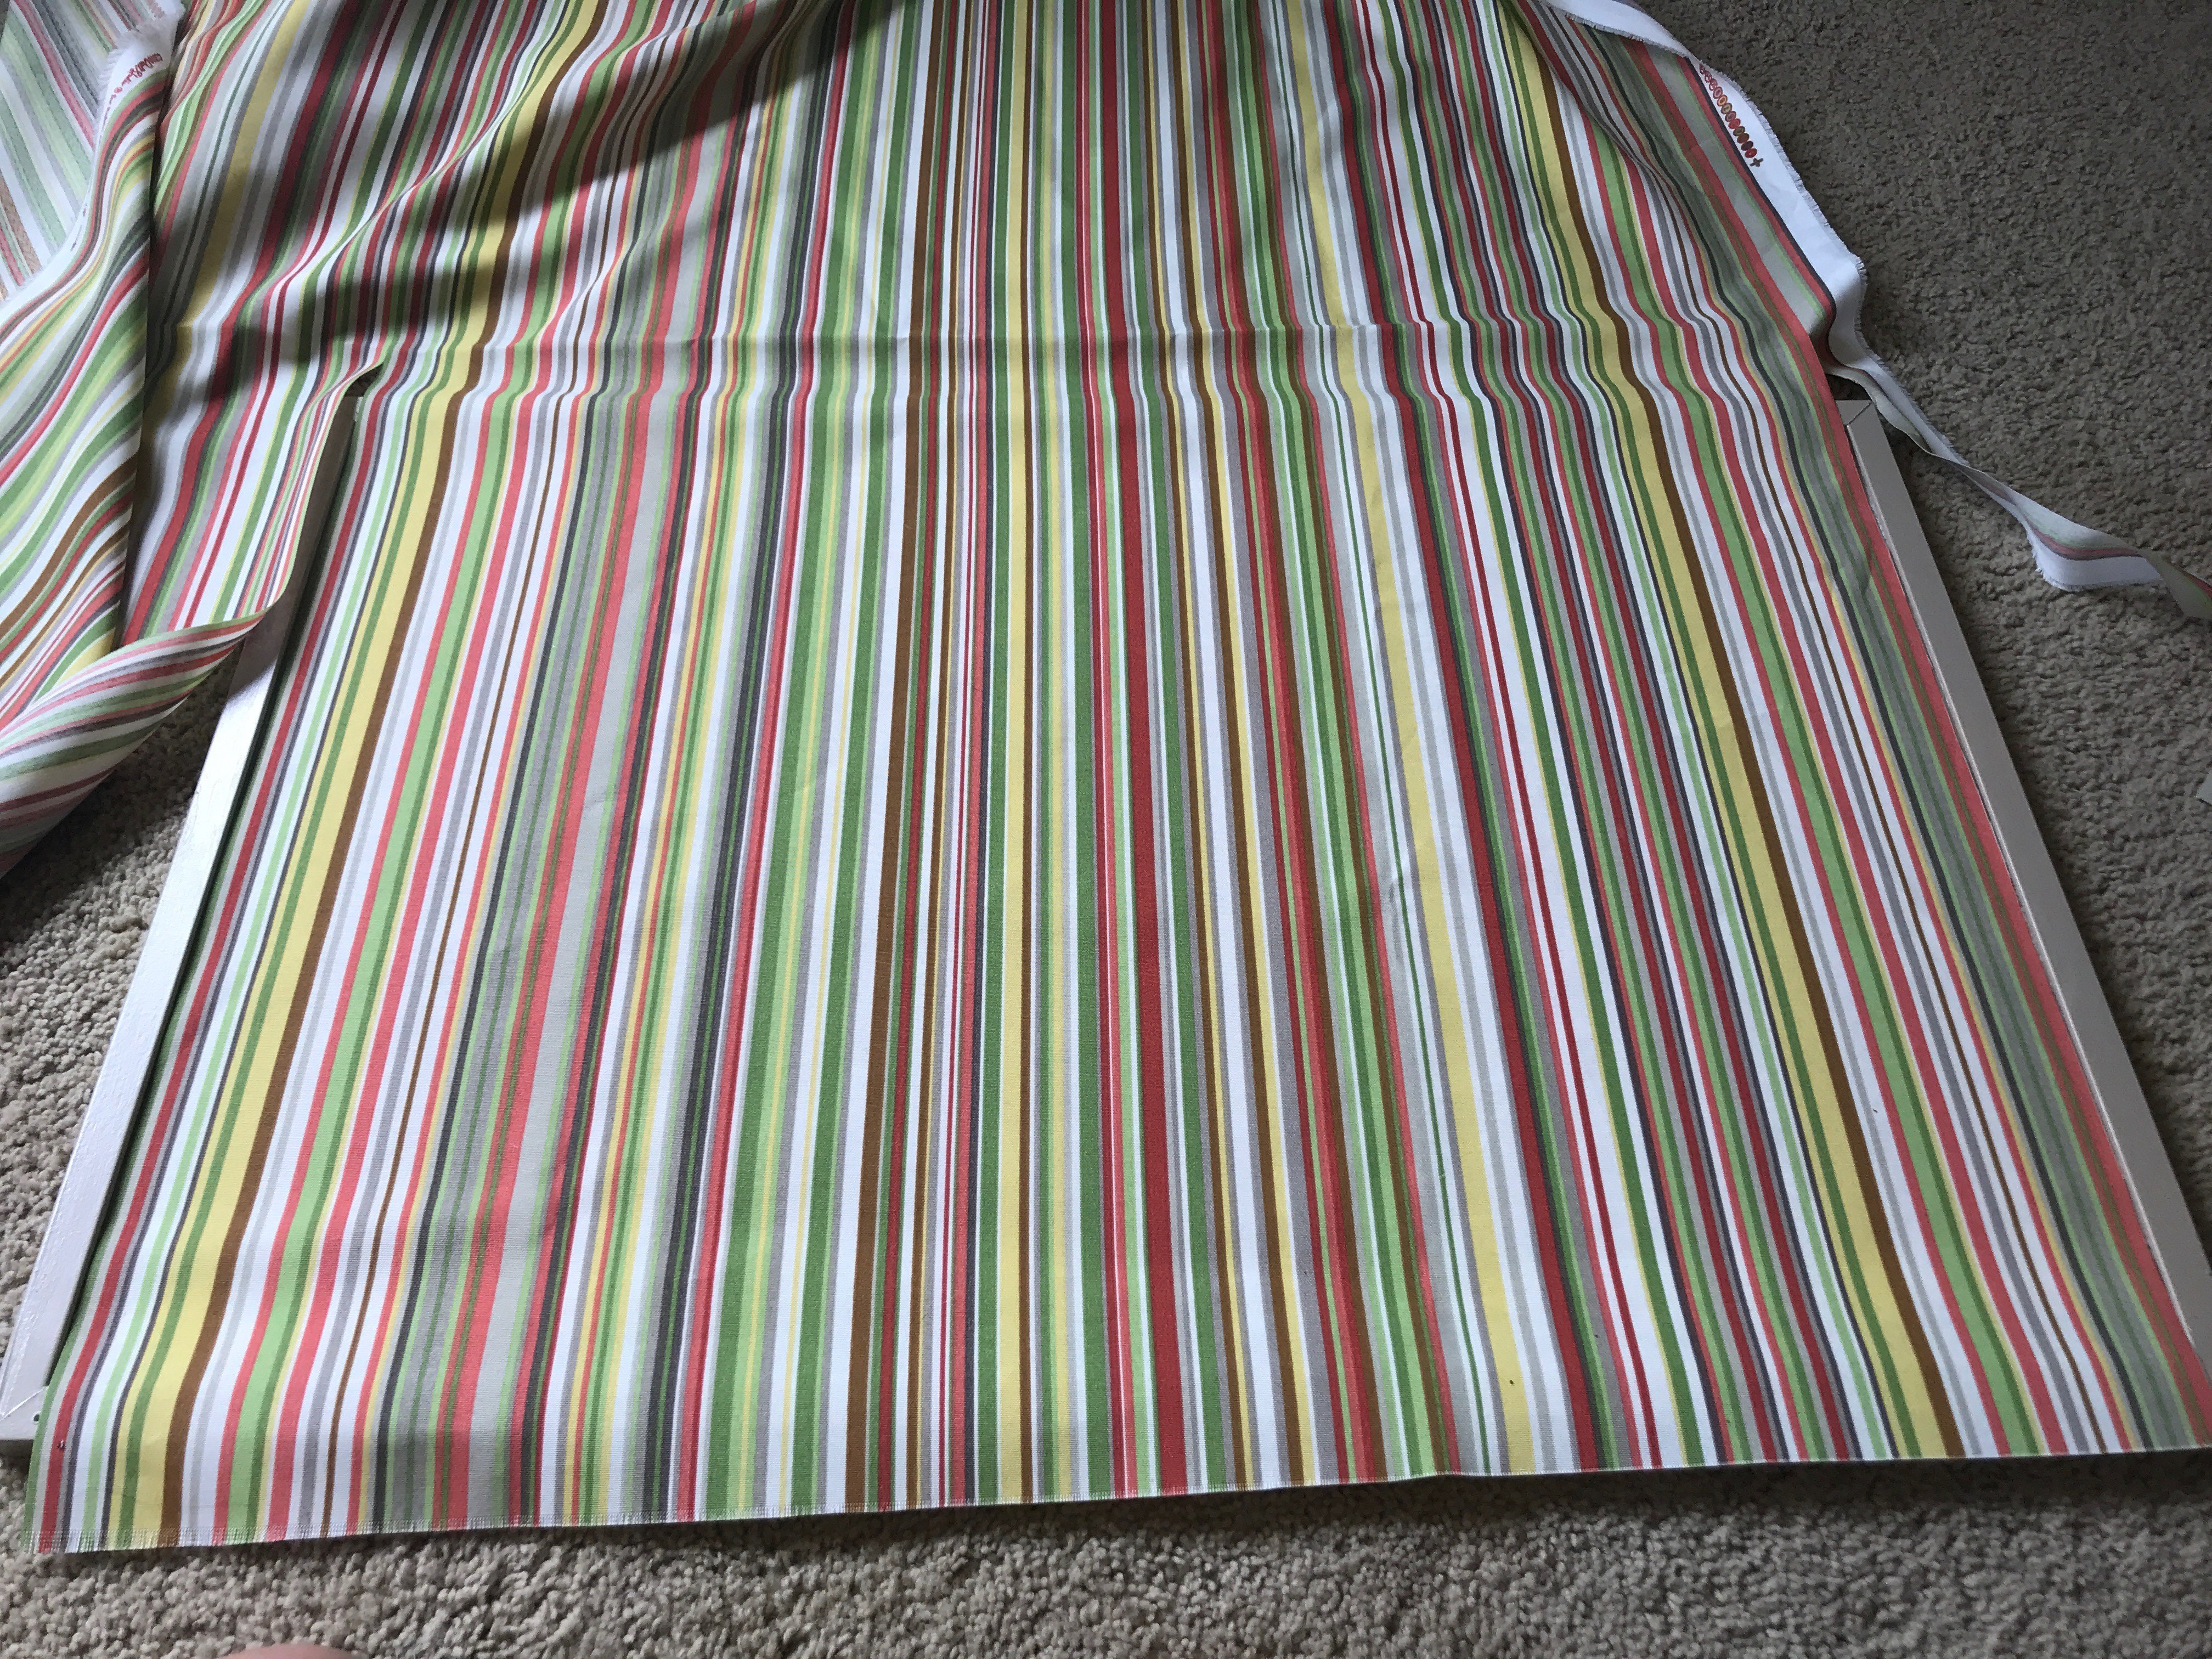
Once you have it cut to size, I use a hot glue gun and run a thin bead of hot glue right along the frame and lay the fabric down on top of it, doing only about 6 inches or so at a time. Keep smoothing the fabric from the first side you glued down to make sure it stays nice and tight. I like to finish the raw edge of fabric with a piece of braid, trim, nailhead trim etc. I had not done that with this one as of the time of the finished picture because I hadn’t found a trim I liked for this yet. I just find it helps to avoid any future fraying if the raw edge is covered and it makes it a little fancier and more finished looking also. As you can see it is fine without if you prefer that look.

To hang it, since there were no hooks on the back of the frame, you can either add picture hooks to the back (I did that on the first board) or put a screw straight through the frame and into the wall as I did in this case. There was already a hole through the frame on one side and rather than fill it I just put the screw in that hole to hang it with. I like the look either way but for a younger child I like to know it’s very secure and not going to easily come down.
That’s all there is to it! It cost me around $10 for all the materials and even without anything pinned on it, its very decorative. I like the pop of color it adds to her room as well. 🙂
Enjoy!