
Oh hello there! Come on over here and pull up a chair.
I’ve got some fresh coffee for you.
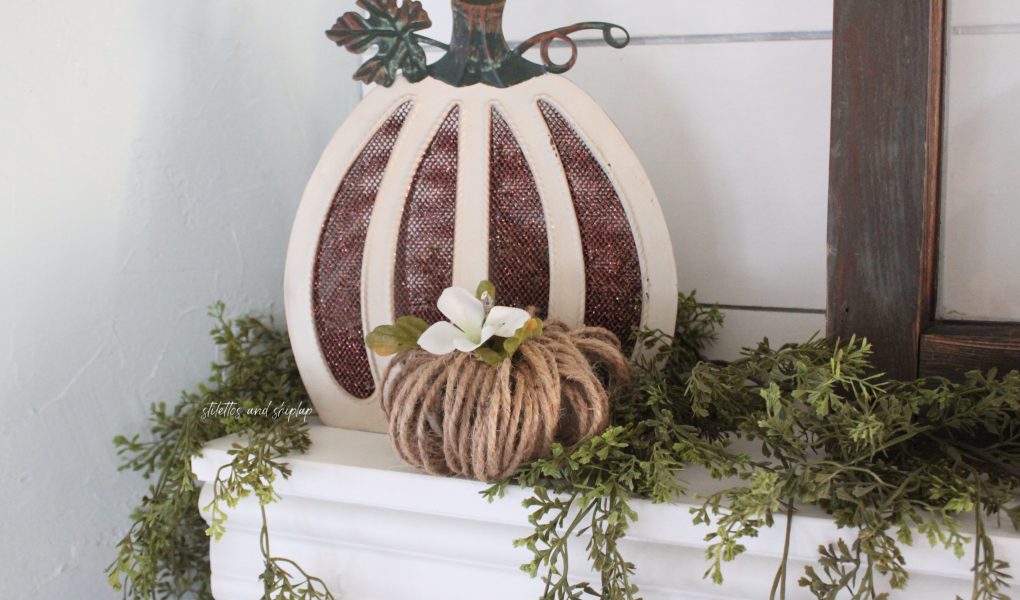
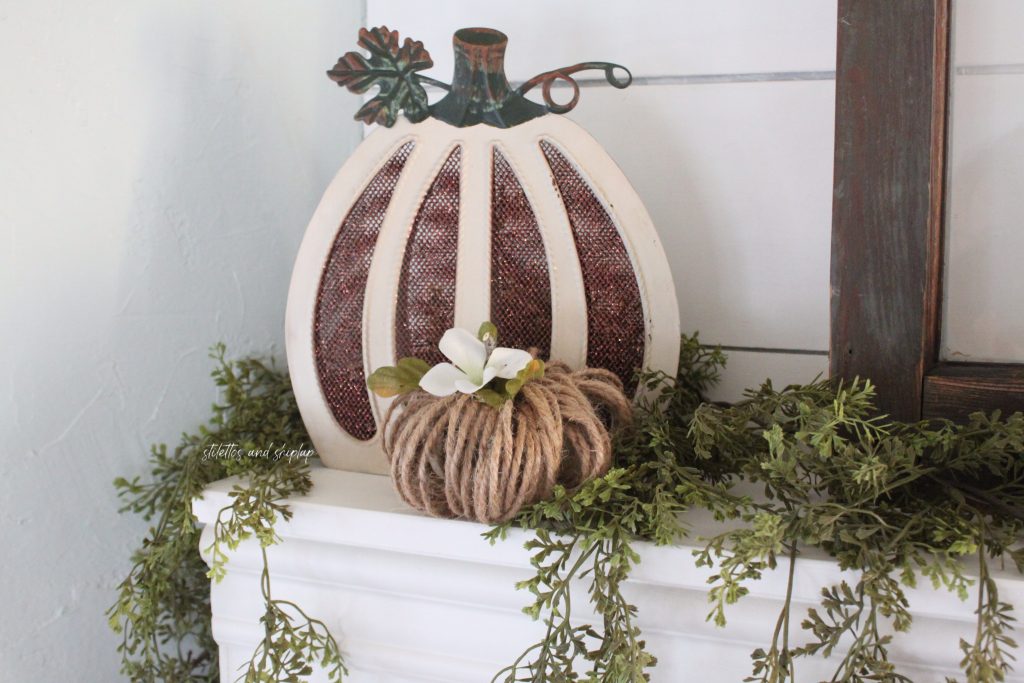
I’m just over here making pumpkins.
You know those darling little grapevine and twine pumpkins you see in all the high end stores with those really fun price tags that go with them?
You know the ones I’m talking about. The price tags that are the same as a meal for your family? So you walk dejectedly away still hearing the little pumpkin calling your name but knowing it will never be yours.
Or WILL it?
Okay I’m not quite ready to tackle the grapevine ones yet (don’t put it past me though) but I decided it was time to stop pining for some of those cuties and do something about it.

Here’s what you will need:
- roll of twine
- wire cutters
- floral wire
- scissors
- hot glue gun
- twig or something for a stem
- some kind of cylinder (that’s what I used the Liquid Nails tube for)

Cut a piece of floral wire 3-4″ long.
Leaving a tail, start wrapping the twine around the cylinder. Wrap it 20 times and end by leaving a tail again. Cut the twine.

It should look like this.

Carefully slide the wrapped twine to the end of the tube and place the wire inside the tube so that you are sliding it through as you pull the wrapped twine off the tube.

Twist the wire tightly and cut it off. Also trim the ends of the twine close to the wire.

It should look like this when it’s all trimmed and finished.

You will need to make 3 of these little bundles per pumpkin.
Now it’s time to grab the hot glue gun.

Glue 2 of the little bundles together as shown. Then glue the 3rd one to the center of the first two.

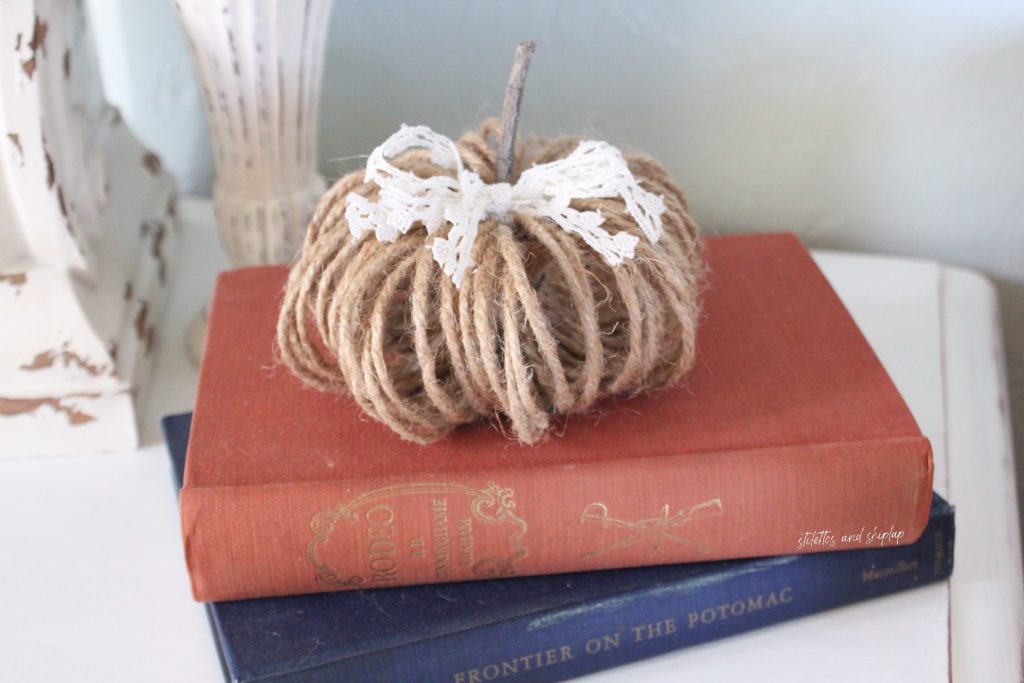
Glue your twig or whatever you wish to use for your stem, to the center and shape the little pumpkin.

They are as cute as little buttons as they are or you can add some little trimmings to them as well.

Pretty much anything you have laying around.
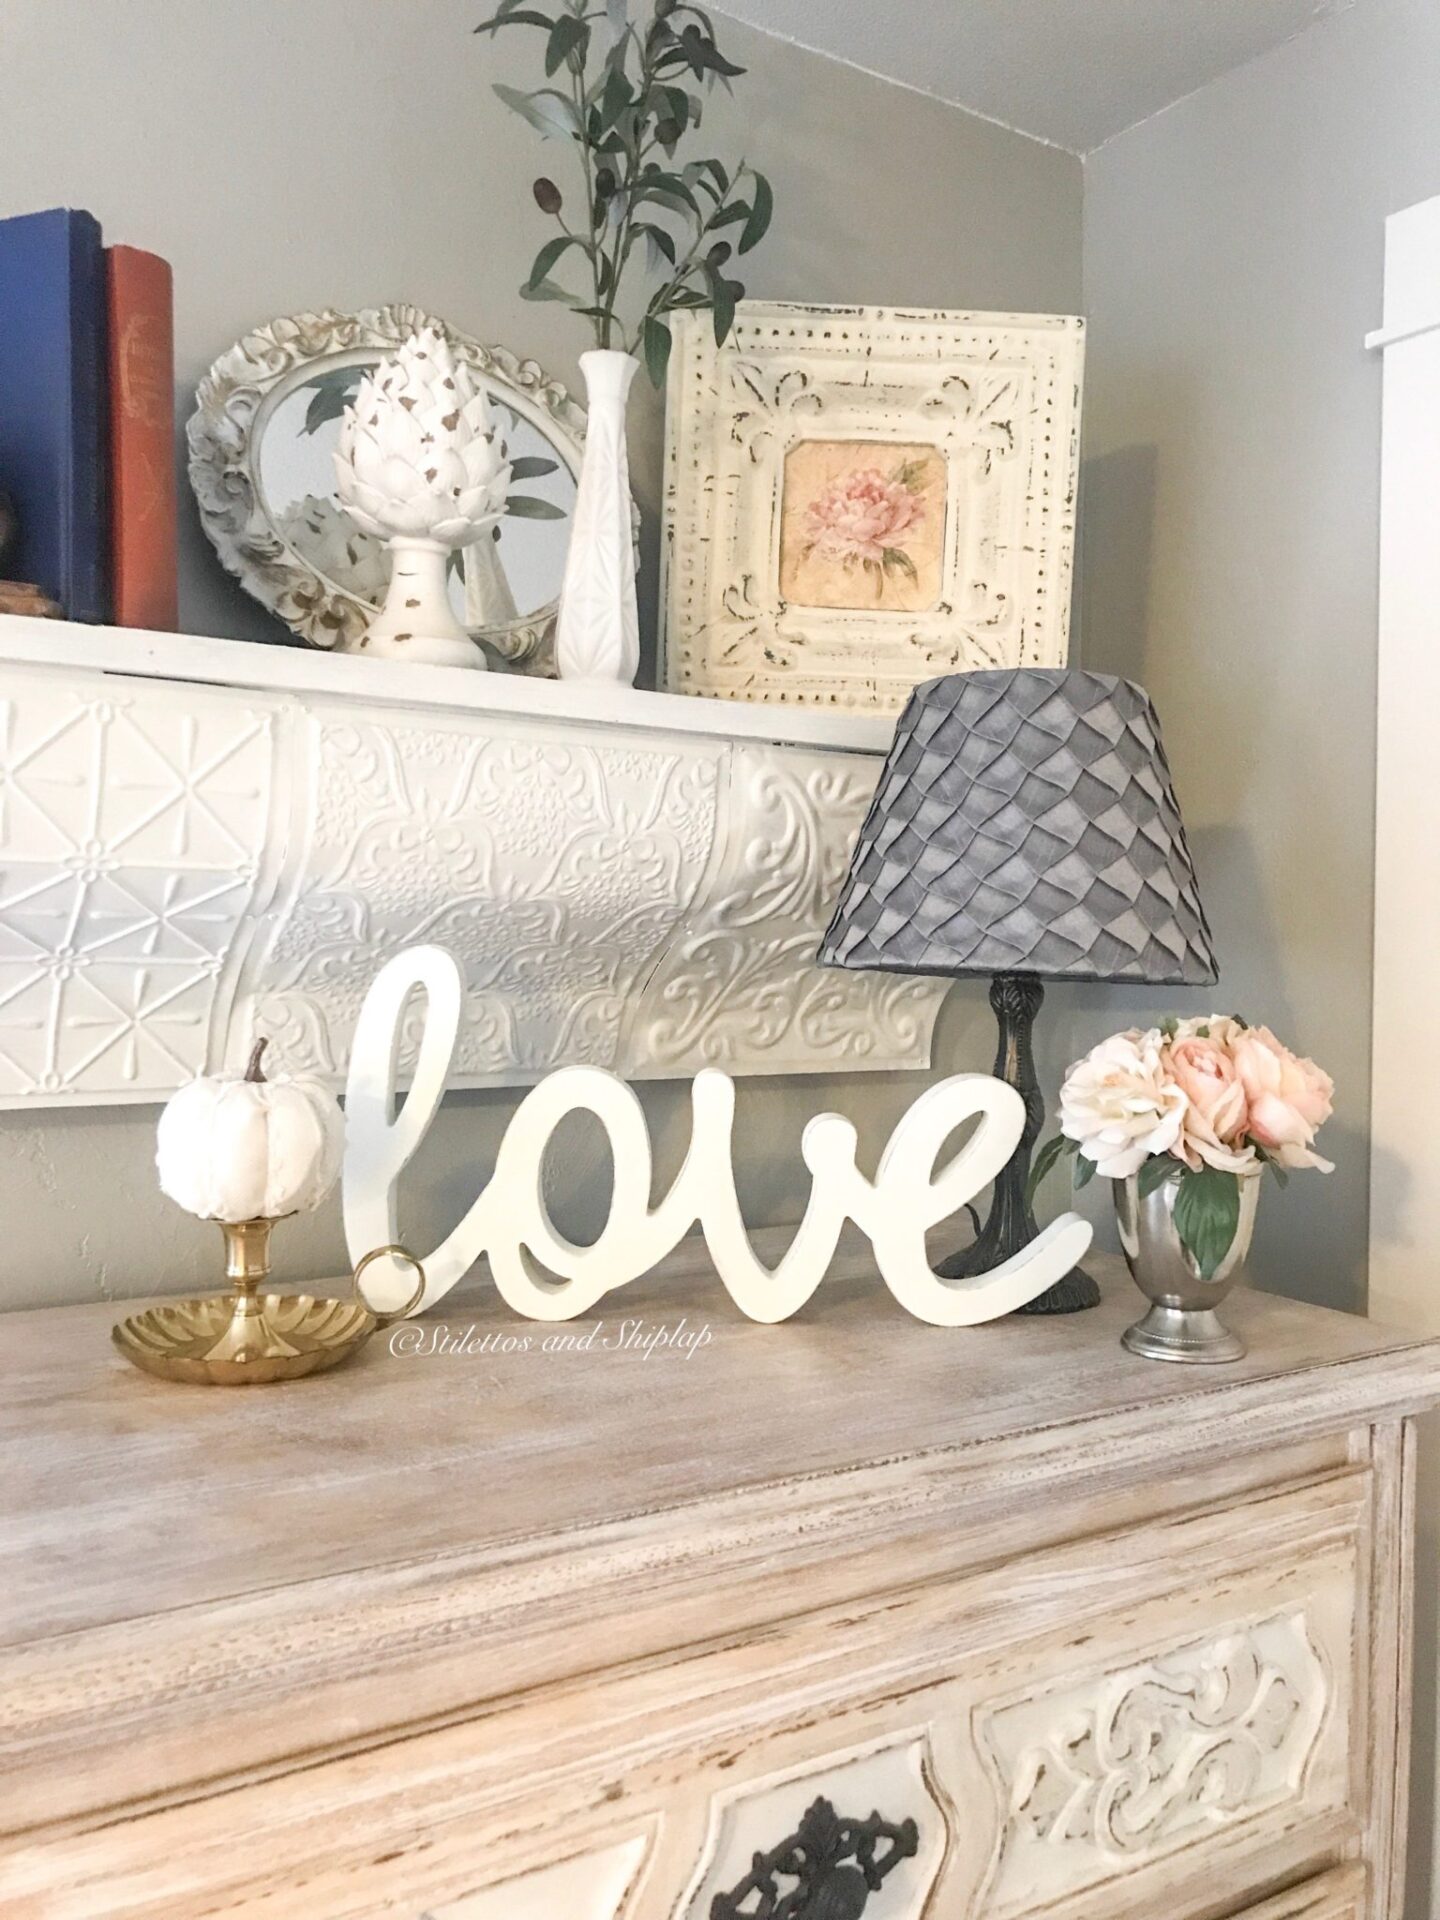
Of course it wouldn’t do to forget styling one with some vintage books!

And why not some acorns for more fall feels…


The possibilities are endless.
Until next time…
You can follow me on Pinterest and Instagram for even more ideas and great product deals. Follow my blog with Bloglovin
These are really cute. I was wondering how this was going to play out. Adding pieces by the stems was a cute idea.
Cindy
I was hoping they’d come out cute and I’m happy with them. It’s a nice and different addition to my pumpkin stash! lol
These are sooo cute!! I’m so glad you shared how to make them, now o can make some for myself!! Thanks for the inspiration, my friend!!
Aren’t they simple? And so inexpensive! I made 6 of them from one roll of twine from Hobby Lobby with a 40% off coupon of course, and I could still probably make another one or maybe 2 more from the roll!
[…] no end of things that can be done with shelves or bookcases to decorate seasonally. Here some twine pumpkins I made, along with my favorite copper pumpkin, are all this bookcase needs to be […]
[…] Twine pumpkins anyone? […]