

This site contains affiliate links to products. I may receive compensation for purchases made through these links.
So #3 had a project she had to complete in order to earn one of her badges in her little club she is in (similar to Girl Scouts) and that was to make a bouquet of paper flowers. It could be in any manner you desired but of course I couldn’t go the simple and easy way! No!!! I had to start dreaming up a really cool project that we could do together (she is majorly into crafts of all sorts) and perhaps come up with a finished product that we could even use for something. Hmmmm….
When I was at Dollar Tree the other day I picked up a package of coffee filters on a whim thinking they just might come in handy for said paper flowers and if not, we could always make paper snowflakes out of them later this year 🙂 So today I took them out, stared at them for a while and got to thinking…..after some messing around I came up with a winning design but then thought – this is kind of boring. Wouldn’t it be great if we could somehow dye the coffee filters in soft colors?
Back to the drawing board….I was thinking food coloring mixed with water and decided to quickly search online to see if anyone had tried that before. I found several people that had and also that weak coffee or tea can make some nice colors with the coffee filters. Voila! Here is what we ended up doing:
I mixed up a batch of watered down coffee, probably about double the water you would put in if you were going to drink it. Then I took a small glass food storage container and put a couple inches of this mixture in it. I added about 3-5 DROPS of food coloring and stirred it around. (It looks bright and scary but trust me – it will be very pale when it’s done!)
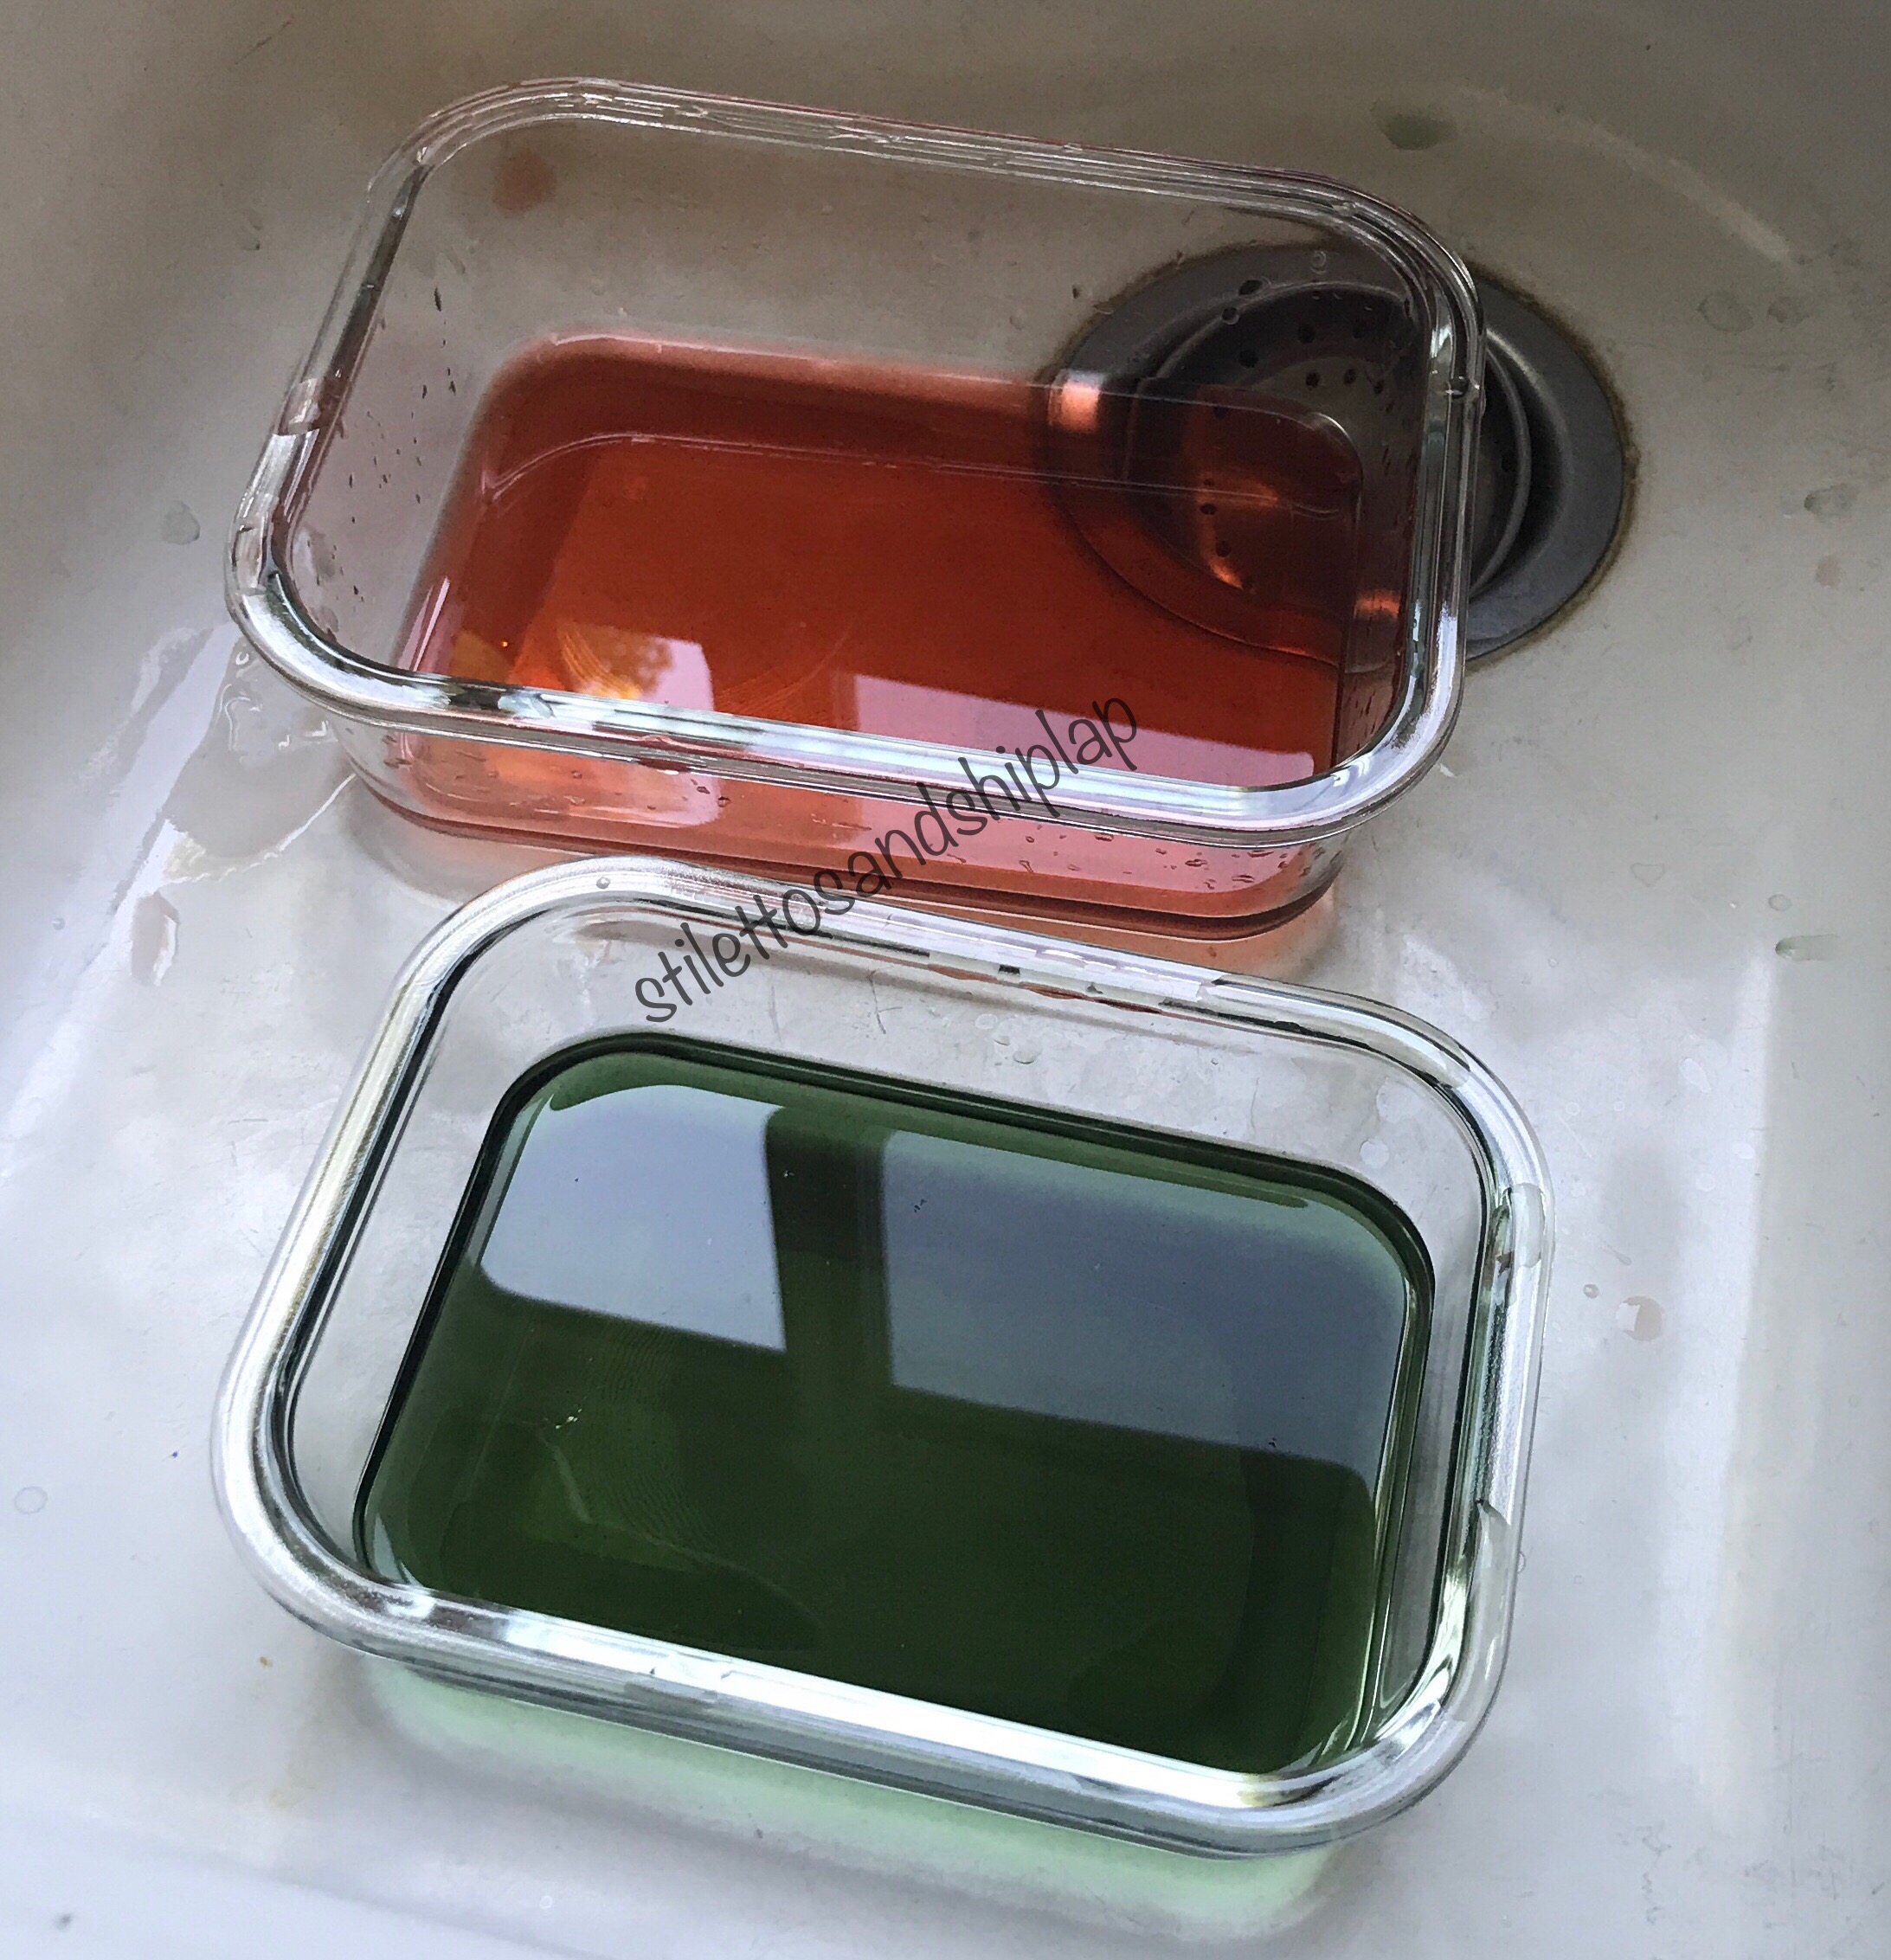
Next I dipped about 3-5 filters at a time (still together) in the dye and hung them over the divider between my double sinks to drip. I probably dyed about 30 or so of them.
Then I threw them carefully into my clothes dryer and put it on for 20 minutes (because that’s the shortest amount of time mine will let me set it for) and set it to ULTRA COOL temperature. Approximately every 5-7 minutes I would pause the dryer and carefully separate the filters a little more and make sure nothing has sticking where it shouldn’t be. By the time they are thoroughly dry (they will no longer be almost translucent) you will have been able to get them completely separated.
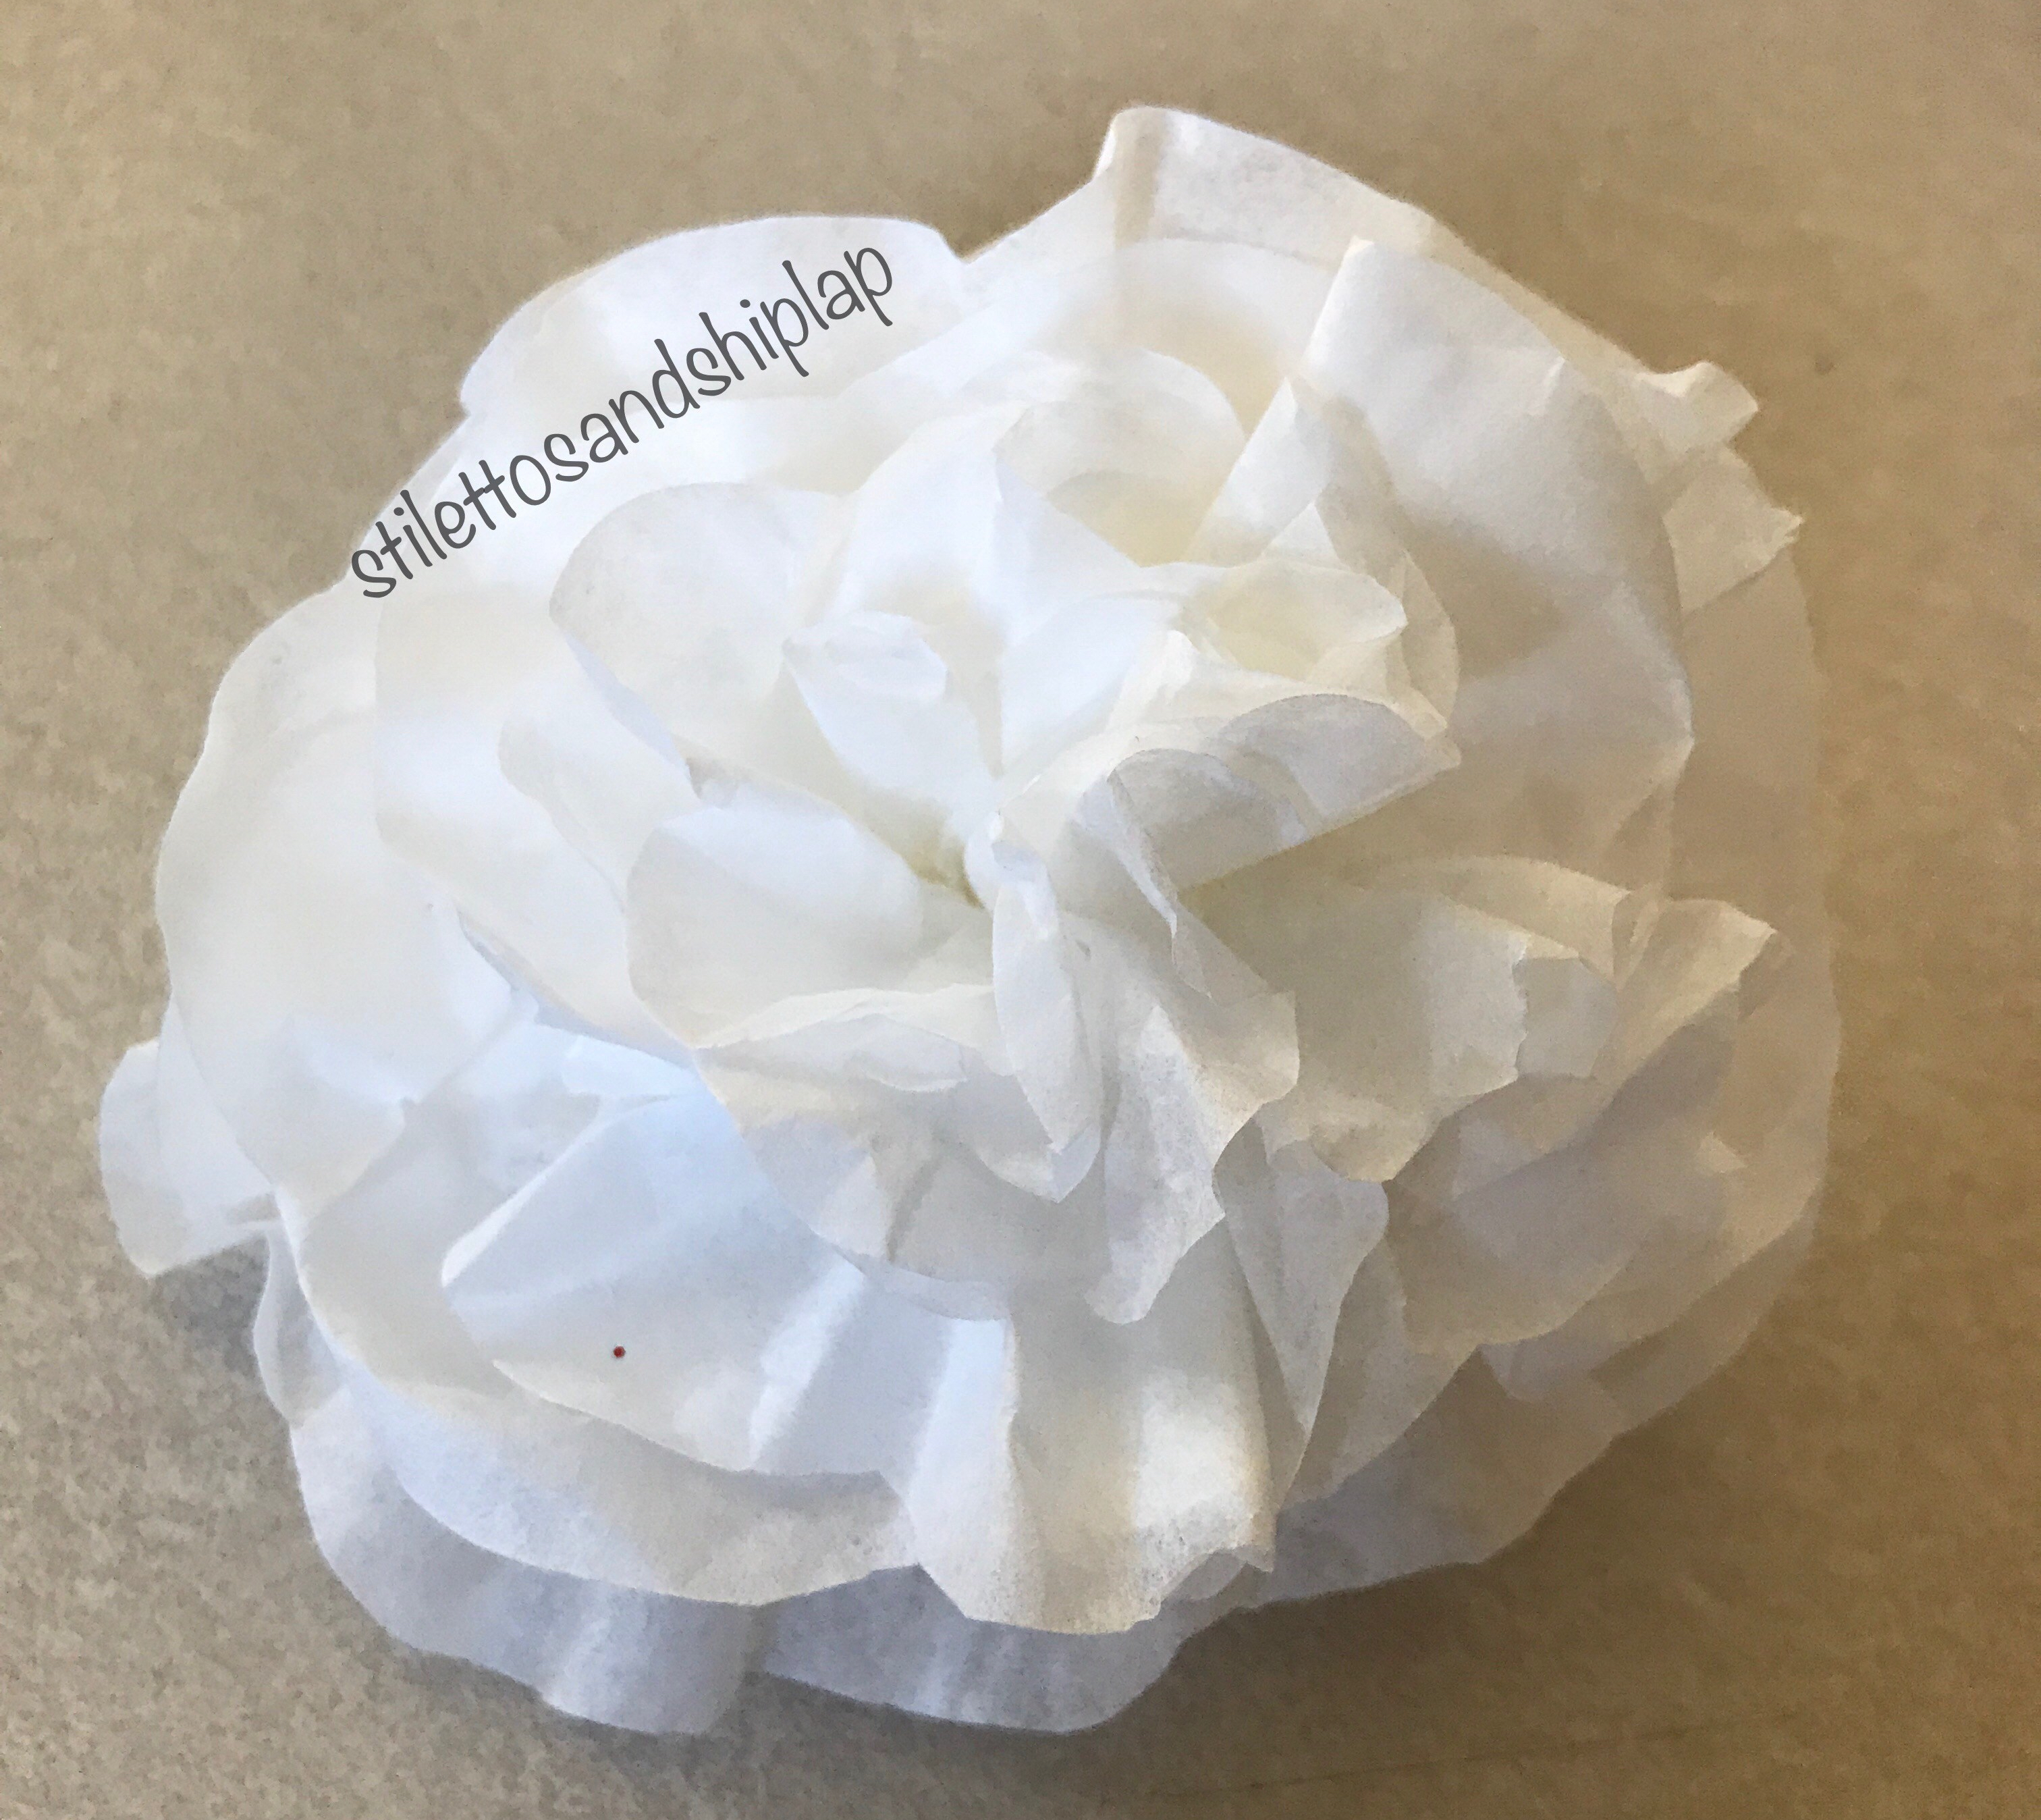
Next I took 3-4 filters and stacked them, folded them in half, then into quarters. Then I trimmed the open edge into either scallops or really any pattern you like.
Repeat this step with another stack of 3-4 but this time make sure to trim the open edge farther down so that it is a little smaller overall than your first stack.
Open out the stacks and put the smaller ones on top of the bigger ones and then fold them back in HALF. At this point you can secure them in the middle of this fold with a staple or some glue or whatever you like. If you glue them you will need to wait for the glue to dry before proceeding. I used staples.
Open them back out as flat as possible now that they are stapled and shape each layer one at a time sort of scrunching the bottom in your one hand while shaping with the other. Once you have them shaped how you like them you can either staple the bottom together or again glue them. You could even wrap thread or and elastic around it. I used staples again.
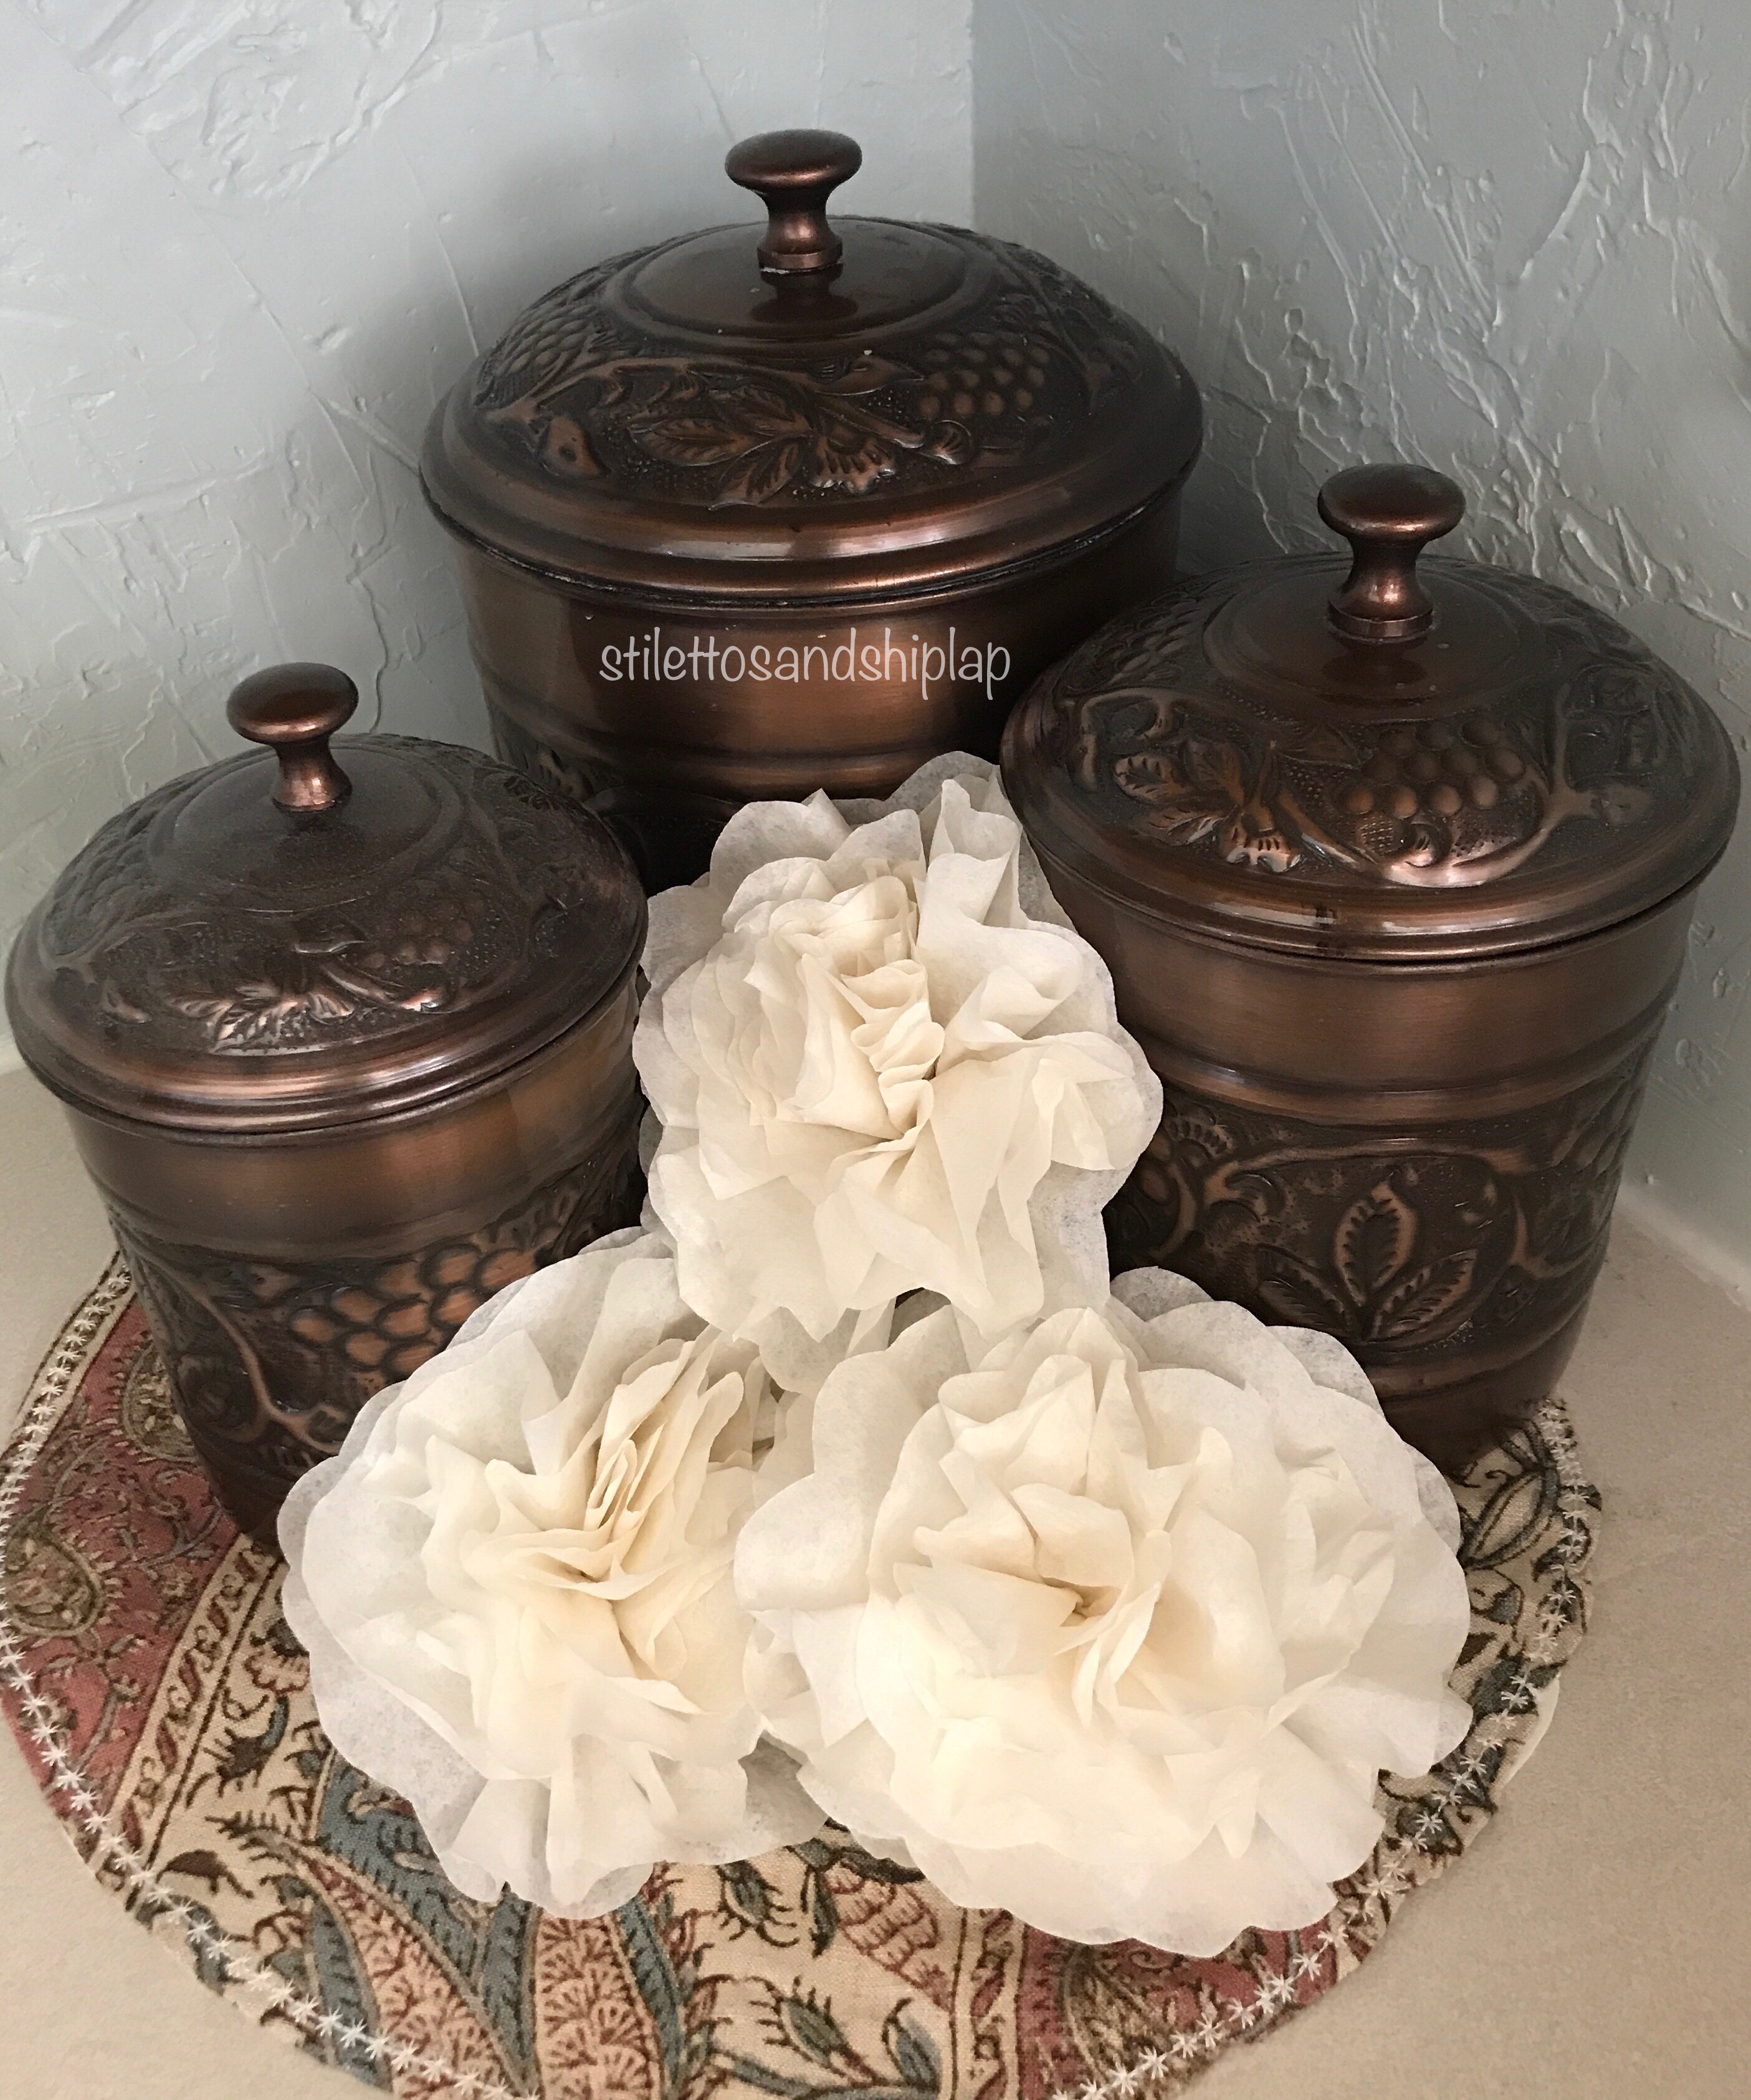
That’s all there is to it. Drying them in the drying after dyeing them is the longest part of the entire project. It’s super easy and they are SO pretty! If you wanted them to be on a stem you could easily hot glue them into one or florist wire etc.
For the soft creamy ones I used just the straight watered down coffee without any food coloring in it. The coffee mixture helps the other colors to be a bit more soft and almost antiqued colors as opposed to bright, primary colors.
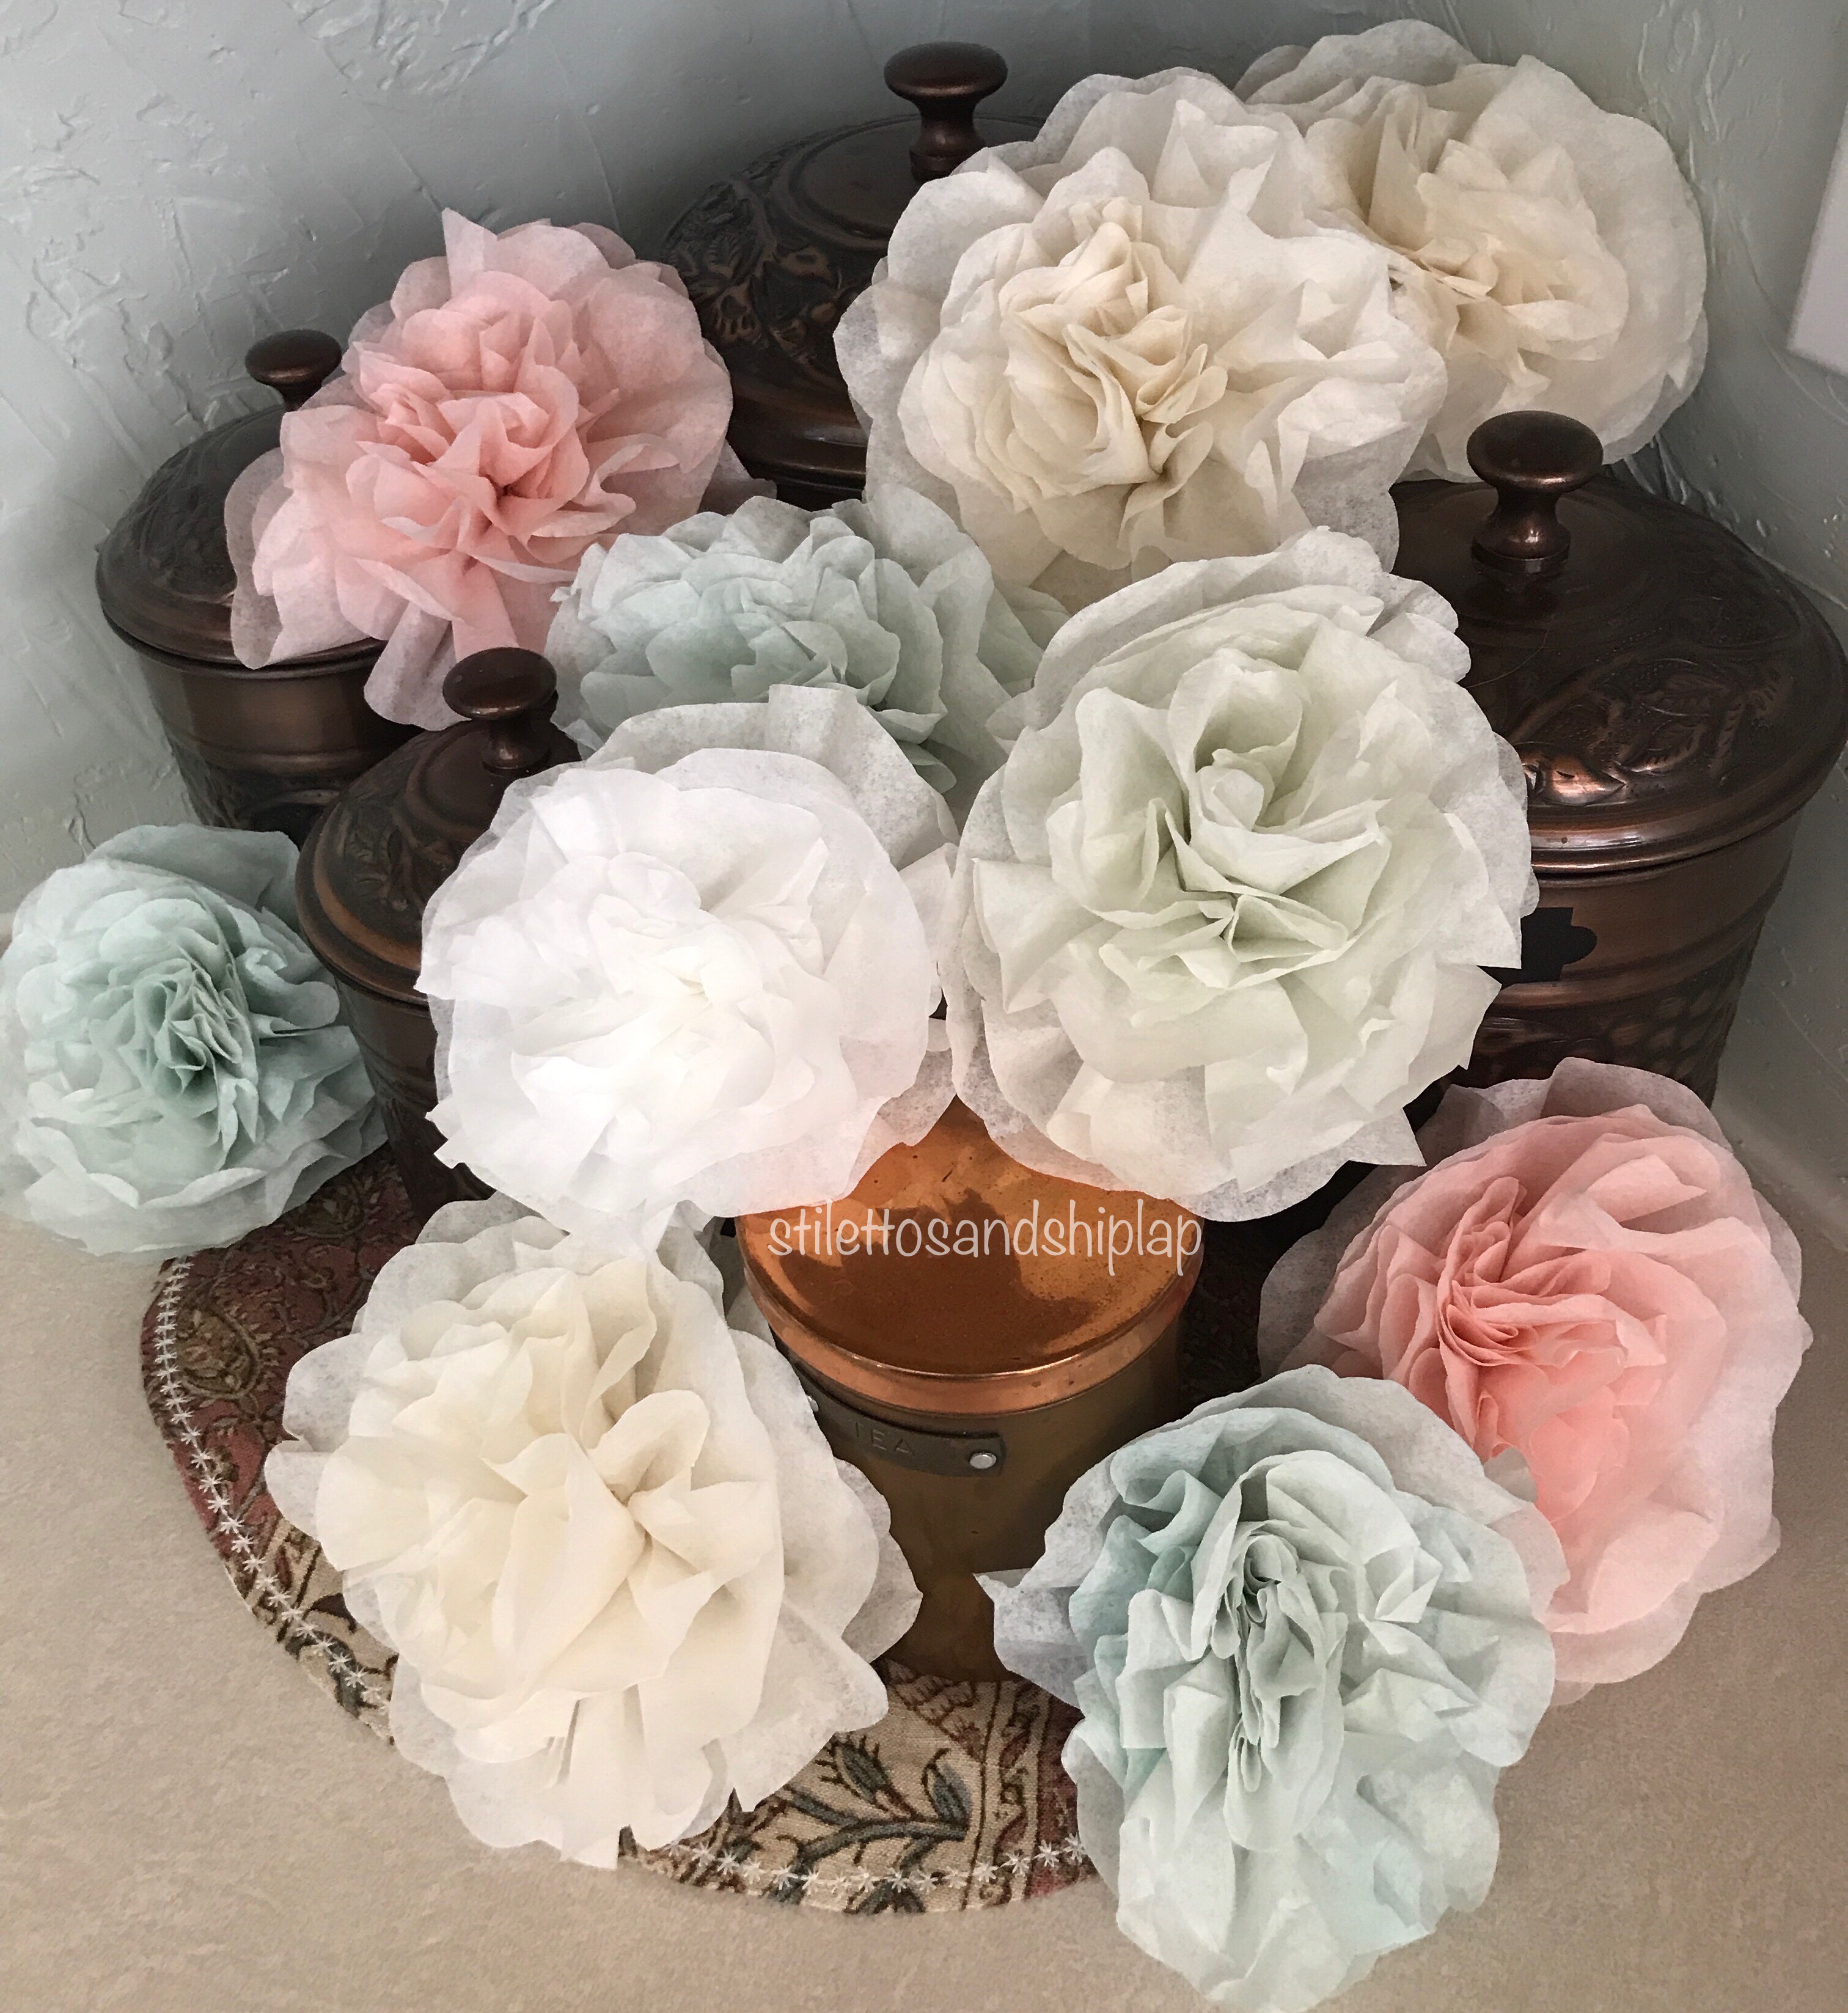
If you like my canisters, you can get the exact set here
Enjoy!
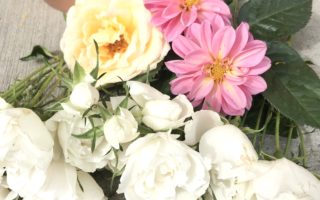


Oh, these turned out so pretty! I made plain white ones before (in an old blog post), but I love these colored ones too!
Thanks! It was a bit time consuming but overall it was worth it. A fun craft to be sure.