
I’m going to make you go WAY back in your memory, to sometime last year, when Emily and I made a list of the 5 Most Nagging Unfinished Projects we had all over our homes. We vowed to finally finish these projects and let y’all keep us on track with them.
You might have read the subsequent posts we did where we showed you the results of finishing most of the projects.
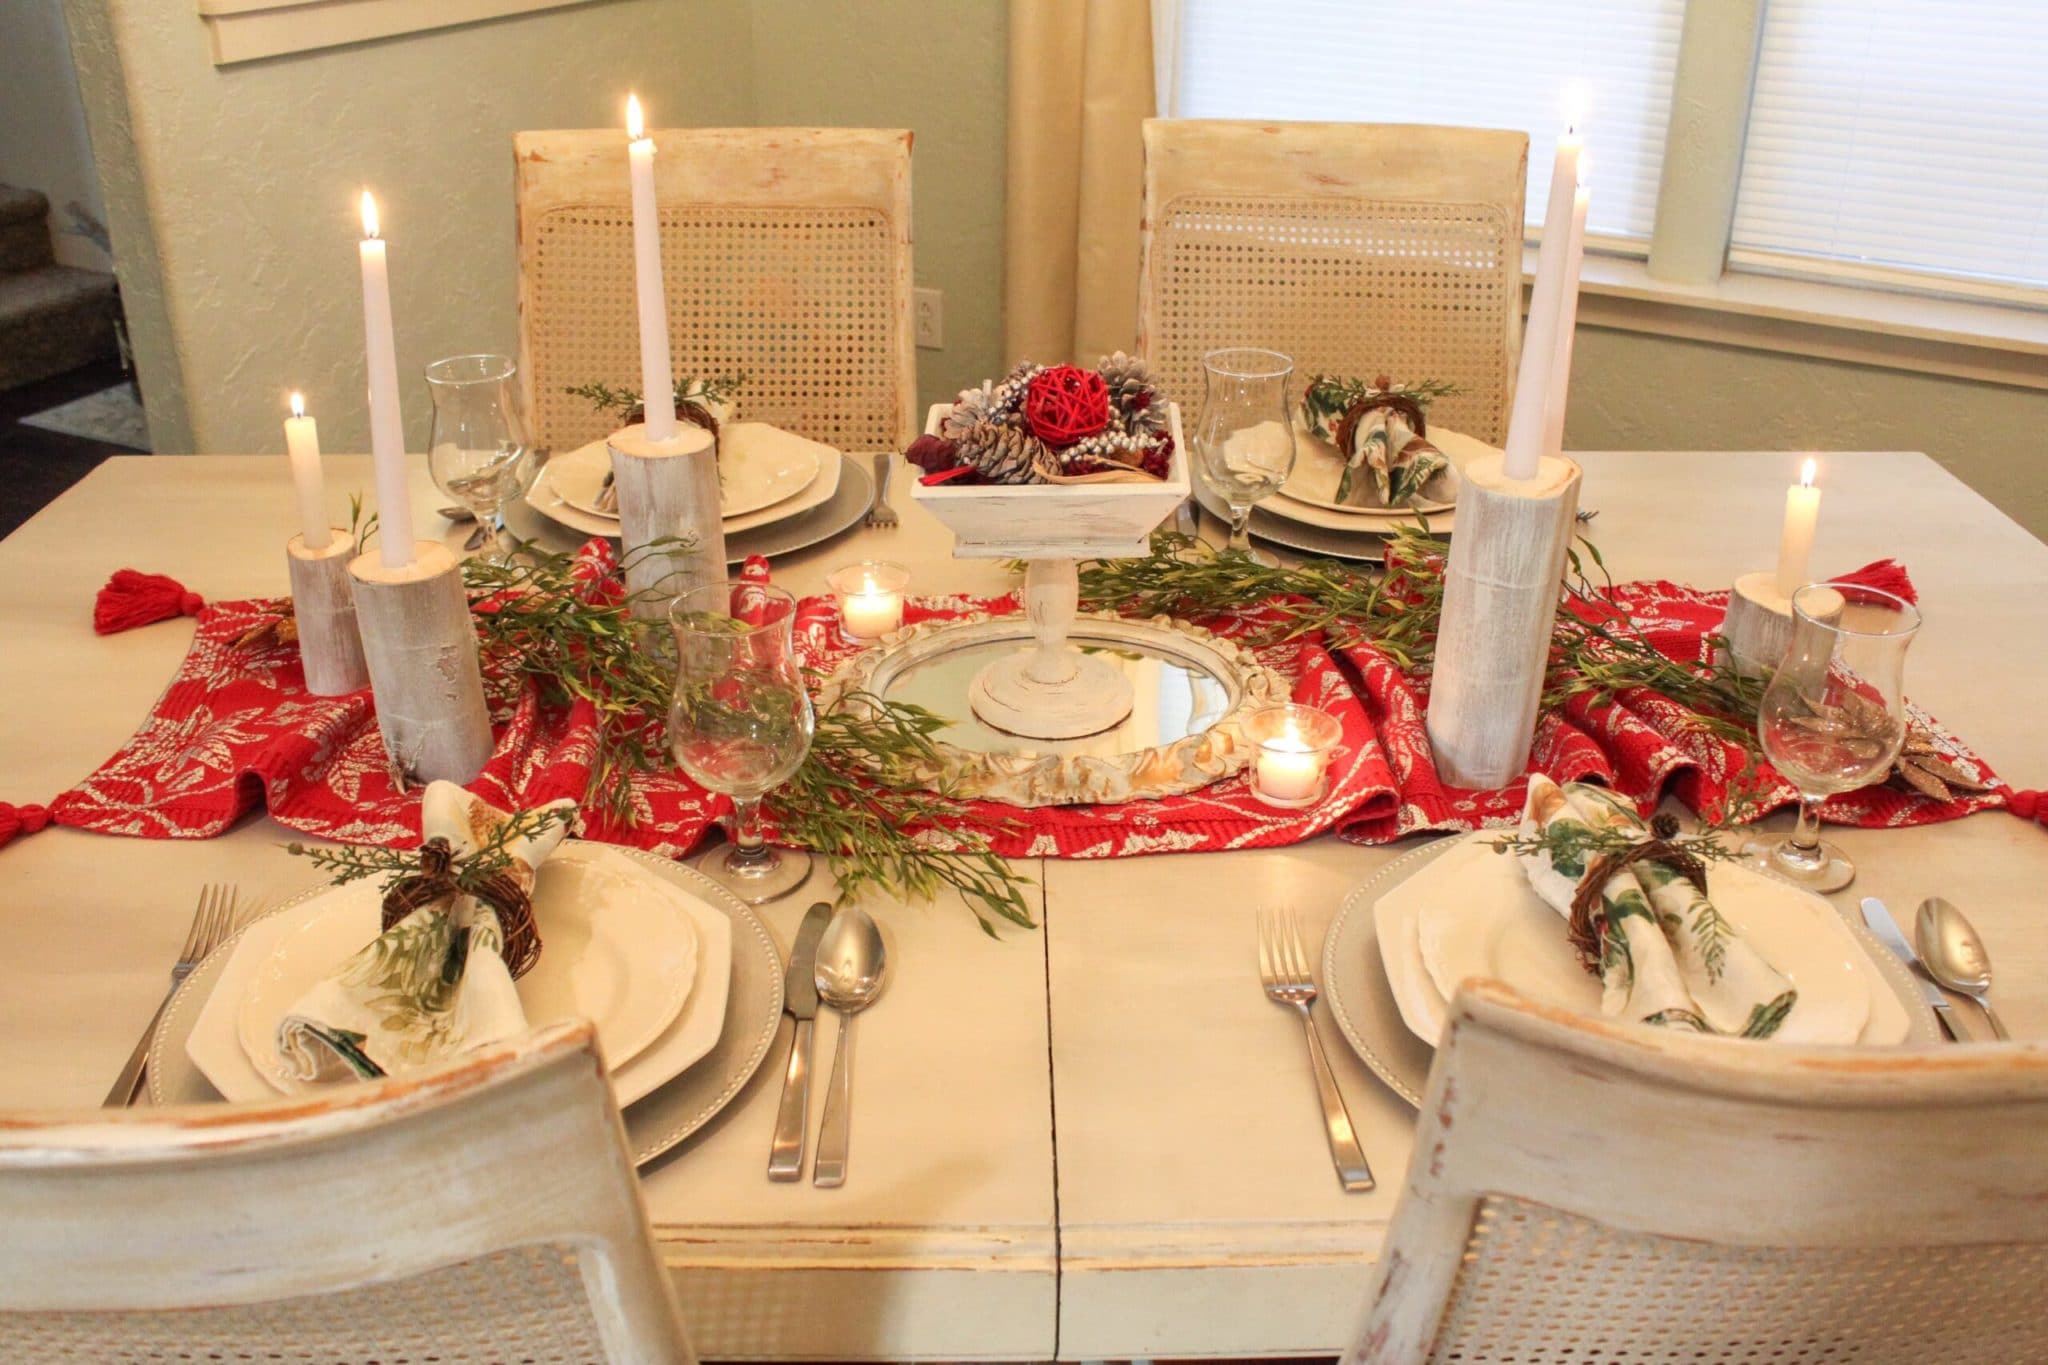
First I refinished my dining room table top. Again!
Then I tackled my open cabinet and got that all painted and looking pretty!
Project #3 was HUGE and took me quite a long time to do with everything else I have on my plate from day to day. It felt SO GOOD to finish the Powder Room though and the makeover is one of my favorites in my entire home!
Finally I repaired the hole in my dining room ceiling that was made to find the joists and hang the chandelier. While I was at it, I turned a wooden wall hanging piece into a ceiling medallion!
That’s where I stopped. Well at least for what I could show you. The final project was my laundry nook and for whatever reason, every time I would start on it, something would come up and I wouldn’t get very far.
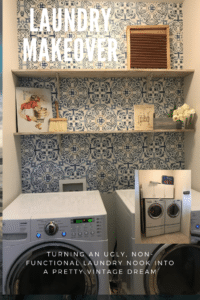
Well I’m so proud to tell you that I am ready to unveil my laundry nook for the first time!!!!
A look back…
Perhaps we should start at the very beginning…
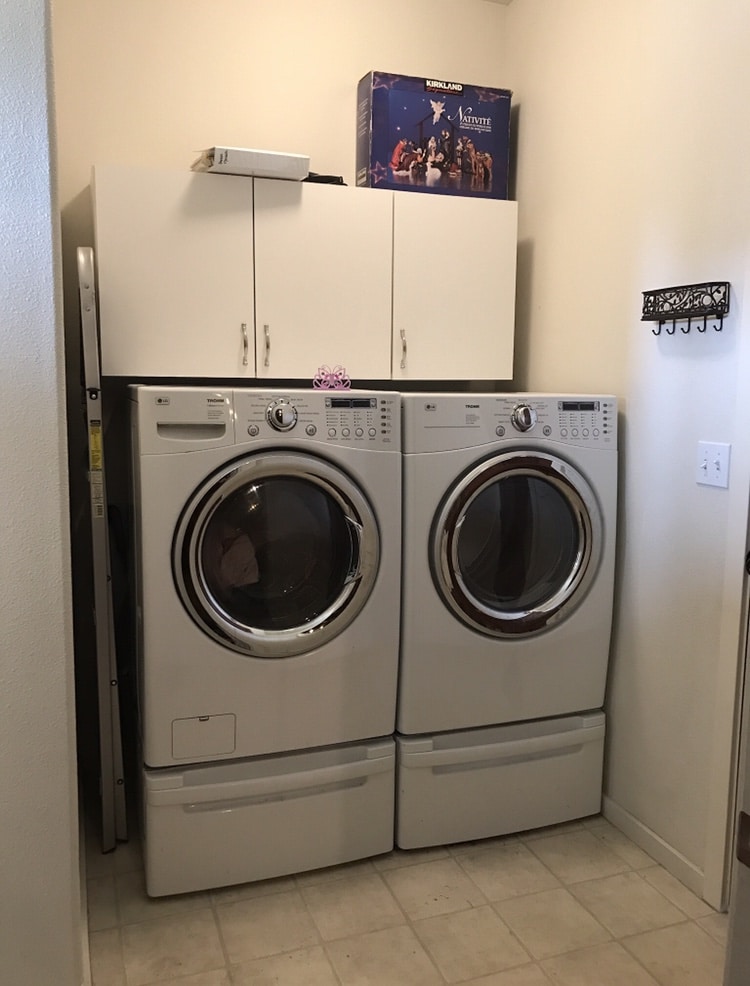
This is what I had to work with. It’s literally just a nook in the wall when you first come in the door off the garage, before going through another doorway (off to the right there) into the living room etc. Because it is just off the garage which is the door we use daily, it’s the perfect place for everyone to dump all their things (kids don’t know how to put away shoes or hang up coats, am I right?) AND the floor is always one of the dirtiest in the house because everything from outside and the garage is being tracked in daily.
Clearly I can’t change it’s location because there is literally no other spot in this house that I can give up to put the laundry in. I will just have to make do with the teeny size and the terrible location BUT I can make it pretty. I’m good at that!
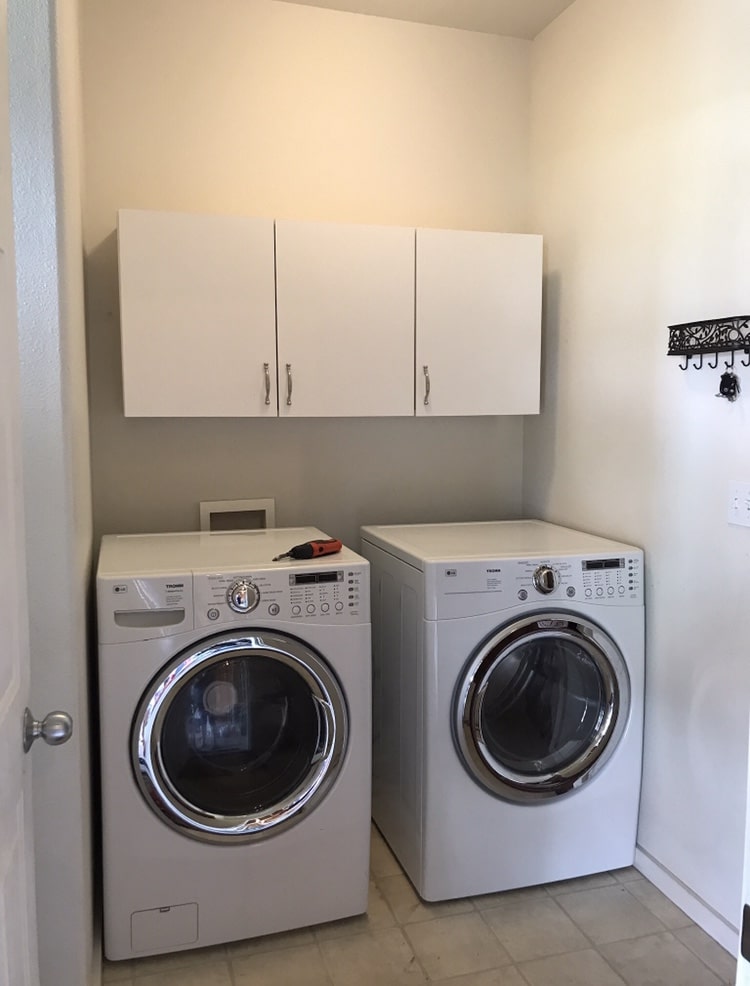
I started by taking the machines down off their stilettos. Do you like that? I mean what else could you call those huge drawers that were underneath already oversized machines? Stilts?
I am by no means a tall individual and I literally couldn’t reach more than about halfway back on the top of these machines. I required a ladder to get into the cabinet above the machines (see the one slid in to the left of the washing machine?) and as a result I really got no benefit out of those. They were just crammed with junk I didn’t know I had or didn’t need to get to hardly ever.
And so, since it wasn’t pretty and it wasn’t functional – the cabinet came off the wall and was moved out to the garage for some storage out there.
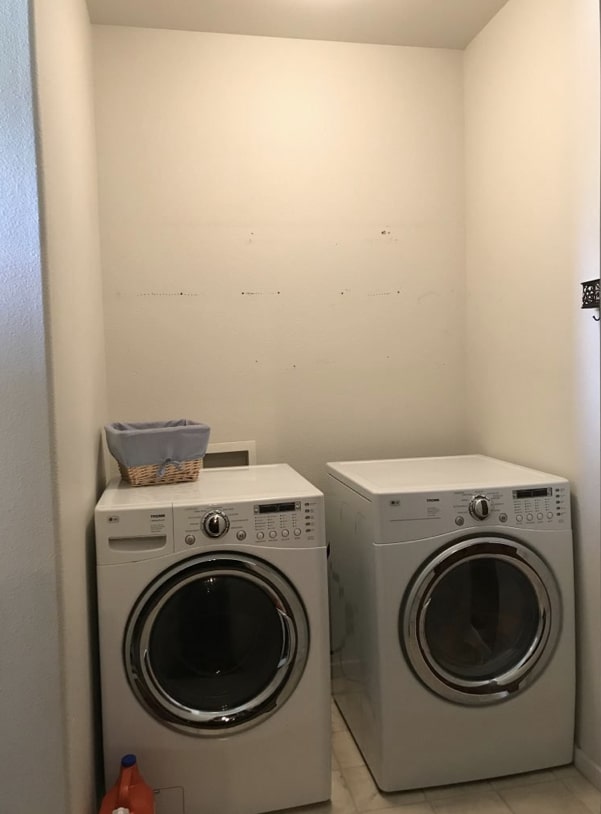
NOW it was time to start making things pretty!

Because the walls are all textured, I put a couple light skim coats of drywall mud over the texture just on the back wall to smooth things out.
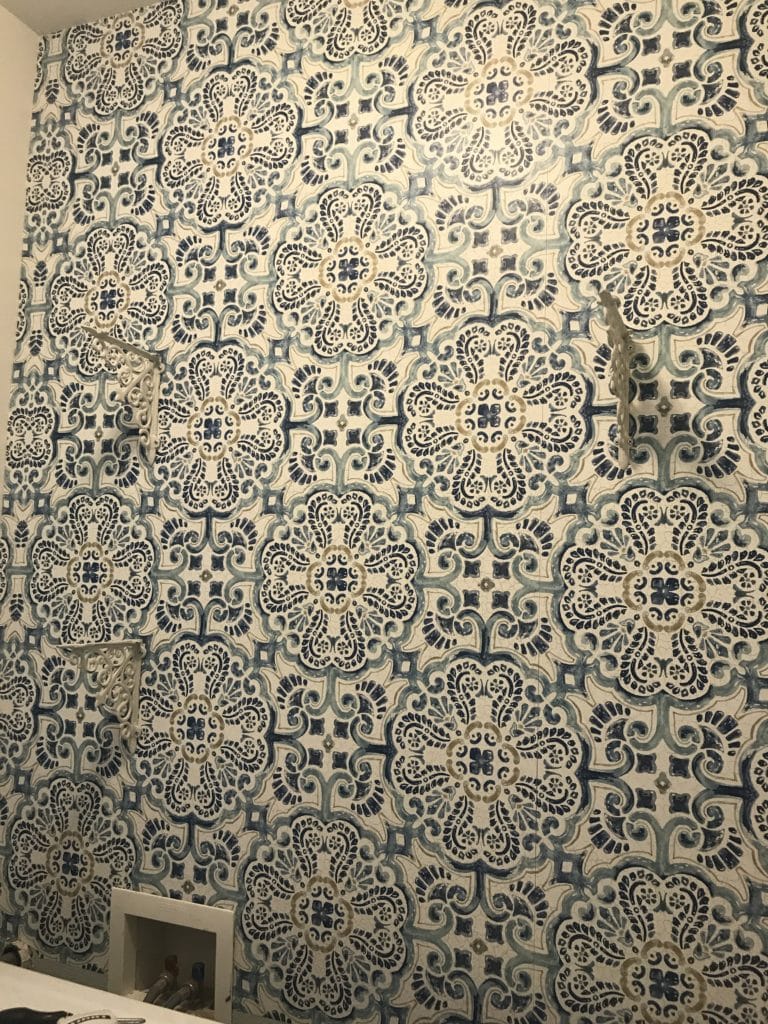
Then I got to put up this gorgeous peel and stick wallpaper that I had fallen in love with long before! It’s a much bolder pattern than I would typically put in my home which is why a space like this was the perfect spot for it! It makes such a big impact!

I selected so beautiful pine, 1×6 boards and cut them to size for 2 shelves, wall to wall above the machines.
After sanding them smooth, I gave them a light coat of Early American stain.

And then a thin, almost drybrushed layer of white paint over that.

Outside they went for a couple good coats of Satin spray Varnish.
Meanwhile, back inside, I secured these decorative shelf brackets that I bought at Hobby Lobby for 50% off. On one side I was able to screw them into a stud but on the other side I had to use drywall anchors to make them really secure.

Then I secured the wooden shelves in place with little screws, making sure that the slight curvature of the boards was facing UP. This will prevent sagging should there be any once I load the shelves. The brackets are close enough together that they likely won’t sag anyways, since I don’t plan to put anything super heavy up there, but you never know. It’s just a good rule of thumb.

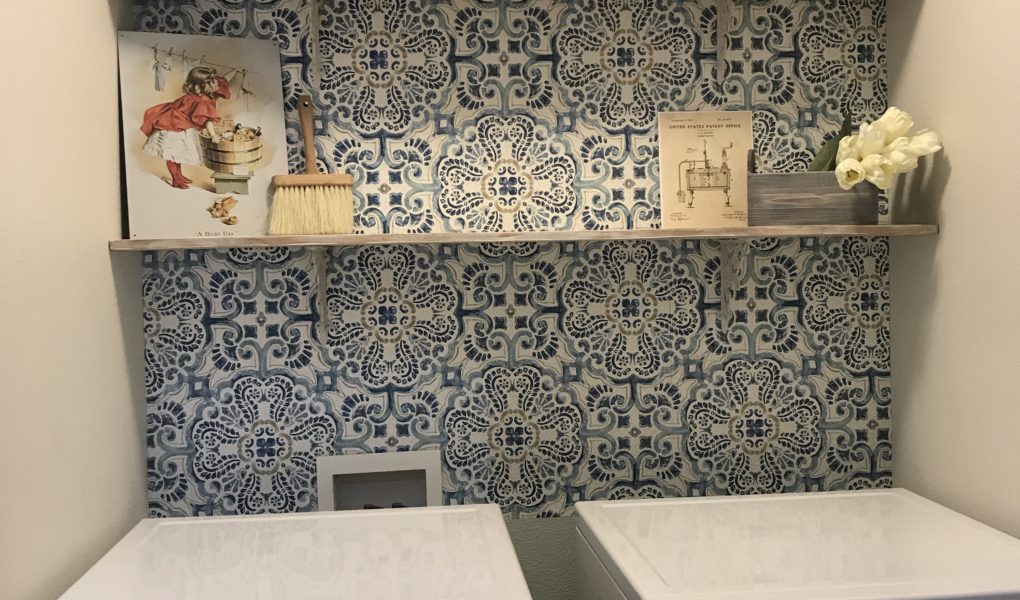
And here we have the final results!
I’ve had them done for a while now but was holding off showing y’all because I don’t have NEARLY the things to display on the shelves that I plan to have yet. However, since it doesn’t look like I”m going to be able to get out and hunt for more vintage laundry treasures any time soon (thanks, coronavirus, you’ve totally put a cramp in my DIY style) I decided I would show y’all anyways.
It can only get better as I add more treasures, right?
That’s what I was thinking.
At some point I will still build a countertop that sits directly above the top of the machines to prevent things from falling behind the machines, and to provide a nice countertop for folding and holding the detergent containers and things. I’m also going to have to address the flooring at some point because its just plain U-G-L-Y! That can come later though. For now, this ALMOST makes me feel like doing laundry.
Almost.
You might be relieved to know that I secured everything to the wall that is sitting on these shelves except things like the little wooden toolbox. That way, when the washing machine is doing its spin cycle and the walls start to vibrate, nothing SHOULD come crashing down and break or cause bodily harm!
I am SO excited to finally be crossing this project off my list, which finishes my To Do list from 2019. I’m making progress on my list for 2020 as well so I pretty much think I’m a rock star!
I’d love to hear what you think! Thanks for stopping by for a visit today.
Until next time….

Wow, Tara! It all looks amazing. Love the wallpaper so much! Great makeover!
Lovely makeover! I’m short so the “stilettos” under the washer and dryer would have been a problem for me too.
Michelle
http://mybijoulifeonline.com
It really was such an issue! I am so glad I put them in a nice pair of flats now 🙂
I think it will look quite nice when the shelf is done because right now you can see where the wallpaper ends.
Yes, there was no point in running the wallpaper all the way to the floor when the machines and counter will cover it. In spite of the imperfections I still love it compared to what I started with.
I saw the pictures and thought what a nice remodel! I just did my laundry “closet” (it’s literally a hall closet) so I was interested in your small laundry upgrade. THEN I looked closer…
we used the same tile!
Good taste you have 🤣!
Oh that’s awesome! Great minds think alike. My space is really no bigger than a closet it just doesn’t have any doors on it. It was fun to make the most of the tiny space I have and I feel so much better about it now, don’t you?
I’m remodeling my entire house and it is the only “room” ( space) that is completed. So… it’s my favorite spot in the house right now and I hate laundry… 🤣
You did a great job on your little area!
I’m the same way and with 5 kids I am always doing laundry. That’s why I decided to do something about that little area. I mean nothing is going to make me like doing laundry, lets face it, but I might as well make my surroundings when I’m doing it as nice as I can! lol
[…] when I did a makeover on my laundry nook? You can find all the details HERE. Well I told you at that time that I planned to build a countertop over the washer and dryer to […]