

This site contains affiliate links to products. I may receive compensation for purchases made through these links.
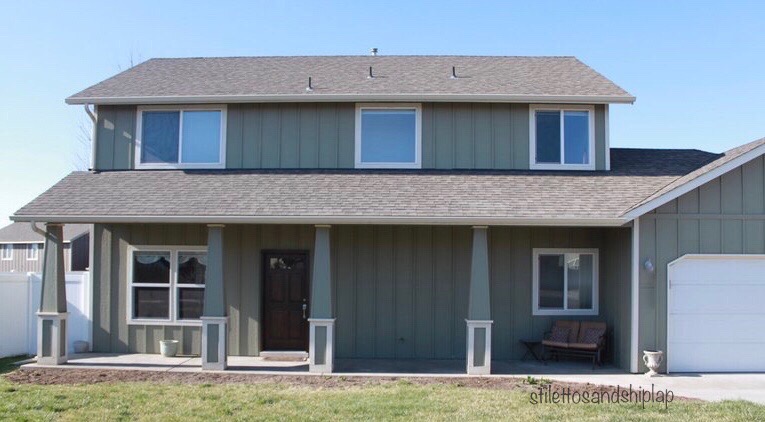
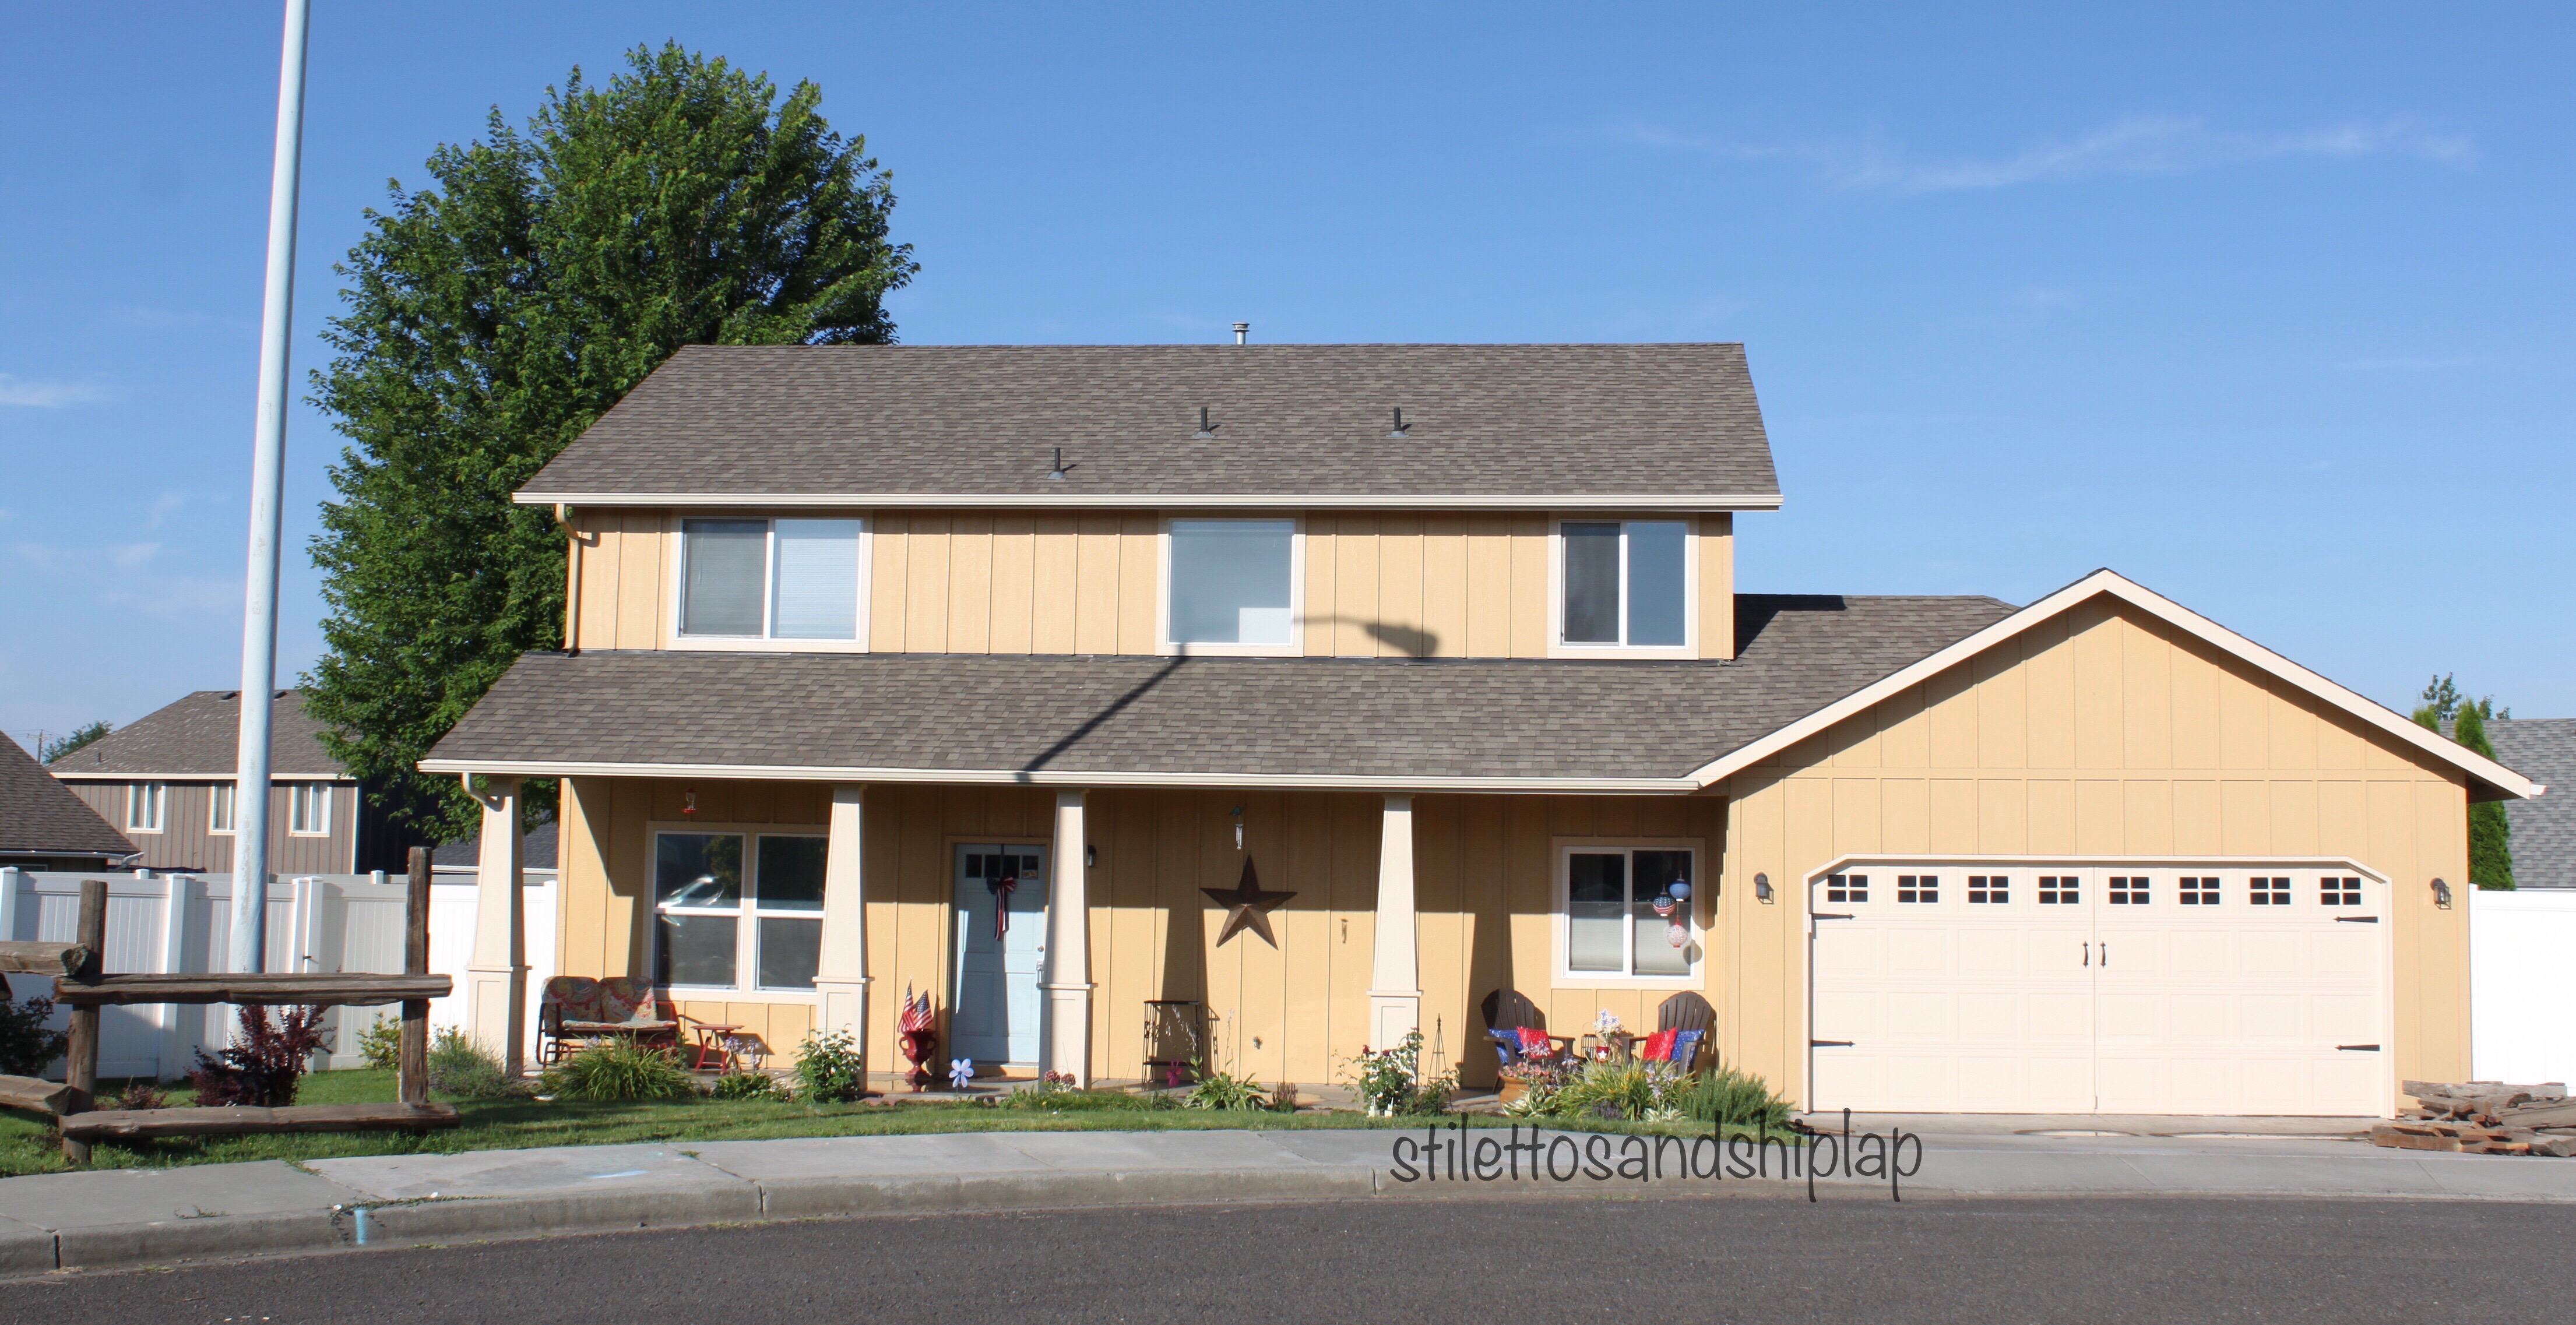
This is what the house looked like originally. It would appear that I didn’t take a picture showing the full garage door, or at least if I did I can’t find it. Perhaps because everything was just so bland and unimpressive and I’ve had to train myself to take pictures of “ugly” so I have comparison photos. Anyways whatever the reason, this is what I started with. The house was in need of a paint job anyways so we decided that would be the perfect opportunity to make a huge change with the color. Neither of us liked the drag green on the house before. It just has no personality and is basically the same as every other house in this subdivision. It would have been fun to completely revamp the pillars, change the style of the windows, change the door, move the garage door to the side so it wasn’t a focal point….sure. Fun. Then again it wouldn’t be MY blog you’d be reading because that isn’t how I do things. I’m all about DIY and making huge improvements on tiny budgets.
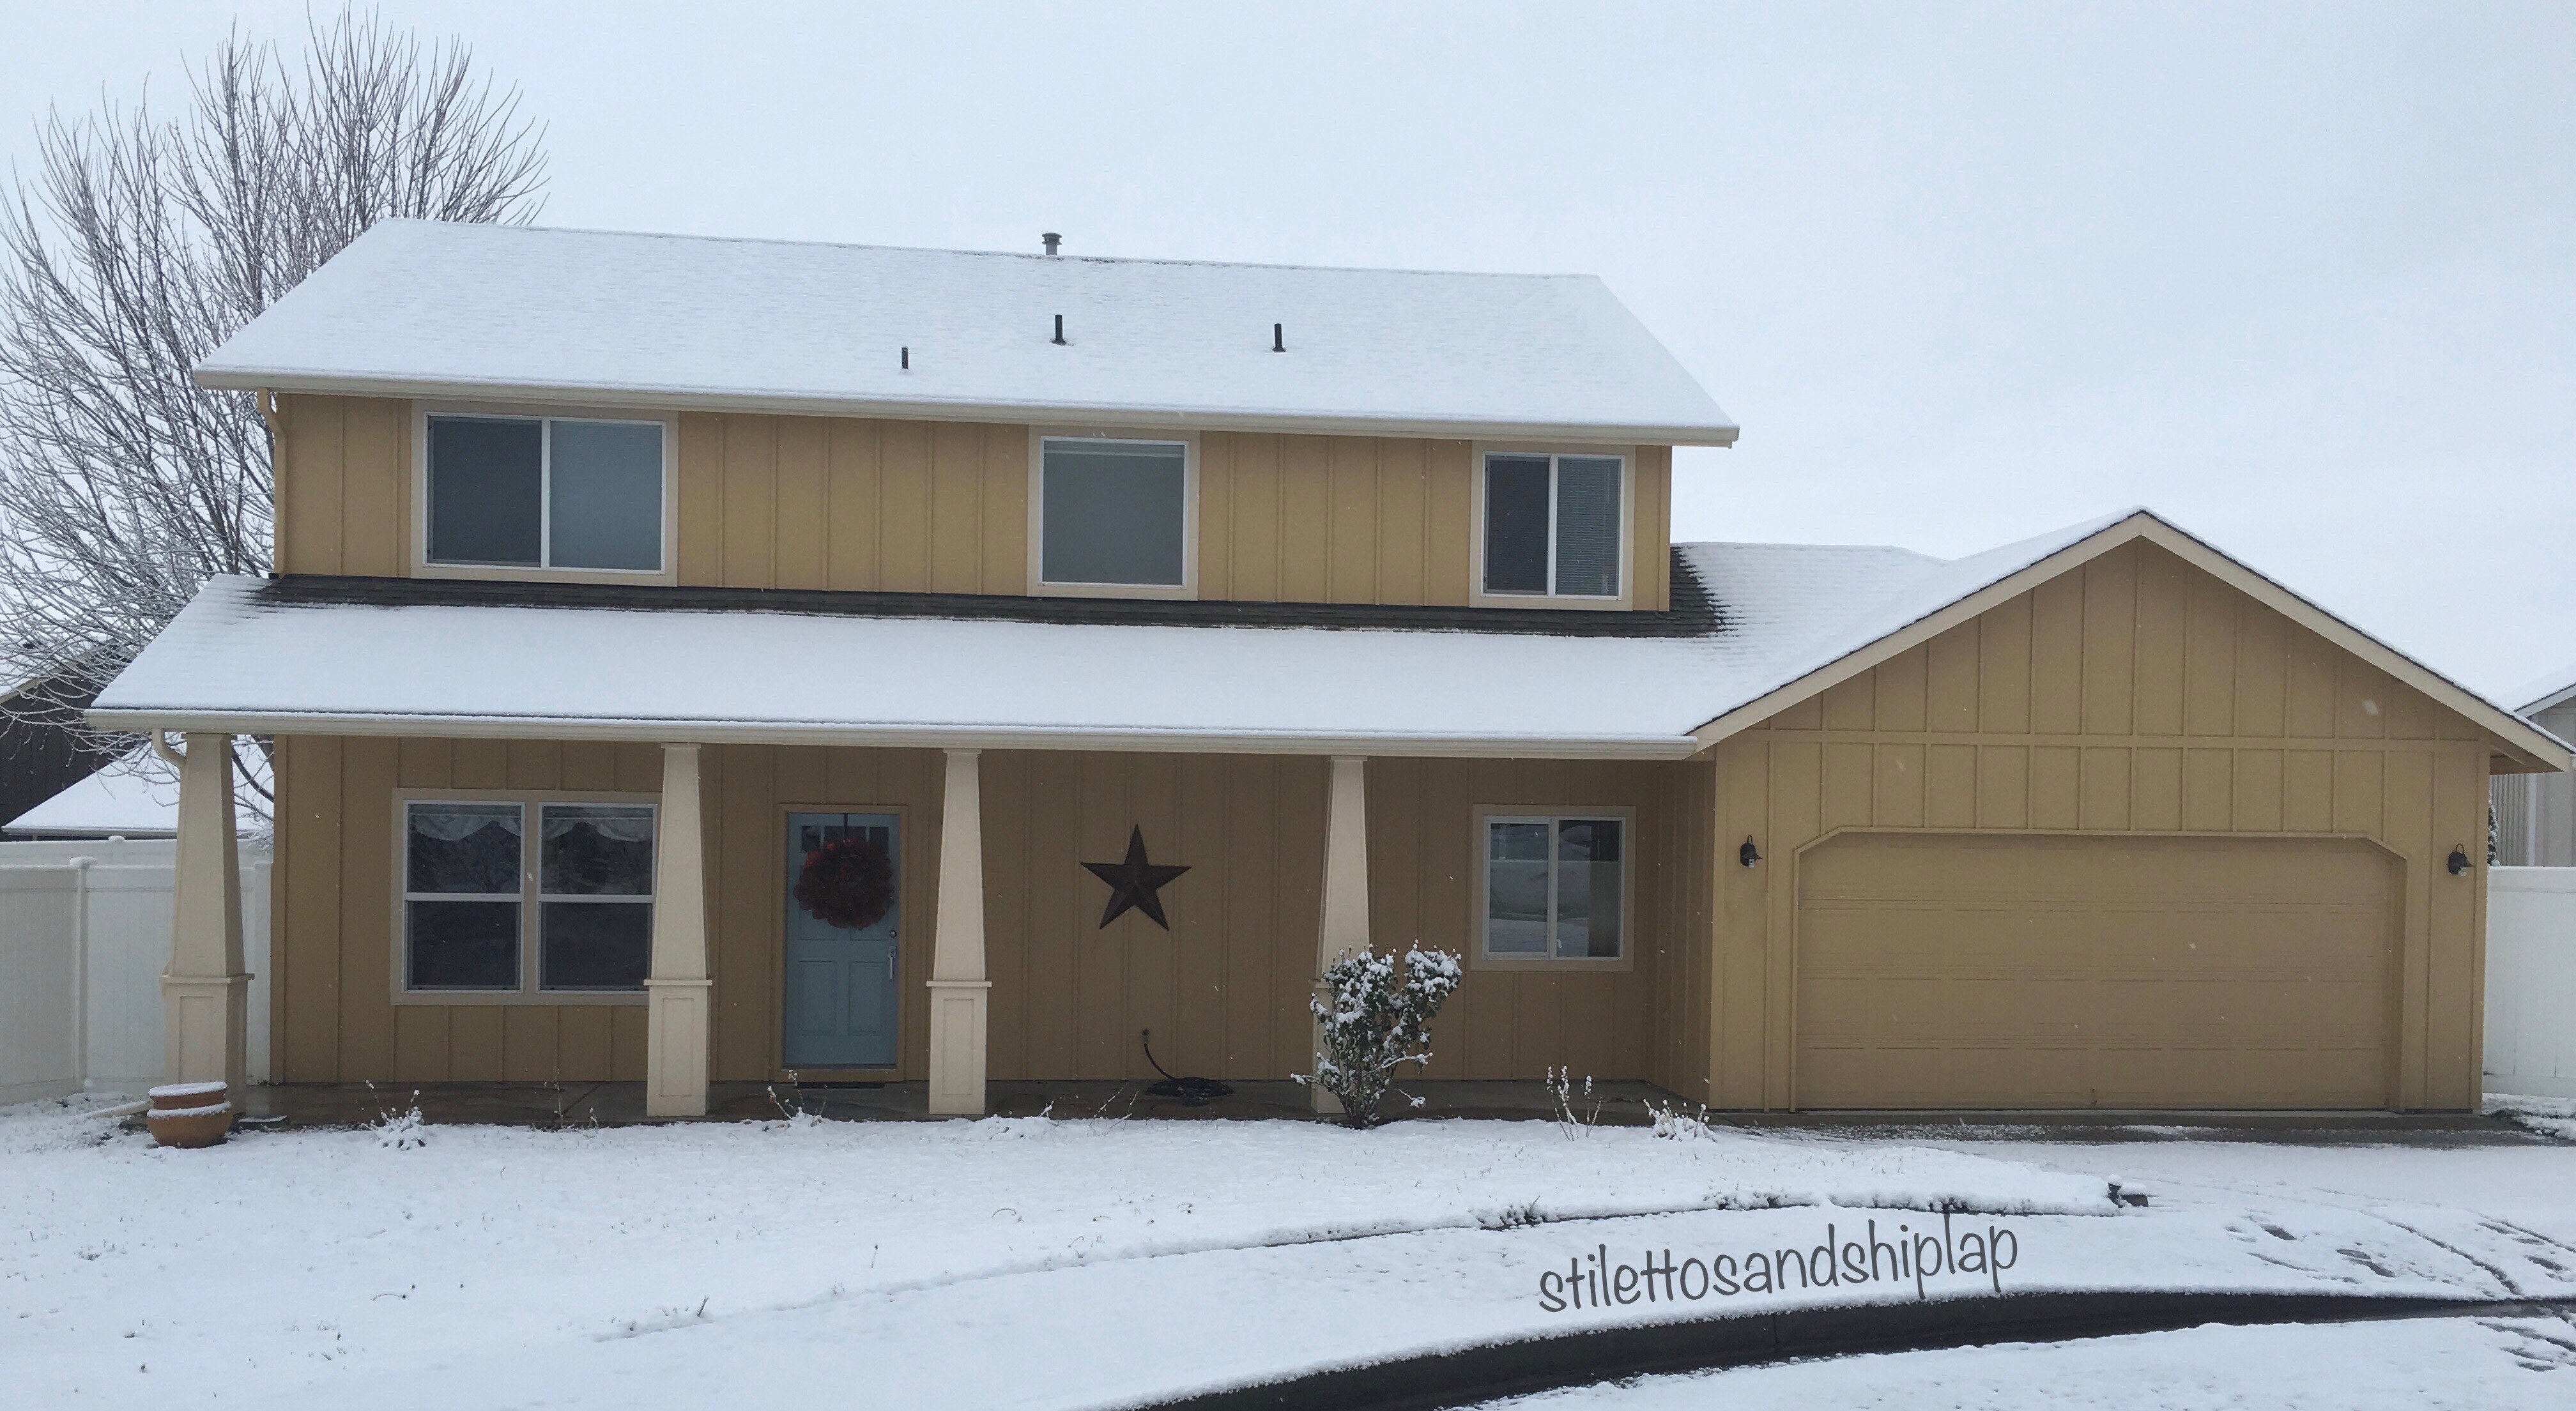
The MR and I prepped the house for paint, scraped it and filled all the nail holes and primed various things like downspouts etc. Then we had a professional painter do the actual spraying thereby saving quite a bit of money in the process. After months and months of going back and forth we finally came up with our color….we call it “Tuscan Wheat”. The trim color is also a custom color. The front door is Sherwin Williams “Rain”. At the time we painted the house I wasn’t positive which direction I wanted to go with some details so I just went ahead and painted the garage door and trim the same color as the body of the house. I didn’t really want to accentuate it.
Recently I began, once again, admiring carriage style doors. I checked into them….again….and again discovered just how much it would cost to buy a brand new garage door like that. Obviously that wasn’t in the budget so as I always do, I came up with an alternative.
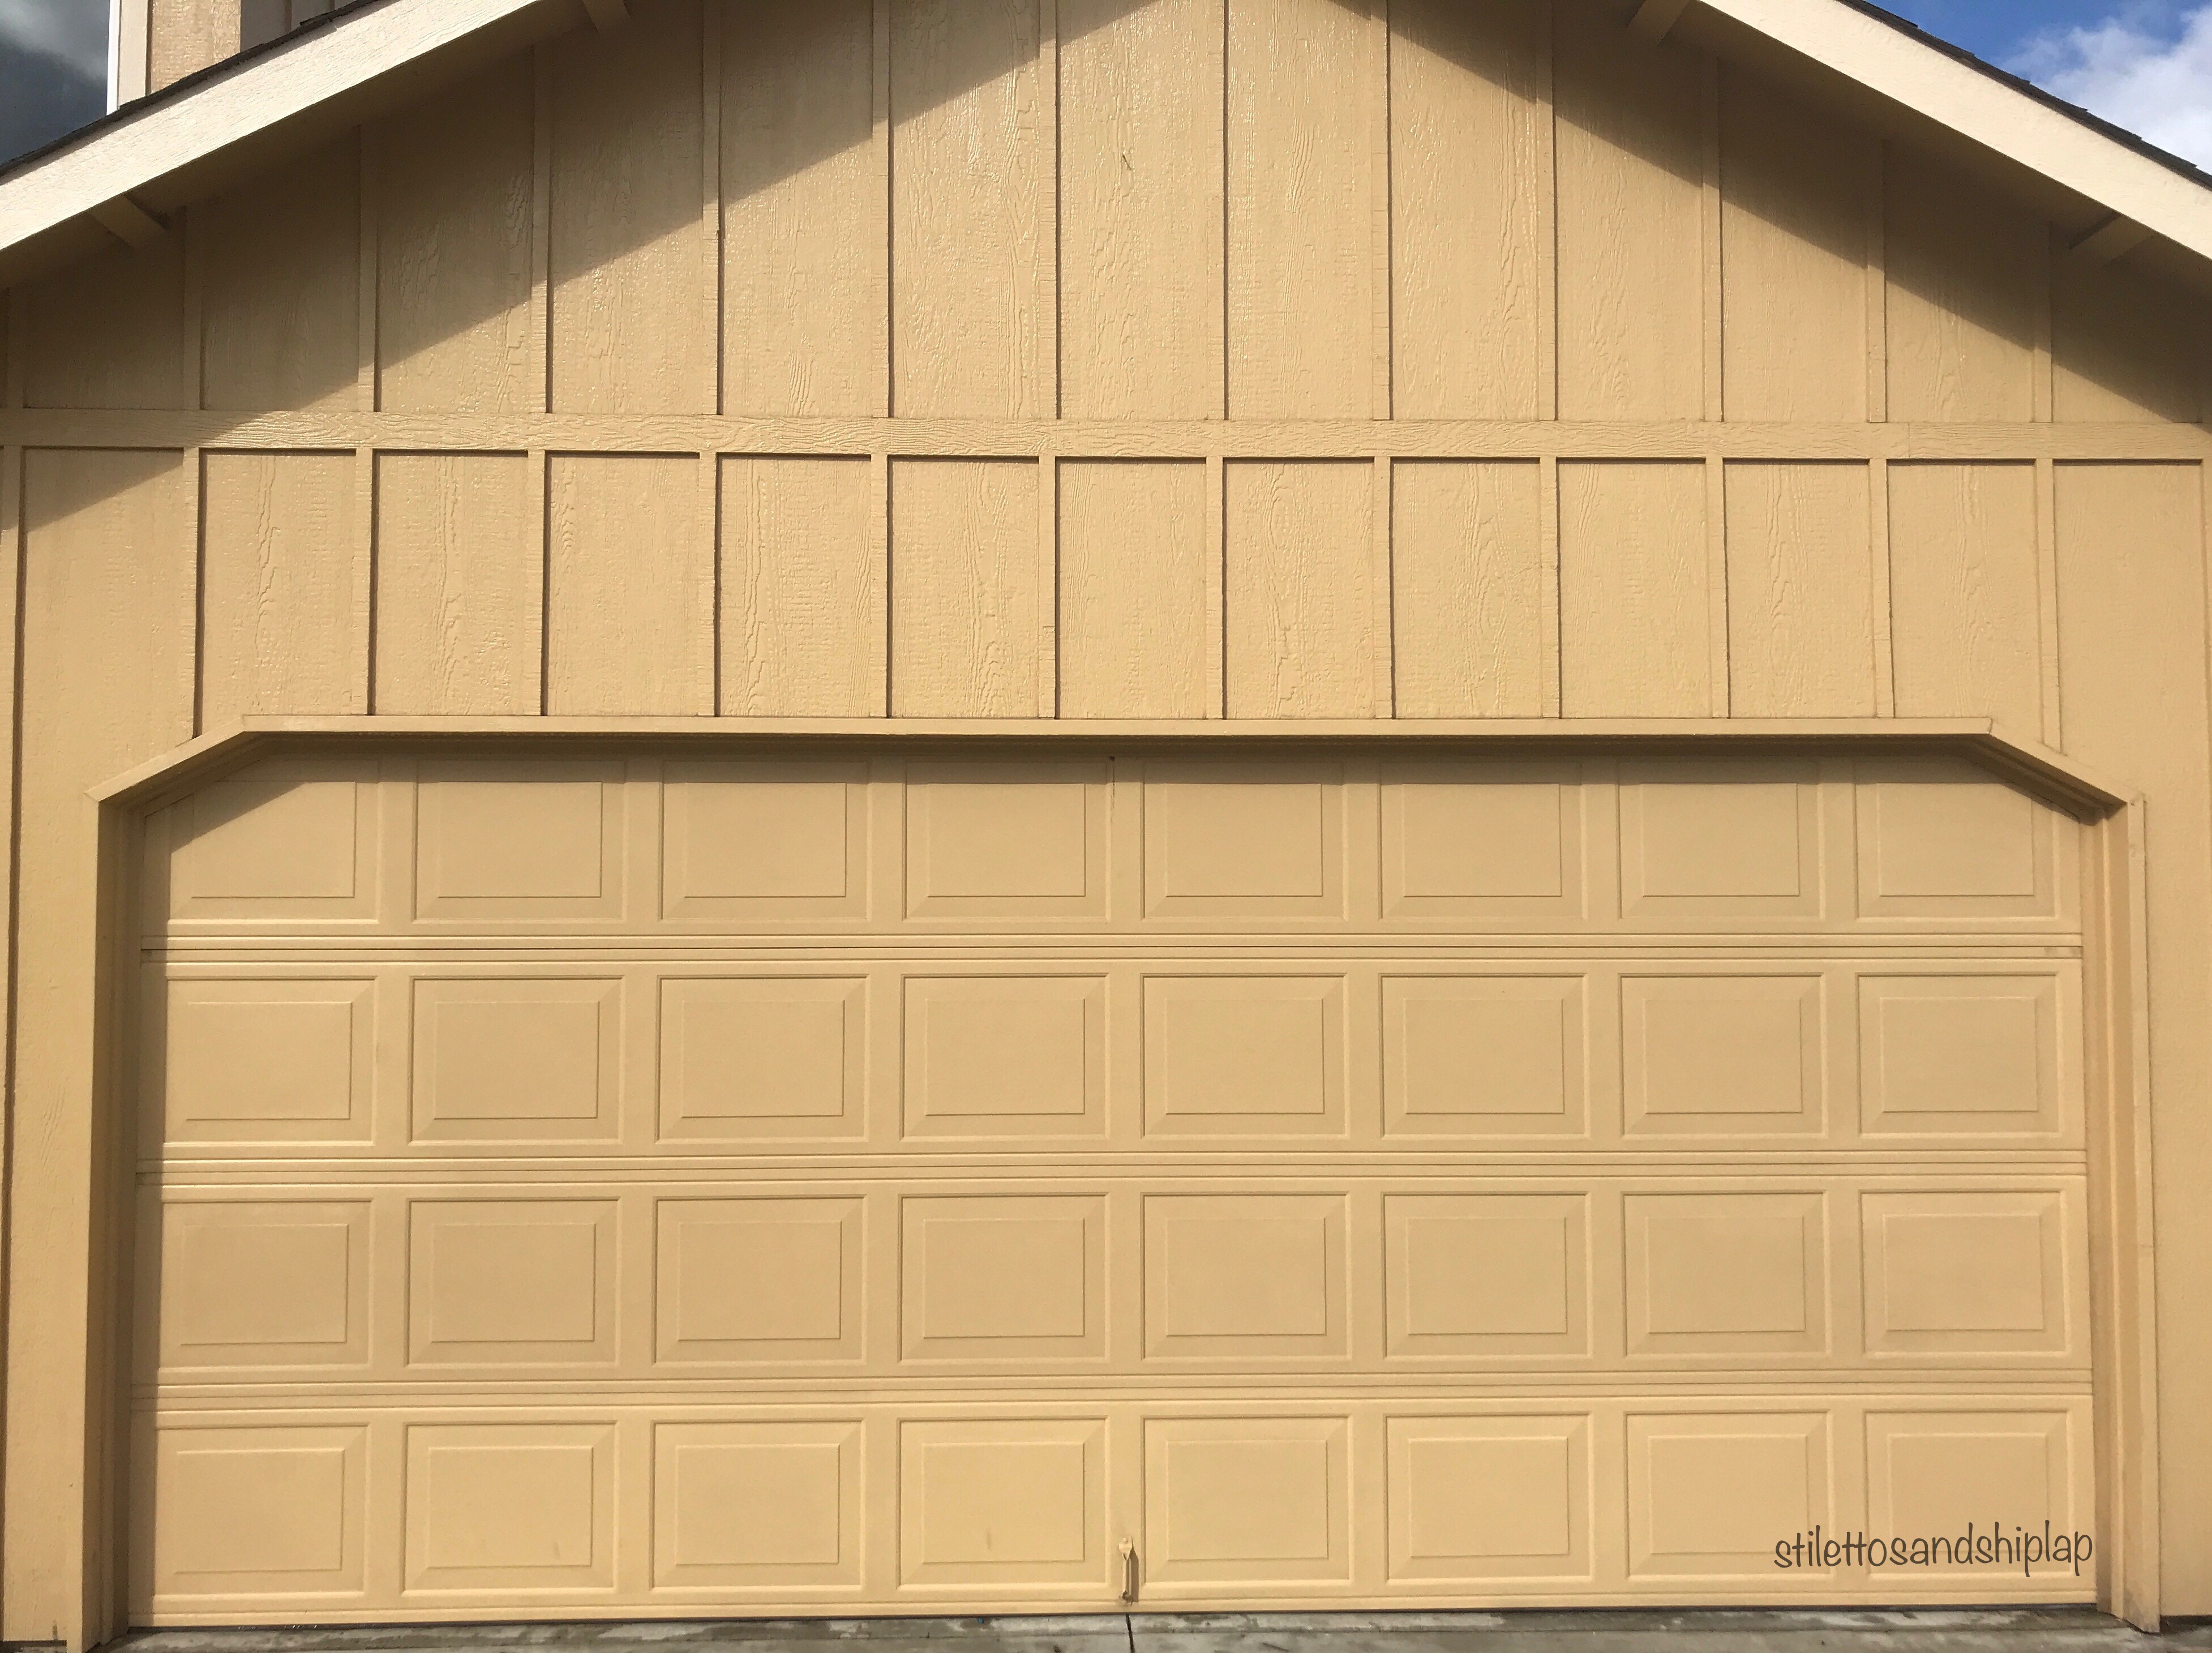
Here it is before…
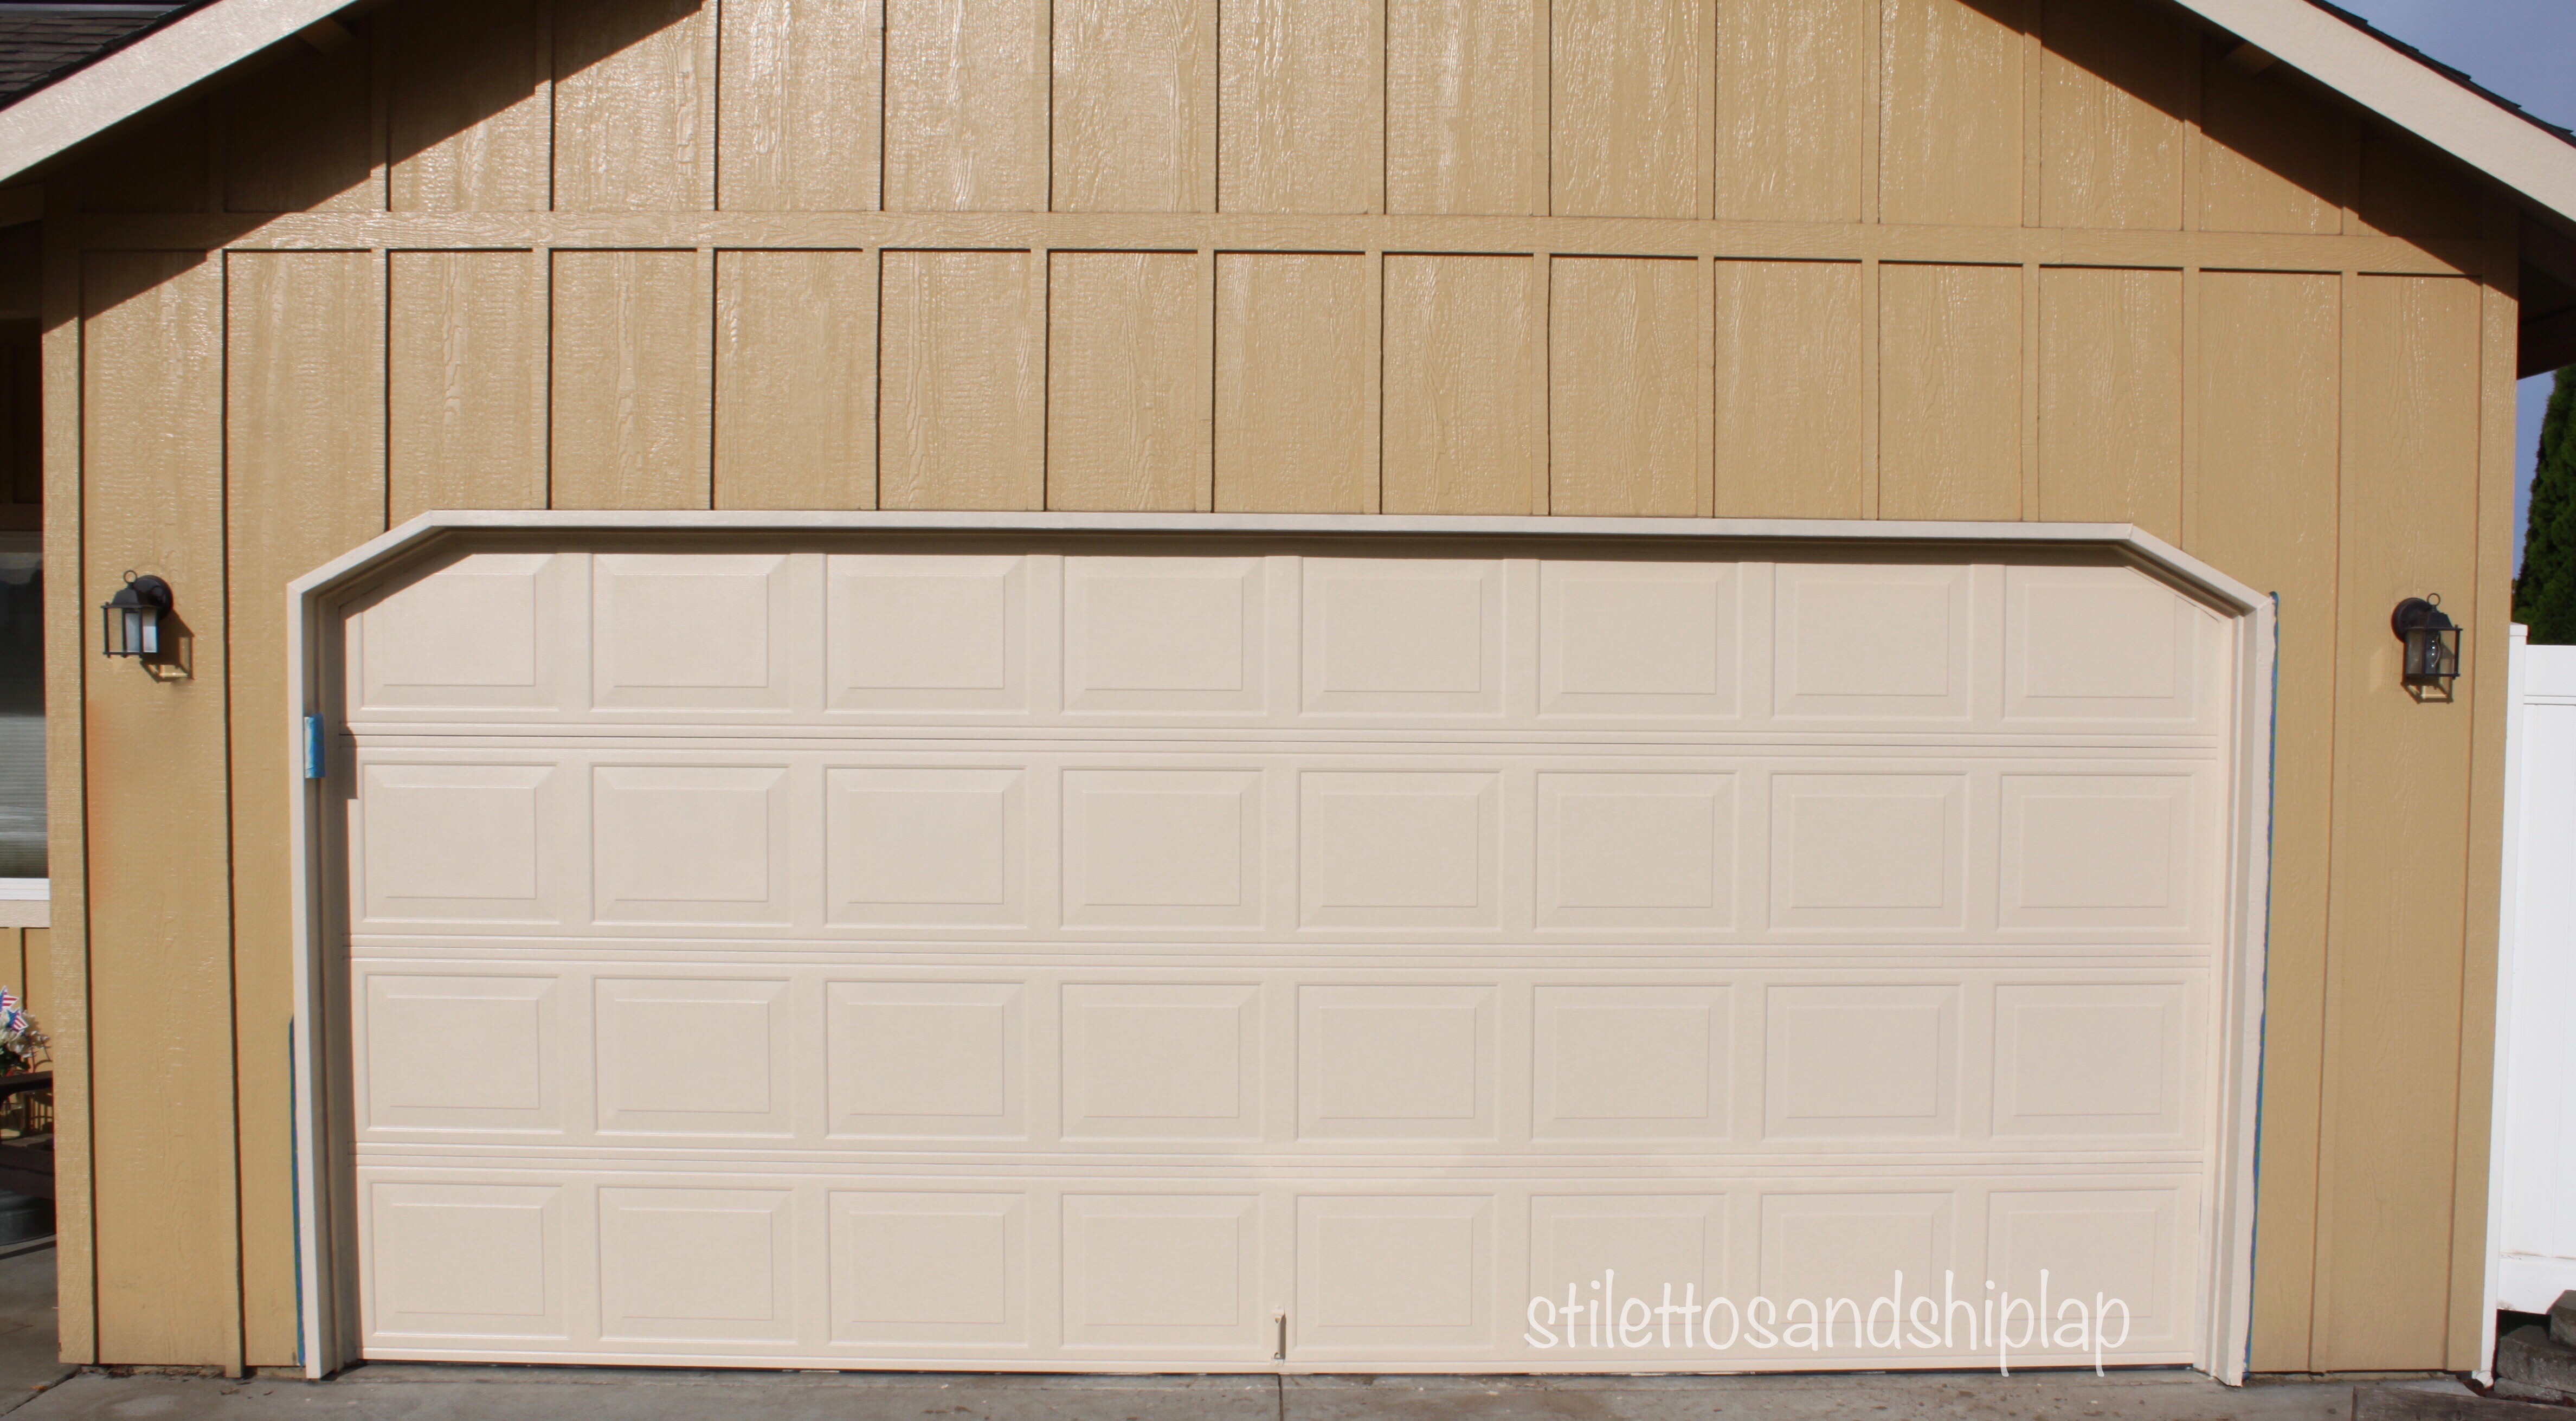
I taped off the wall beside the door trim and the garage door opener keypad and then I gave it two coats of the cream colored trim paint.
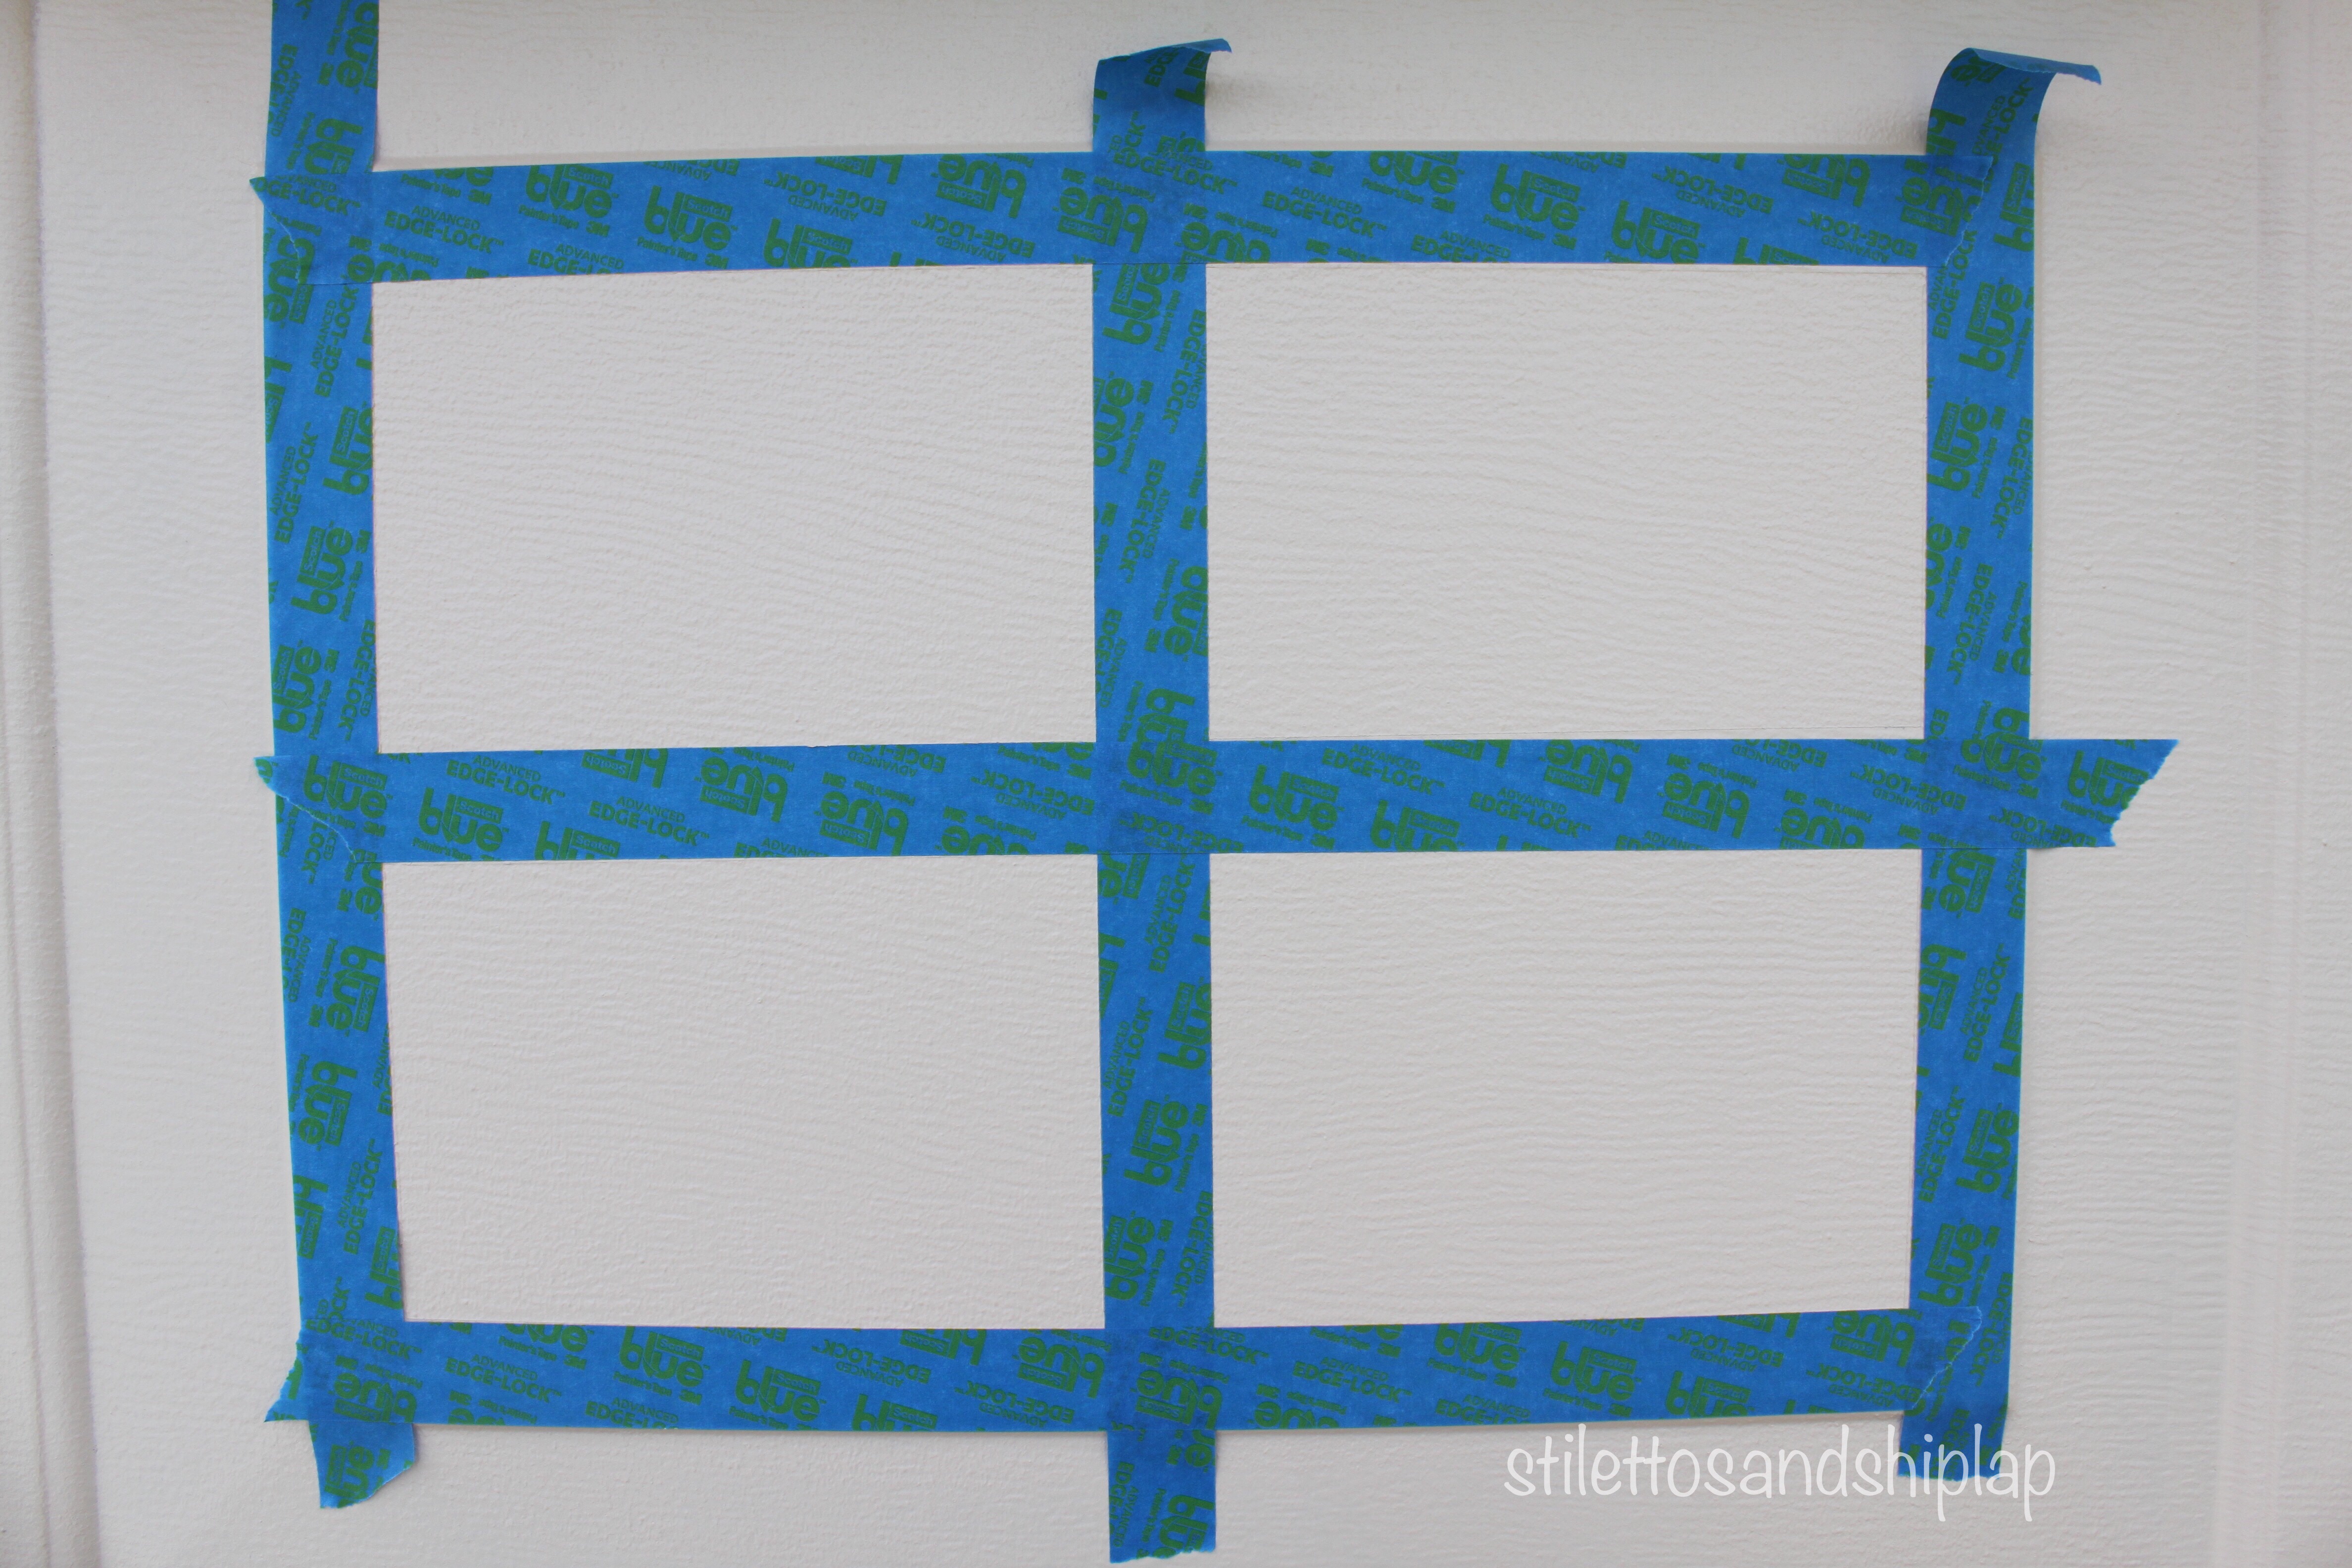
After the paint had thoroughly dried, I began taping off the very TOP raised panels. I used the 3M painters tape….I will be honest, it’s what I had on hand. My favorite by far is the Frog Tape. It sticks so much better and makes a much more crisp line. It’s worth the extra few dollars in my opinion. My tape was 1″ which was the ratio I felt would be best for the grids due to the size of the average panel in this door style. I marked with pencil where one side of the tape would be (find center and then add 1/2″ one way or the other. This is your mark) on the horizontal and vertical lines in each panel. For the edges I ran the tape right along the very edge of the raised panel.
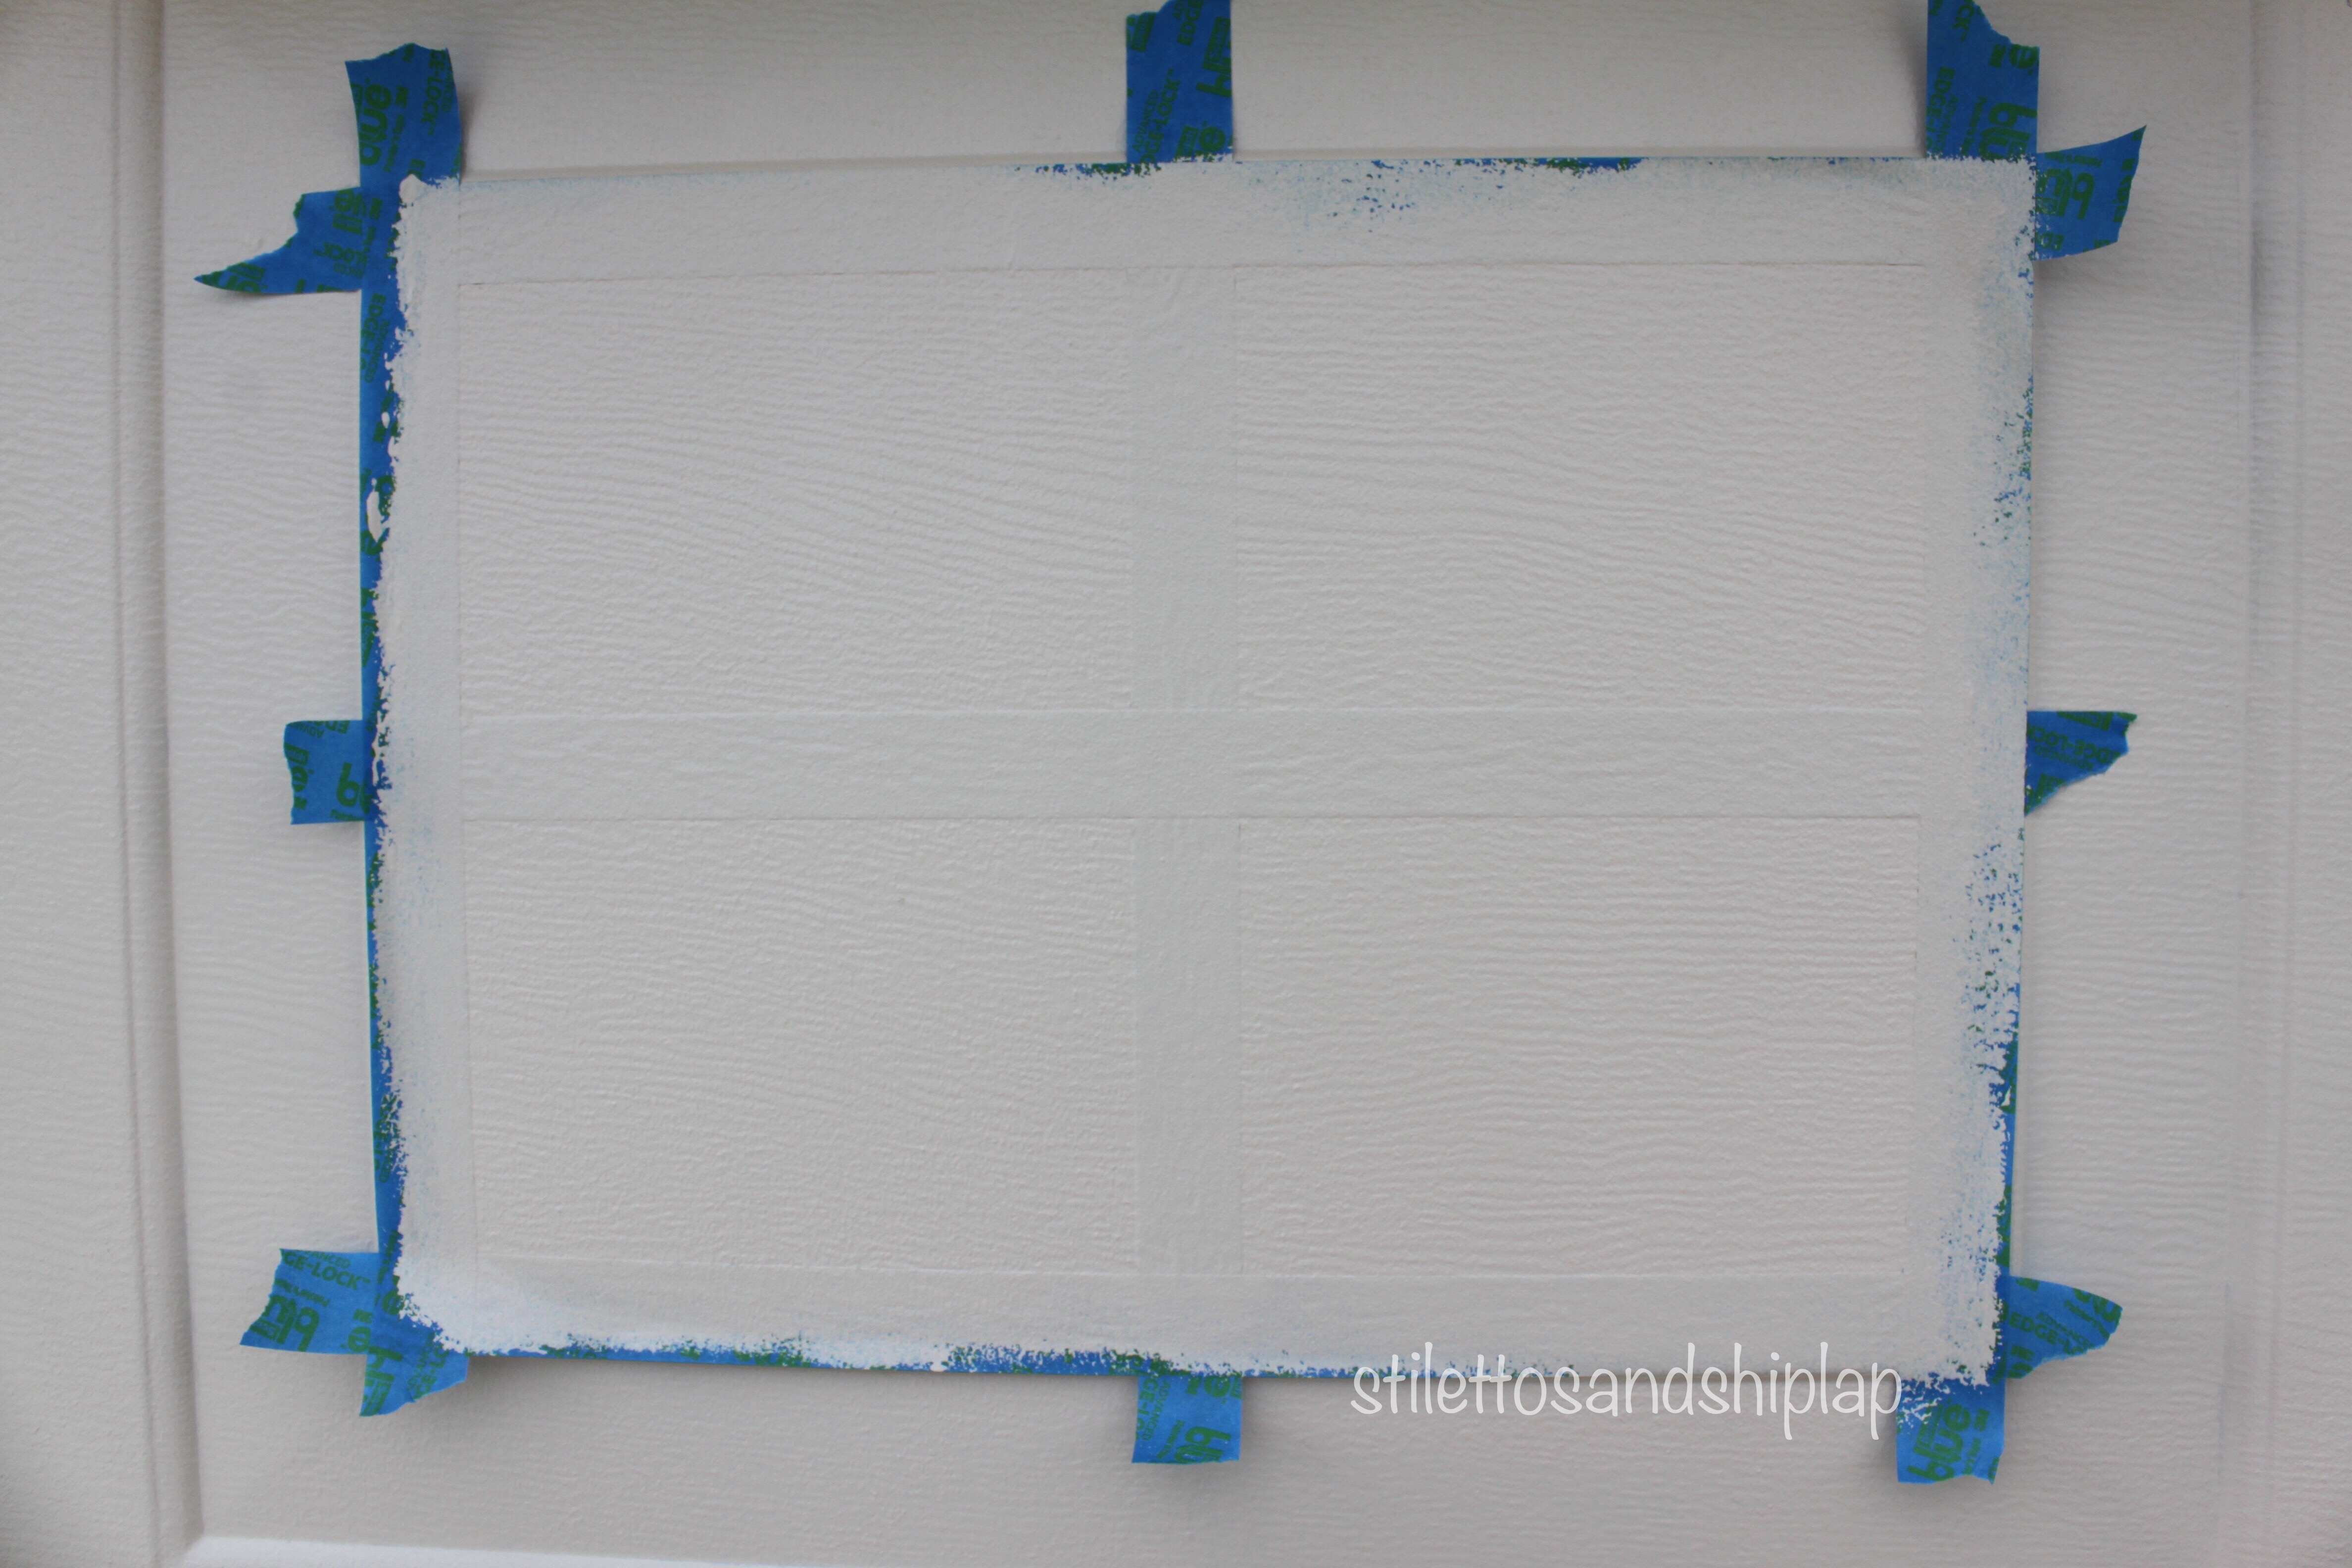
After pressing the tape down very well, I painted over this entire area with the ORIGINAL color. This is extremely important when doing any sort of striping with two different colors, if you want the edges to be very sharp with no bleeding. The original color seals the edges tightly allowing none of the accent color to bleed underneath. Trust me, it works! As you can see here the tape was lifting where it wasn’t stuck down by paint because it wasn’t the Frog Tape
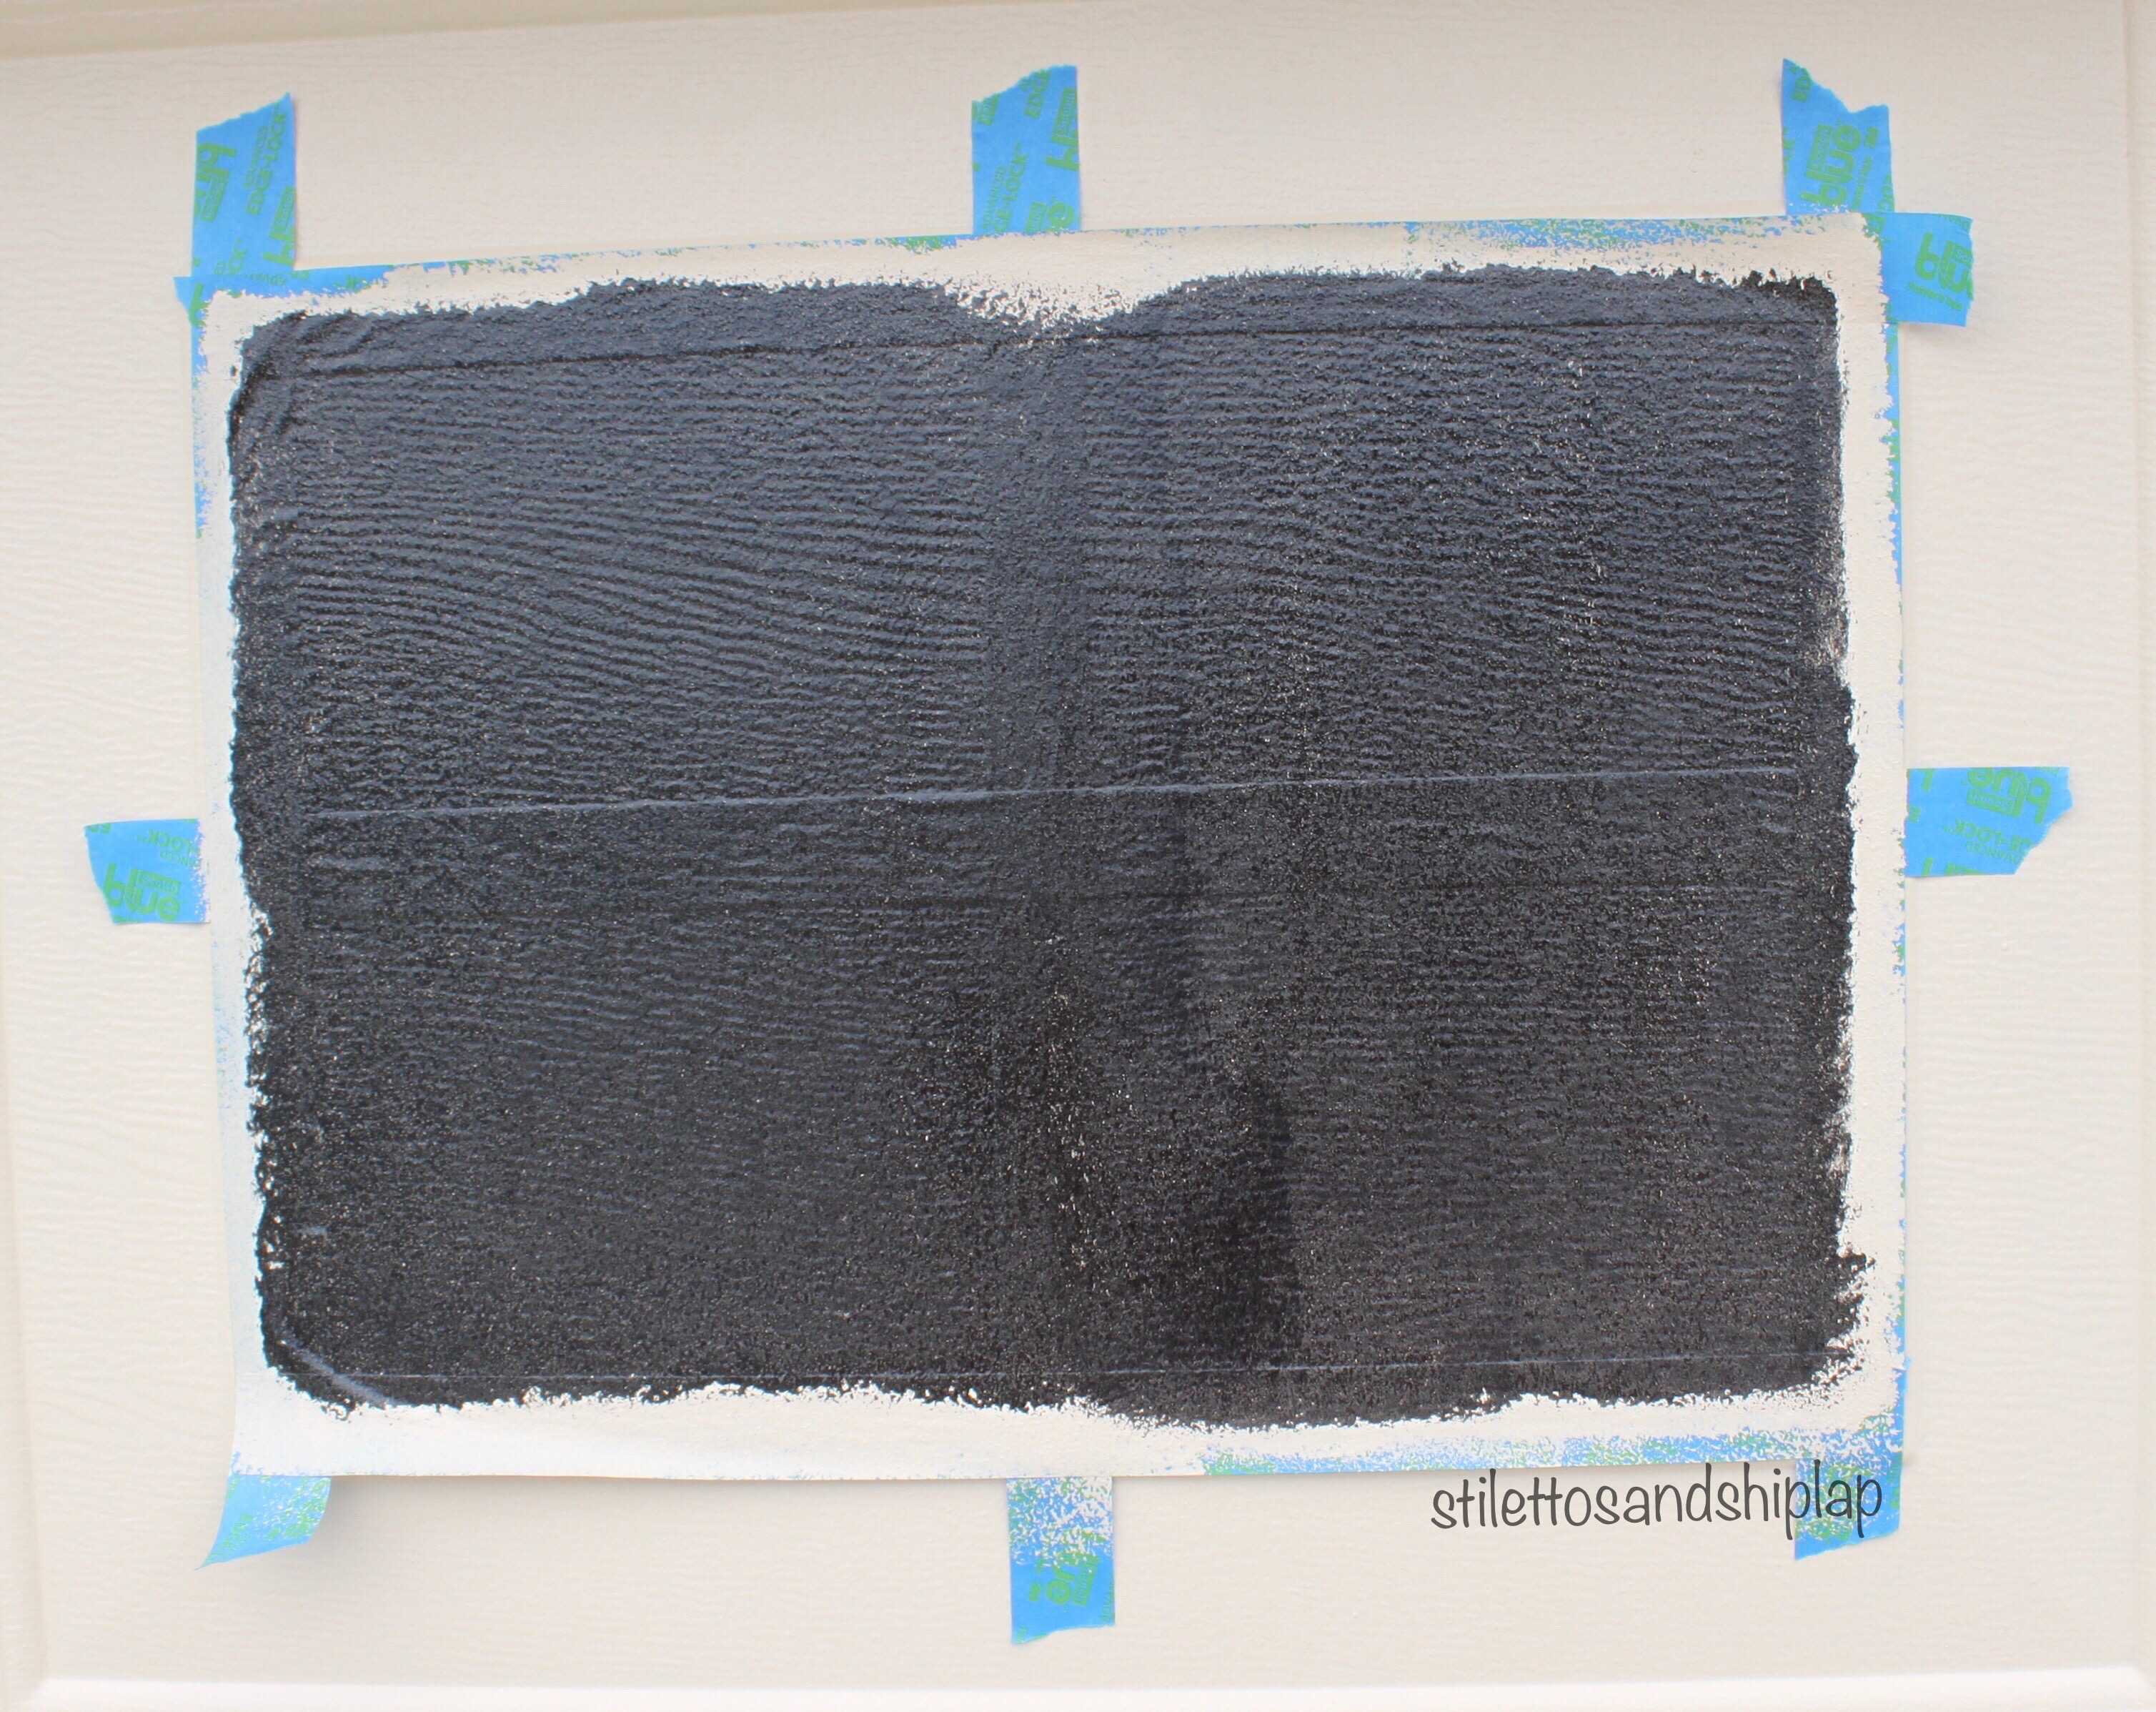
Next I applied 3 thin coats of Rustoleum black gloss paint to the panels. It is important that it is gloss because that will look more like glass when it is finished. Be careful not to go over the edges of the tape along the outside. Let it dry thoroughly between coats.
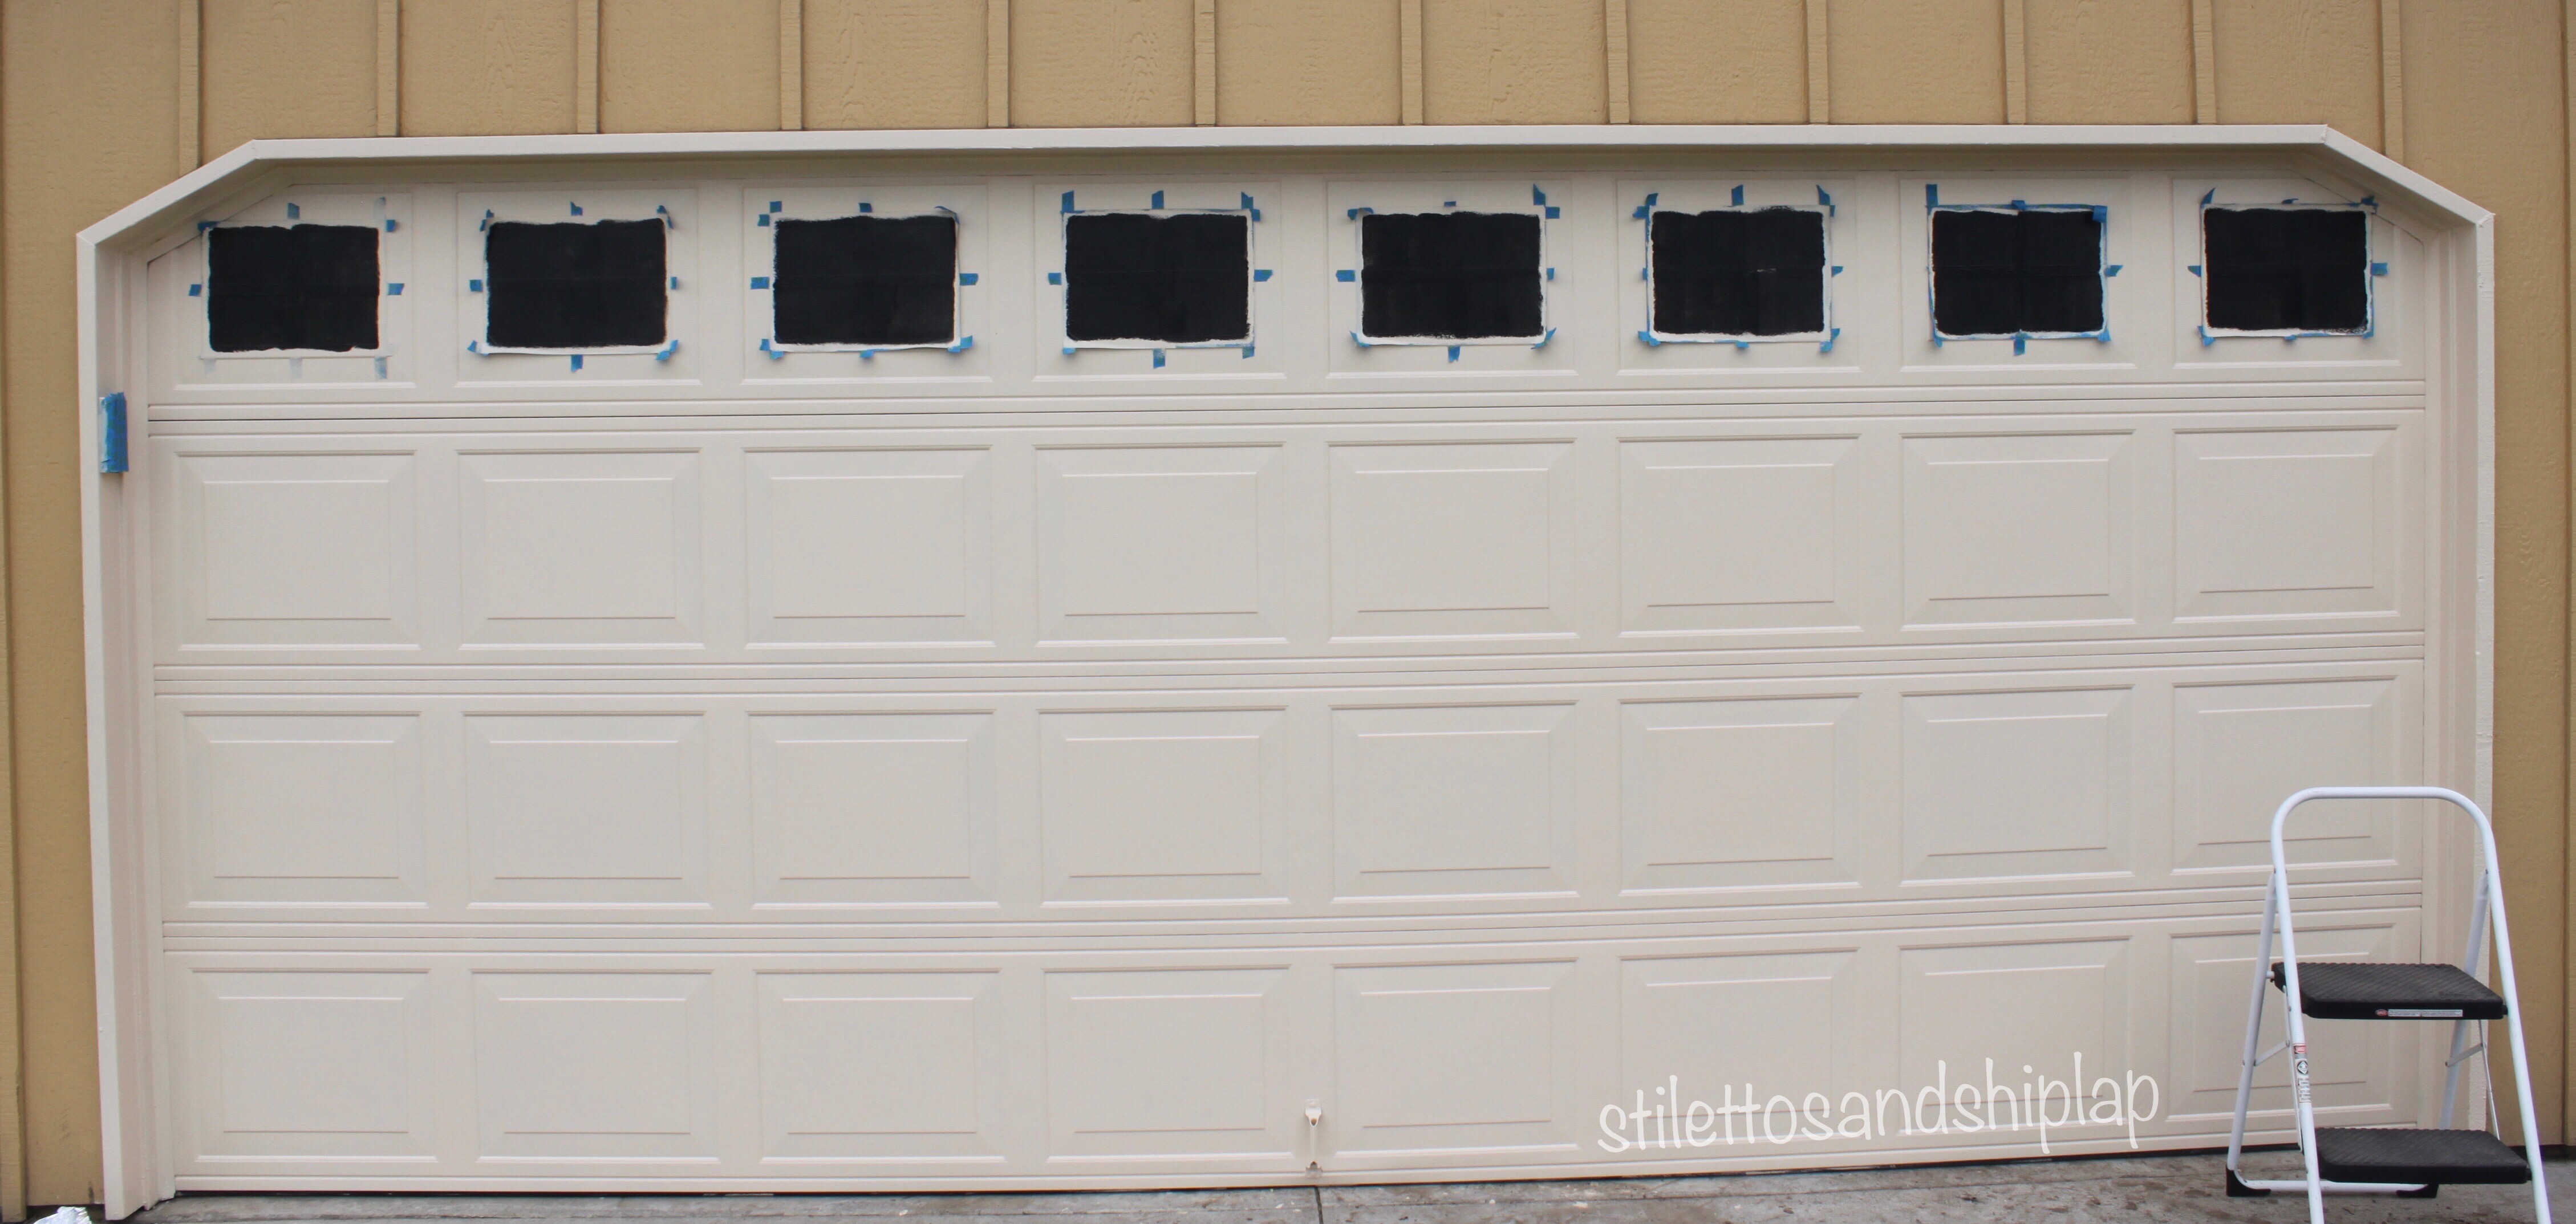
This is what it will look like at this point. You are probably going to think you have lost your mind and likely your neighbors will also. Stick with me – I promise it will be worth it!
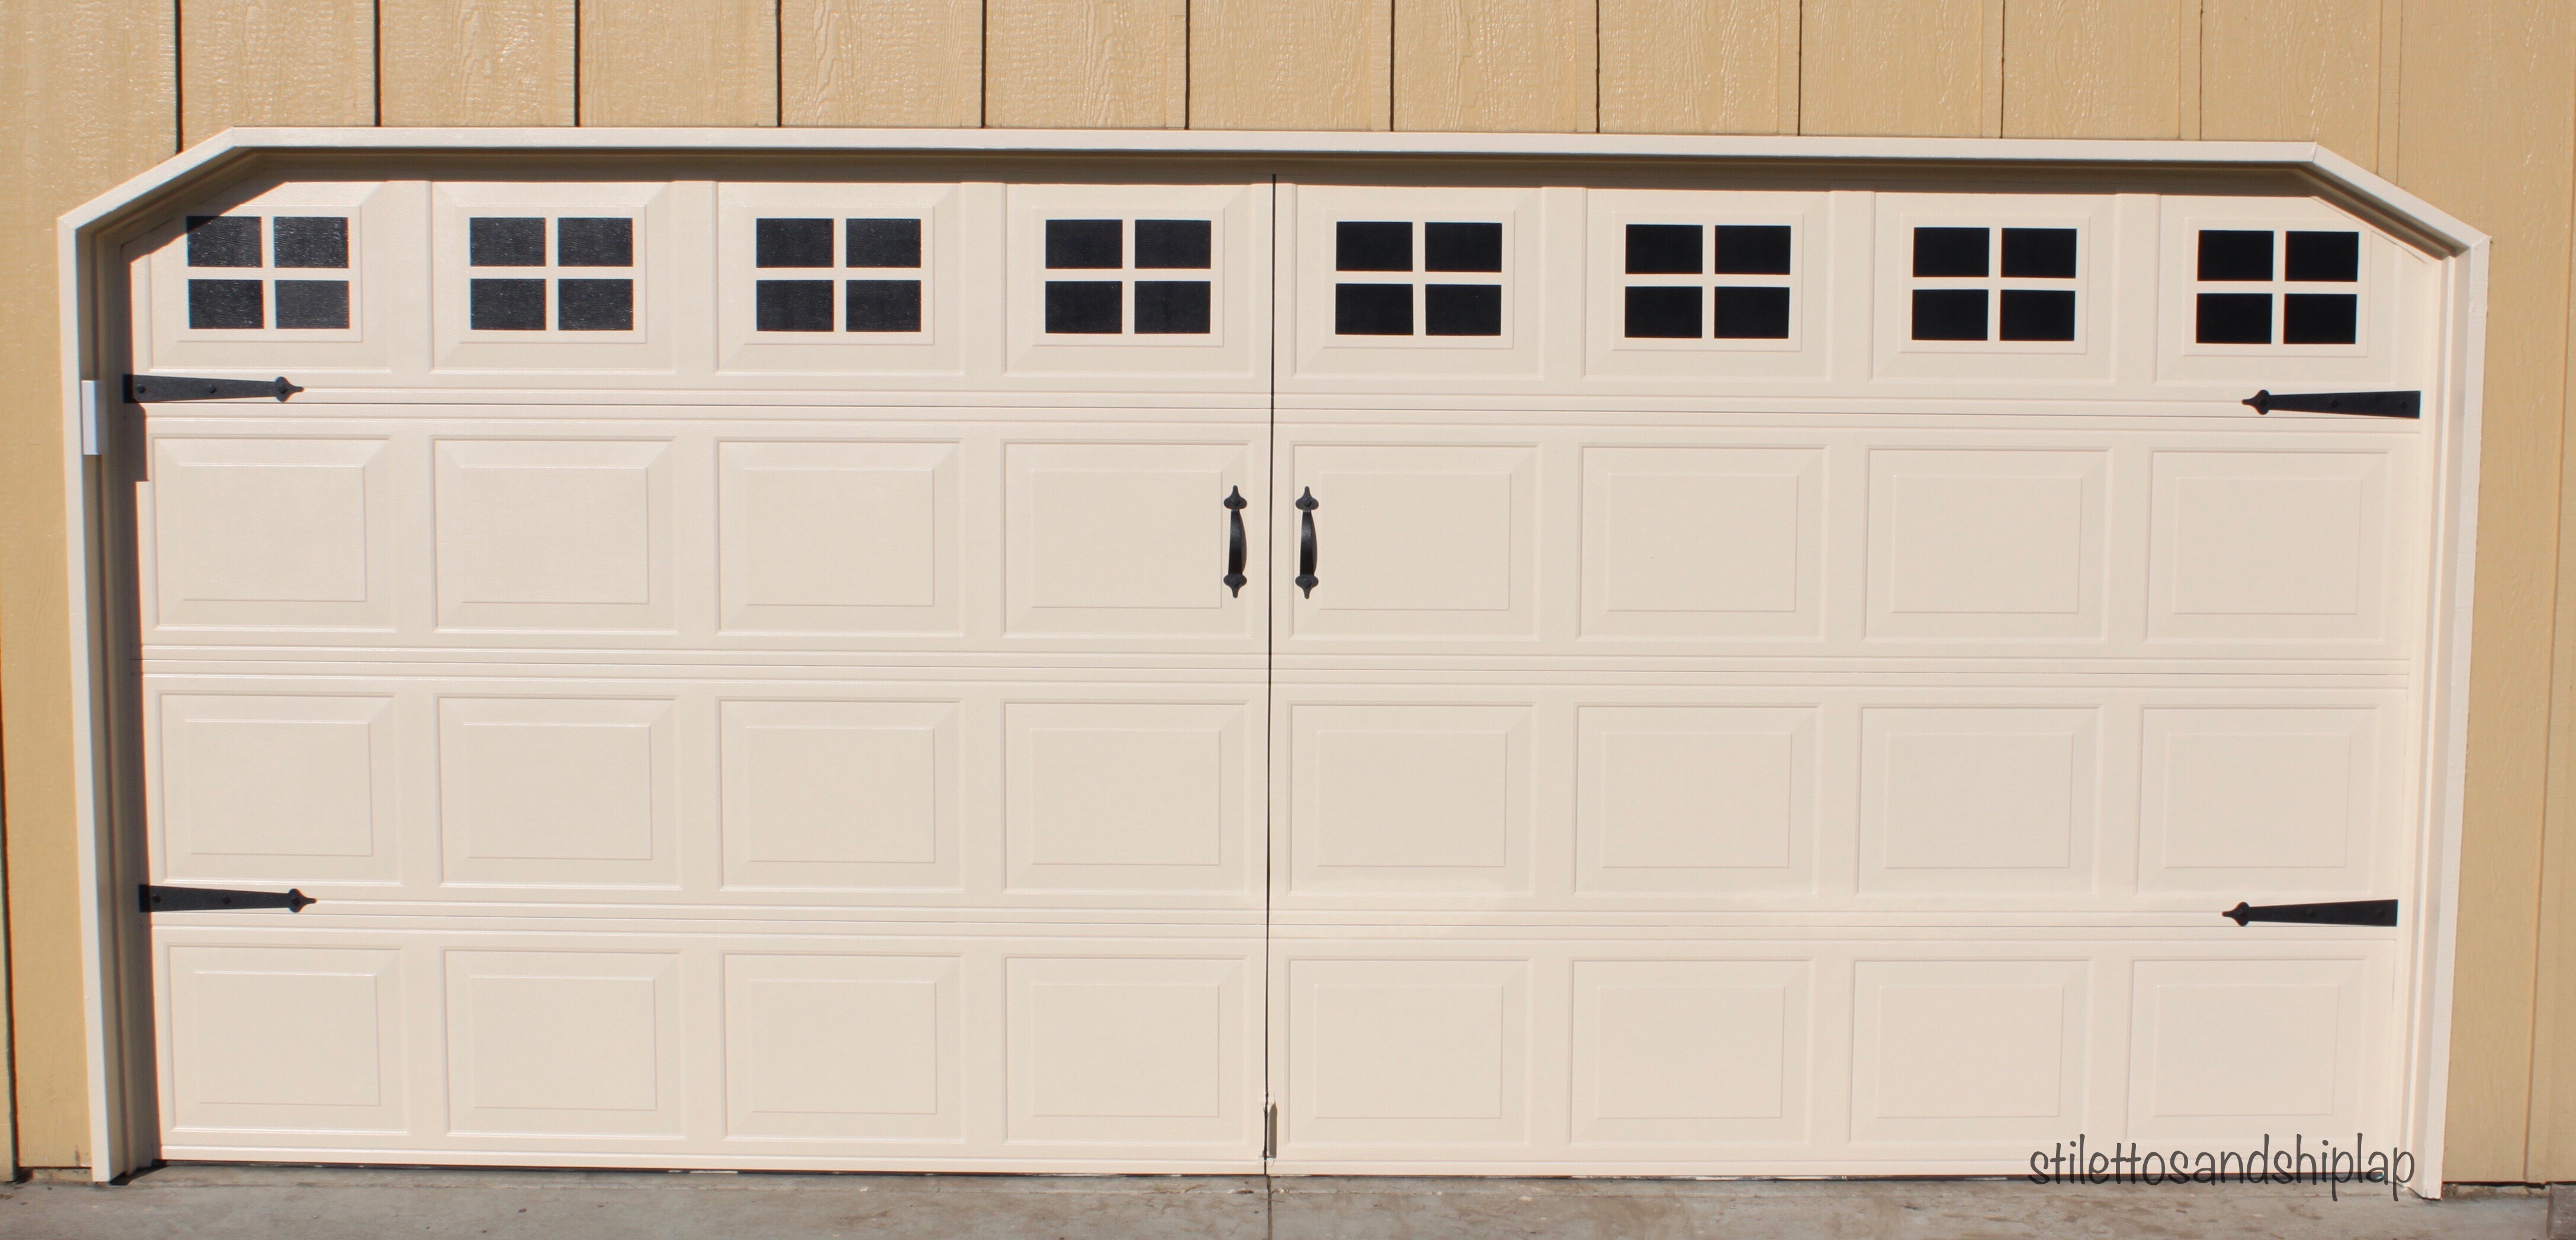
Once the final coat of black was dry, I peeled off the tape carefully. I applied these faux carriage hinges and hardware and I also taped and painted a very thin black line in the exact middle of the garage door in the same manner as I did the grids across the top. I used 1 1/2″ tape for this however, due to the width of this middle vertical panel. My black line is barely 1/4″ wide.
For the faux hardware I was originally planning to use some that were designed to be attached with screws. I had looked at the type that attach to metal doors with magnets but I wasn’t sure if they would hold tightly enough. After seeing a friend show how she had applied some of the magnet type and how well they stuck, I decided to take a chance. I purchased these Faux Carriage Door Hardware from Amazon. They were a very good price and I couldn’t be happier with them. They stick very well and are actually a bit tricky to move if you put them on slightly crooked.
Before….and after.
All in all I spent $15 for the hardware and $5 for the black paint. I already had all the painting supplies I needed. My grand total was $20. I seriously have even had neighbors come up to me and tell me how amazing it looks and think I got brand new doors!
I have other plans still for the front of my home but this has made a HUGE difference in the curb appeal in my opinion….
Enjoy!
(The opinions in this post are my own. I was not compensated in any way by any company or provided any discounts on materials)

I love this transformation too! You do amazing work! Such a darling garage door!! Love he hardware!
You wouldn’t believe how inexpensive that was either. Okay maybe you would if you read the article ?
[…] You can see I was a little busy this summer. I finally decided what I wanted to do with the garage door and started putting in a split rail fence around the sides and some of the front of my yard. […]
[…] forward a year or two and I painted the house a completely different color, painted the garage door to look like carriage doors, put in a split rail fence along the sides of the front yard where the […]