
I’m procrastinating. I do that often. I start with one project and something about it makes me sort of not feel like doing it so I hop here and flit there and do 6 other projects first.
I have a blog post due tomorrow showing my kitchen all decorated for fall. Only it’s not. So I got my one little bin of fall decor down from the rafters in my garage and I started spreading everything out all over my kitchen and dining room.
And then I realized that I really wasn’t feeling any of my fall decor and I really didn’t have anything that I felt like putting in my kitchen. So then I started pulling out all sorts of craft supplies and before I knew it I was up to my elbows in glitter!
In the end I made some super cute pumpkins and I thought I’d share them with you – because I’m procrastinating on decorating my kitchen!
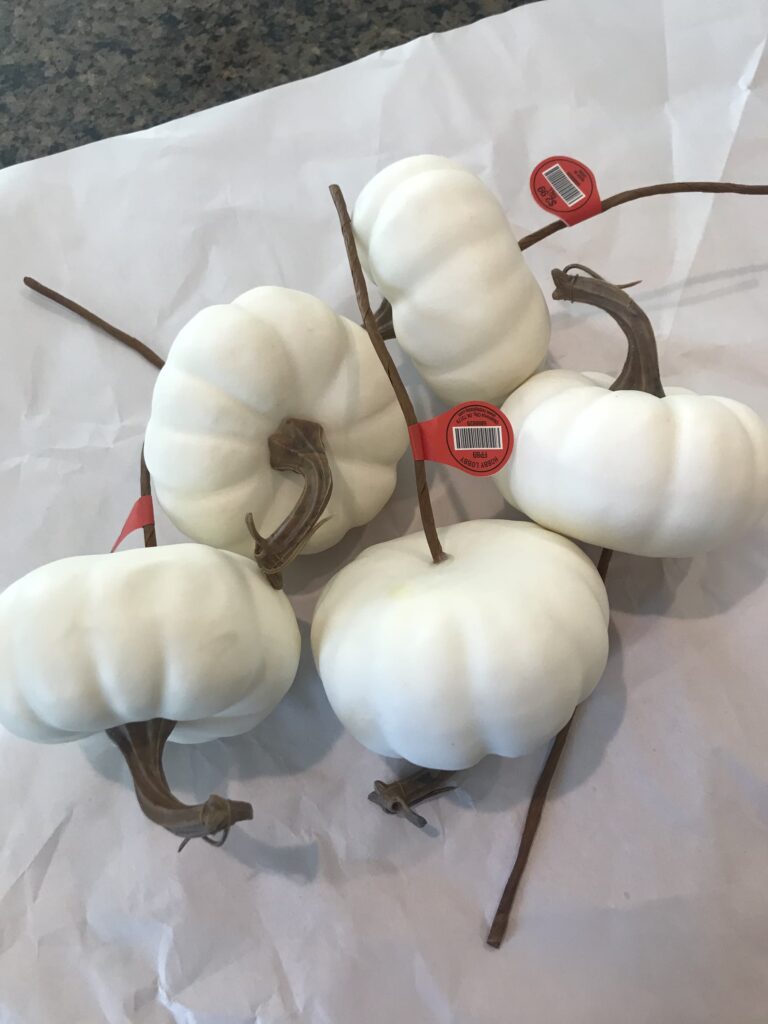
I grabbed some basic white pumpkins for this project. I got these particular ones at Hobby Lobby for $2.99 plus 40% off. I intentionally got the ones on stems because I thought that would come in handy for painting etc.
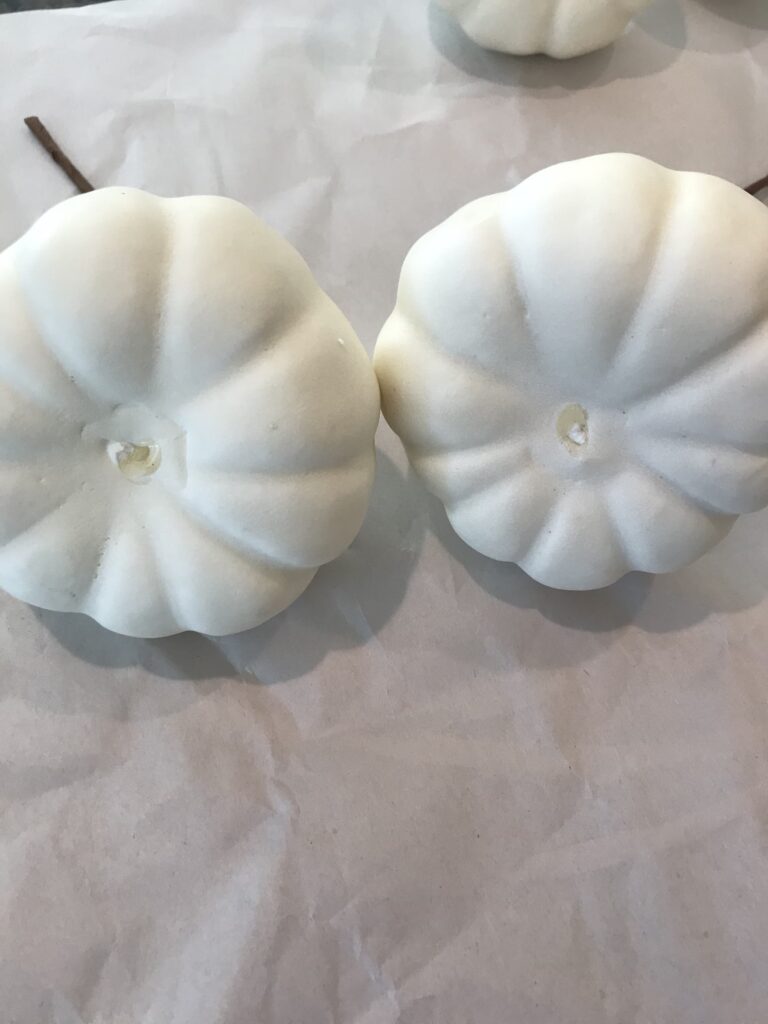
I carefully removed the stems making sure I didn’t damage the pumpkins.
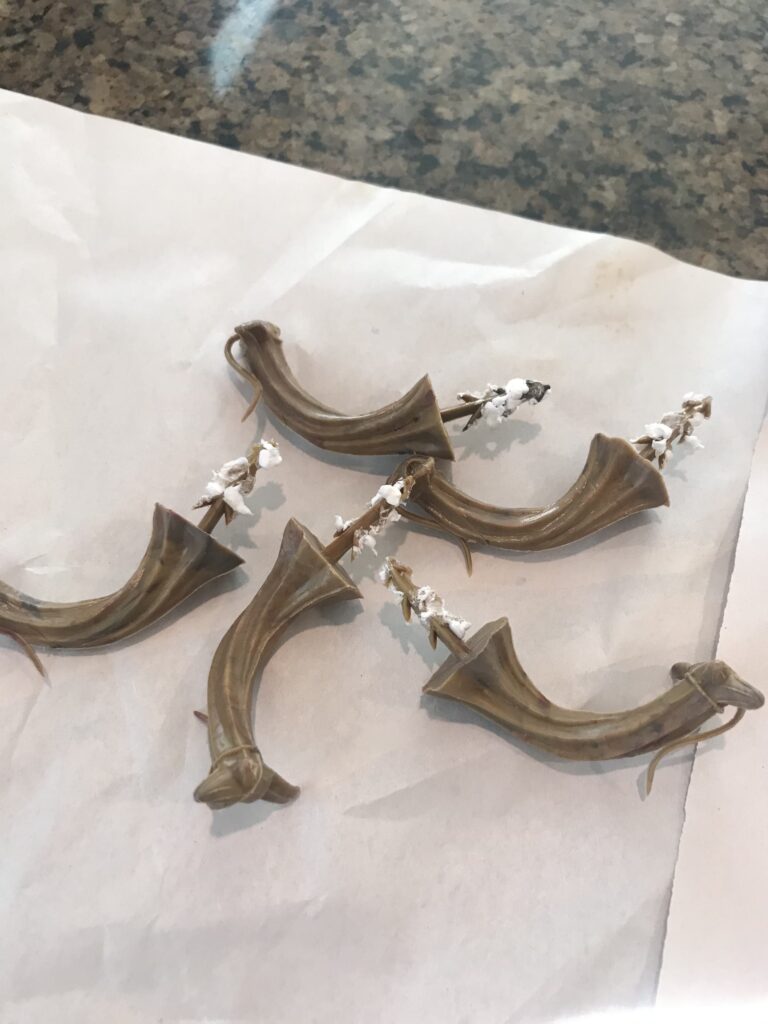
Here are the stems once they have been removed and set aside.
Look 1

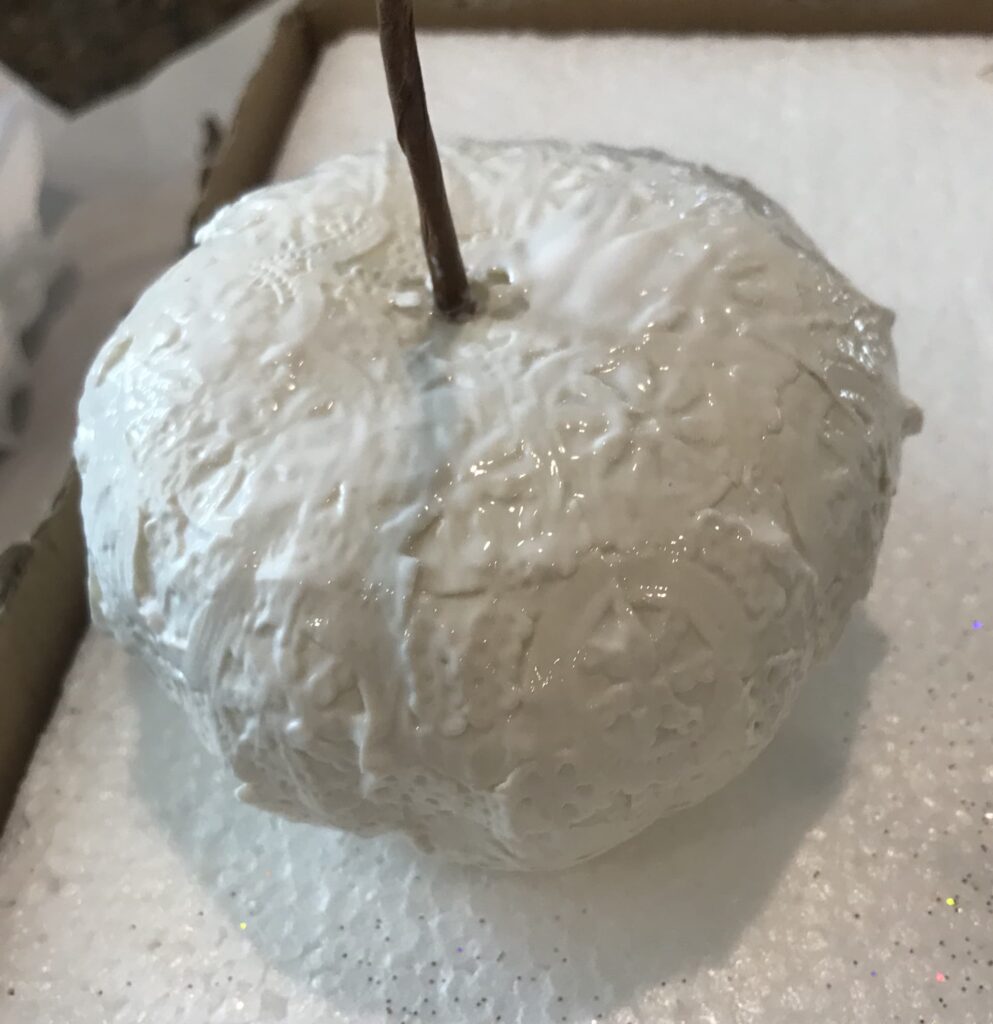
I spread a coat of Mod Podge (matte finish) on the pumpkin going from the top where the stem would be and only about halfway down the sides.
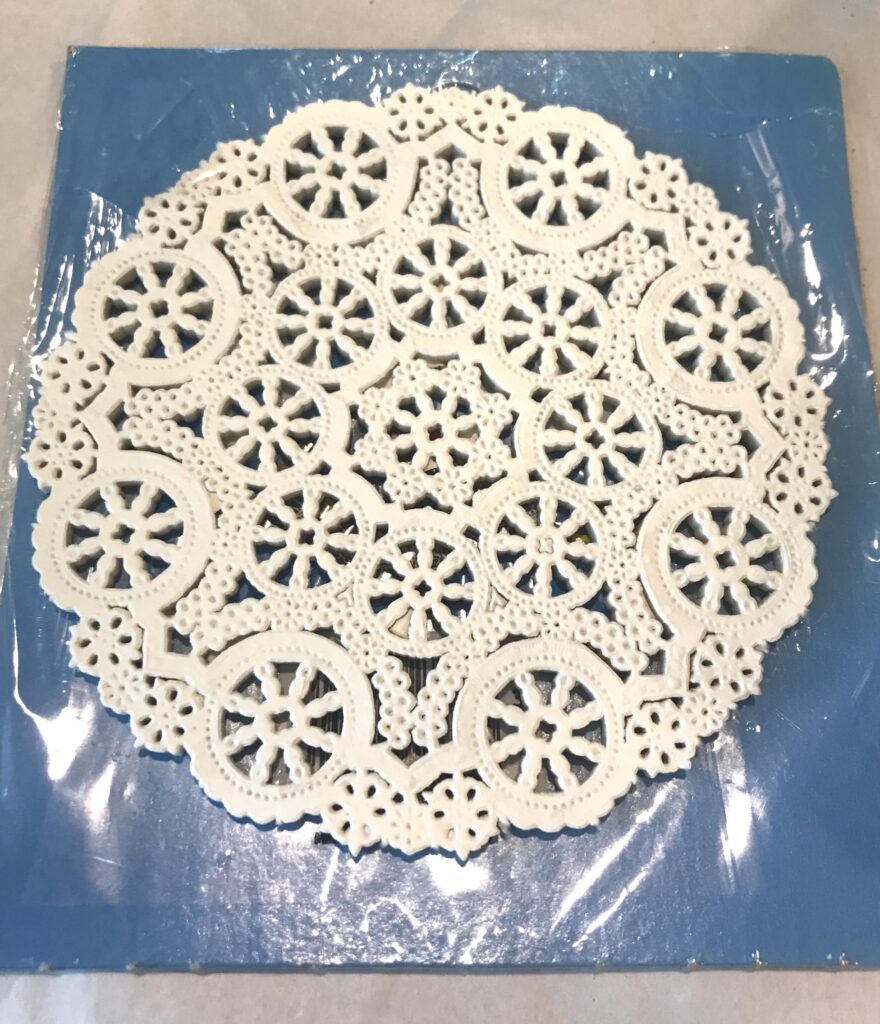
Next I took one of these small paper doilies…
…and put it over the top half of the pumpkin making sure it was centered with the stem hole.
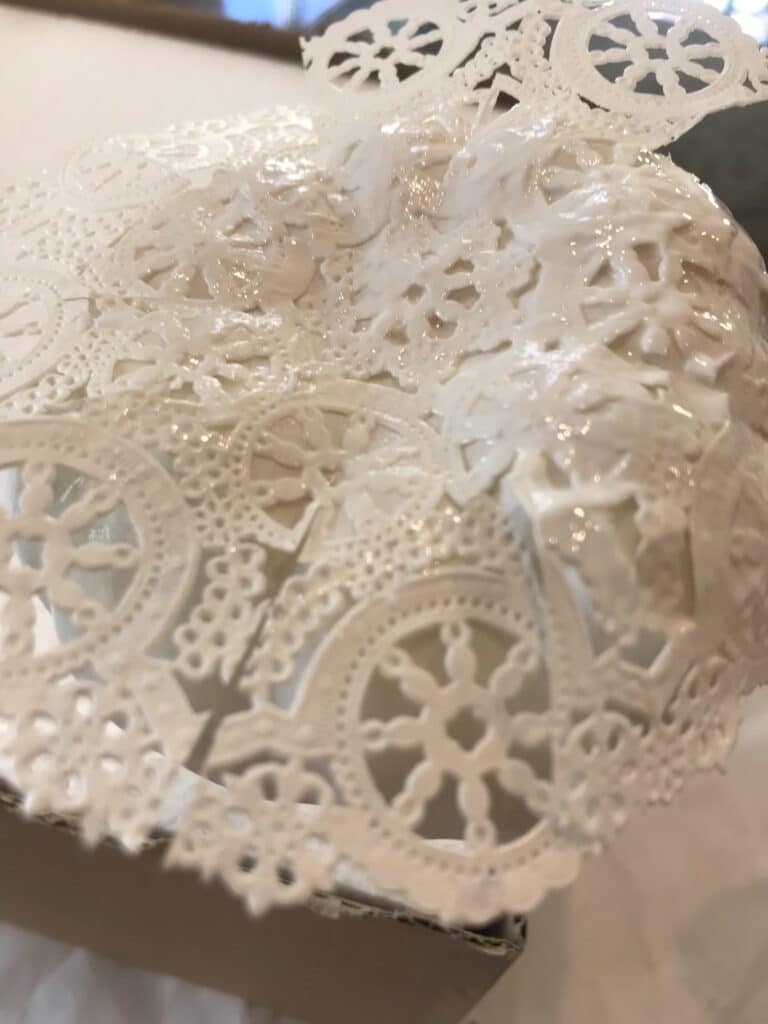
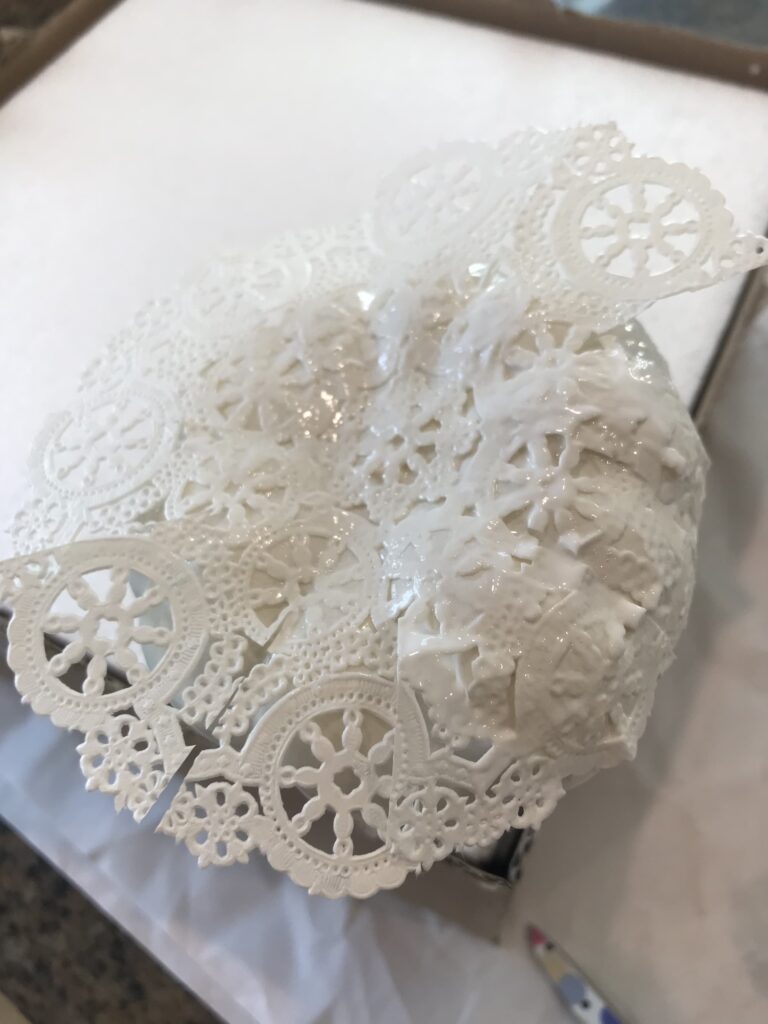
I gently pressed the doily down only on the top and then using scissors I cut at each spot where the pumpkin had a groove. I cut just up to where the curve of the pumpkin started.
Using my paint brush and more Mod Podge, I smoothed down all the pieces, one at a time.
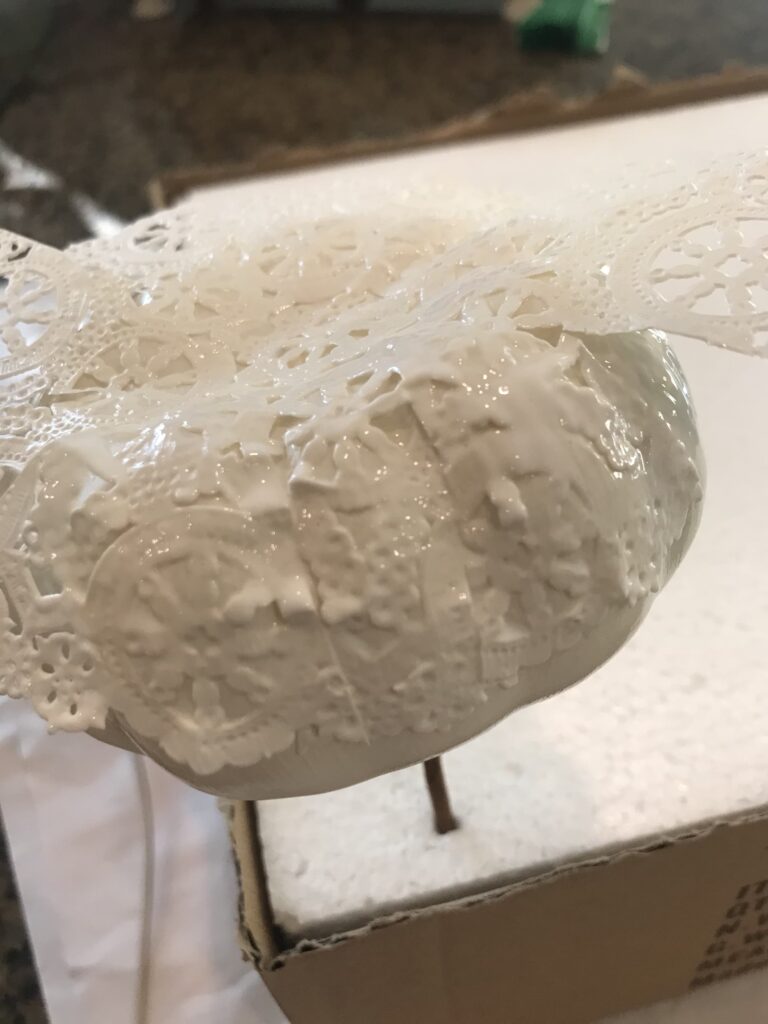
Once I had the top done, I set it aside until it was dry to the touch. Then I set it on its top and repeated the same process for the bottom of the pumpkin. My doilies met perfectly at the side but if your doily was too large you could trim it to size.
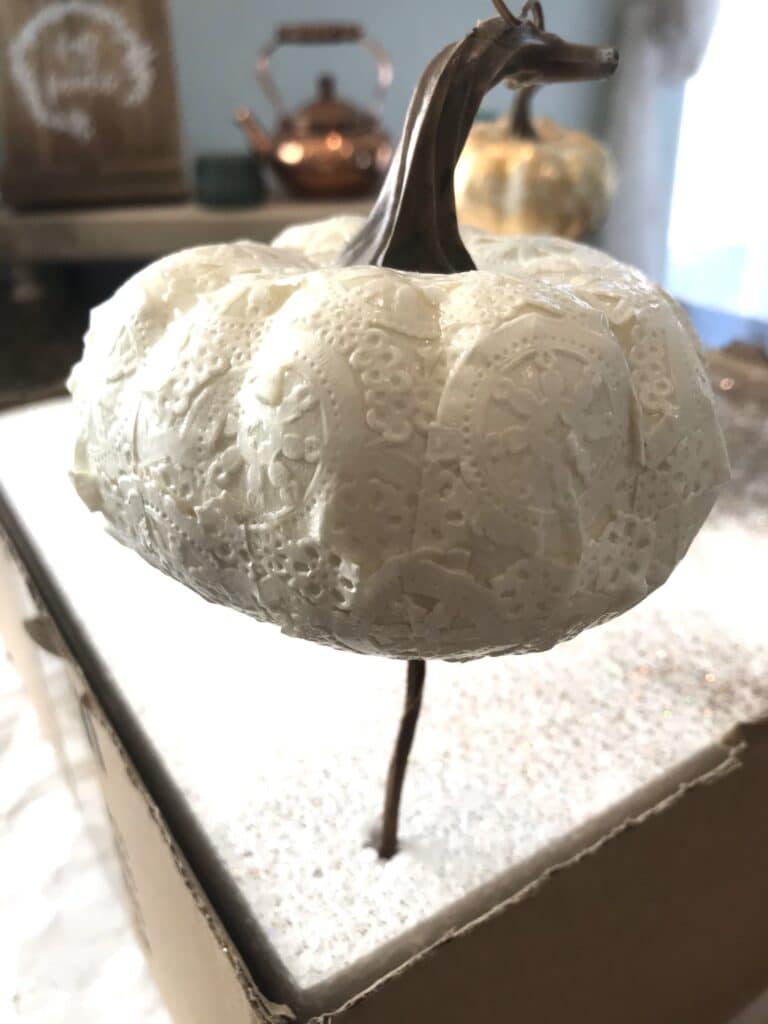
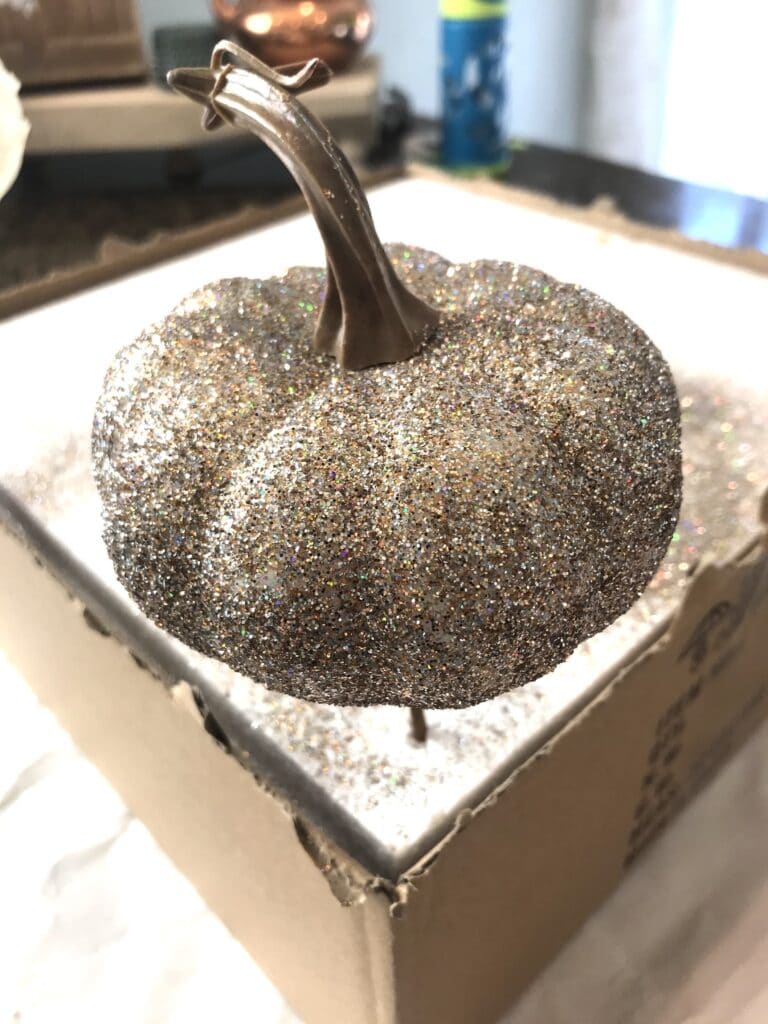
Once it was totally dry to the touch I put it right side up again and pushed the stem back into the top.
Look 2
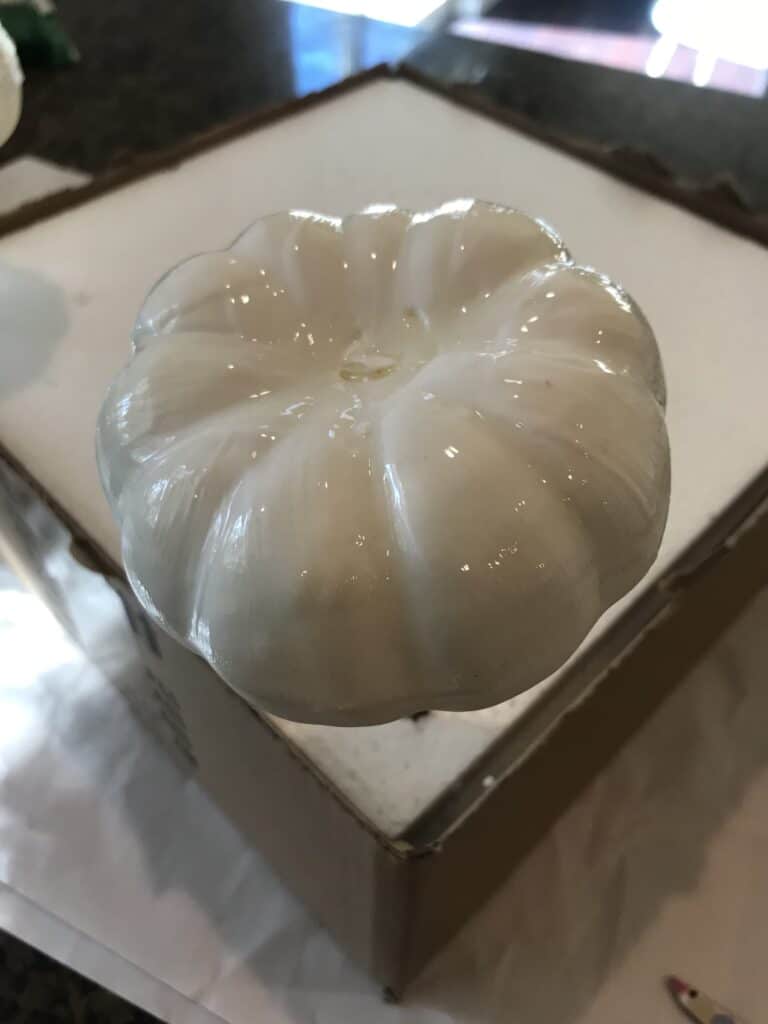
Once again I covered the pumpkin with a light coat of Mod Podge covering the entire pumpkin this time.
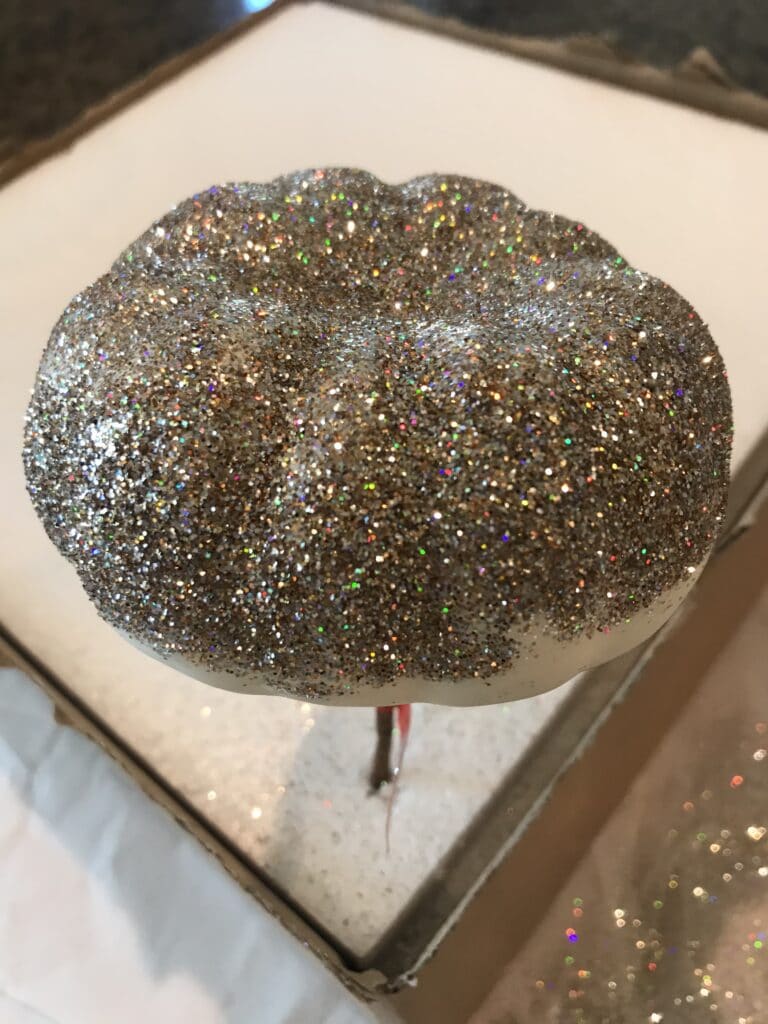
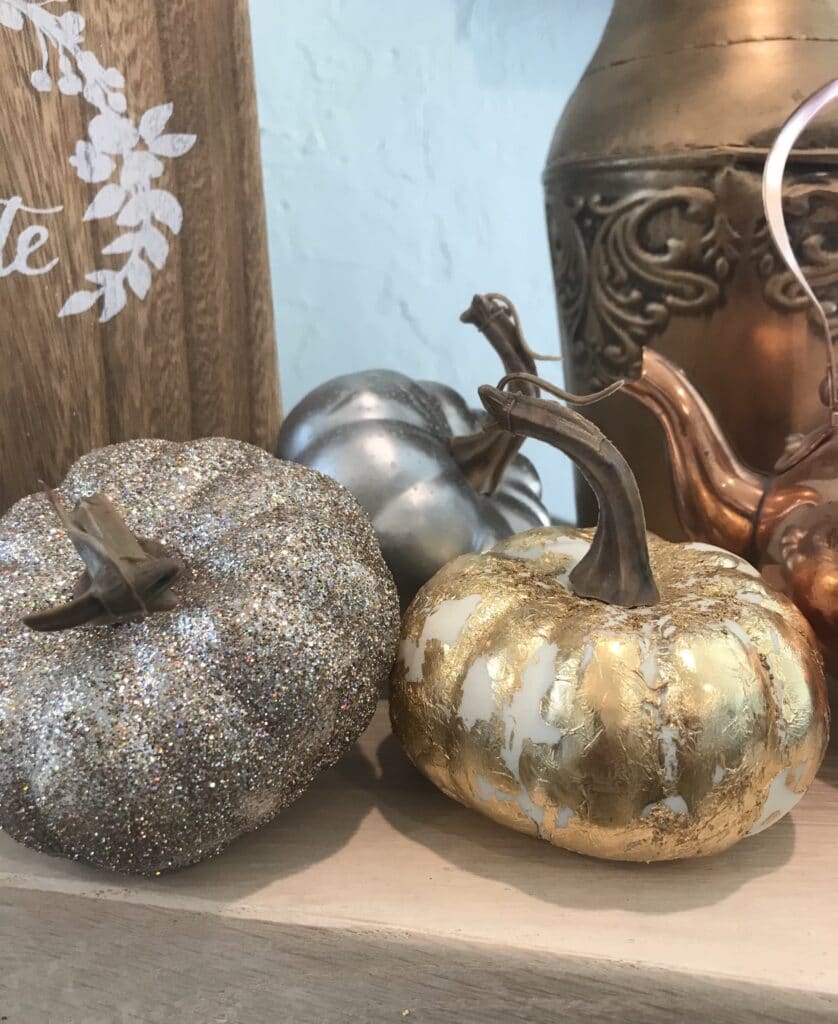
I sprinkled glitter over the top half…
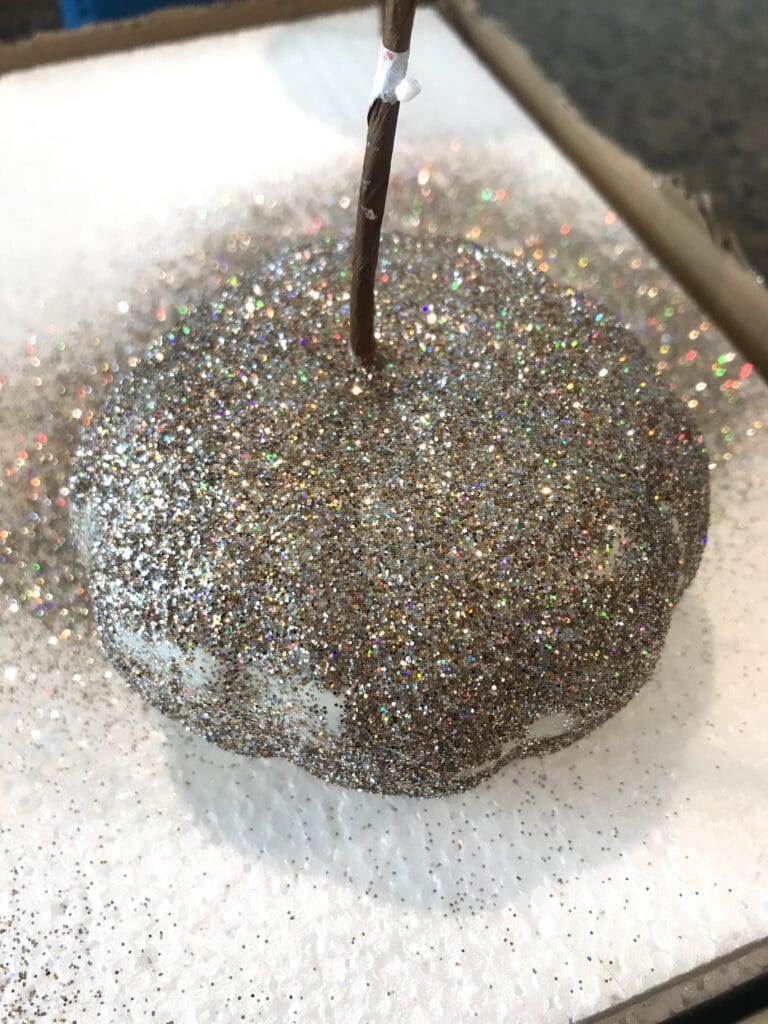
…and then flipped it over and sprinkled the bottom half.
If there are any spots that don’t have enough glitter once it has dried and you’ve gently bumped it to get the excess glitter off – just add a little more Mod Podge to the bare spots with a brush and shake on some more glitter.
Look 3

I spread a coat of Mod Podge over the pumpkin using a paintbrush.
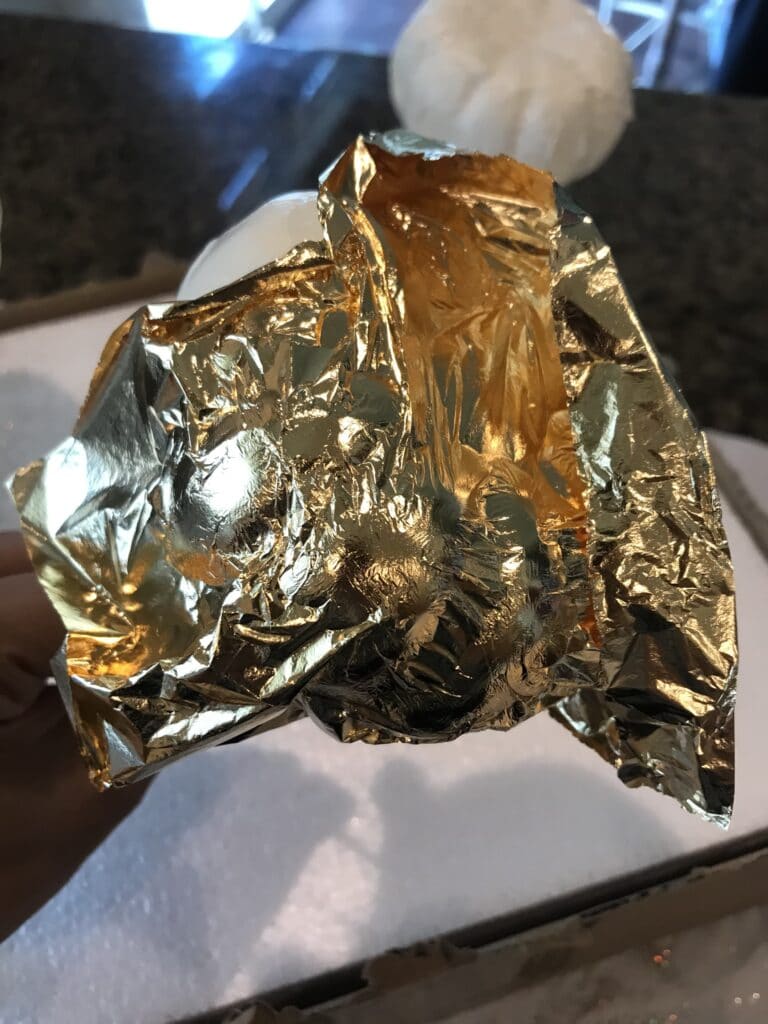
And then carefully applied a sheet of gold leaf. I wasn’t worried about it wrinkly or not being covered in every single spot because my vision was for it to be just gold leafed here and there.
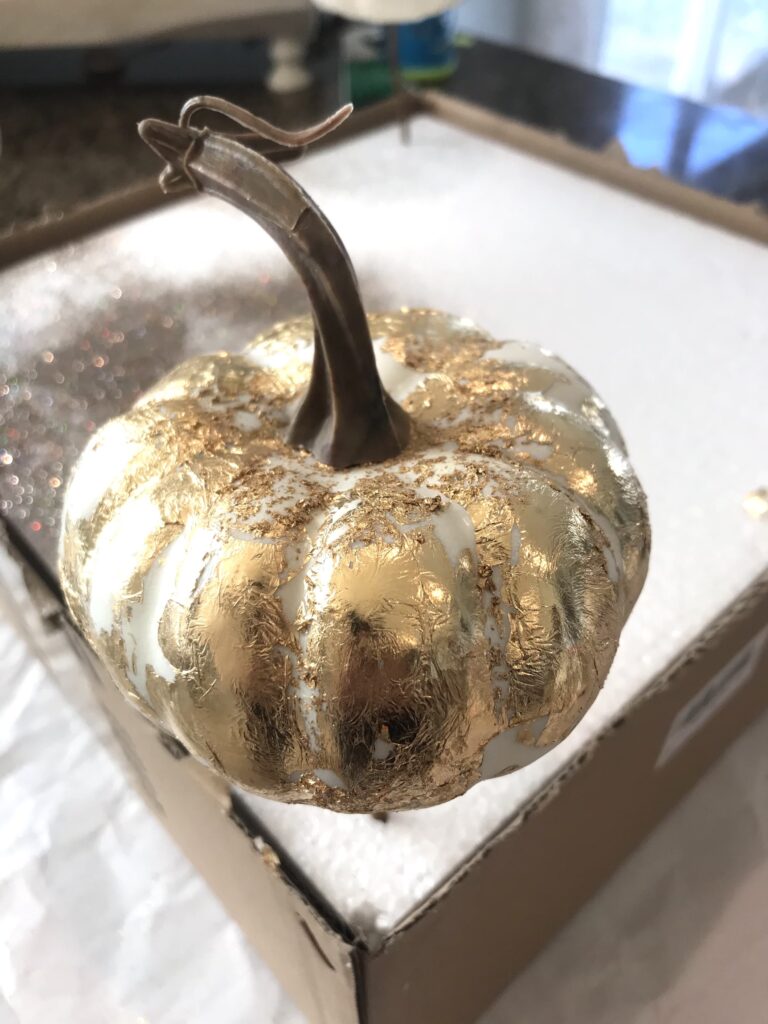
Once the glue had dried most of the way I used a soft brush to brush away the excess gold leaf.
Look 4
I started this one by lightly spraying it with white spray paint in a satin finish for some sheen and so it was a little whiter of a base color than the pumpkin was naturally. I wanted this one to have more the look of China.
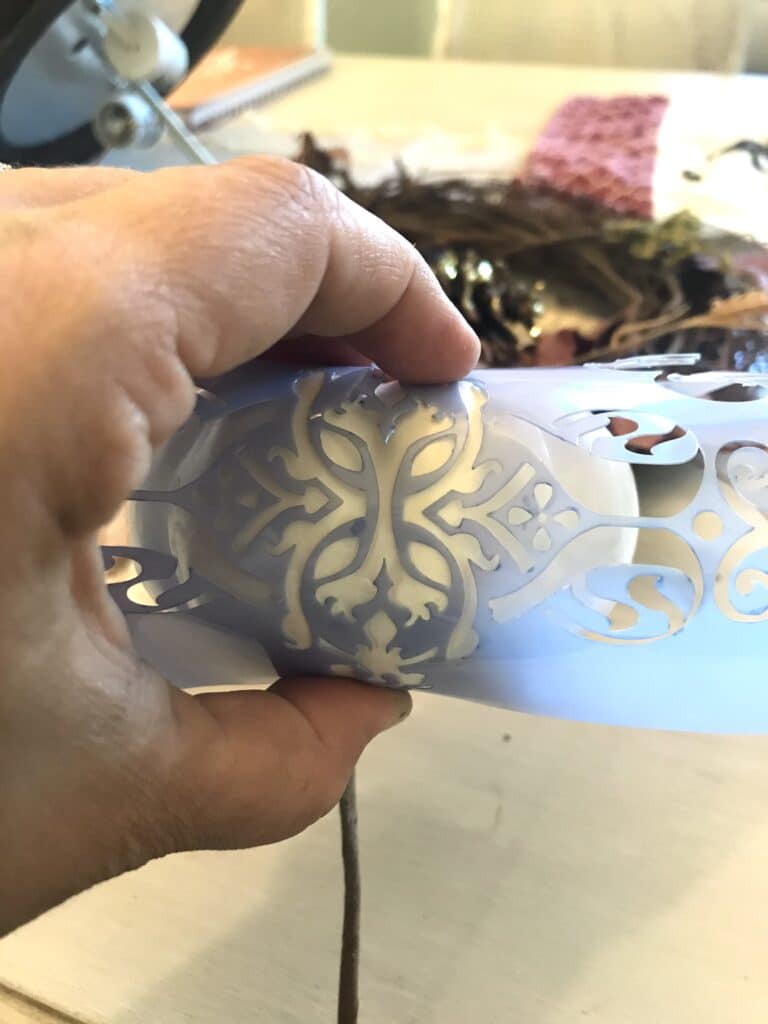
Then I held a stencil in place with just my fingers.
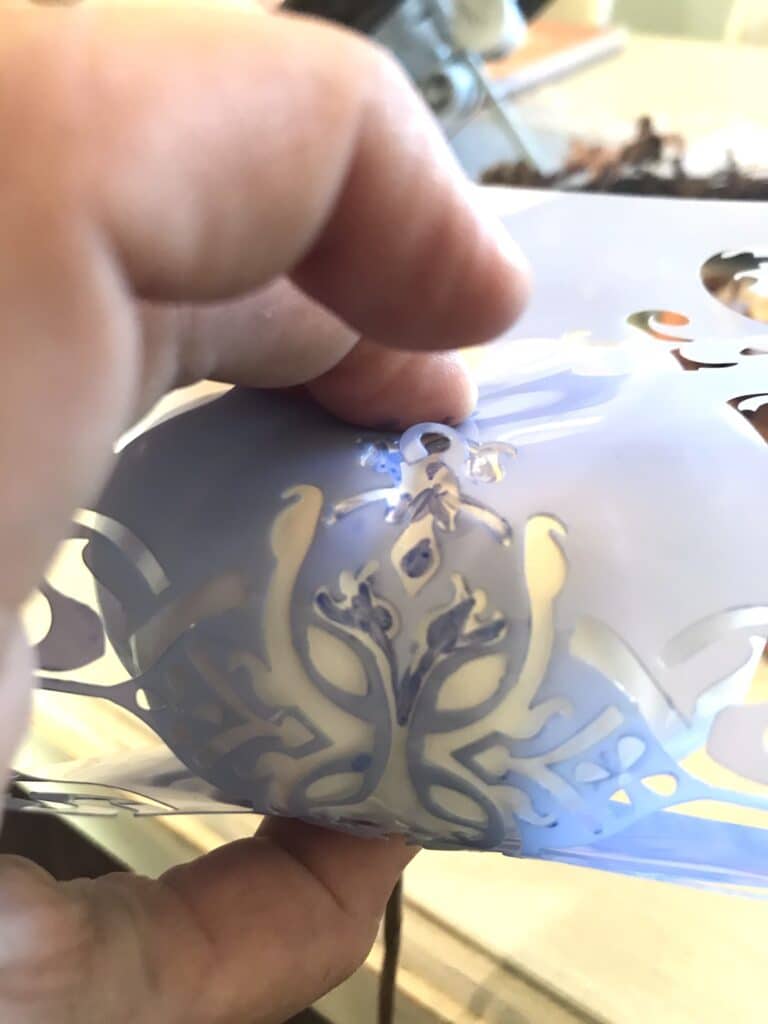
Using a permanent marker in a blue color, I filled in the stencil pattern. It doesn’t have to be perfect because the more imperfect it is, the more it will look hand painted.
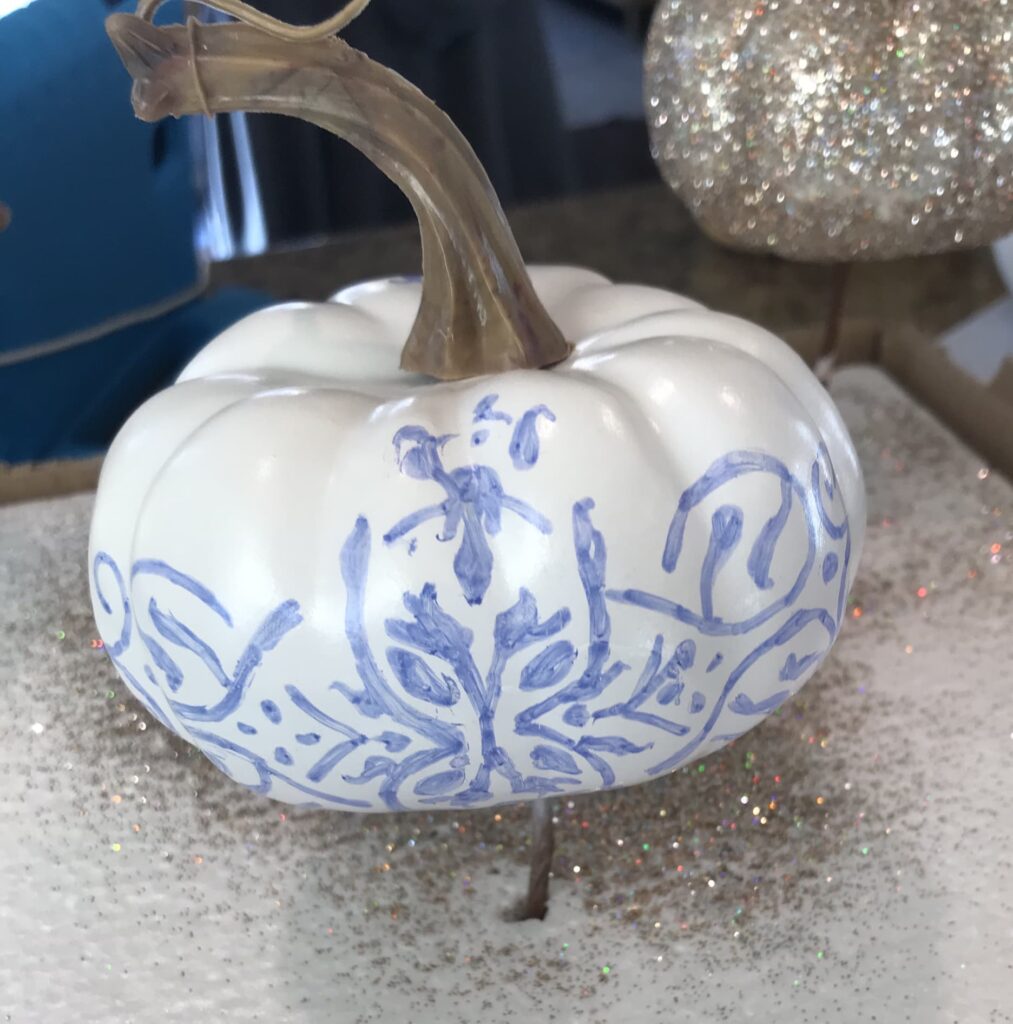
I did this design on each side and it leaves a small space of white in between.
Look 5
I didn’t bother taking pictures of this particular one while I was doing it because all I did was spray it with Krylon Looking Glass Spray. It made it not just plain silver but more mirrored and interesting.
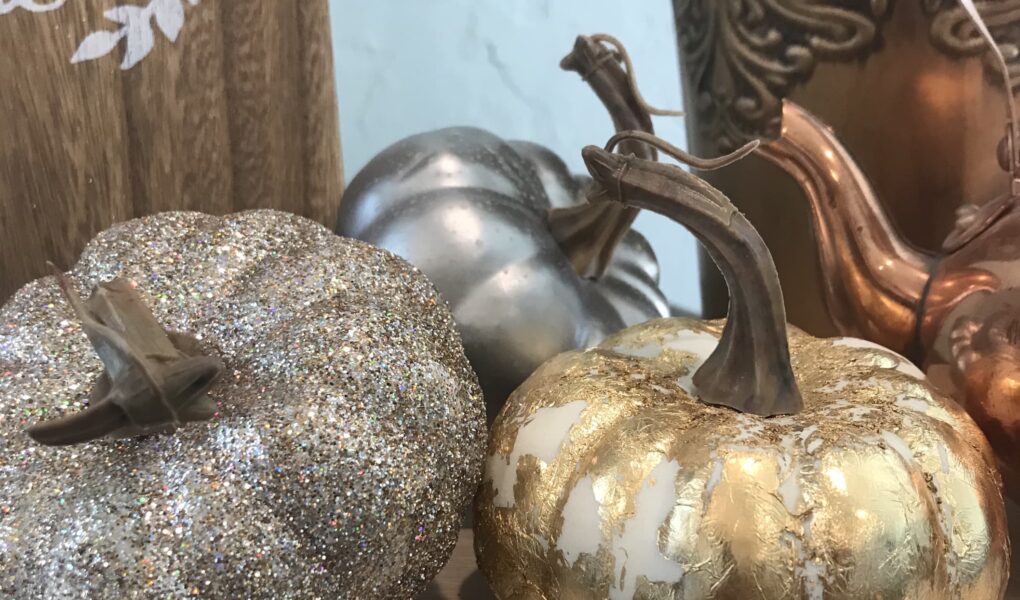
Now are you ready to see the finished results?

I’m definitely going to be making more of these, especially the paper doily one. It’s so lacy and elegant.
I can’t show you too much of the finished results because remember that blog post showing my fall decorated kitchen? Yes…well….I don’t want to give away all my ideas before I publish that post!
I hope you’ve enjoyed these super simple and easy DIY pumpkins. I’ll be making some more soon. Probably when I should be decorating my kitchen 😄
Until next time…
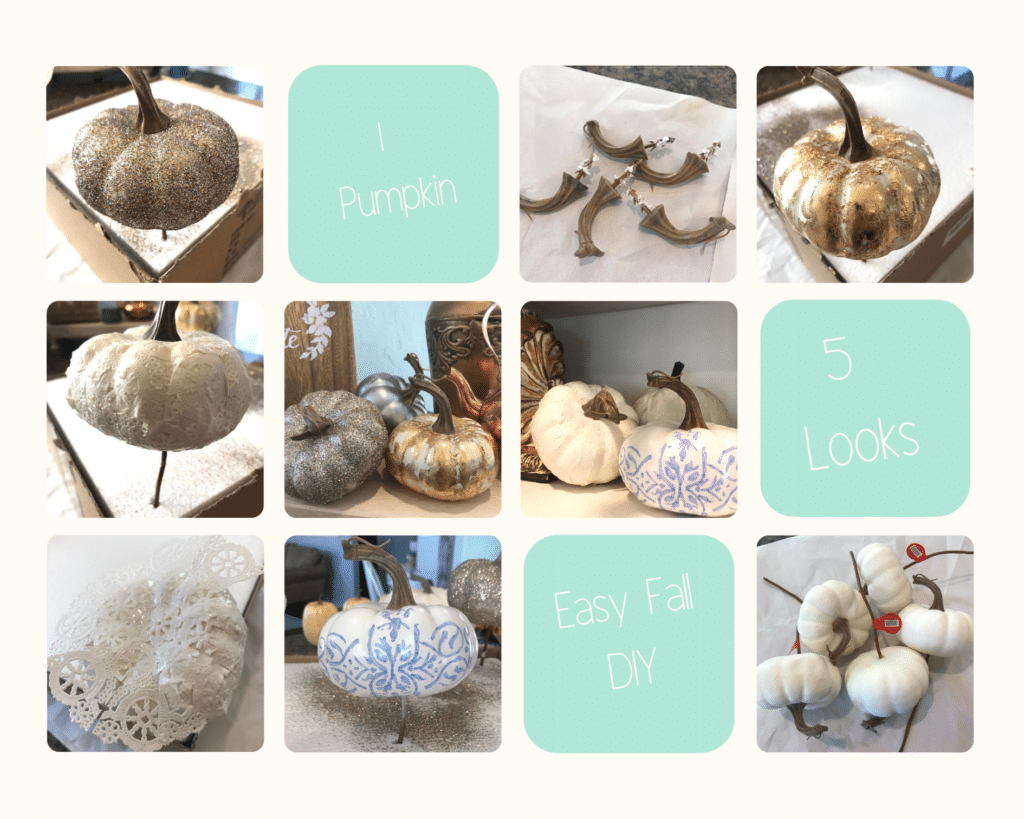
[…] 1 Pumpkin: 5 Different Looks […]
[…] fall I got started DIYing pumpkins in earnest. Emily and I shared a variety of ways to create simple fall decor as well as how to […]